For the Best Results, Use the Latest Version.
-
Preparations
-
Account
-
Get Started & Basic Settings
-
Compatibility & Tech Specs
-
Performance Settings
-
-
Creating Projects
-
Creating New Projects
-
-
Importing & Recording
-
Video Editing for Windows
-
Basic Video Editing
- Enable/Disable Clip in Windows
- Magnetic Timeline for Windows
- Dual Monitor Setup for Video Editing on Windows
- Select All Clips on Timeline for Windows
- Manage Timeline and Tracks on Windows
- Auto Ripple for Windows
- Split & trim video
- Crop & Pan & Zoom Video
- Compositing
- Change Video Speed on Windows
- Playing videos in reverse
- Mark In and Mark Out for Windows
- Markers for Windows
- Group editing
- Customizable Backgrounds for Videos and Images in Windows
- Video snapshot
- Using freeze frame
- Logo Reveal For Windows
- Apply auto enhance
- Applying drop shadow
- Adjustment layer for Windows
- Transforming
- Video Editing Ruler – Windows
-
Advanced Video Editing
- Drawing Tools for Windows | Filmora Guide
- Create Multi-Camera Clip
- Compound Clip for Windows
- Multi-Clip Editing for Windows
- Filmora Motion Blur | Windows
- Filmora Flicker Removal Guide | Windows
- Apply mask to video
- Creating a PIP effect
- Keyframe Graph Editor for Windows
- Add animation keyframing for Windows
- Keyframe Path Curve for Windows
-
AI-Powered Video Editing
- Smart Scene Cut for Windows
- Smart Short Clips for Windows
- AI Face Mosaic for Windows
- Filmora AI Eye Contact- Windows
- AI Video Enhancer for Windows
- AI Text-to-Video for Windows
- Planar Tracking for Windows
- AI Idea to Video for Windows
- Filmora Image to Video for Windows
- Filmora Image to Prompt for Windows
- Instant Cutter Tool for Windows
- AI Extend
- Filmora AI Relight - Windows
- Filmora AI Image Enhancer Guide - Windows
- AI Script to Video Guide for Windows
- AI Text-Based Editing for Windows
- AI Mate Editing for Windows
- Create with instant mode
- ChatGPT Plugin - AI Copywriting
- AI Smart Cutout
- Lens correction on Windows
- Auto reframe video
- AI Portrait Cutout
- Scene detection feature
- AI Smart Masking for Windows
- Make motion tracking
- Video Stabilization for Windows
- AI Video/Photo Object Remover for Windows
- AI Smart Search for Windows
- AI Skin Tone Protection for Windows
- AI Image for Windows
- Chroma key (green screen)
- Super Slow Motion with Optical Flow for Windows
- Video Denoise for Windows
-
-
Audio Editing for Windows
-
Basic Audio Editing
-
Advanced Audio Editing
-
AI-Powered Audio Editing
-
-
Text Editing for Windows
-
Basic Text Editing
-
Advanced Text Editing
-
AI-Powered Text Editing
-
-
Video Customizations
-
Video Effects
-
Audio Effects
-
Transitions
-
Stickers
-
Filters
-
Color Editing
-
Animations
-
Templates
-
Asset Center
-
-
Exporting & Share & Cloud Backup
Exploring and Using Filmora's Asset Center
Filmora's Asset Center is your gateway to a vast collection of creative assets designed to enhance your video projects. It acts as a curated marketplace within Filmora, offering themed packs, trending elements, effects, titles, stickers, and more. This feature helps you discover new, popular, and specific resources easily, complementing the standard library categories.
Index
Accessing the Asset Center
-
Launch Filmora:Open your Wondershare Filmora application.
-
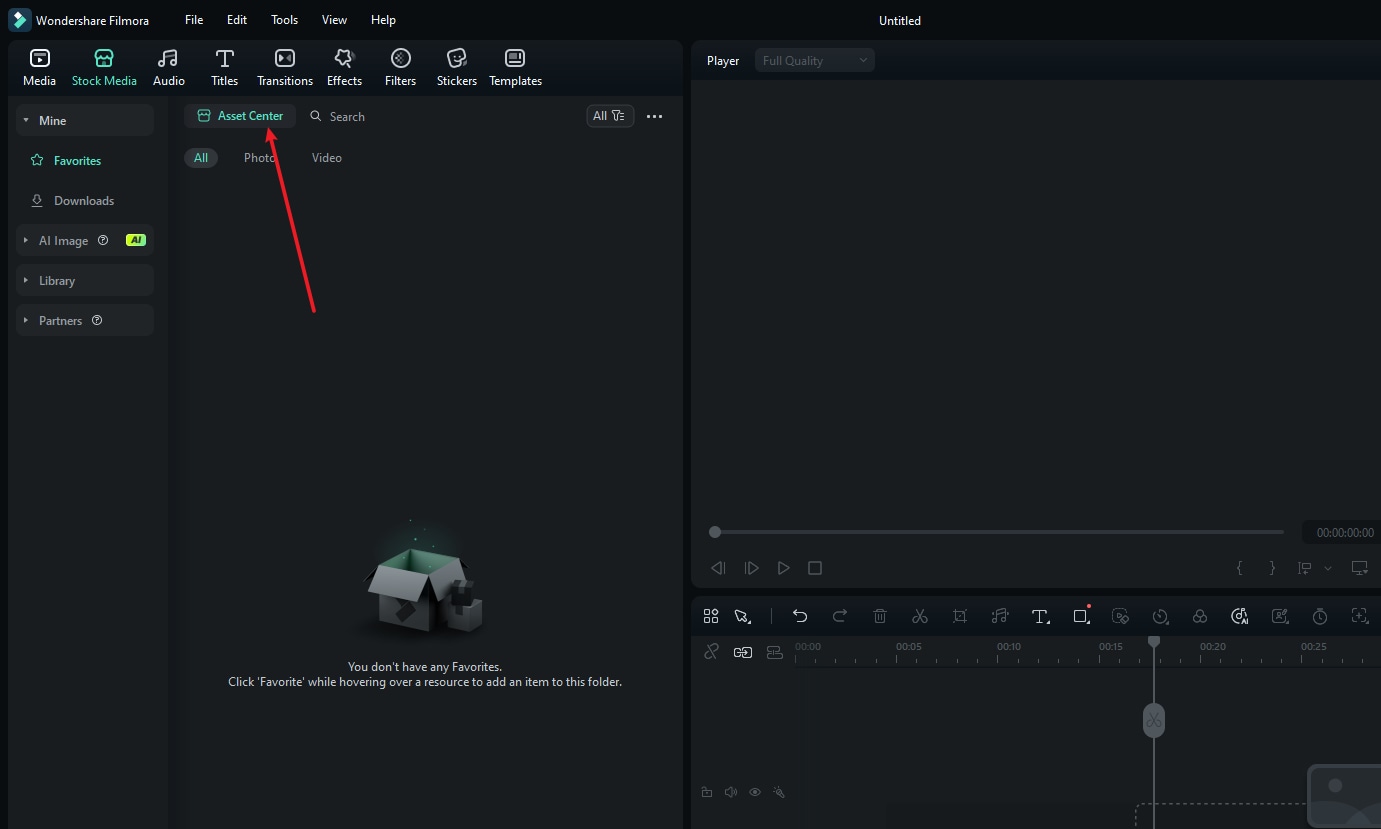
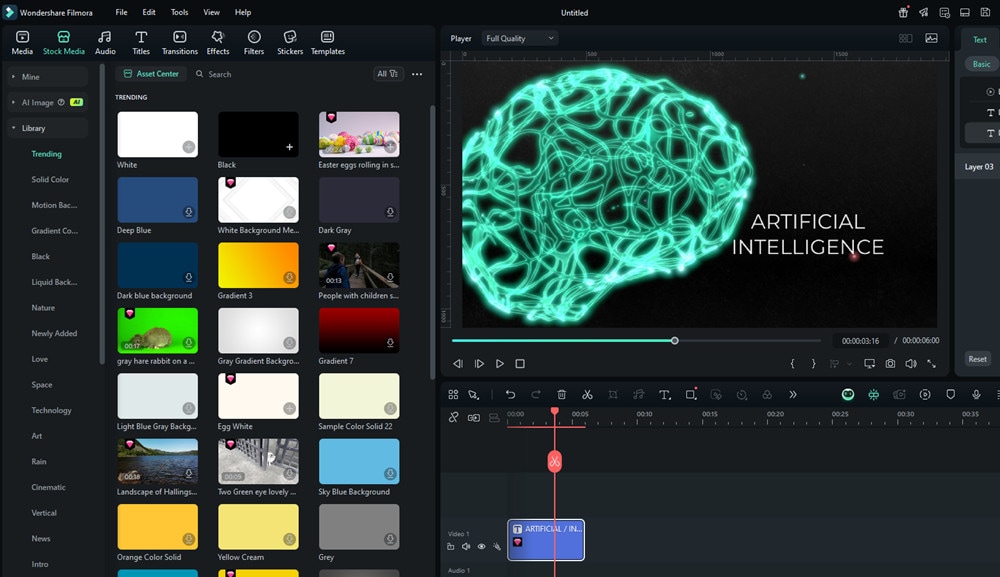
Locate the Asset Center Button:Look at the top section of the main interface. You'll see the primary asset category tabs (Media, Stock Media, Audio, Titles, Transitions, Effects, Filters, Stickers, Templates). Directly below these tabs, you will find the Asset Centerbutton, typically positioned next to the search bar for the selected category.
- Open Asset Center: Click the Asset Center button. It is accessible regardless of which main asset category tab (like Effects, Titles, or Stock Media) is currently active.
Navigating the Asset Center
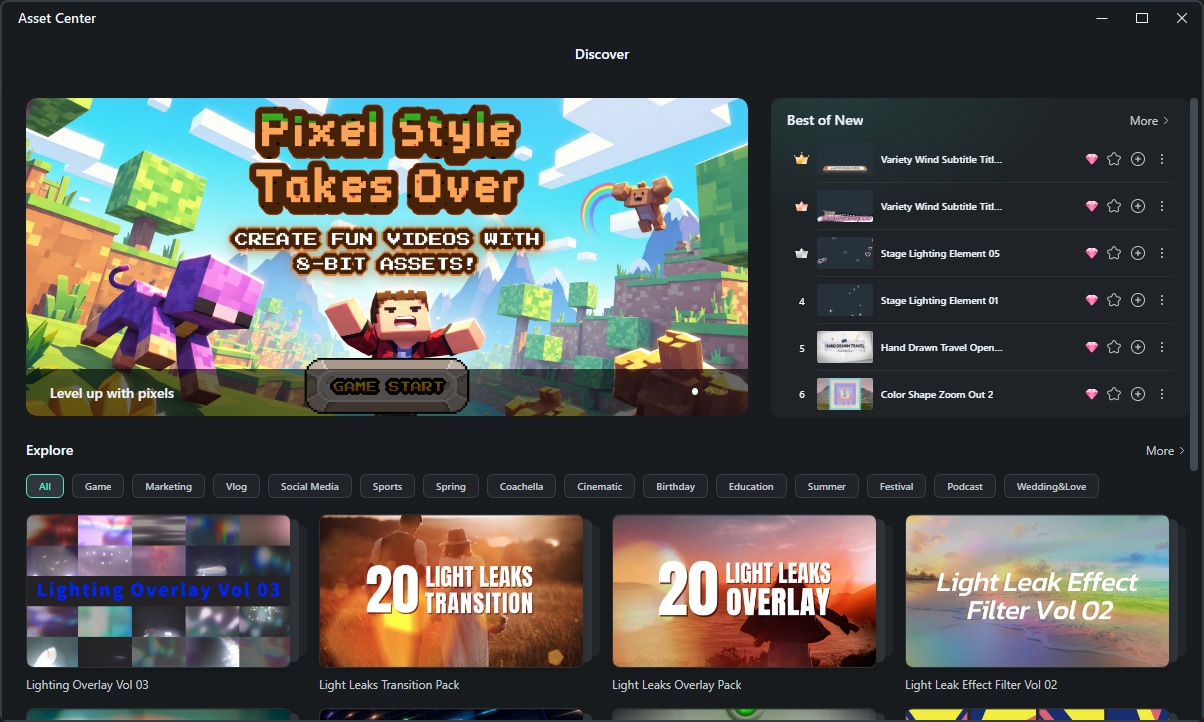
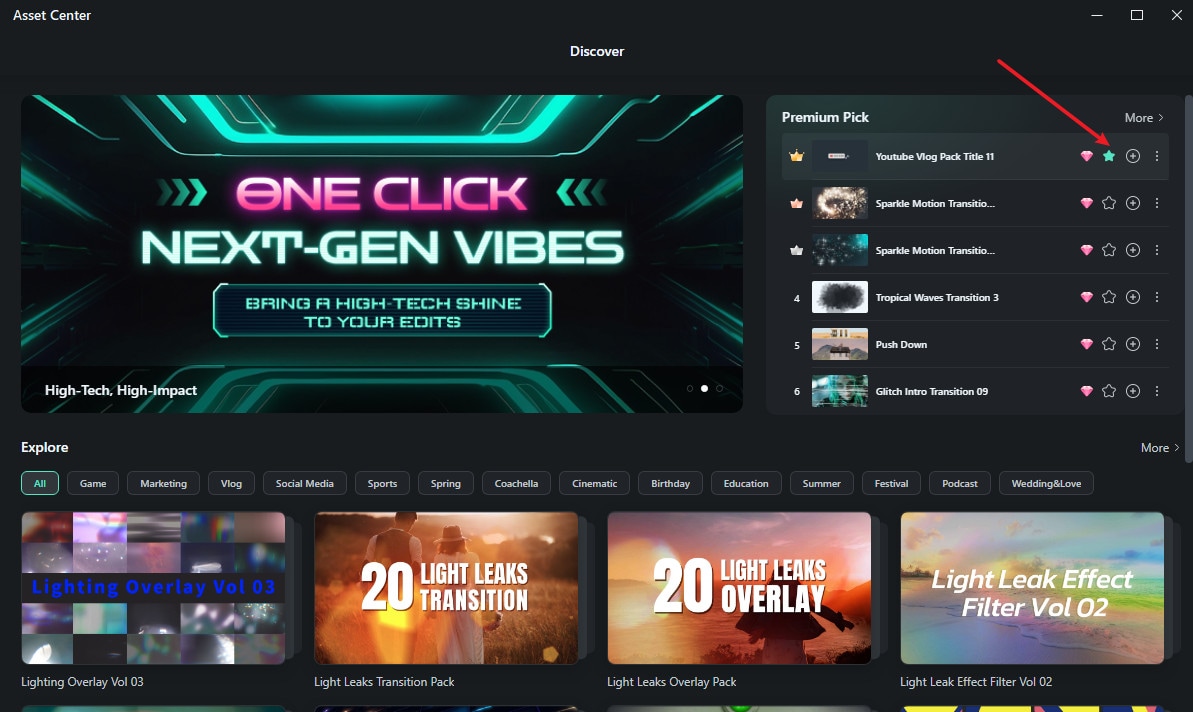
Once clicked, the Asset Center window will open, typically showing the Discover tab. Here you can find:
-
Promotional Banners: Large banners showcasing featured themes or collections (e.g., "Pixel Style Takes Over"). Clicking these takes you to dedicated pages for that theme.
-
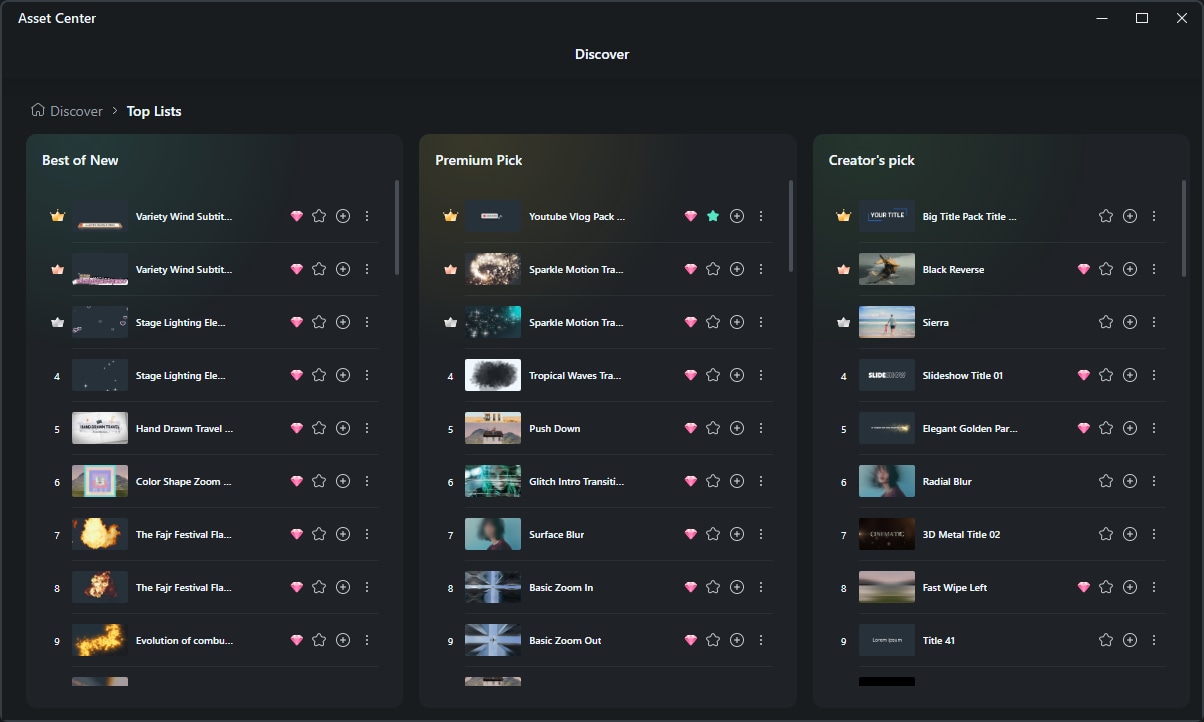
Top Lists: Sections like "Best of New," "Premium Pick," and "Creator's Pick" highlight popular, high-quality, or curated assets.
-
Explore Categories: Browse assets by specific themes or types like "Game," "Vlog," "Spring," "Birthday," etc. Clicking a category filters the displayed resources.
Finding, Downloading, and Using Assets
Whether you're browsing through Promotional Banners, Top Lists (like "Best of New," "Premium Pick"), or Explore Categories, the way to use assets is similar:
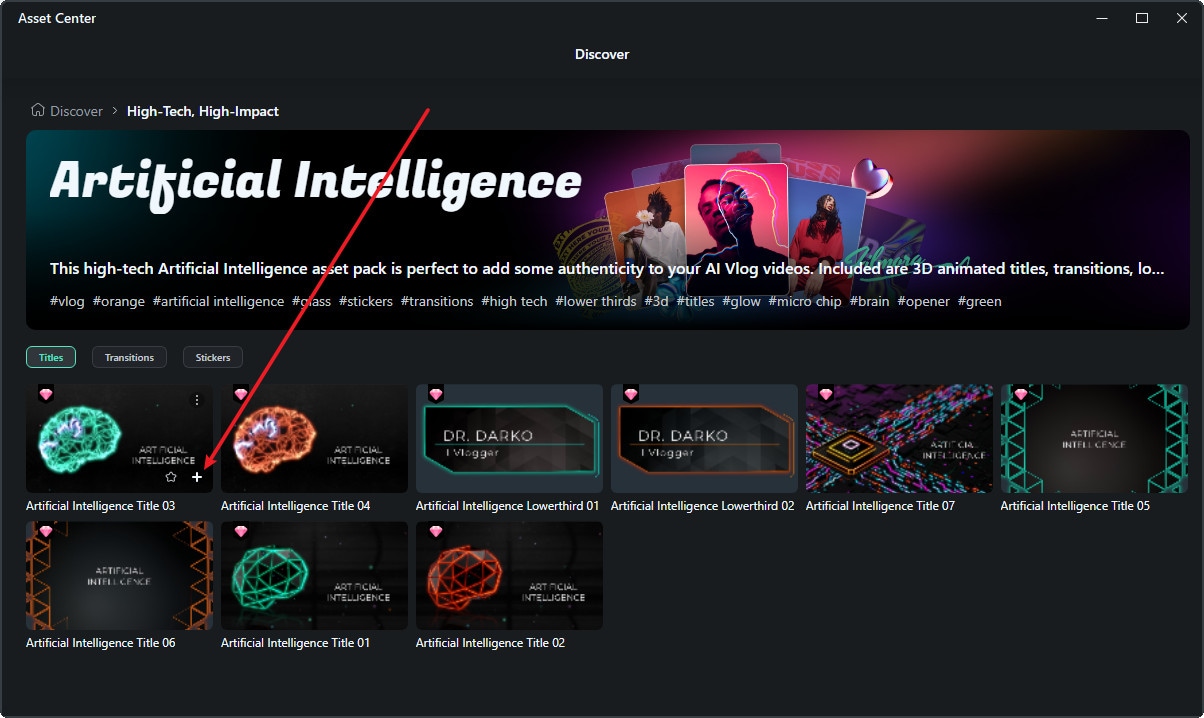
1. Locate an Asset: Browse the Asset Center to find an individual asset or a pack that interests you.
2. Add to Timeline:
- Hover over the asset or element you want to use.
- Click the '+' (Add) icon.
- If the asset isn't already downloaded, Filmora will automatically start downloading it. A progress indicator will appear.
- Once downloaded (or if already downloaded), the asset will be added directly to your timeline at the playhead's current position, ready for customization.
3. Add to Favorites (Optional):
- To save an asset for quick access later, hover over it and click the star icon.
- This will add the asset to your "Favorites" section, accessible from the main Filmora library panel.
Related Posts
Featured Articles
How to Create Winning Chip Ads & Snack Video Campaigns (With Examples)
Turn chip photos and videos into effective potato chips ads using Filmora AI. Follow clear steps, current trends, and practical workflows to create snack video campaigns for TikTok, Instagram, YouTube, and in-store screens.
How to Make Pixel Art Backgrounds: Free Resources and Step-by-Step Guide
Create stunning pixel art backgrounds with free resources, style examples, and step-by-step tips to design retro backdrops for any project.
How to Post Videos on Snapchat Spotlight [+ Tips for Creating Snaps)
Learn how to upload Spotlight on Snapchat with this step-by-step guide! Boost your visibility, share engaging videos, and get noticed on Snapchat Spotlight!
Recommended User Guide
Filmora - Creative Asstets
Here is the guide on how to use Filmora' creative assets.
