For the Best Results, Use the Latest Version.
-
Preparations for Mac
-
Account (Mac)
-
Get Started & Basic Settings (Mac)
- Release notes for Mac
- Latest Versions and Features for Mac
- Get Started on Mac - Full Guide
- Download/register/uninstall on Mac
- Panel Layout on Mac
- Keyboard shortcuts on Mac
- Touchbar on Mac
- Change playback quality on Mac
- Render preview files on Mac
- Manage Timeline on Mac
- Media for use on Mac
- Logo Reveal For Mac
- Marked Favorites for Mac
-
Compatibility & Tech Specs (Mac)
-
Performance Settings (Mac)
-
-
Creating Projects - Mac
-
Creating New Projects (Mac)
-
-
Importing & Recording - Mac
-
Importing (Mac)
-
Recording (Mac)
-
-
Video Editing for Mac
-
Basic Video Editing for Mac
- Edit Live Photos on Mac
- Enable/Disable Clip for Mac
- Magnetic Timeline For Mac
- Dual Monitor Setup for Video Editing on Mac
- Select All Clips on Timeline for Mac
- Auto Ripple for Mac
- Split & cut videos on Mac
- Compositing on Mac
- Crop and zoom on Mac
- Playback Zoom Level for Mac
- Change speed on Mac
- Play video in reverse on Mac
- Mark In and Mark Out for Mac
- Markers for Mac
- Group clips on Mac
- Customized Backgrounds for Videos and Images in Mac
- Video snapshot on Mac
- Freeze frame on Mac
- Auto enhance on Mac
- Applying Drop Shadow for Mac
- Adjustment Layer for Mac
- Mark clip on Mac
- Video Editing Ruler – Mac
- Apply Transforming for Mac
-
Advanced Video Editing for Mac
-
AI-Powered Video Editing for Mac
- Smart Scene Cut for Mac
- Smart Short Clips for Mac
- Image to Video for Mac
- AI Idea to Video for Mac
- AI Text-to-Video for Mac
- Instant Cutter Tool on Mac
- AI Face Mosaic for Mac
- Keyframe Path Curve for Mac
- Planar Tracking for Mac
- AI Extend For Mac
- AI Script-to-Video for Mac
- AI Text-Based Editing in Mac
- Create With Instant Mode on Mac
- ChatGPT Plugin - AI Copywriting on Mac
- AI Smart Cutout for Mac
- Auto reframe on Mac
- Lens correction on Mac
- AI Portrait Cutout on Mac
- Scene detection on Mac
- AI Smart Masking for Mac
- AI Mate Editing for Mac
- Motion Tracking on Mac
- Stabilize video on Mac
- AI Object Remover For Mac
- AI Smart Search for Mac
- AI Skin Tone Protection for Mac
- Green screen on Mac
- Super Slow Motion with Optical Flow for Mac
- AI stylizer on Mac
- Video Denoise for Mac
-
-
Audio Editing for Mac
-
Basic Audio Editing for Mac
-
Advanced Audio Editing for Mac
-
AI-Powered Audio Editing for Mac
- Audio To Video for Mac
- AI Sound Effect for Mac
- Smart BGM Generation for Mac
- AI Voice Enhancer for Mac
- Audio Stretch for Mac
- AI Audio Denoise for Mac
- Auto synchronization for Mac
- AI Vocal Remover for Mac
- Auto Beat Sync on Mac
- AI Music Generator for Mac
- How to Perform AI Voice Cloning in Wondershare Filmora?
- Silence detection on Mac
-
-
Text Editing for Mac
-
Basic Text Editing for Mac
-
Advanced Text Editing for Mac
-
AI-Powered Text Editing for Mac
-
-
Video Customizations for Mac
-
Video Effects (Mac)
-
Audio Effects (Mac)
-
Transitions (Mac)
-
Stickers (Mac)
-
Filters (Mac)
-
Color Editing (Mac)
-
Animations (Mac)
-
Templates (Mac)
-
Asset Center (Mac)
-
-
Exporting & Share & Cloud Backup - Mac
Source & Timeline Preview Editing Mac
Filmora's new Source and Timeline Preview Editing feature revolutionizes dual-screen workflows by introducing a dedicated "Source Monitor" alongside the existing "Timeline Monitor." This update allows for simultaneous, independent previewing of media assets and timeline sequences.
In Filmora, you can keep the Source Monitor in the main window for reviewing and editing raw footage, while placing the Timeline Monitor on a second screen for a full-screen view of your final project. When you select an asset from the media library, its preview appears in the Source Monitor. Dragging that asset to the timeline will show its final effect in real-time within the Timeline Monitor. This professional-grade setup boosts productivity and immersion, giving you full control over your media and editing process.
Upon reading this guide, you will learn how to utilize the Source and Timeline Preview Editing feature:
Overview of Source and Timeline Preview Editing
Filmora introduces a revolutionary dual-monitor system: the Source Monitor and the Timeline Monitor. The Source Monitor is dedicated to previewing raw footage and various assets (like effects and transitions) from your media library, allowing you to quickly review content before applying it. The Timeline Monitor, on the other hand, displays the final edited result on your timeline in real-time, ensuring you have complete control over your project's output. This innovative design, with its independent preview windows, significantly streamlines the editing workflow, boosting efficiency and enhancing the user experience.
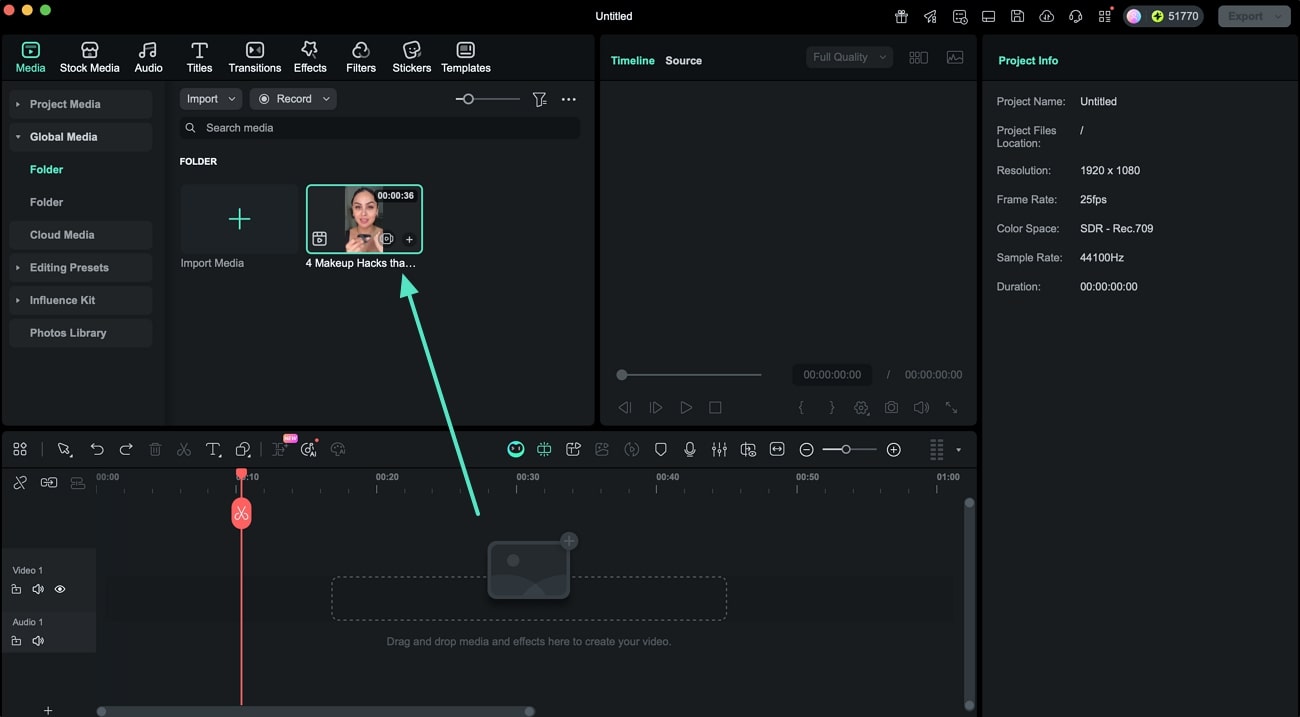
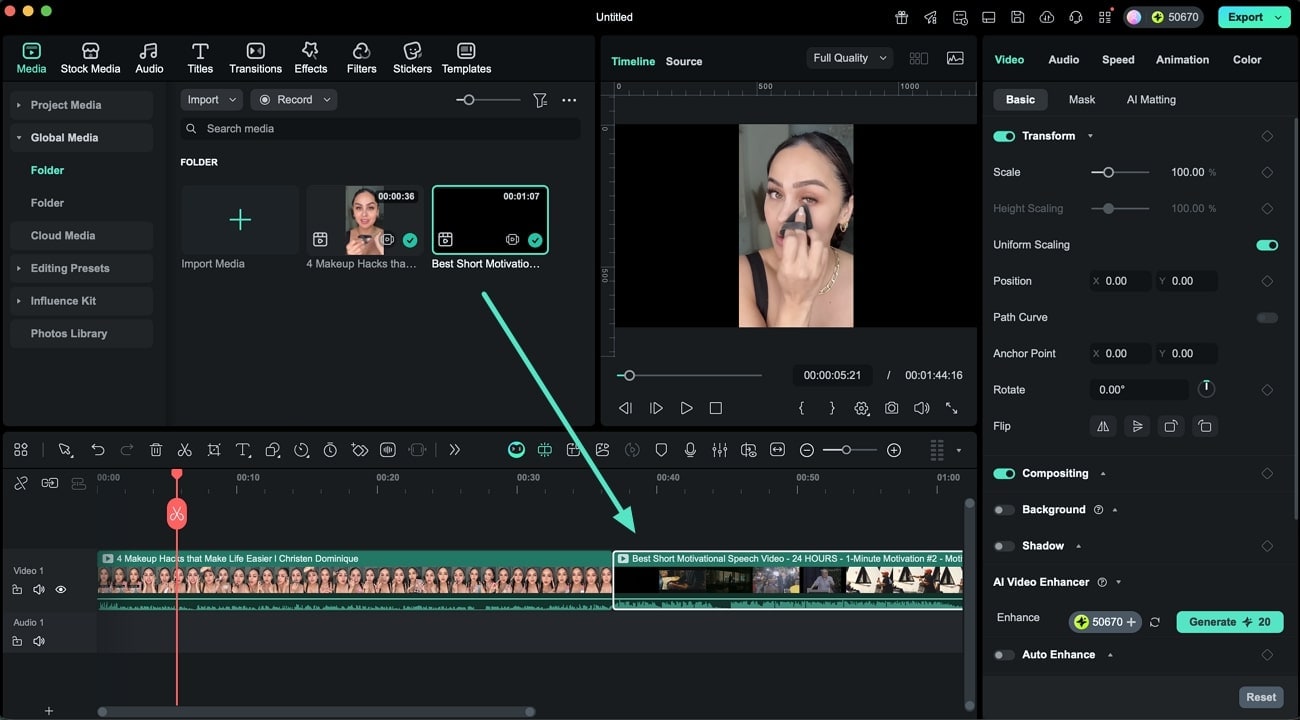
Step 1: Import the Clips to Filmora's Interface
Begin the process by launching Filmora on your device and creating a new project. Next, import all the clips you want to edit simultaneously into the tool's interface and drag them to the editing timeline.
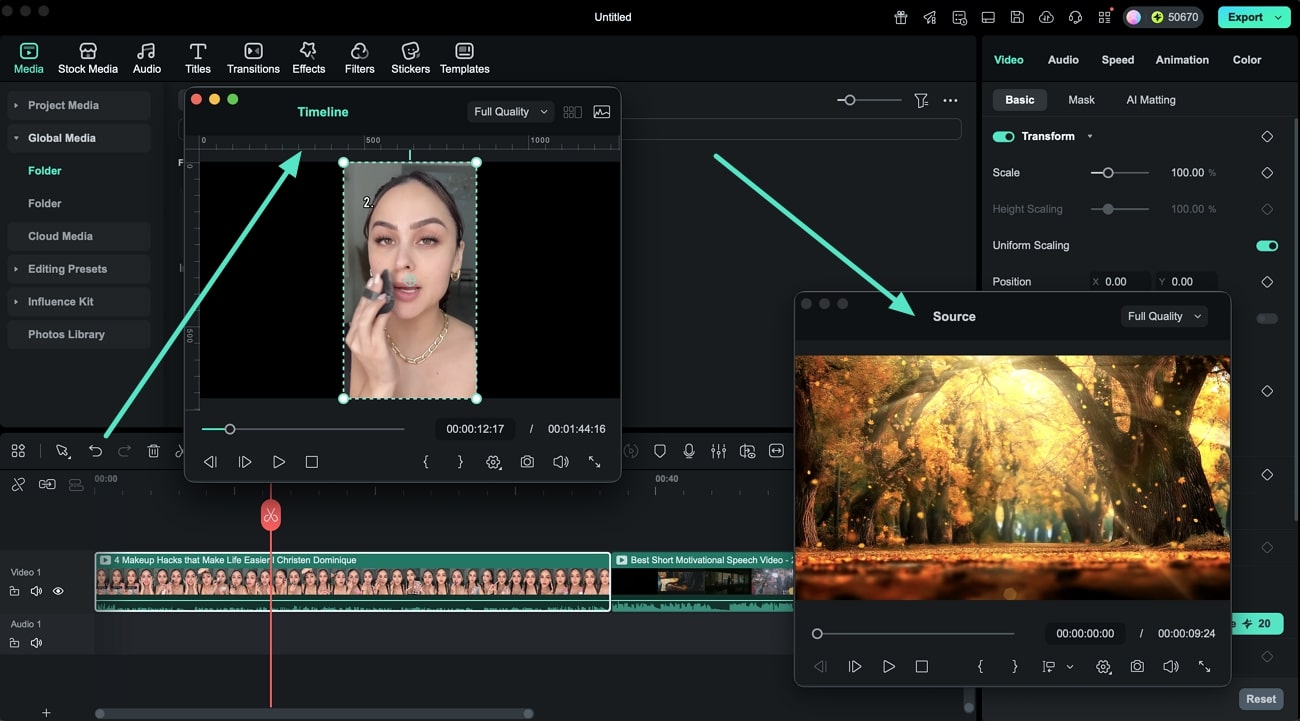
Step 2: Move the Timeline Window
Now head to the preview section and drag the Timeline section and place wherever you want within the interface.
Step 3: Move the Source Window
Next, drag the Source window and place it within the interface to place according to your preferences.
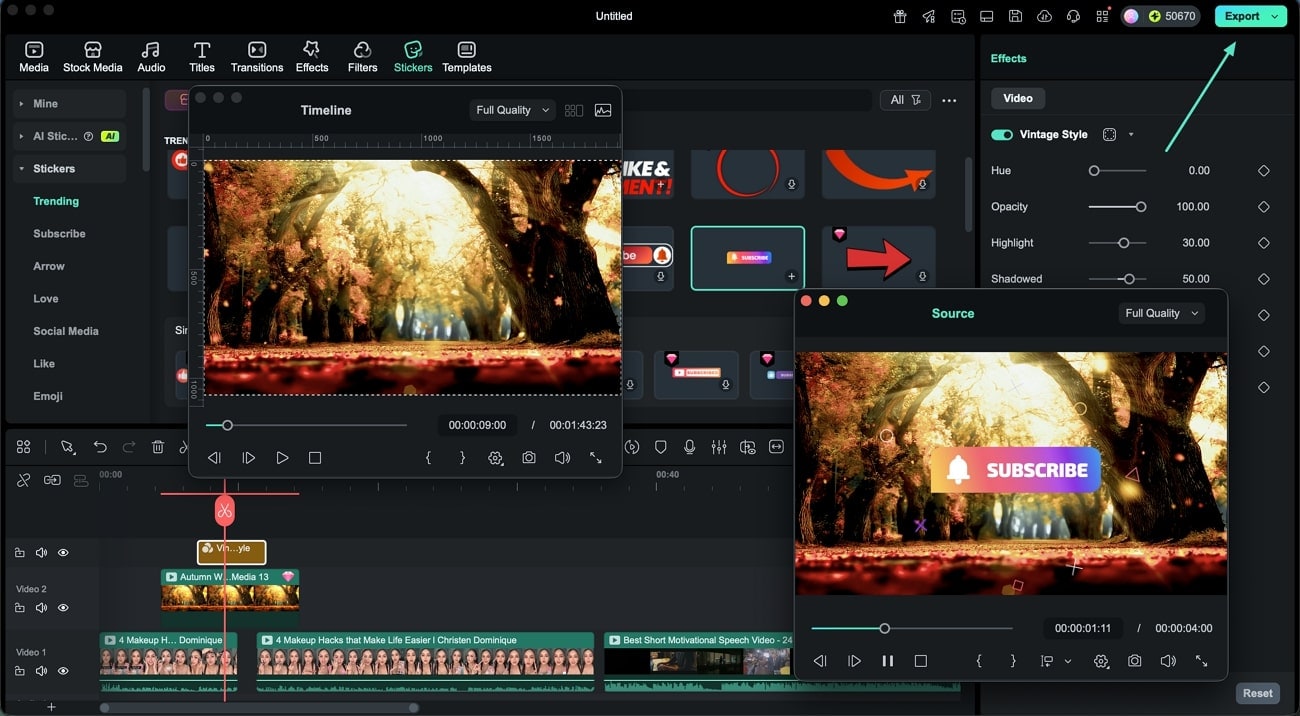
Step 4: Preview and Edit Windows Simultaneously
Once you have positioned both windows to your preferences, you can edit the videos using the provided options, such as viewing the Video Scopes and changing the Aspect Ratio. You can also apply assets and preview their results in the Source Monitor. If you wish to include an asset or effect in the final result, drag it onto the Timeline. The results will then be visible for preview in the Timeline Monitor, and you can proceed to export the file using the button in the top-right corner.
Related Posts
Featured Articles
Audio Effects for Premiere Pro: 5 Essential Techniques + Easier Alternative (2025)
Looking for a tool to give your video's audio a creative flair? Read this article to learn how to apply audio effects on Premiere Pro and its alternatives.
AI Christmas: Making Your Christmas Special [Mobile & Desktop]
Discover how AI can make your Christmas unforgettable this season! Explore the best AI Christmas tool for mobile and desktop to create a magical experience.
Transform Your Content: 10 Best Thumbnail Maker Apps
Want to make your content more engaging and reach the target audience? Discover the top ten thumbnail-maker apps and watch your experience transform.
Recommended User Guide
Split & cut videos on Mac
Editing videos on macOS can eb very easy for everyone. Learn how to use Filmora to split and cut videos.
Auto enhance on Mac
To improve the video quality and visual effect, you can use auto enhance. This guide will show you how to use Filmora to adjust auto enhance.
Playback Zoom Level for Mac
Filmora is a professional video editing software with many editing features working together at the backend.
