For the Best Results, Use the Latest Version.
-
Preparations for Mac
-
Account (Mac)
-
Get Started & Basic Settings (Mac)
- Release notes for Mac
- Latest Versions and Features for Mac
- Get Started on Mac - Full Guide
- Download/register/uninstall on Mac
- Panel Layout on Mac
- Keyboard shortcuts on Mac
- Touchbar on Mac
- Change playback quality on Mac
- Render preview files on Mac
- Manage timeline on Mac
- Media for use on Mac
- Logo Reveal For Mac
- Marked Favorites for Mac
-
Compatibility & Tech Specs (Mac)
-
Performance Settings (Mac)
-
-
Creating Projects - Mac
-
Creating New Projects (Mac)
-
-
Importing & Recording - Mac
-
Importing (Mac)
-
Recording (Mac)
-
-
Video Editing for Mac
-
Basic Video Editing for Mac
- Edit Live Photos on Mac
- Enable/Disable Clip for Mac
- Magnetic Timeline For Mac
- Select All Clips on Timeline for Mac
- Auto Ripple for Mac
- Split & cut videos on Mac
- Compositing on Mac
- Crop and zoom on Mac
- Playback Zoom Level for Mac
- Change speed on Mac
- Play video in reverse on Mac
- Mark In and Mark Out for Mac
- Markers for Mac
- Group clips on Mac
- Customized Backgrounds for Videos and Images in Mac
- Video snapshot on Mac
- Freeze frame on Mac
- Auto enhance on Mac
- Applying Drop Shadow for Mac
- Adjustment Layer for Mac
- Mark clip on Mac
- Video Editing Ruler – Mac
- Apply Transforming for Mac
-
Advanced Video Editing for Mac
-
AI-Powered Video Editing for Mac
- Smart Scene Cut for Mac
- Smart Short Clips for Mac
- Image to Video for Mac
- AI Idea to Video for Mac
- AI Text-to-Video for Mac
- Instant Cutter Tool on Mac
- AI Face Mosaic for Mac
- Keyframe Path Curve for Mac
- Planar Tracking for Mac
- AI Extend For Mac
- AI Script-to-Video for Mac
- AI Text-Based Editing in Mac
- Create With Instant Mode on Mac
- ChatGPT Plugin - AI Copywriting on Mac
- AI Smart Cutout for Mac
- Auto reframe on Mac
- Lens correction on Mac
- AI Portrait Cutout on Mac
- Scene detection on Mac
- AI Smart Masking for Mac
- AI Mate Editing for Mac
- Motion Tracking on Mac
- Stabilize video on Mac
- AI Object Remover For Mac
- AI Smart Search for Mac
- AI Skin Tone Protection for Mac
- Green screen on Mac
- Super Slow Motion with Optical Flow for Mac
- AI stylizer on Mac
- Video Denoise for Mac
-
-
Audio Editing for Mac
-
Basic Audio Editing for Mac
-
Advanced Audio Editing for Mac
-
AI-Powered Audio Editing for Mac
- Audio To Video for Mac
- AI Sound Effect for Mac
- Smart BGM Generation for Mac
- AI Voice Enhancer for Mac
- Audio Stretch for Mac
- AI Audio Denoise for Mac
- Auto synchronization for Mac
- AI Vocal Remover for Mac
- Auto Beat Sync on Mac
- AI Music Generator for Mac
- How to Perform AI Voice Cloning in Wondershare Filmora?
- Silence detection on Mac
-
-
Text Editing for Mac
-
Basic Text Editing for Mac
-
Advanced Text Editing for Mac
-
AI-Powered Text Editing for Mac
-
-
Video Customizations for Mac
-
Video Effects (Mac)
-
Audio Effects (Mac)
-
Transitions (Mac)
-
Stickers (Mac)
-
Filters (Mac)
-
Color Editing (Mac)
-
Animations (Mac)
-
Templates (Mac)
-
Asset Center (Mac)
-
-
Exporting & Share & Cloud Backup - Mac
Wondershare Drive Basic information on Mac
This guide teaches you how to co-create your video with your friends, clients, or colleagues in Filmora workspace.
Filmora workspace is an online platform that allows you to receive comments from others after sending them a link with some permissions. Also, you can leave a comment on other people's videos.
Index
Usage Scenario
As a video designer, you might sometimes feel confused about how to improve some parts of your video. Now, a solution comes as Filmora workspace offers you a co-creation platform. Here you can share the link created automatically with some people, inviting them to give some feedback and modify the clip accordingly.
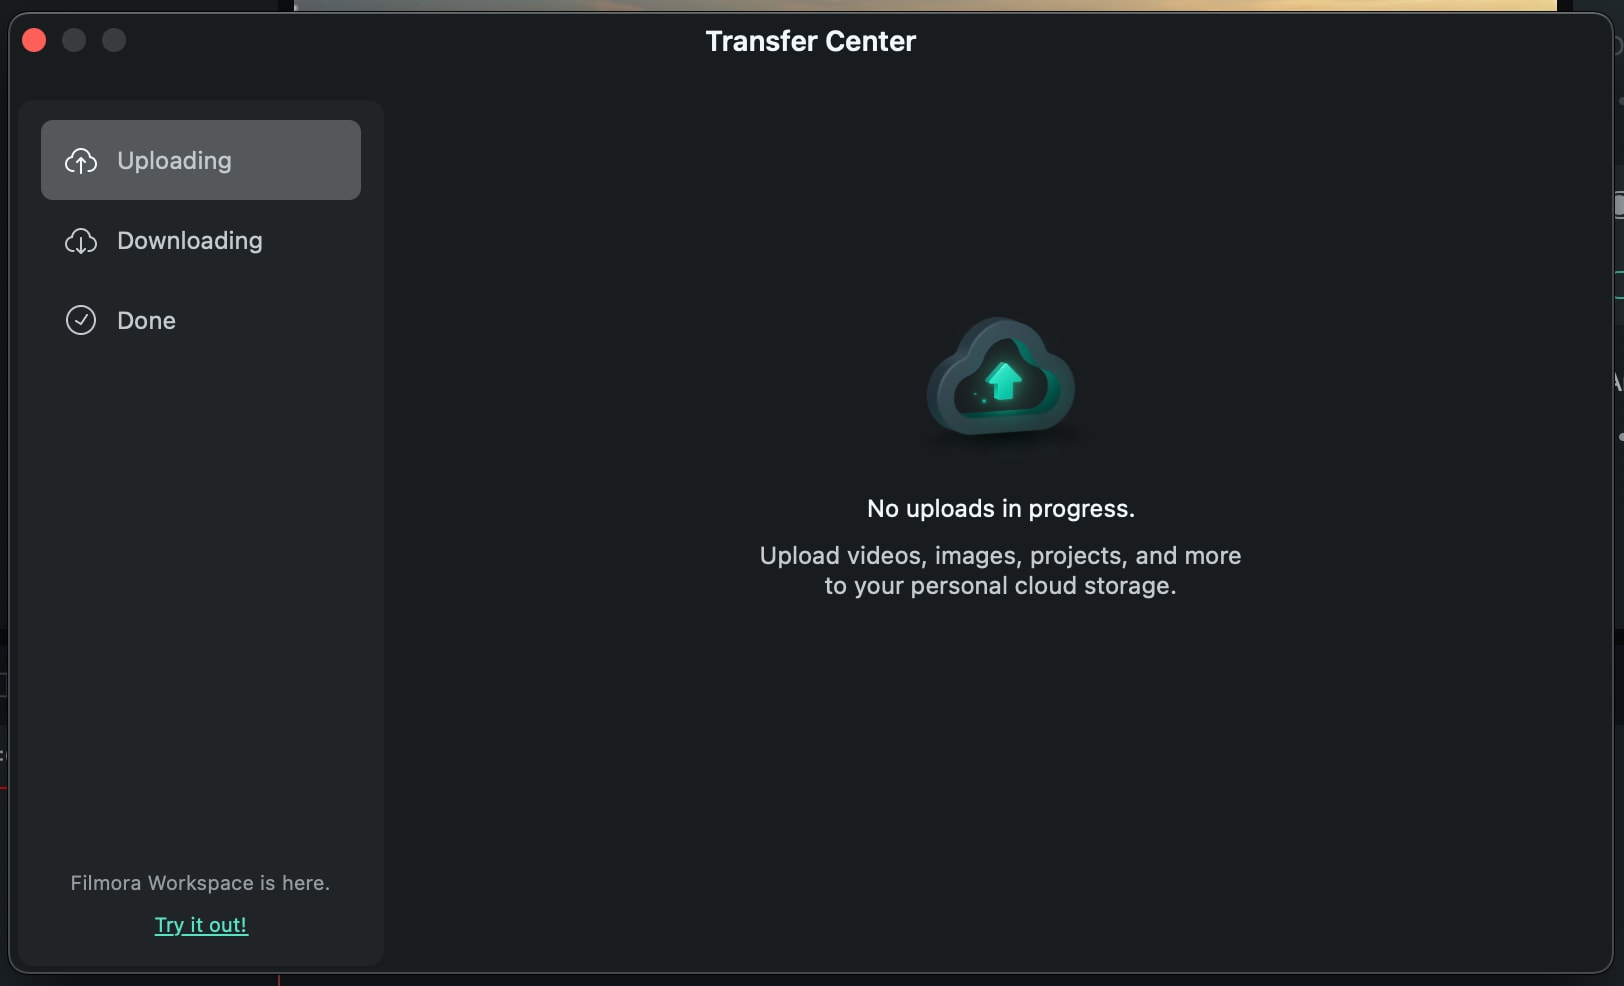
Workspace Interface
The following contents are about the features you can see in the workspace interface.
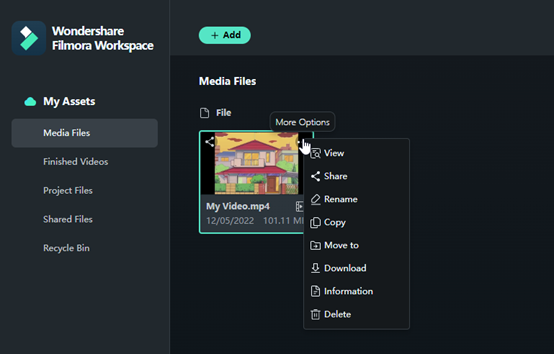
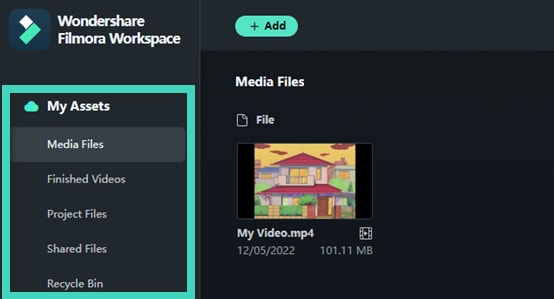
Media Files
Media Files is the place where your videos will be displayed. You can drag or drop a file from your computer to this section.
After that, right-click the video you need, then you are allowed to View, Share, Rename, Download, or see its Details.
Notes:
Then, you can share it with friends or comment on others' clips.
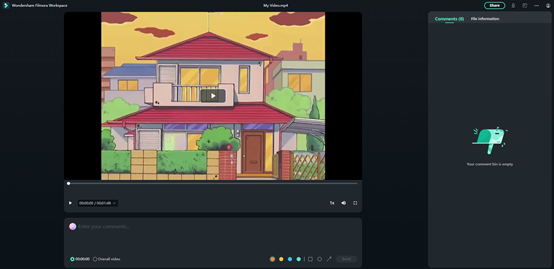
- View
This feature is where to comment on the video. Comments can be made based on the exact time of the video or the Overall video. Not only can you send your own opinions, but you can also view your friends' feedback from whom you have sent the link.
Finished Videos
This section is to show your exported videos uploaded in Filmora.
Project Files
Here is to show the project files that you've uploaded to Filmora.
Shared Files
All the recordings of your shared videos will appear here. You can view these videos, copy the link again, or change the settings of the link if you need.
Recycle Bin
If you've carelessly deleted a video, you can find and restore it in the Recycle Bin.
How Does Cloud Backup Help with Sharing?
❶ It could be troublesome to carry external storage when you need to edit your video projects on a new computer or share them with your colleagues.
❷ With cloud backup, you can upload the file to Wondershare Drive and download it anywhere, anytime to continue editing or share the project file with your friends/colleagues for them to add their creative thoughts.
Related Posts
Featured Articles
How to Embed A Video In An Email - 4 Proven Methods📧
Learn how to send a video in emails and embed them effectively. Use video in email marketing to boost your brand, connect with your audience, and expand your reach to more people.
Best Bokeh Effects Apps for iOS and Android in 2025
How do you get the bokeh effect app? Here are some of the best Bokeh apps for the iPhone and Android.
10 Must-Try Free and Paid Online Voice Recorders
Discover the ten best online voice recorders for every budget. Find your perfect tool to effortlessly capture high-quality sound.
Recommended User Guide
Wondershare Drive on Mac
Wondershare Drive is a cloud storage for work and content creators. You can safely store and share photos, videos, files and other contents without the device limitation.
