For the Best Results, Use the Latest Version.
-
Preparations for Mac
-
Account (Mac)
-
Get Started & Basic Settings (Mac)
- Release notes for Mac
- Latest Versions and Features for Mac
- Get Started on Mac - Full Guide
- Download/register/uninstall on Mac
- Panel Layout on Mac
- Keyboard shortcuts on Mac
- Touchbar on Mac
- Change playback quality on Mac
- Render preview files on Mac
- Manage timeline on Mac
- Media for use on Mac
- Logo Reveal For Mac
- Marked Favorites for Mac
-
Compatibility & Tech Specs (Mac)
-
Performance Settings (Mac)
-
-
Creating Projects - Mac
-
Creating New Projects (Mac)
-
-
Importing & Recording - Mac
-
Importing (Mac)
-
Recording (Mac)
-
-
Video Editing for Mac
-
Basic Video Editing for Mac
- Edit Live Photos on Mac
- Enable/Disable Clip for Mac
- Magnetic Timeline For Mac
- Select All Clips on Timeline for Mac
- Auto Ripple for Mac
- Split & cut videos on Mac
- Compositing on Mac
- Crop and zoom on Mac
- Playback Zoom Level for Mac
- Change speed on Mac
- Play video in reverse on Mac
- Mark In and Mark Out for Mac
- Markers for Mac
- Group clips on Mac
- Customized Backgrounds for Videos and Images in Mac
- Video snapshot on Mac
- Freeze frame on Mac
- Auto enhance on Mac
- Applying Drop Shadow for Mac
- Adjustment Layer for Mac
- Mark clip on Mac
- Video Editing Ruler – Mac
- Apply Transforming for Mac
-
Advanced Video Editing for Mac
-
AI-Powered Video Editing for Mac
- Smart Scene Cut for Mac
- Smart Short Clips for Mac
- Image to Video for Mac
- AI Idea to Video for Mac
- AI Text-to-Video for Mac
- Instant Cutter Tool on Mac
- AI Face Mosaic for Mac
- Keyframe Path Curve for Mac
- Planar Tracking for Mac
- AI Extend For Mac
- AI Script-to-Video for Mac
- AI Text-Based Editing in Mac
- Create With Instant Mode on Mac
- ChatGPT Plugin - AI Copywriting on Mac
- AI Smart Cutout for Mac
- Auto reframe on Mac
- Lens correction on Mac
- AI Portrait Cutout on Mac
- Scene detection on Mac
- AI Smart Masking for Mac
- AI Mate Editing for Mac
- Motion Tracking on Mac
- Stabilize video on Mac
- AI Object Remover For Mac
- AI Smart Search for Mac
- AI Skin Tone Protection for Mac
- Green screen on Mac
- Super Slow Motion with Optical Flow for Mac
- AI stylizer on Mac
- Video Denoise for Mac
-
-
Audio Editing for Mac
-
Basic Audio Editing for Mac
-
Advanced Audio Editing for Mac
-
AI-Powered Audio Editing for Mac
- Audio To Video for Mac
- AI Sound Effect for Mac
- Smart BGM Generation for Mac
- AI Voice Enhancer for Mac
- Audio Stretch for Mac
- AI Audio Denoise for Mac
- Auto synchronization for Mac
- AI Vocal Remover for Mac
- Auto Beat Sync on Mac
- AI Music Generator for Mac
- How to Perform AI Voice Cloning in Wondershare Filmora?
- Silence detection on Mac
-
-
Text Editing for Mac
-
Basic Text Editing for Mac
-
Advanced Text Editing for Mac
-
AI-Powered Text Editing for Mac
-
-
Video Customizations for Mac
-
Video Effects (Mac)
-
Audio Effects (Mac)
-
Transitions (Mac)
-
Stickers (Mac)
-
Filters (Mac)
-
Color Editing (Mac)
-
Animations (Mac)
-
Templates (Mac)
-
Asset Center (Mac)
-
-
Exporting & Share & Cloud Backup - Mac
Advanced Text Edit for Mac
Filmora elevates the text in your videos through its remarkable Advanced Text feature, allowing users to elevate text in diverse ways. This functionality allows users to apply diverse animations and present their textual elements while accessing further customizations. To access and harness this feature, see the guide below:
Employing the Advanced Text Edit
Here are the step-by-step instructions to start and employ Advanced Text Edit crafted below:
Method 1: Via Timeline Toolbar
Step 1: Initiate a New Project and Access the Quick Text Option
After launching the Filmora software on your device, click the "New Project" option located on its main display. Upon entry into Filmora's editing interface, direct your mouse toward the timeline toolbar and discover the "T" icon. Click upon any of the options presented within its dropdown menu.
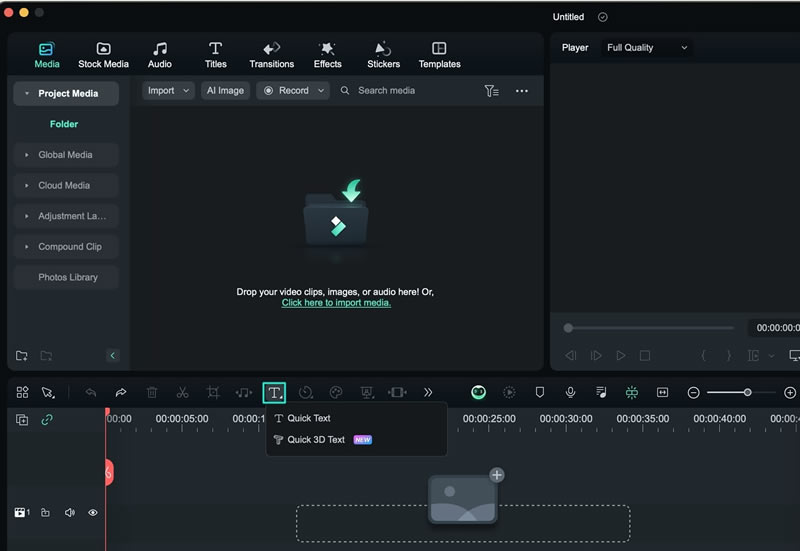
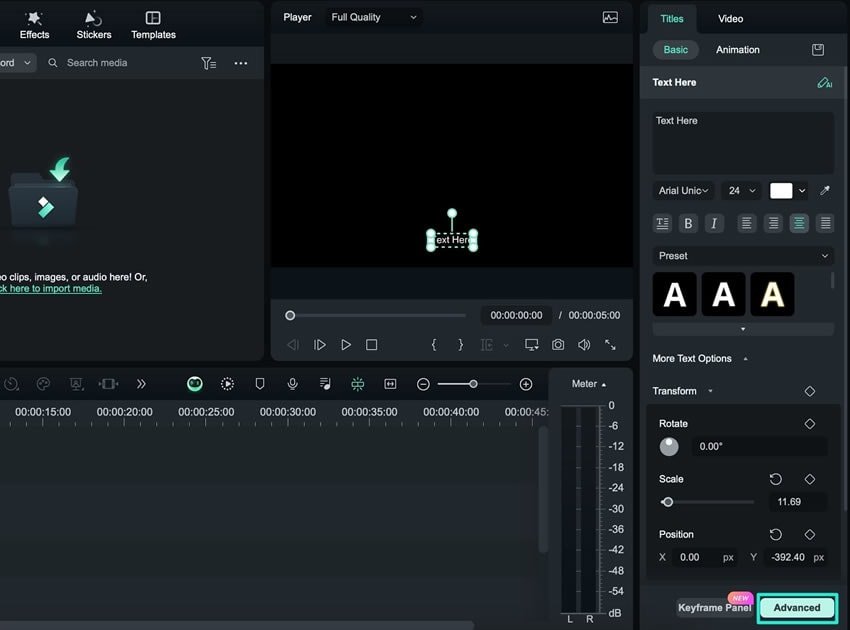
Step 2: Access the Advanced Text Edit Function
On enabling "Quick Text", a title will be added to your timeline. Select this title, navigate towards the settings panel, and select the "Advanced" option at the bottom.
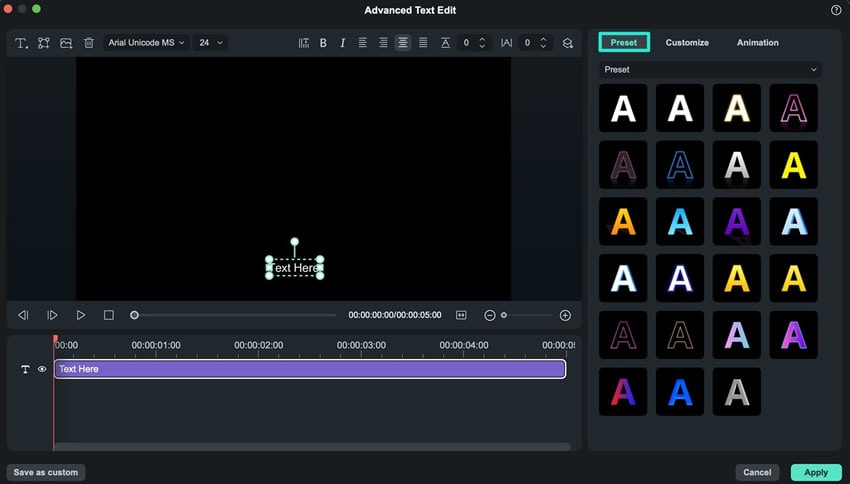
Step 3: Start Editing in the Presets Tab
In the Advanced Text Editing window, select the "Preset" tab from the right-side panel and apply an appropriate preset to your textual creation.
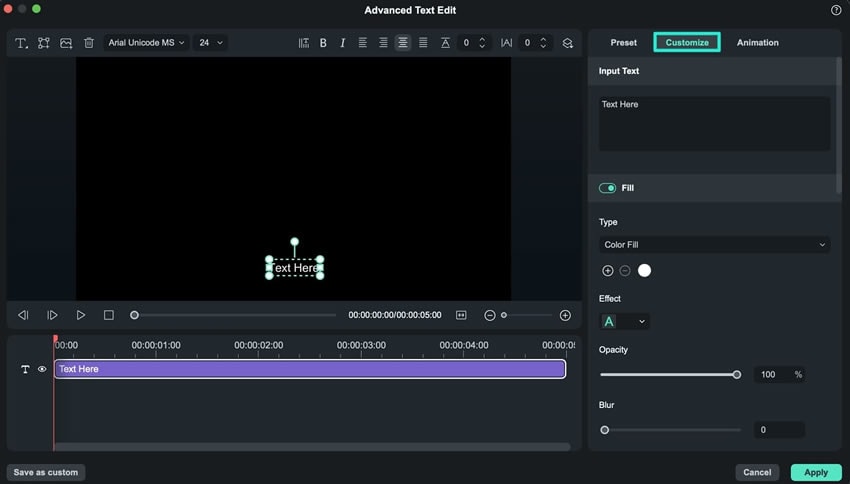
Step 4: Customizing the Text Elements
Following this, go to the right-side panel and select the "Customize" tab. Under this tab, a multitude of customizations become available, including text "Fill", "Gradient", "Opacity", and more.
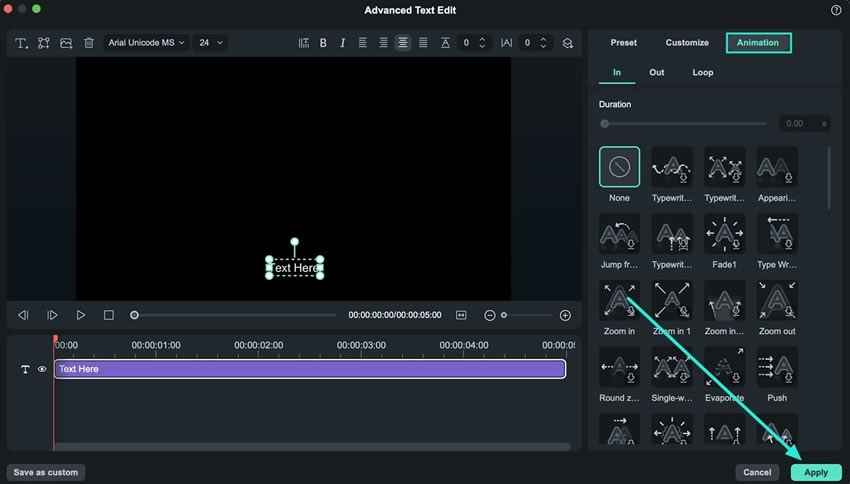
Step 5: Infusing Animations into Your Text and Saving
Upon accessing the "Animation" tab within this window, users have the opportunity to download and apply a diverse array of animations to elevate the visual appeal of the text. After the completion of your editing journey, click the "Apply" button to save and add these enhancements to the timeline. In there, you are free to apply additional effects or refinements as desired.
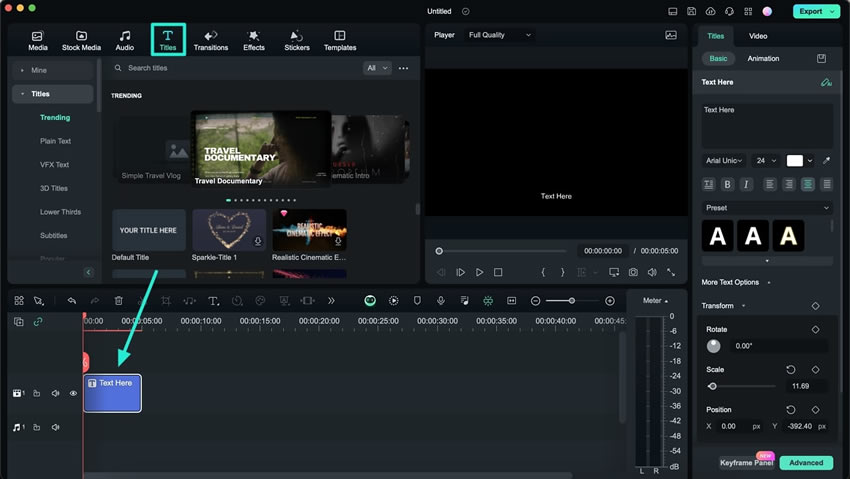
Method 2: Via Custom Toolbar
Within the Filmora interface, navigate to the "Title" tab in the custom toolbar and choose any desired title. Then, employ the drag-and-drop technique to position the chosen title onto the timeline panel. Once you select this title in the timeline, go to the settings panel at the left, locate the "Advanced" option, and click it to unveil the Advanced Text Edit Window.
Related Posts
Featured Articles
Find and Create Happy Birthday Cat GIFs
It is always fun to send birthday GIFs to friends as it gives more excitement and impressions. You can also go for happy birthday cat GIFs or create your own GIFs to send to your loved ones.
Spooky Halloween Font Resources for Designers: Top Picks
Are you excited about Halloween? It's time to enrich your content with scary Halloween fonts and effects to engage more audiences.
Top 5 Color Grading Photography Software & How to Use It
color grading photography,color grading in photography,grading photography,color grading for photos
Recommended User Guide
How To Use Audio-Driven Text Effects in Wondershare Filmora on Mac
Filmora has recently introduced a category of Audio Driven Text. Find out how this improves the overall quality of the video.
How to Apply the Curved Text Feature in Wondershare Filmora?
Do you want to apply different effects to your video titles? Find out how the curved text function in Wondershare Filmora helps achieve a good look.
