For the Best Results, Use the Latest Version.
-
Preparations for Mac
-
Account (Mac)
-
Get Started & Basic Settings (Mac)
- Release notes for Mac
- Latest Versions and Features for Mac
- Get Started on Mac - Full Guide
- Download/register/uninstall on Mac
- Panel Layout on Mac
- Keyboard shortcuts on Mac
- Touchbar on Mac
- Change playback quality on Mac
- Render preview files on Mac
- Manage Timeline on Mac
- Media for use on Mac
- Logo Reveal For Mac
- Marked Favorites for Mac
-
Compatibility & Tech Specs (Mac)
-
Performance Settings (Mac)
-
-
Creating Projects - Mac
-
Creating New Projects (Mac)
-
-
Importing & Recording - Mac
-
Importing (Mac)
-
Recording (Mac)
-
-
Video Editing for Mac
-
Basic Video Editing for Mac
- Edit Live Photos on Mac
- Enable/Disable Clip for Mac
- Magnetic Timeline For Mac
- Dual Monitor Setup for Video Editing on Mac
- Select All Clips on Timeline for Mac
- Auto Ripple for Mac
- Split & Cut Videos on Mac
- Compositing on Mac
- Crop and zoom on Mac
- Playback Zoom Level for Mac
- Change Speed on Mac
- Play Video in Reverse on Filmora for Mac
- Mark In and Mark Out for Mac
- Markers for Mac
- Group Clips in Filmora for Mac
- Customized Backgrounds for Videos and Images in Mac
- Video snapshot on Mac
- Freeze Frame on Mac
- Auto enhance on Mac
- Applying Drop Shadow for Mac
- Adjustment Layer for Mac
- Mark Clips in Filmora for Mac
- Video Editing Ruler – Mac
- Apply Transforming for Mac
-
Advanced Video Editing for Mac
- Text Animation Path for Mac
- Create Multi-Camera Clip for Mac
- Filmora Motion Blur | Mac
- Drawing Tools for Mac | Filmora Guide
- Compound Clips for Mac
- AI Video Enhancer for Mac
- Filmora Flicker Removal Guide | Mac
- Multi-Clip Editing for Mac
- Keyframe Graph Editor for Mac
- Add Animation Keyframing in Filmora for Mac
- Mask on Mac
- PIP (Picture in Picture) in Filmora on Mac
-
AI-Powered Video Editing for Mac
- Smart Scene Cut for Mac
- Smart Short Clips for Mac
- Filmora AI Eye Contact - Mac
- Filmora Image to Video for Mac
- AI Idea to Video for Mac
- AI Text-to-Video for Mac
- Instant Cutter Tool on Mac
- AI Face Mosaic for Mac
- Filmora Image to Prompt for Mac
- Keyframe Path Curve for Mac
- Filmora AI Image Enhancer Guide – macOS
- Planar Tracking for Mac
- Filmora AI Relight - Mac
- AI Extend For Mac
- AI Script-to-Video for Mac
- AI Text-Based Editing in Mac
- Create With Instant Mode on Mac
- ChatGPT Plugin - AI Copywriting on Mac
- AI Smart Cutout in Filmora for Mac
- Auto reframe on Mac
- Lens Correction in Filmora for Mac
- AI Portrait Cutout on Mac
- Scene detection on Mac
- AI Smart Masking for Mac
- AI Mate Editing for Mac
- Motion Tracking on Mac
- Video Stabilization for Mac
- AI Object Remover For Mac
- AI Smart Search for Mac
- AI Skin Tone Protection for Mac
- Green screen on Mac
- Super Slow Motion with Optical Flow for Mac
- AI Stylizer for Mac
- Video Denoise for Mac
-
-
Audio Editing for Mac
-
Basic Audio Editing for Mac
-
Advanced Audio Editing for Mac
-
AI-Powered Audio Editing for Mac
- Audio To Video for Mac
- AI Sound Effect for Mac
- Smart BGM Generation on Mac
- AI Voice Enhancer for Mac
- Audio Stretch for Mac
- AI Audio Denoise for Mac
- Auto Synchronization on Mac
- AI Vocal Remover for Mac
- AI Auto Beat Sync for Mac
- AI Music Generator for Mac
- AI Voice Cloning on Mac
- Silence Detection on Mac
-
-
Text Editing for Mac
-
Basic Text Editing for Mac
-
Advanced Text Editing for Mac
-
AI-Powered Text Editing for Mac
-
-
Video Customizations for Mac
-
Video Effects (Mac)
-
Audio Effects (Mac)
-
Transitions (Mac)
-
Stickers (Mac)
-
Filters (Mac)
-
Color Editing (Mac)
-
Animations (Mac)
-
Templates (Mac)
-
Asset Center (Mac)
-
-
Exporting & Share & Cloud Backup - Mac
Filmora Dynamic Captions for Mac
Filmora for Mac offers a powerful feature called Dynamic Captions, designed to automatically generate animated, stylized text captions synchronized with the spoken words in your videos. This technology leverages AI to convert speech into vibrant, engaging captions that not only improve accessibility but also enhance viewer engagement by highlighting the word currently being spoken.
With customizable fonts, sizes, and styles, you can tailor the captions to perfectly match your video's aesthetic, making your content more professional and visually appealing. Filmora provides two main ways to create these dynamic captions using AI: "Speech to Text" and "Dynamic Captions". Both methods streamline caption creation while offering flexible styling and export options to suit various needs.
Method 1: Speech to Text
This approach uses advanced speech recognition technology to transform spoken audio into highly accurate text captions. Users also get the ability to add various customization and variations to the generated subtitles using the intuitive interface of Filmora:
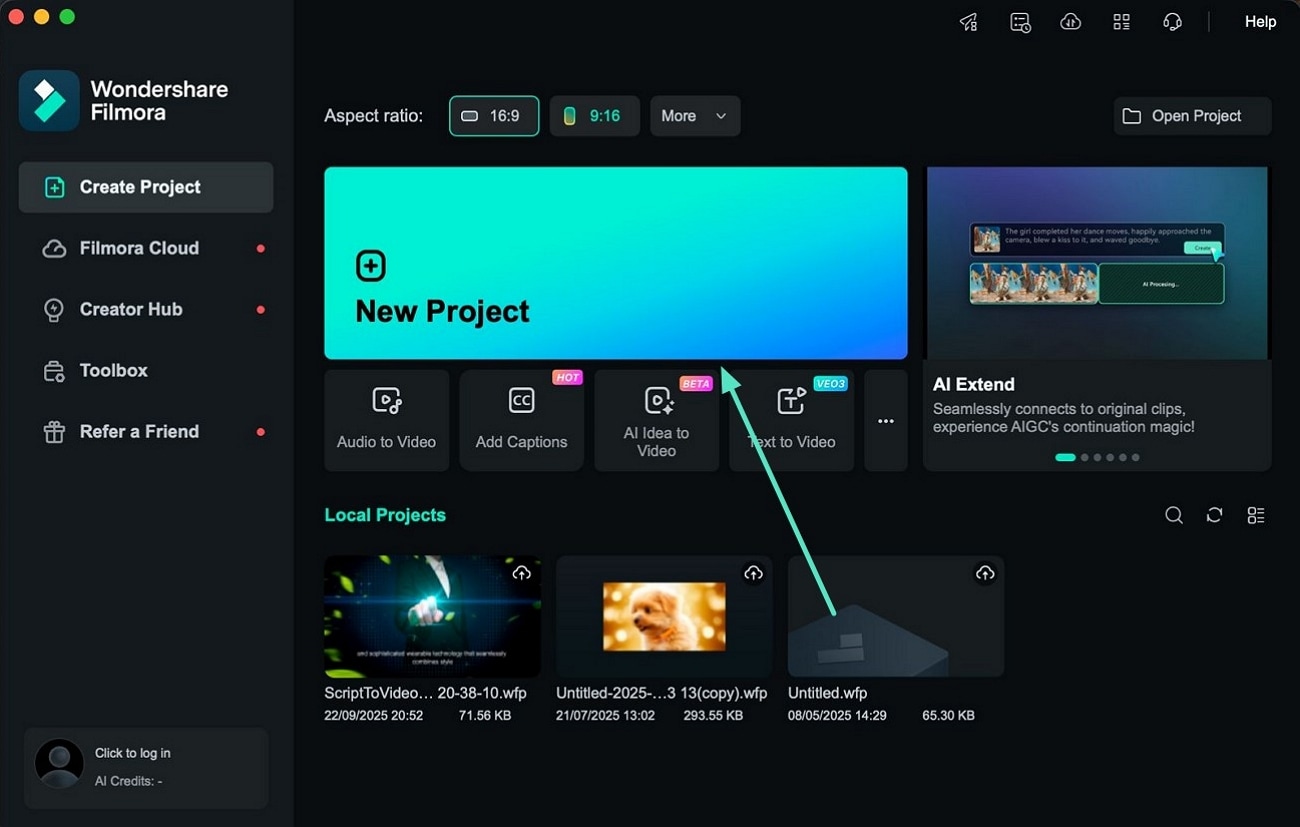
Step 1. Create a New Project and Import Your Video
Start by opening Filmora on your Mac and selecting the "New Project" option from the start page. Import the video you want to caption by dragging and dropping it onto the editing timeline to set up your workspace.
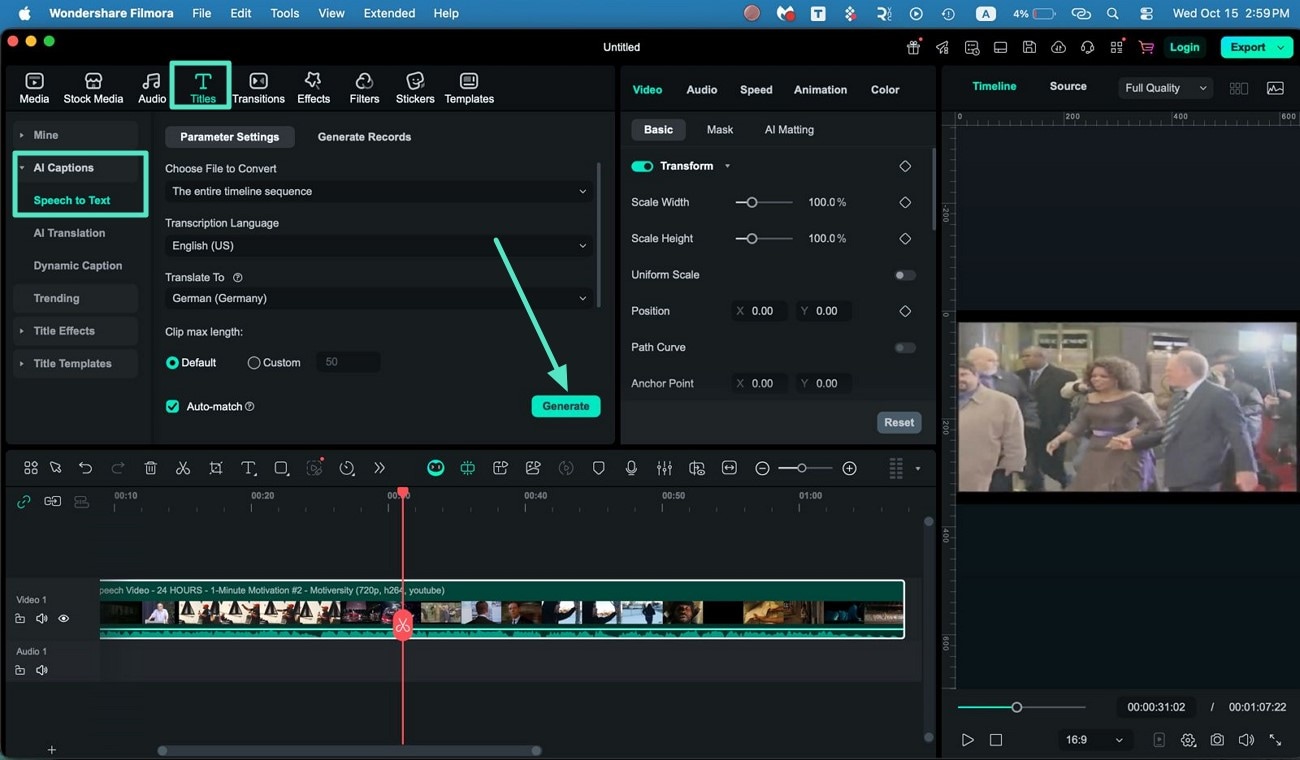
Step 2. Access the Speech to Text Feature
Navigate to the "Title" menu at the top of the interface, then select "Speech to Text". Here, choose your preferred language for transcription and select the output format that fits your needs. Click the "Generate" button to begin converting speech to text automatically.
Step 3. Customize the Captions
Once Filmora processes your video, double-click on the caption track to open the text editing panel. Adjust the captions' font style, size, and color according to your preferences. Filmora also lets you apply these changes to all captions at once by clicking "Apply to All", ensuring consistent styling throughout.

Step 4. Add Animation to Your Captions
To make your captions lively and dynamic, enable the "Animation" tab. Choose from a wide array of animation presets and apply your selection to the entire caption set with the "Apply to All" button. Once satisfied, export the video by clicking the "Export" button located at the top-right corner of your screen.

Method 2: Dynamic Captions
Unlike the manual Speech to Text method, the Dynamic Captions feature automatically detects spoken words and creates real-time animated text captions that highlight the word currently being spoken, providing a more immersive viewing experience.
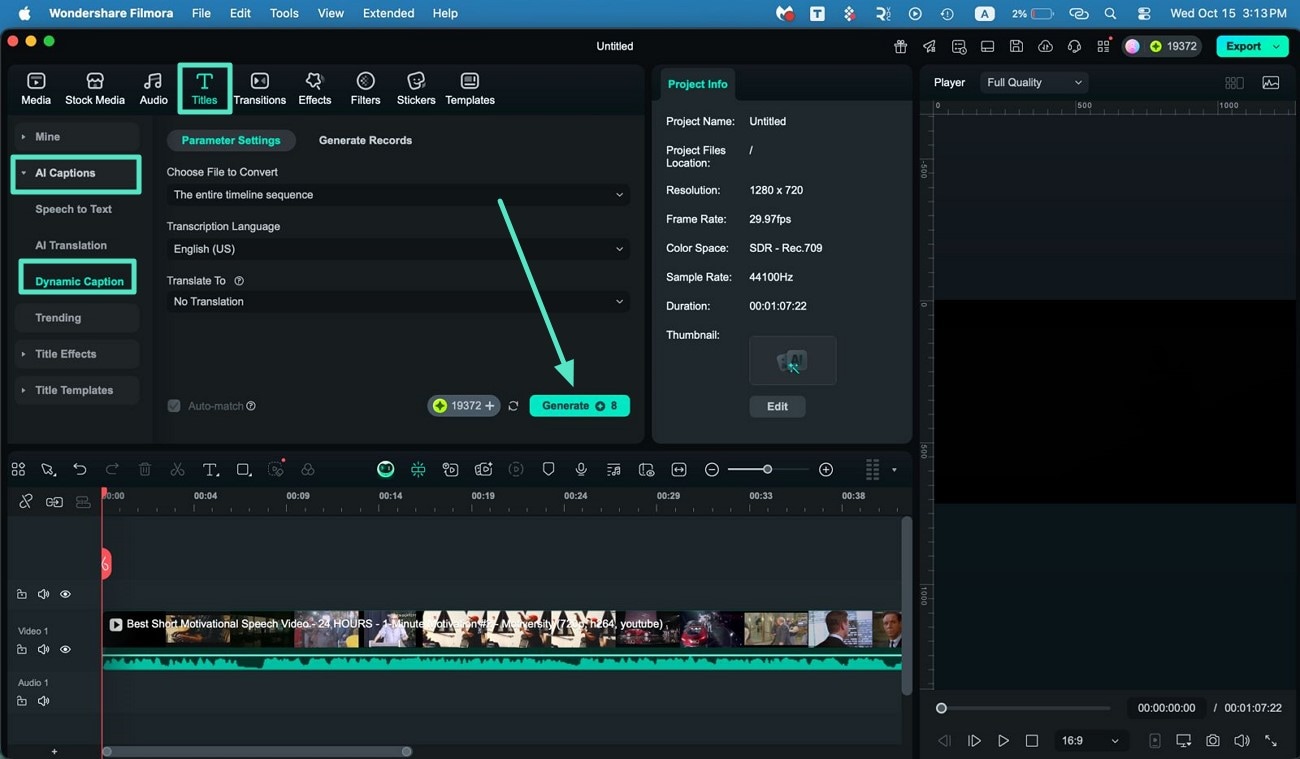
Step 1. Enable the Dynamic Captions Feature
After importing your video into Filmora, go to the "Titles" tab and select "AI Captions" from the left-hand menu. Choose "Dynamic Captions", then pick the language of your subtitles. You can also decide whether to include translation options. Once set, press the "Generate" button to produce the dynamic captions.
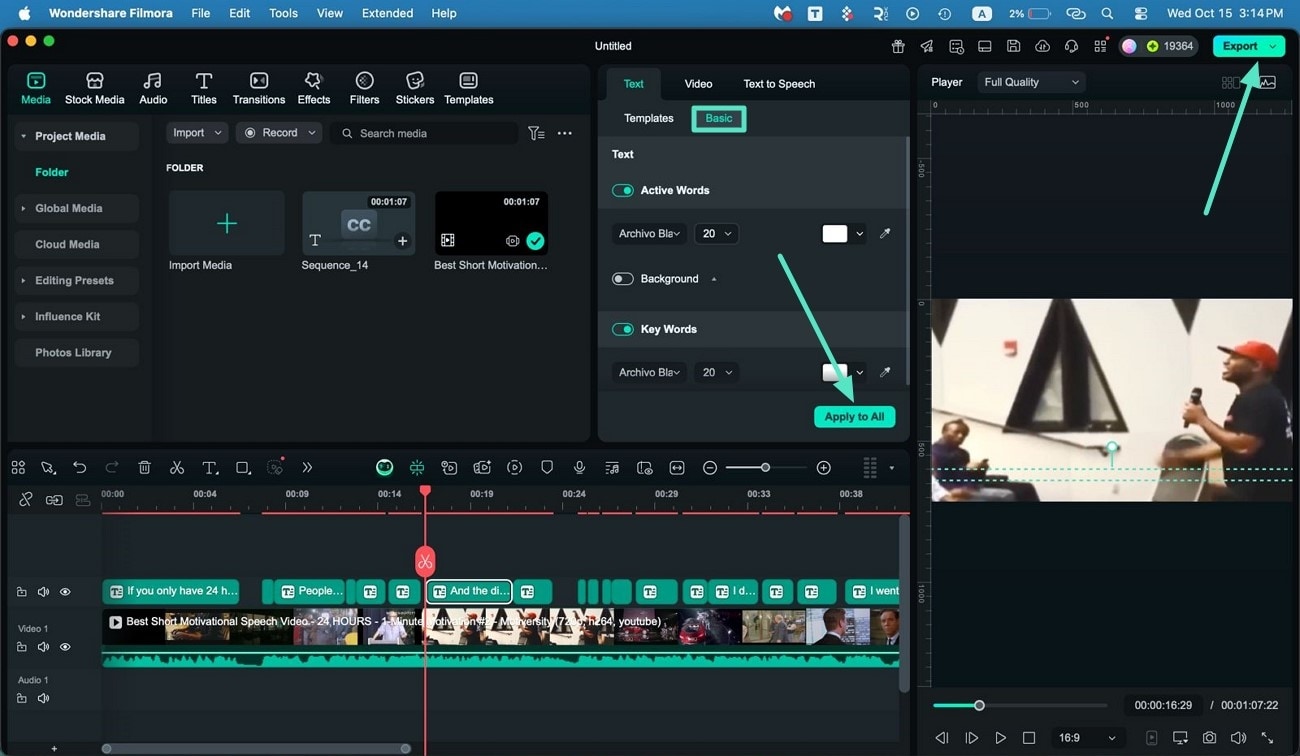
Step 2. Edit Your Dynamic Captions
Once the captions appear, open the right-side panel and go to the "Basic" section to adjust the appearance of the highlighted words as well as the rest of the text. You can modify font styles, colors, sizes, and even add animations. Click "Apply to All" for uniformity across your captions. Finally, export your video with these customizable, eye-catching captions by hitting the "Export" button in the top-right corner.
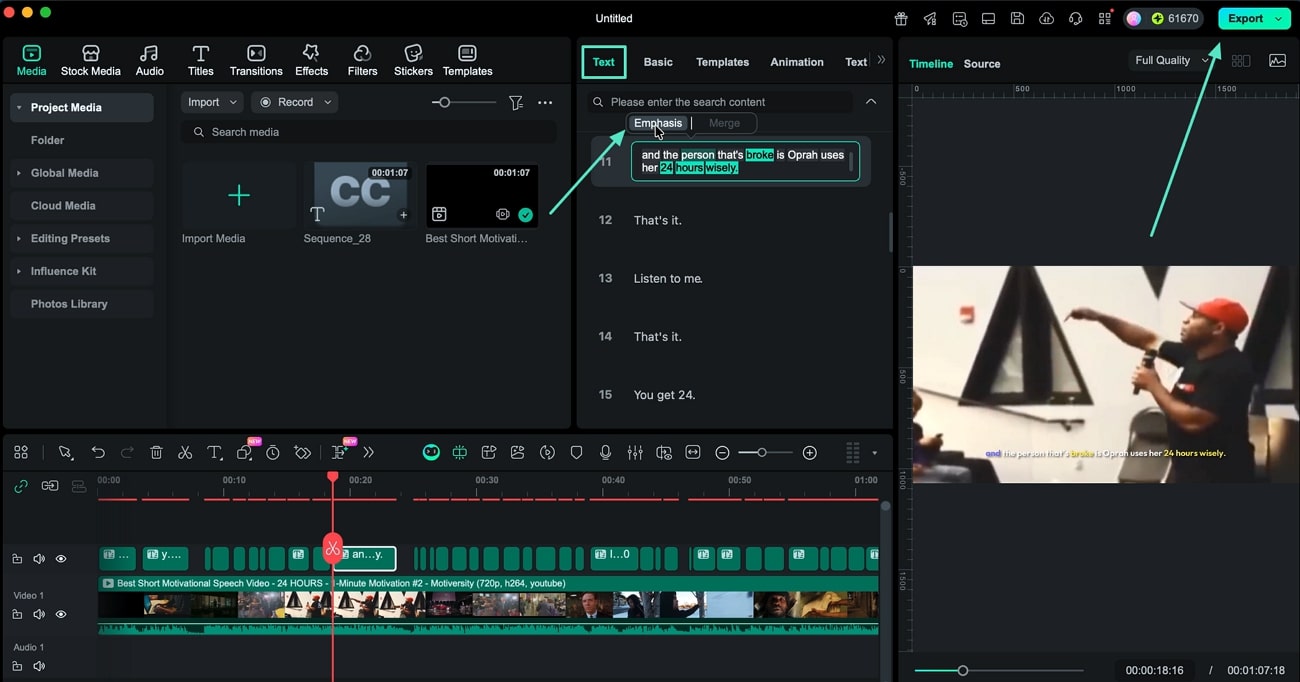
Step 3. Emphasize Spoken Words in CaptionsNEW
Go to the "Text" panel, choose the text you want to emphasize, and click the "Emphasis" button to make the spoken words stand out within the video. Once you are done adding the captions and making all significant changes, lead to the "Export" button.
Related Posts
Featured Articles
Timeless Memories: Cherish Your Reimagined Moment by Digitizing Images
Want to cherish memories by converting old photos to a digital format? Let’s discover how to transform your pictures into emotional videos.
Best Apps to Cut Videos in 2026: The Ultimate Top 10 List
Cut videos easily with the best apps to cut videos in 2026. Find the top 10 apps for seamless trimming, precise editing, and smooth transitions. Try the best software for video cutting today.
Discover the True BFCM Meaning and Boost Sales with Filmora!
Uncover the BFCM meaning and learn how Filmora can enhance your BFCM marketing strategy to create engaging sales-boosting videos.
Recommended User Guide
Speech to Text, Text to Speech & SRT on Mac
Learn dubbing and subtitle editing enhancing methods in this guide.
AI Translation in Filmora Mac
Wondershare Filmora’s AI Translation tool can translate your video into any language for a wider content reach and more views. This is a guide about Filmora's AI Translation
