For the Best Results, Use the Latest Version.
-
Preparations for Mac
-
Account (Mac)
-
Get Started & Basic Settings (Mac)
- Release notes for Mac
- Latest Versions and Features for Mac
- Get Started on Mac - Full Guide
- Download/register/uninstall on Mac
- Panel Layout on Mac
- Keyboard shortcuts on Mac
- Touchbar on Mac
- Change playback quality on Mac
- Render preview files on Mac
- Manage timeline on Mac
- Media for use on Mac
- Logo Reveal For Mac
- Marked Favorites for Mac
-
Compatibility & Tech Specs (Mac)
-
Performance Settings (Mac)
-
-
Creating Projects - Mac
-
Creating New Projects (Mac)
-
-
Importing & Recording - Mac
-
Importing (Mac)
-
Recording (Mac)
-
-
Video Editing for Mac
-
Basic Video Editing for Mac
- Edit Live Photos on Mac
- Enable/Disable Clip for Mac
- Magnetic Timeline For Mac
- Select All Clips on Timeline for Mac
- Auto Ripple for Mac
- Split & cut videos on Mac
- Compositing on Mac
- Crop and zoom on Mac
- Playback Zoom Level for Mac
- Change speed on Mac
- Play video in reverse on Mac
- Mark In and Mark Out for Mac
- Markers for Mac
- Group clips on Mac
- Customized Backgrounds for Videos and Images in Mac
- Video snapshot on Mac
- Freeze frame on Mac
- Auto enhance on Mac
- Applying Drop Shadow for Mac
- Adjustment Layer for Mac
- Mark clip on Mac
- Video Editing Ruler – Mac
- Apply Transforming for Mac
-
Advanced Video Editing for Mac
-
AI-Powered Video Editing for Mac
- Smart Scene Cut for Mac
- Smart Short Clips for Mac
- Image to Video for Mac
- AI Idea to Video for Mac
- AI Text-to-Video for Mac
- Instant Cutter Tool on Mac
- AI Face Mosaic for Mac
- Keyframe Path Curve for Mac
- Planar Tracking for Mac
- AI Extend For Mac
- AI Script-to-Video for Mac
- AI Text-Based Editing in Mac
- Create With Instant Mode on Mac
- ChatGPT Plugin - AI Copywriting on Mac
- AI Smart Cutout for Mac
- Auto reframe on Mac
- Lens correction on Mac
- AI Portrait Cutout on Mac
- Scene detection on Mac
- AI Smart Masking for Mac
- AI Mate Editing for Mac
- Motion Tracking on Mac
- Stabilize video on Mac
- AI Object Remover For Mac
- AI Smart Search for Mac
- AI Skin Tone Protection for Mac
- Green screen on Mac
- Super Slow Motion with Optical Flow for Mac
- AI stylizer on Mac
- Video Denoise for Mac
-
-
Audio Editing for Mac
-
Basic Audio Editing for Mac
-
Advanced Audio Editing for Mac
-
AI-Powered Audio Editing for Mac
- Audio To Video for Mac
- AI Sound Effect for Mac
- Smart BGM Generation for Mac
- AI Voice Enhancer for Mac
- Audio Stretch for Mac
- AI Audio Denoise for Mac
- Auto synchronization for Mac
- AI Vocal Remover for Mac
- Auto Beat Sync on Mac
- AI Music Generator for Mac
- How to Perform AI Voice Cloning in Wondershare Filmora?
- Silence detection on Mac
-
-
Text Editing for Mac
-
Basic Text Editing for Mac
-
Advanced Text Editing for Mac
-
AI-Powered Text Editing for Mac
-
-
Video Customizations for Mac
-
Video Effects (Mac)
-
Audio Effects (Mac)
-
Transitions (Mac)
-
Stickers (Mac)
-
Filters (Mac)
-
Color Editing (Mac)
-
Animations (Mac)
-
Templates (Mac)
-
Asset Center (Mac)
-
-
Exporting & Share & Cloud Backup - Mac
Startup Window for Mac
Get to know the new startup window. The new startup window is more informative and intuitive as it is redesigned to be more user-friendly. It allows you to have a better understanding of the software’s features and what they can do for you to create amazing videos.
You select the function you need by clicking the corresponding tab based on your operational purpose.
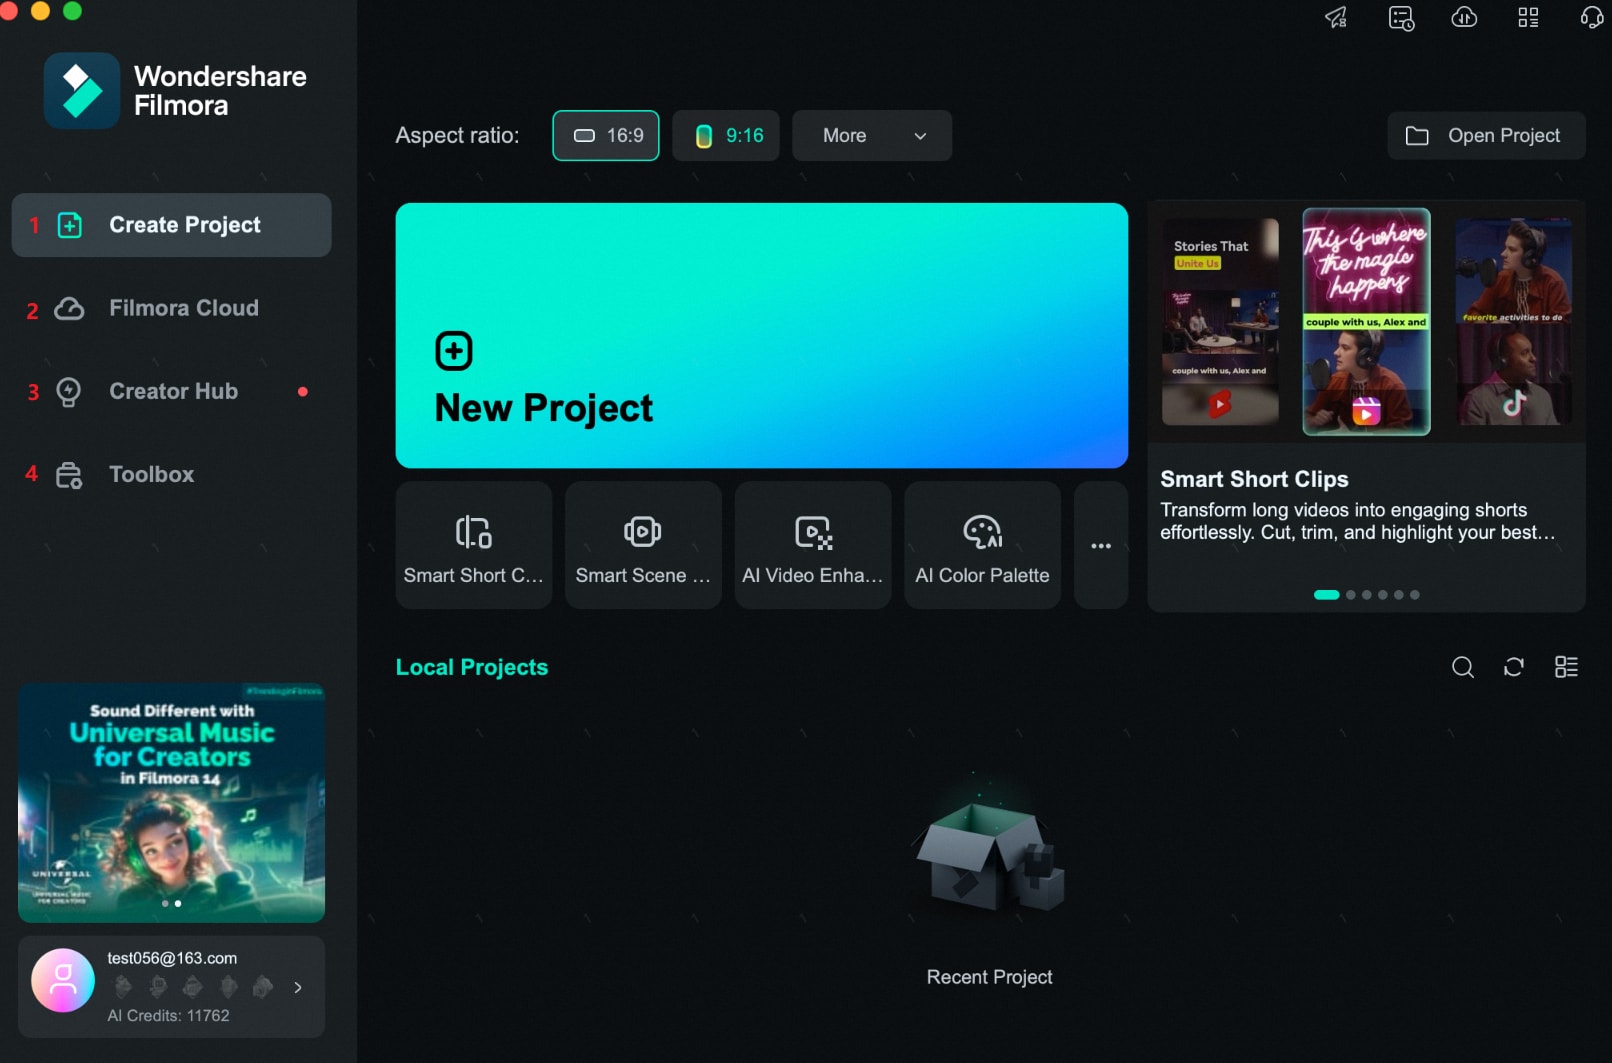
1Create Projects
2Filmora Cloud
3Creator Hub
4Toolbox
Note:
If you don't see this startup window, please upgrade to the latest version, and then go to File > Preferences > General tab to enable this startup window. It will show when Filmora launches next time.Create Projects
The Create Project tab contains a variety of features, along with your recent local projects changeable to list view or thumbnail view. The new Start-Up Window is designed to help you get started with your project as quickly as possible. It contains all the tools you need for creating a video.
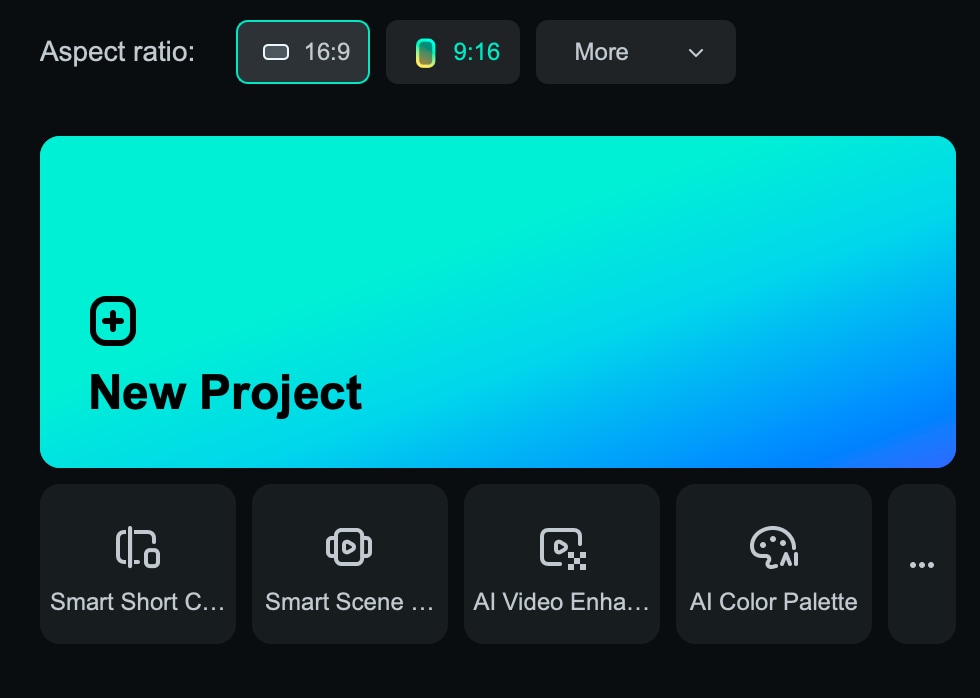
1Use the drop-down menu to choose an aspect ratio.
You can choose from a wide variety of aspect ratios by clicking on the appropriate option in this drop-down menu.
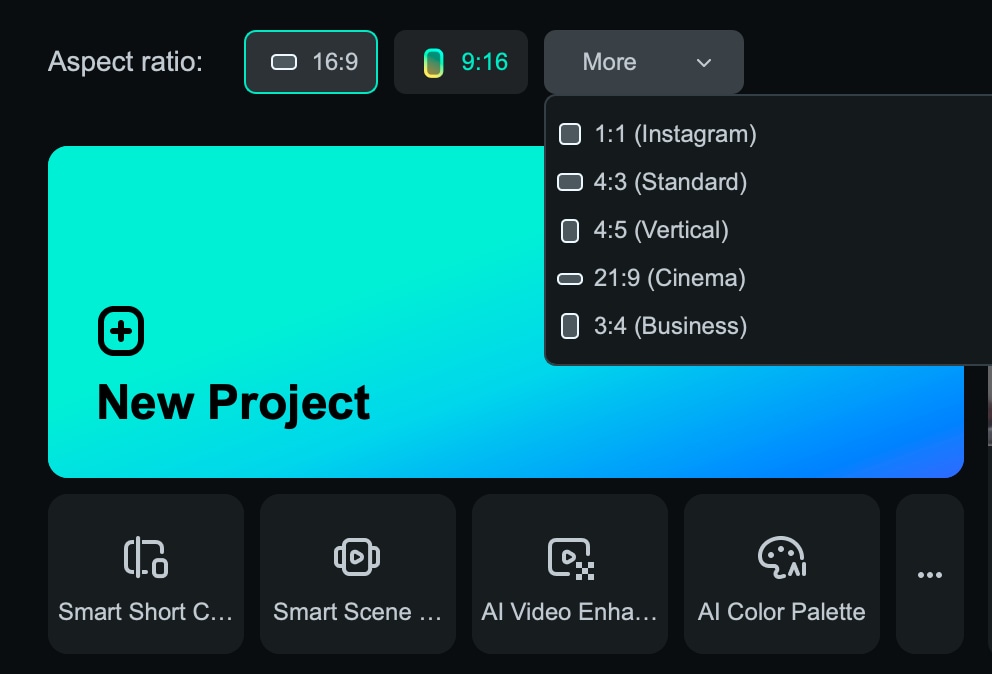
2To begin editing, click on Create Project and it will take you to the new user interface.
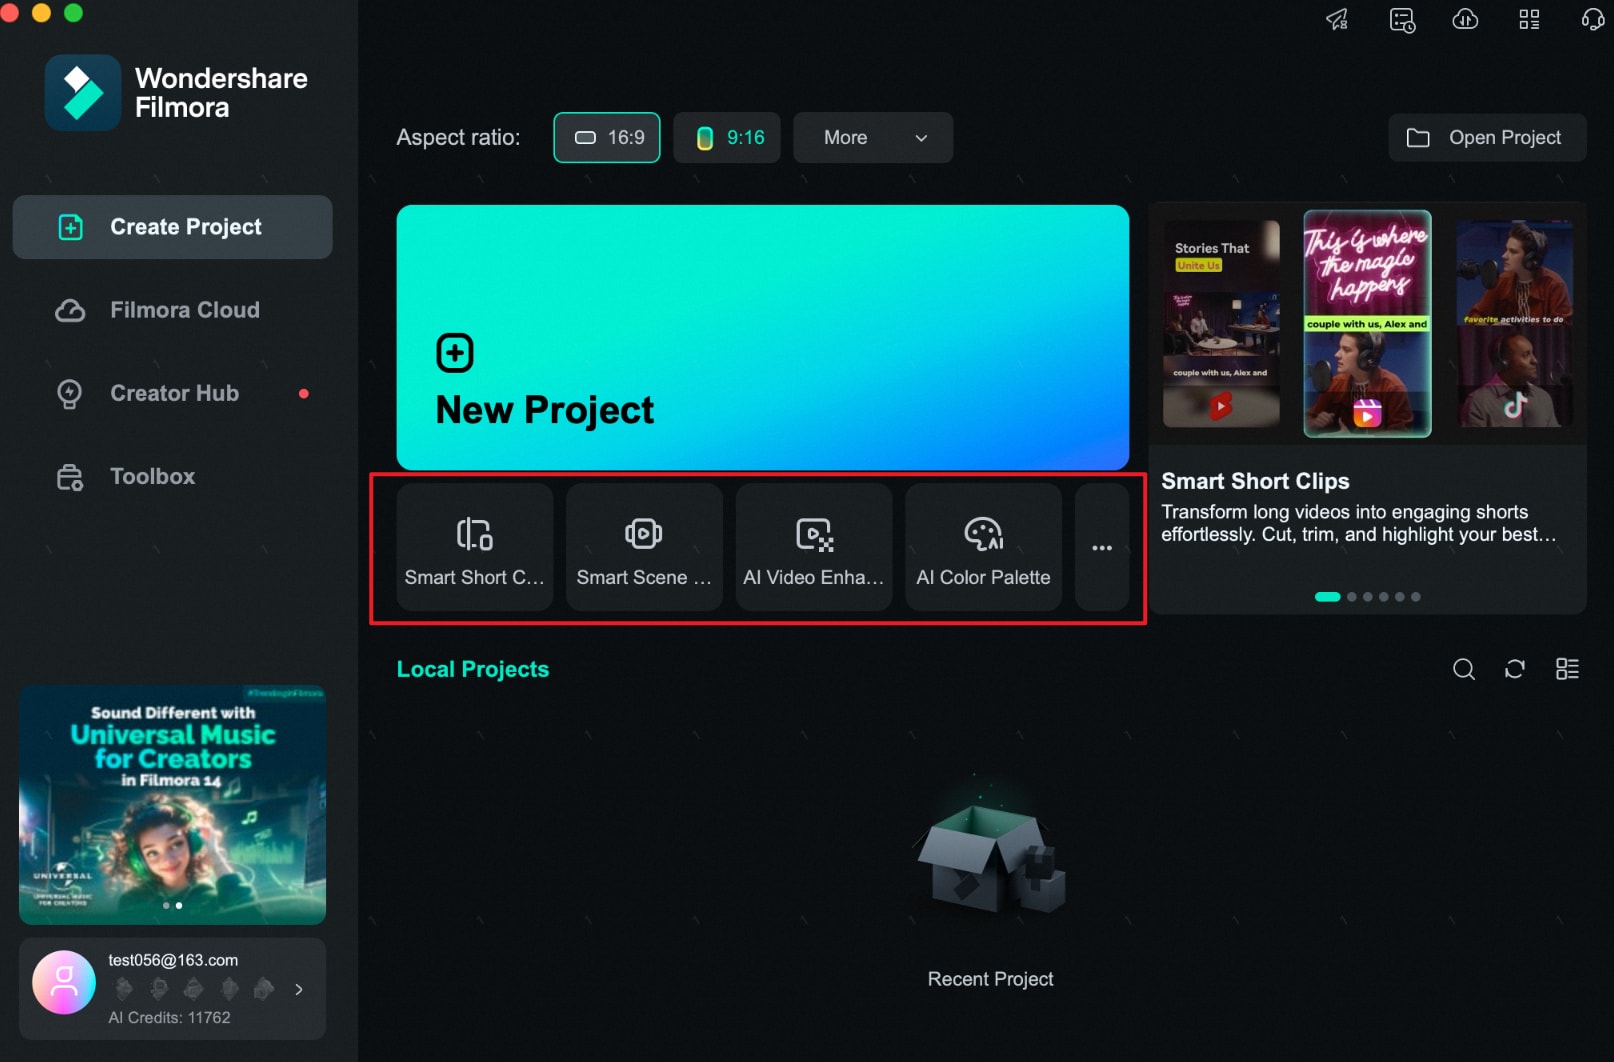
3The startup window has added shortcuts to screen tools, which you can select to use as desired.
filmora Cloud
Cloud Project is a great way to safely store your project documents, project templates, and finished videos. Get your FREE 1GB cloud storage in Filmora 12!
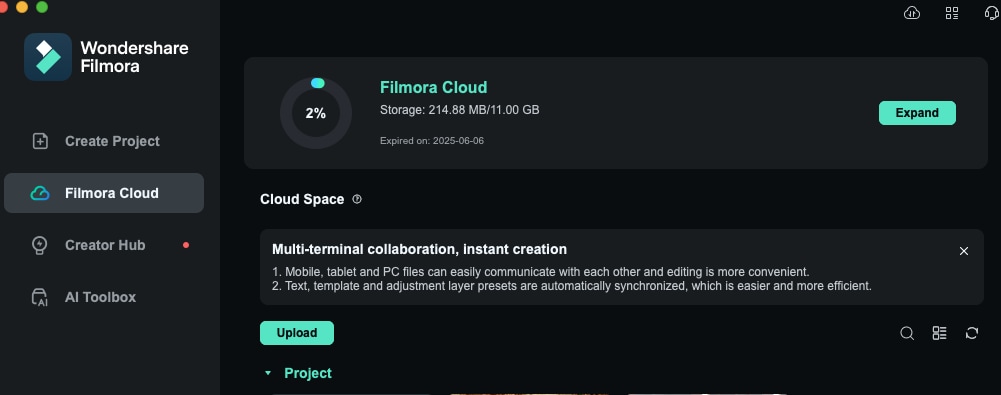
- Download and open Filmora.
- Click “Filmora Cloud” and then log into your account to activate the cloud.
Now you can enjoy Cloud Project and have your files securely backed up to Wondershare Drive. You can also use Filmora’s cloud storage for other purposes such as sharing your projects with others, so they can view files with their device.
Creator Hub
Scale up your inner creative video editing skills with the help of Creator Hub. Creator Hub is a place where you can find tutorials and secret skills to inspire your video editing. We've embedded YouTube's API so that you can search, save, and comment on creative training videos directly within Creators Academy. Creator Hub is perfect for beginners and professionals alike. With a simple layout that makes it easy to learn how to edit videos, this software will help you create high-quality footage quickly and easily. Videos directly within Creators Academy.

Toolbox
You can find multiple tools in Toolbox of Filmora, such as Smart Short Clips, Smart Scene Cut, AI Video Enhancer, AI Color Palette, Smart BGM Generator, Auto Reframe, etc.

Related Posts
Featured Articles
Best M4A Editor for Windows, Mac, and Online in 2025
Edit M4A audio file with ease with the best M4A editors in our list. We have reviewed the top tools for Windows, Mac, and online users in 2025.
Top 7 Applications for Adding Audio to Video on Android
Are you curious about how to add audio to video on Android? Read this article to find the best apps used to do the job.
Lip Sync Battle: Everything You Want to Know About
Discover iconic performances on Lip Sync Battle! Get inspired by these unforgettable lip-sync moments and spark your creativity in your videos!
Recommended User Guide
Create new project on Mac
Create new projects in Filmora for Mac easily.
Relocate on Mac
Learn to relocate your project for further editing in Filmora.
Short Video Project for Mac
A Short Video Project refers to the creation of short-form video content, typically designed for platforms like TikTok, Instagram Reels, YouTube Shorts, and other social media channels. These projects are often characterized by their concise format, usually ranging from 15 seconds to a few minutes, and are optimized for fast consumption, engagement, and sharing.
