For the Best Results, Use the Latest Version.
-
Preparations for Mac
-
Account (Mac)
-
Get Started & Basic Settings (Mac)
- Release notes for Mac
- Latest Versions and Features for Mac
- Get Started on Mac - Full Guide
- Download/register/uninstall on Mac
- Panel Layout on Mac
- Keyboard shortcuts on Mac
- Touchbar on Mac
- Change playback quality on Mac
- Render preview files on Mac
- Manage Timeline on Mac
- Media for use on Mac
- Logo Reveal For Mac
- Marked Favorites for Mac
-
Compatibility & Tech Specs (Mac)
-
Performance Settings (Mac)
-
-
Creating Projects - Mac
-
Creating New Projects (Mac)
-
-
Importing & Recording - Mac
-
Importing (Mac)
-
Recording (Mac)
-
-
Video Editing for Mac
-
Basic Video Editing for Mac
- Edit Live Photos on Mac
- Enable/Disable Clip for Mac
- Magnetic Timeline For Mac
- Dual Monitor Setup for Video Editing on Mac
- Select All Clips on Timeline for Mac
- Auto Ripple for Mac
- Split & cut videos on Mac
- Compositing on Mac
- Crop and zoom on Mac
- Playback Zoom Level for Mac
- Change Speed on Mac
- Play video in reverse on Mac
- Mark In and Mark Out for Mac
- Markers for Mac
- Group clips on Mac
- Customized Backgrounds for Videos and Images in Mac
- Video snapshot on Mac
- Freeze frame on Mac
- Auto enhance on Mac
- Applying Drop Shadow for Mac
- Adjustment Layer for Mac
- Mark clip on Mac
- Video Editing Ruler – Mac
- Apply Transforming for Mac
-
Advanced Video Editing for Mac
- Text Animation Path for Mac
- Create Multi-Camera Clip for Mac
- Filmora Motion Blur | Mac
- Drawing Tools for Mac | Filmora Guide
- Compound Clips for Mac
- AI Video Enhancer for Mac
- Filmora Flicker Removal Guide | Mac
- Multi-Clip Editing for Mac
- Keyframe Graph Editor for Mac
- Add Animation Keyframing in Filmora for Mac
- Mask on Mac
- PIP (picture in picture) on Mac
-
AI-Powered Video Editing for Mac
- Smart Scene Cut for Mac
- Smart Short Clips for Mac
- Filmora AI Eye Contact - Mac
- Filmora Image to Video for Mac
- AI Idea to Video for Mac
- AI Text-to-Video for Mac
- Instant Cutter Tool on Mac
- AI Face Mosaic for Mac
- Filmora Image to Prompt for Mac
- Keyframe Path Curve for Mac
- Filmora AI Image Enhancer Guide – macOS
- Planar Tracking for Mac
- Filmora AI Relight - Mac
- AI Extend For Mac
- AI Script-to-Video for Mac
- AI Text-Based Editing in Mac
- Create With Instant Mode on Mac
- ChatGPT Plugin - AI Copywriting on Mac
- AI Smart Cutout for Mac
- Auto reframe on Mac
- Lens correction on Mac
- AI Portrait Cutout on Mac
- Scene detection on Mac
- AI Smart Masking for Mac
- AI Mate Editing for Mac
- Motion Tracking on Mac
- Video Stabilization for Mac
- AI Object Remover For Mac
- AI Smart Search for Mac
- AI Skin Tone Protection for Mac
- Green screen on Mac
- Super Slow Motion with Optical Flow for Mac
- AI Stylizer for Mac
- Video Denoise for Mac
-
-
Audio Editing for Mac
-
Basic Audio Editing for Mac
-
Advanced Audio Editing for Mac
-
AI-Powered Audio Editing for Mac
- Audio To Video for Mac
- AI Sound Effect for Mac
- Smart BGM Generation for Mac
- AI Voice Enhancer for Mac
- Audio Stretch for Mac
- AI Audio Denoise for Mac
- Auto synchronization for Mac
- AI Vocal Remover for Mac
- AI Auto Beat Sync for Mac
- AI Music Generator for Mac
- AI Voice Cloning on Mac
- Silence detection on Mac
-
-
Text Editing for Mac
-
Basic Text Editing for Mac
-
Advanced Text Editing for Mac
-
AI-Powered Text Editing for Mac
-
-
Video Customizations for Mac
-
Video Effects (Mac)
-
Audio Effects (Mac)
-
Transitions (Mac)
-
Stickers (Mac)
-
Filters (Mac)
-
Color Editing (Mac)
-
Animations (Mac)
-
Templates (Mac)
-
Asset Center (Mac)
-
-
Exporting & Share & Cloud Backup - Mac
Apply Transform in Filmora for Mac
The Transform feature in Filmora for Mac allows users to easily resize, rotate, reposition, and animate video clips for more dynamic editing. It is commonly used to adjust framing, create motion effects, and enhance visual composition without needing advanced tools. With simple controls and keyframe support, Transform gives full creative flexibility to improve video presentation and storytelling.
Index
Steps to Use Transform in Filmora for Mac
Filmora makes it easy to activate and use transform controls directly from the property panel. To learn how to use this feature in Filmora Mac, read the steps provided below:
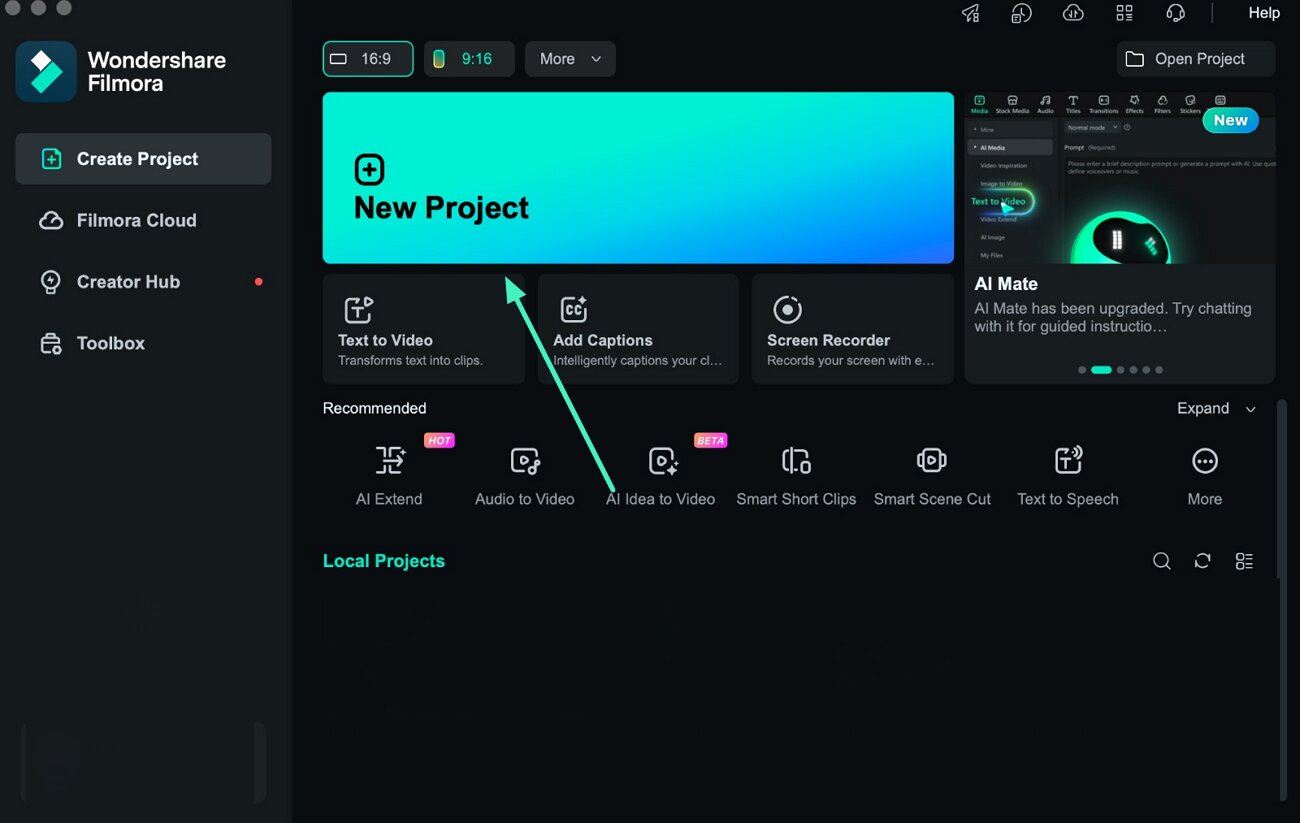
Step 1. Create a New Project in Filmora
Launch Filmora on your Mac and click New Project from the home screen. Import your video or media files into the timeline. You can also add effects, shapes, or stickers that will later be animated using the Transform tool.
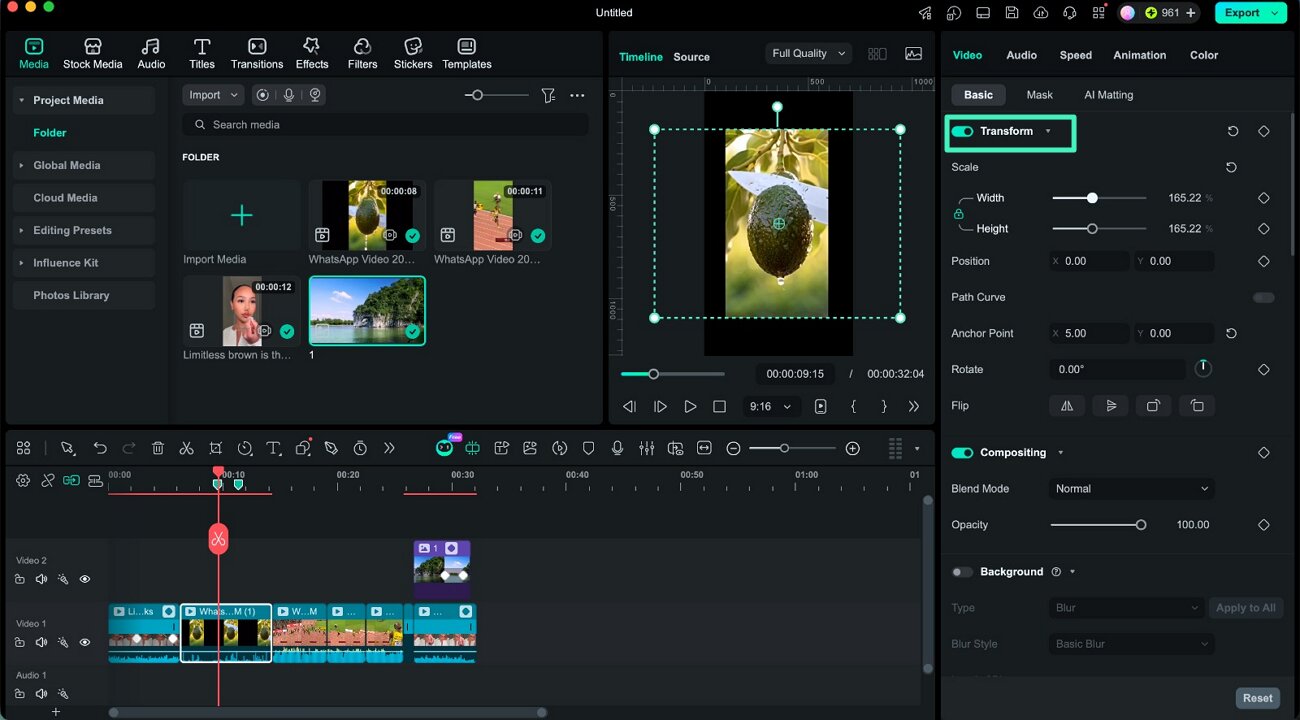
Step 2. Enable and Adjust Transform Settings
Select the clip in the timeline and open the property panel on the right side. Under the Basic tab, find the Transform option and enable it. Use controls to adjust scale, modify position, set anchor point, and fine-tune rotation or path movement based on your requirements.
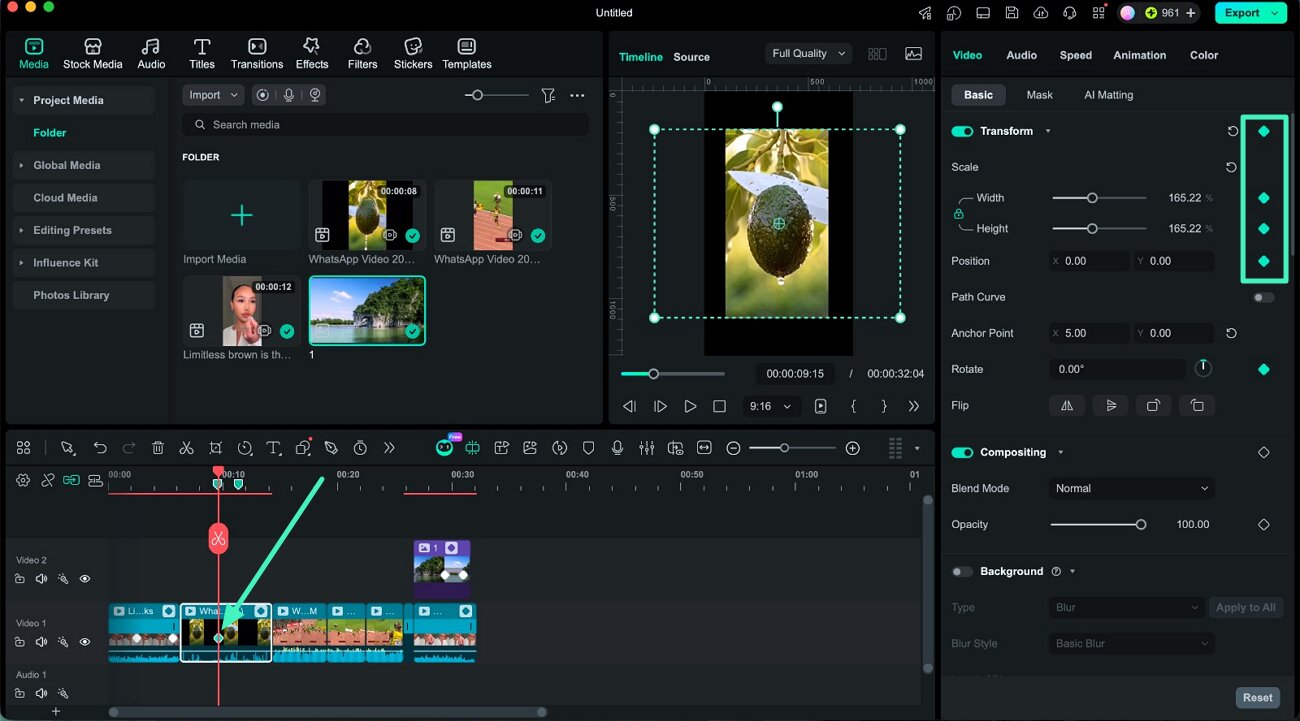
Step 3. Add Keyframes for Animation
Move the playhead to the starting point of your animation. Adjust transform settings such as scale, position, or rotation, then click the keyframe icon to set the first animation point. This marks the beginning of the motion effect.
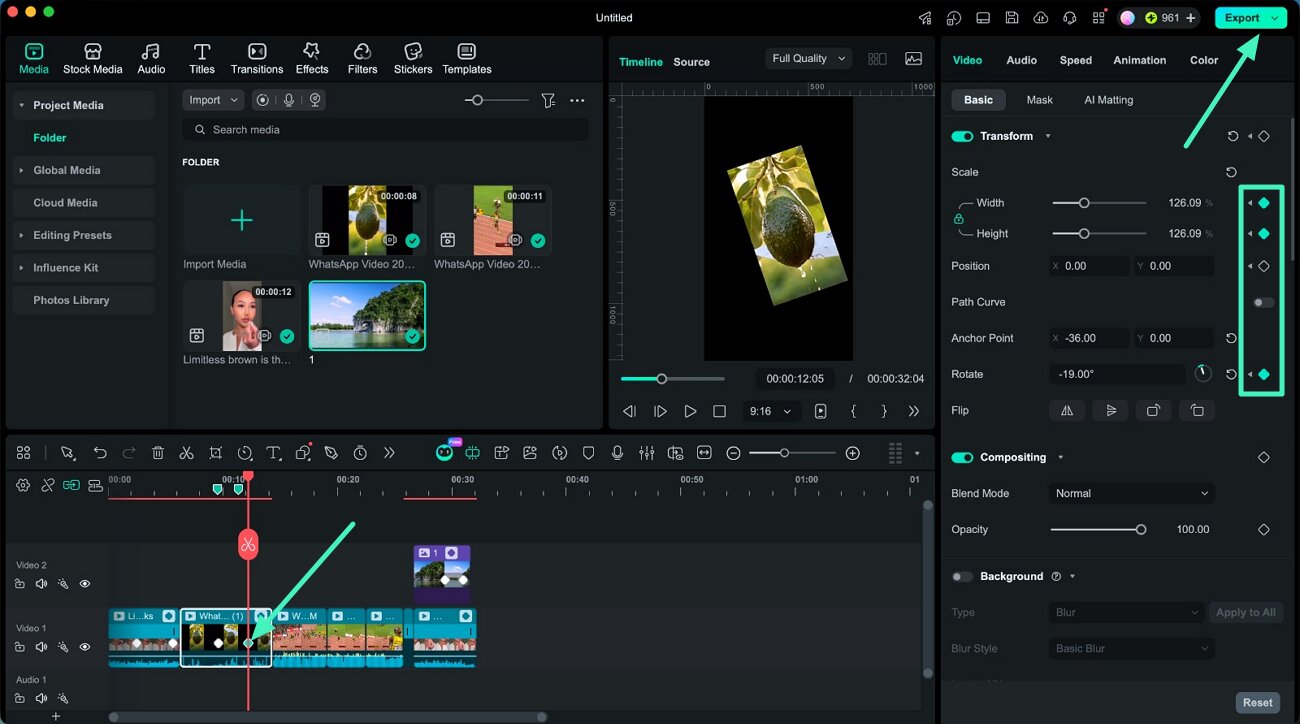
Step 4. Refine Motion and Export Video
Move the playhead forward and change transform values again to create movement between frames. Add additional keyframes to build smooth animation transitions. Once satisfied with the result, click Export to save your final edited video.
Related Posts
Featured Articles
Detailed Guide - Chromecast Local Files Windows, Mac, Android, or iOS
Are you looking for an easy-to-follow guide on how to Chromecast local files? Read this guide and cast screen from Windows, Mac, iOS, and Android devices.
How to Screen Record On Android: Step-By-Step Guide For Beginners
Learn how to screen record on Android with this comprehensive guide. Discover easy methods and top tools to record your Android phone screen for tutorials, gameplay, and more.
Audio and Video Out of Sync on Netflix? Here’s How to Fix It
Struggling with audio and video sync issues on Netflix? Learn simple fixes for your internet connection, browser, or TV settings. Plus, learn how you can effortlessly sync your audio and video tracks automatically for a smooth viewing experience.
Recommended User Guide
Group clips on Mac
In this guide, you are going to learn about grouping, ungrouping, and making a cut in a group on your timeline.
Edit Live Photos on Mac
edit Live Photos on mac
Dual Monitor Setup for Video Editing on Mac
Master dual-screen workflows in Filmora for Mac with the new Source and Timeline Preview Editing feature. Simultaneously view raw footage and timeline sequences for enhanced productivity and precise editing.
