For the Best Results, Use the Latest Version.
-
Preparations for Mac
-
Account (Mac)
-
Get Started & Basic Settings (Mac)
- Release notes for Mac
- Latest Versions and Features for Mac
- Get Started on Mac - Full Guide
- Download/register/uninstall on Mac
- Panel Layout on Mac
- Keyboard shortcuts on Mac
- Touchbar on Mac
- Change playback quality on Mac
- Render preview files on Mac
- Manage timeline on Mac
- Media for use on Mac
- Logo Reveal For Mac
- Marked Favorites for Mac
-
Compatibility & Tech Specs (Mac)
-
Performance Settings (Mac)
-
-
Creating Projects - Mac
-
Creating New Projects (Mac)
-
-
Importing & Recording - Mac
-
Importing (Mac)
-
Recording (Mac)
-
-
Video Editing for Mac
-
Basic Video Editing for Mac
- Edit Live Photos on Mac
- Enable/Disable Clip for Mac
- Magnetic Timeline For Mac
- Select All Clips on Timeline for Mac
- Auto Ripple for Mac
- Split & cut videos on Mac
- Compositing on Mac
- Crop and zoom on Mac
- Playback Zoom Level for Mac
- Change speed on Mac
- Play video in reverse on Mac
- Mark In and Mark Out for Mac
- Markers for Mac
- Group clips on Mac
- Customized Backgrounds for Videos and Images in Mac
- Video snapshot on Mac
- Freeze frame on Mac
- Auto enhance on Mac
- Applying Drop Shadow for Mac
- Adjustment Layer for Mac
- Mark clip on Mac
- Video Editing Ruler – Mac
- Apply Transforming for Mac
-
Advanced Video Editing for Mac
-
AI-Powered Video Editing for Mac
- Smart Scene Cut for Mac
- Smart Short Clips for Mac
- Image to Video for Mac
- AI Idea to Video for Mac
- AI Text-to-Video for Mac
- Instant Cutter Tool on Mac
- AI Face Mosaic for Mac
- Keyframe Path Curve for Mac
- Planar Tracking for Mac
- AI Extend For Mac
- AI Script-to-Video for Mac
- AI Text-Based Editing in Mac
- Create With Instant Mode on Mac
- ChatGPT Plugin - AI Copywriting on Mac
- AI Smart Cutout for Mac
- Auto reframe on Mac
- Lens correction on Mac
- AI Portrait Cutout on Mac
- Scene detection on Mac
- AI Smart Masking for Mac
- AI Mate Editing for Mac
- Motion Tracking on Mac
- Stabilize video on Mac
- AI Object Remover For Mac
- AI Smart Search for Mac
- AI Skin Tone Protection for Mac
- Green screen on Mac
- Super Slow Motion with Optical Flow for Mac
- AI stylizer on Mac
- Video Denoise for Mac
-
-
Audio Editing for Mac
-
Basic Audio Editing for Mac
-
Advanced Audio Editing for Mac
-
AI-Powered Audio Editing for Mac
- Audio To Video for Mac
- AI Sound Effect for Mac
- Smart BGM Generation for Mac
- AI Voice Enhancer for Mac
- Audio Stretch for Mac
- AI Audio Denoise for Mac
- Auto synchronization for Mac
- AI Vocal Remover for Mac
- Auto Beat Sync on Mac
- AI Music Generator for Mac
- How to Perform AI Voice Cloning in Wondershare Filmora?
- Silence detection on Mac
-
-
Text Editing for Mac
-
Basic Text Editing for Mac
-
Advanced Text Editing for Mac
-
AI-Powered Text Editing for Mac
-
-
Video Customizations for Mac
-
Video Effects (Mac)
-
Audio Effects (Mac)
-
Transitions (Mac)
-
Stickers (Mac)
-
Filters (Mac)
-
Color Editing (Mac)
-
Animations (Mac)
-
Templates (Mac)
-
Asset Center (Mac)
-
-
Exporting & Share & Cloud Backup - Mac
Marked Favorites for Mac
Wondershare Filmora has made adding effects or filters easy for users through its Marked Favorites feature. However, the latest upgrade has optimized this feature by offering users to do more than just the typical favorites list. To learn more about this feature and how to make the most of it, continue reading this guide:
Add Tags in Marked Favorites
With the introduction of tags, users can now personalize their Favorite stickers, filters, and effects within various categories. Below is a comprehensive overview of how to create and manage tags with Filmora:
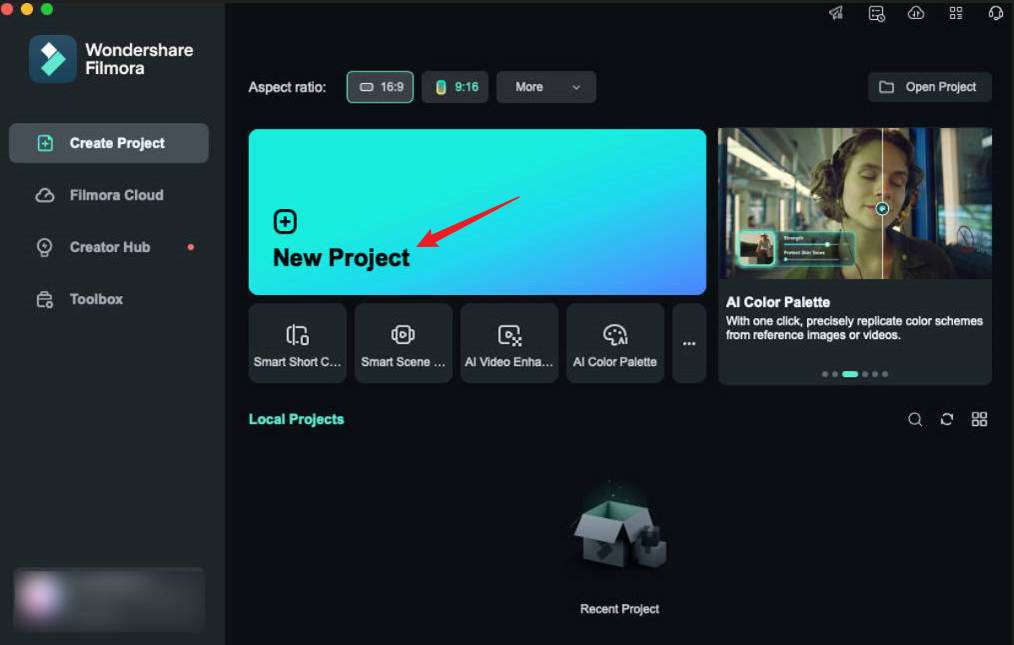
Step 1: Initiating a New Project in Filmora
After successfully downloading Filmora, log in to your account and navigate to the left panel, where you'll find the "Create Project" option. Afterward, select the "New Project" button from the options displayed on the main screen.
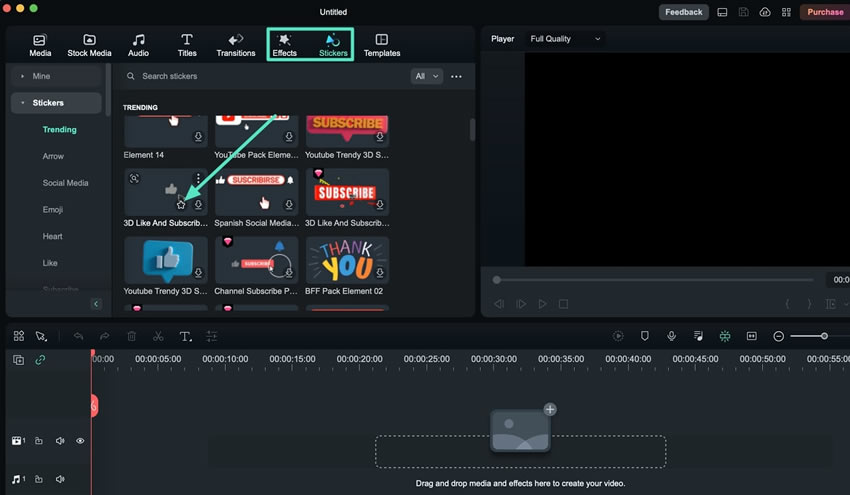
Step 2: Marking Favourites
Choose a graphic tab like "Stickers" or "Effects" for selecting a favorite. Once you've selected the desired graphic, go to the options below and mark it as a favorite by clicking the "Star" icon.
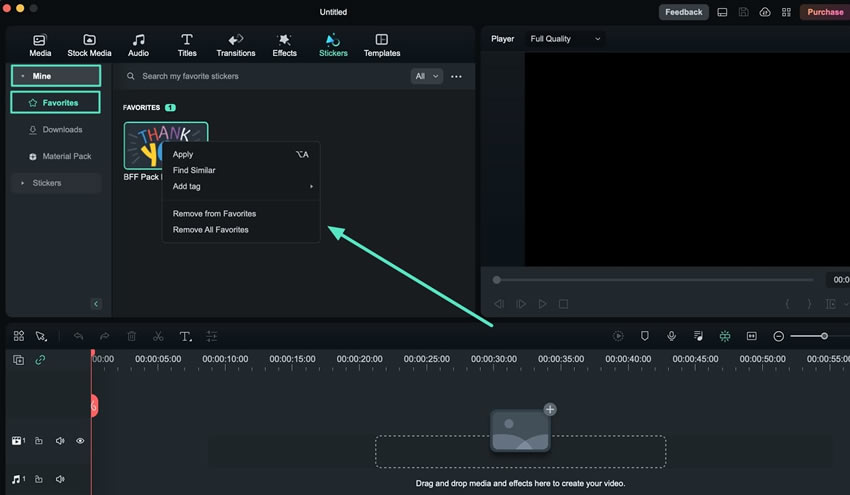
Step 3: Accessing Your Marked Favourites
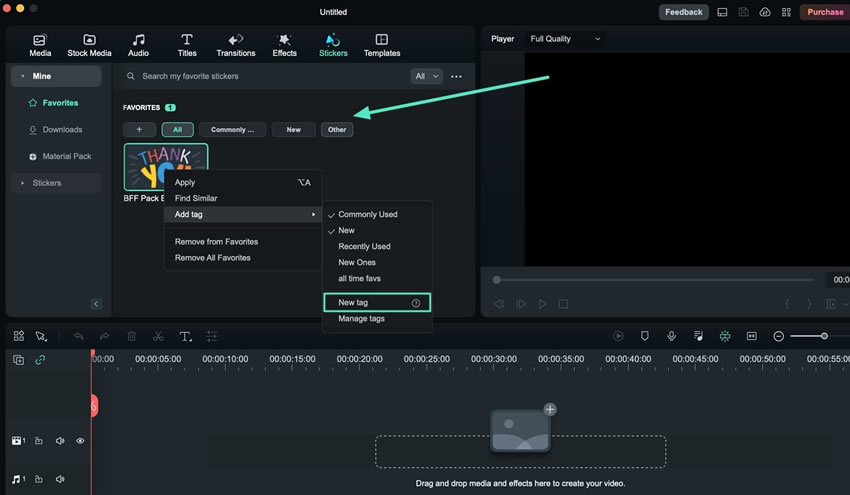
While staying in the same graphic tab, move to the "Mine" category on the left panel and extend it. Select "Favorites" from the options and move towards one of the marked options in the Favorites Library. Right-click on this option and a dropdown menu will appear, offering customization options.
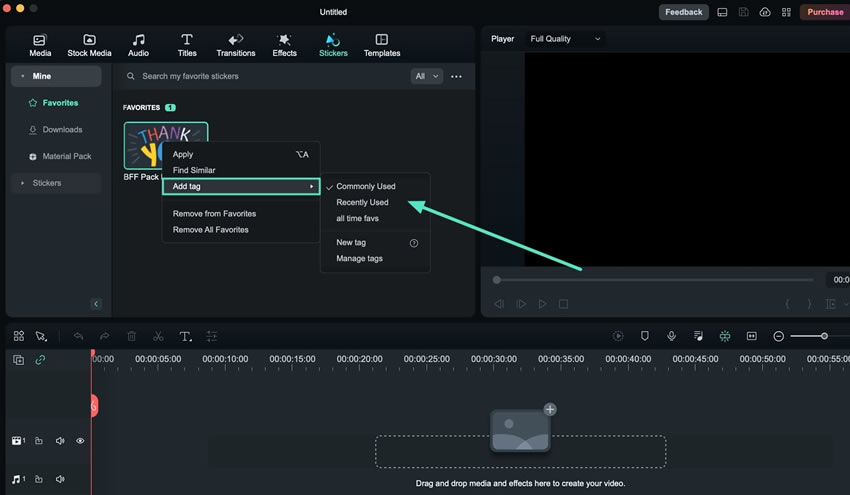
Step 4: Assigning Tags to Your Marked Favorites
From the options menu, choose the "Add Tag" option, and you'll see multiple tag options. You can categorize your favorite options into two tags by default: "Recently Used" and "Commonly Used", both of which will be displayed at the top of the favorites section.
Step 5: Customizing a Tag
Furthermore, you can create a personal category by selecting the "New Tag" option, which will bring up a pop-up window where you can customize the name for your tag and click "OK" to confirm. Your new tag and other tag categories will appear at the top of the favorites section. If you wish to create additional tags, click the "+" option.
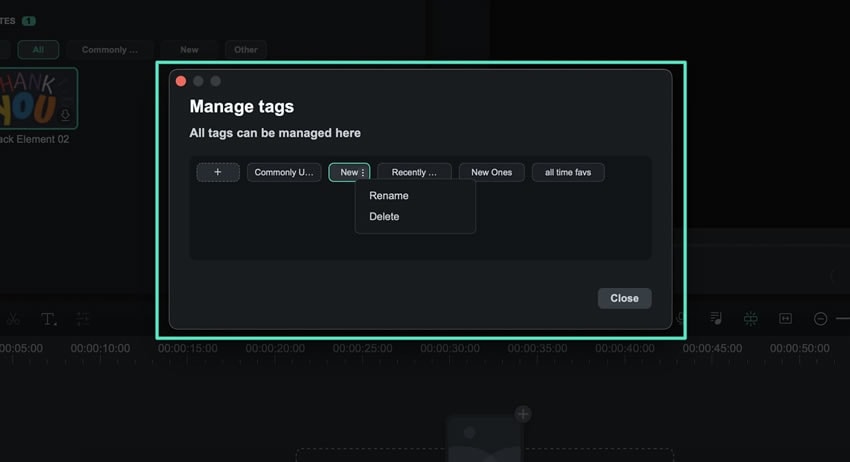
Step 6: Renaming or Deleting a Tag
If you want to remove the tag name, choose the "Manage tags" option. A small window for managing tags will appear. Navigate to the tag's name, click the "Three Dots" icon, and choose to rename or delete it. This method empowers you to fine-tune your tag customization or manage your marked favorites efficiently.
Related Posts
Featured Articles
How to Voice Over a Video on iPhone: The Best Methods in 2025
Looking for ways to enhance your video with the help of voice overs? Follow this guide to learn the best method on how to voice over a video on iPhone devices.
Zoom Transition Premiere Pro Tutorial: Step-by-Step Guide for Smooth Edits
Learn how to create a smooth zoom transition in Premiere Pro with this step-by-step guide. Find an alternative video editor and avoid common editing mistakes!
Everything You Need to Know About Snapchat Cameos
Want to know how to delete your Cameo on Snapchat? Find out everything about Snapchat Cameos, from setup to removal, in this guide!
Recommended User Guide
Render preview files on Mac
This lesson of our Filmora tutorial is dedicated to the Render Button that will ensure the smooth playback of video files and visual effects, you add to the timeline.
Latest Versions and Features for Mac
Find out the new features of Filmora Version 15 for Mac.
