For the Best Results, Use the Latest Version.
-
Preparations for Mac
-
Account (Mac)
-
Get Started & Basic Settings (Mac)
- Release notes for Mac
- Latest Versions and Features for Mac
- Get Started on Mac - Full Guide
- Download/register/uninstall on Mac
- Panel Layout on Mac
- Keyboard shortcuts on Mac
- Touchbar on Mac
- Change playback quality on Mac
- Render preview files on Mac
- Manage timeline on Mac
- Media for use on Mac
- Logo Reveal For Mac
- Marked Favorites for Mac
-
Compatibility & Tech Specs (Mac)
-
Performance Settings (Mac)
-
-
Creating Projects - Mac
-
Creating New Projects (Mac)
-
-
Importing & Recording - Mac
-
Importing (Mac)
-
Recording (Mac)
-
-
Video Editing for Mac
-
Basic Video Editing for Mac
- Edit Live Photos on Mac
- Enable/Disable Clip for Mac
- Magnetic Timeline For Mac
- Select All Clips on Timeline for Mac
- Auto Ripple for Mac
- Split & cut videos on Mac
- Compositing on Mac
- Crop and zoom on Mac
- Playback Zoom Level for Mac
- Change speed on Mac
- Play video in reverse on Mac
- Mark In and Mark Out for Mac
- Markers for Mac
- Group clips on Mac
- Customized Backgrounds for Videos and Images in Mac
- Video snapshot on Mac
- Freeze frame on Mac
- Auto enhance on Mac
- Applying Drop Shadow for Mac
- Adjustment Layer for Mac
- Mark clip on Mac
- Video Editing Ruler – Mac
- Apply Transforming for Mac
-
Advanced Video Editing for Mac
-
AI-Powered Video Editing for Mac
- Smart Scene Cut for Mac
- Smart Short Clips for Mac
- Image to Video for Mac
- AI Idea to Video for Mac
- AI Text-to-Video for Mac
- Instant Cutter Tool on Mac
- AI Face Mosaic for Mac
- Keyframe Path Curve for Mac
- Planar Tracking for Mac
- AI Extend For Mac
- AI Script-to-Video for Mac
- AI Text-Based Editing in Mac
- Create With Instant Mode on Mac
- ChatGPT Plugin - AI Copywriting on Mac
- AI Smart Cutout for Mac
- Auto reframe on Mac
- Lens correction on Mac
- AI Portrait Cutout on Mac
- Scene detection on Mac
- AI Smart Masking for Mac
- AI Mate Editing for Mac
- Motion Tracking on Mac
- Stabilize video on Mac
- AI Object Remover For Mac
- AI Smart Search for Mac
- AI Skin Tone Protection for Mac
- Green screen on Mac
- Super Slow Motion with Optical Flow for Mac
- AI stylizer on Mac
- Video Denoise for Mac
-
-
Audio Editing for Mac
-
Basic Audio Editing for Mac
-
Advanced Audio Editing for Mac
-
AI-Powered Audio Editing for Mac
- Audio To Video for Mac
- AI Sound Effect for Mac
- Smart BGM Generation for Mac
- AI Voice Enhancer for Mac
- Audio Stretch for Mac
- AI Audio Denoise for Mac
- Auto synchronization for Mac
- AI Vocal Remover for Mac
- Auto Beat Sync on Mac
- AI Music Generator for Mac
- How to Perform AI Voice Cloning in Wondershare Filmora?
- Silence detection on Mac
-
-
Text Editing for Mac
-
Basic Text Editing for Mac
-
Advanced Text Editing for Mac
-
AI-Powered Text Editing for Mac
-
-
Video Customizations for Mac
-
Video Effects (Mac)
-
Audio Effects (Mac)
-
Transitions (Mac)
-
Stickers (Mac)
-
Filters (Mac)
-
Color Editing (Mac)
-
Animations (Mac)
-
Templates (Mac)
-
Asset Center (Mac)
-
-
Exporting & Share & Cloud Backup - Mac
Select All Clips on Timeline for Mac
If you're editing in Filmora and want to speed up your workflow, knowing how to select clips both forwards and backwards on the timeline is essential. This feature allows you to select multiple clips at once, saving you time and effort when editing larger projects. In this guide, we'll show you how to quickly select clips forward and backward from your playhead's position.
Select All Clips Forwards in Filmora
When you need to select all clips from your current clip position to the beginning of your project or sequence, Filmora offers an easy way to do it. This method is useful when selecting everything that comes after a specific point in your timeline.
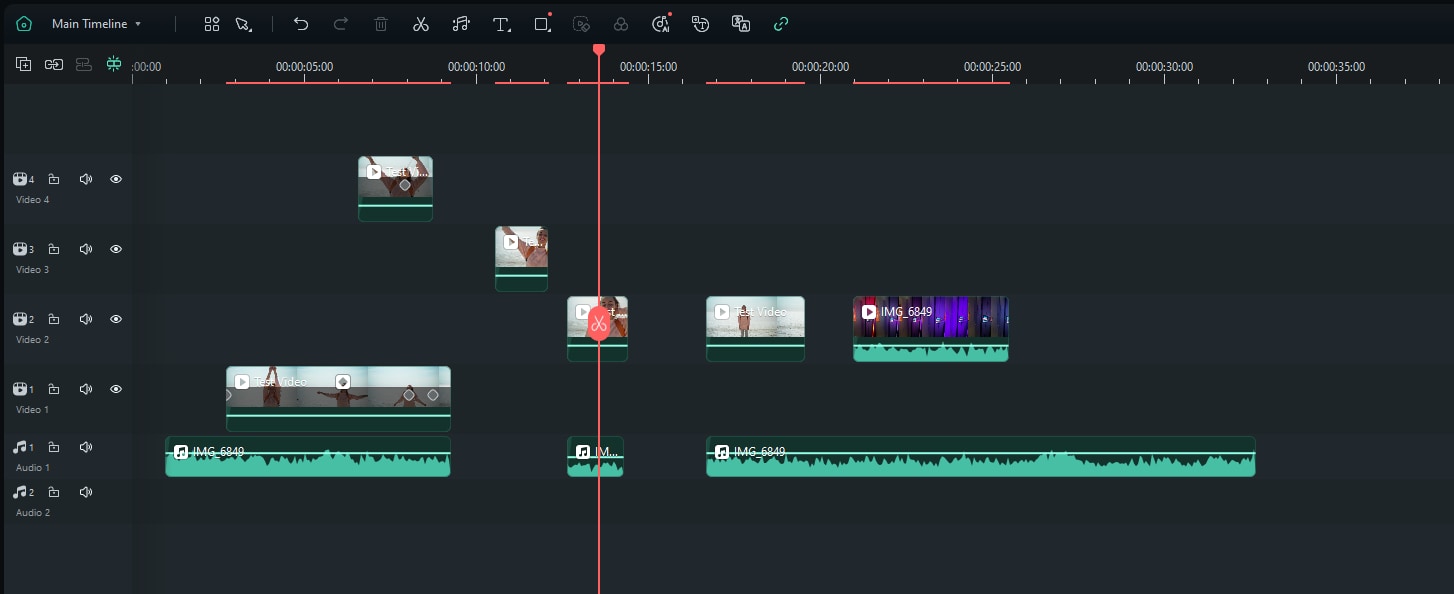
1. Position the Cursor:
Move the cursor to where you want to select clips on the timeline.
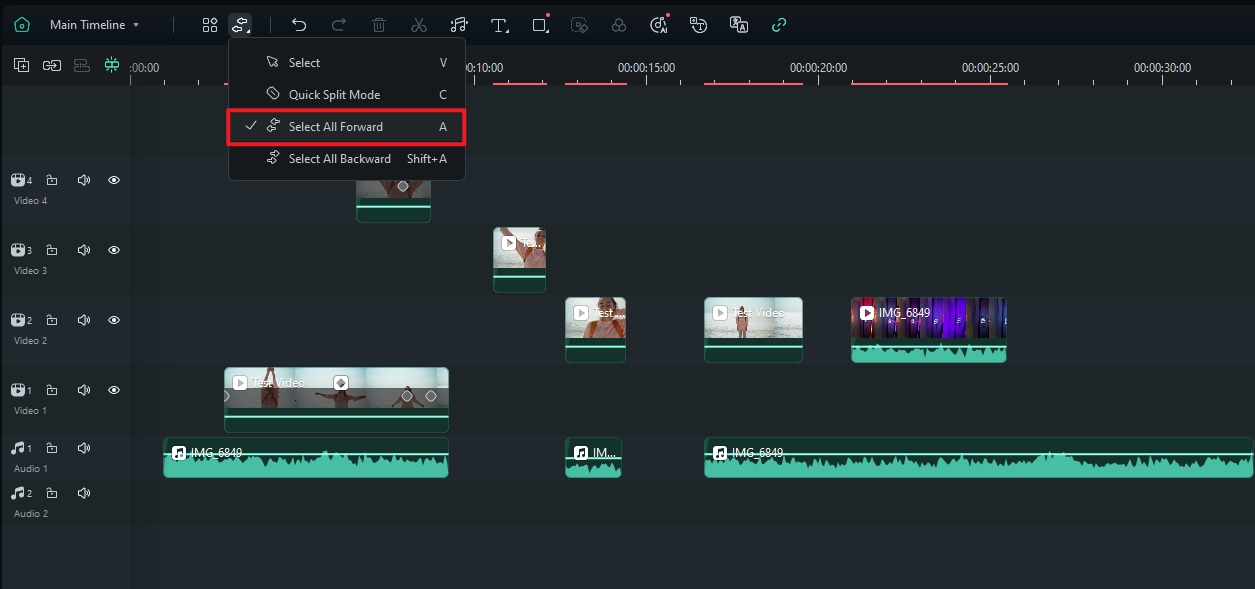
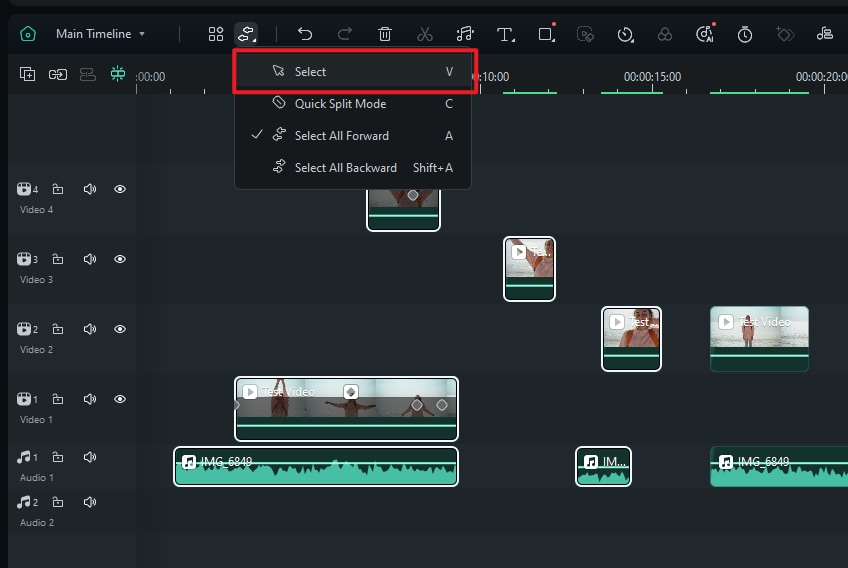
2. Click on 'Select All Foward' or Use shortcut 'A':
You can choose 'Select All Forward' or use shortcut 'A' to select all clips on every track, including audio tracks and video tracks.
Click on the clip that last clip you want to move.
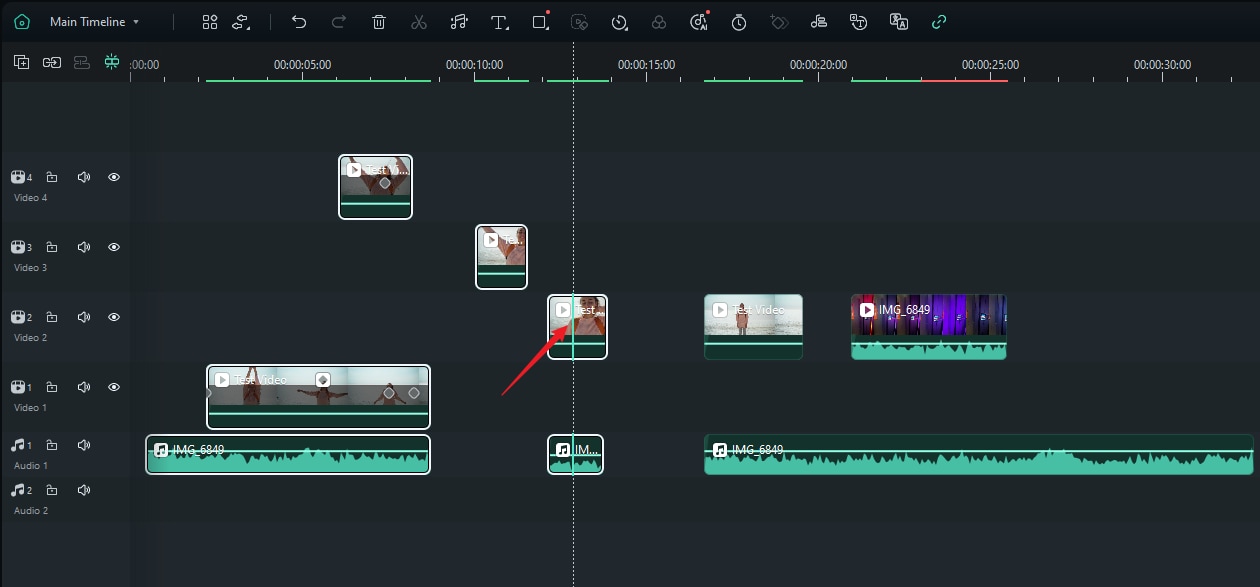
Then all clips before the last clip would be selected, you can drag any of these clips to move all clips.
3. Unselect All Clips:
Once you've selected the clips forwards, you can move them, delete them, or apply effects. You can also unselect them. Just choose 'Select' or use shortcut V.
Select All Clips Backwards in Filmora
Sometimes you might need to select clips to the left of your playhead, including all the clips before your current position on the timeline. While Filmora doesn't support a one-click shortcut for selecting backwards like Premiere Pro, you can still achieve this with a few easy steps.
1. Position the Cursor:
Move the cursor to where you want to select clips on the timeline.
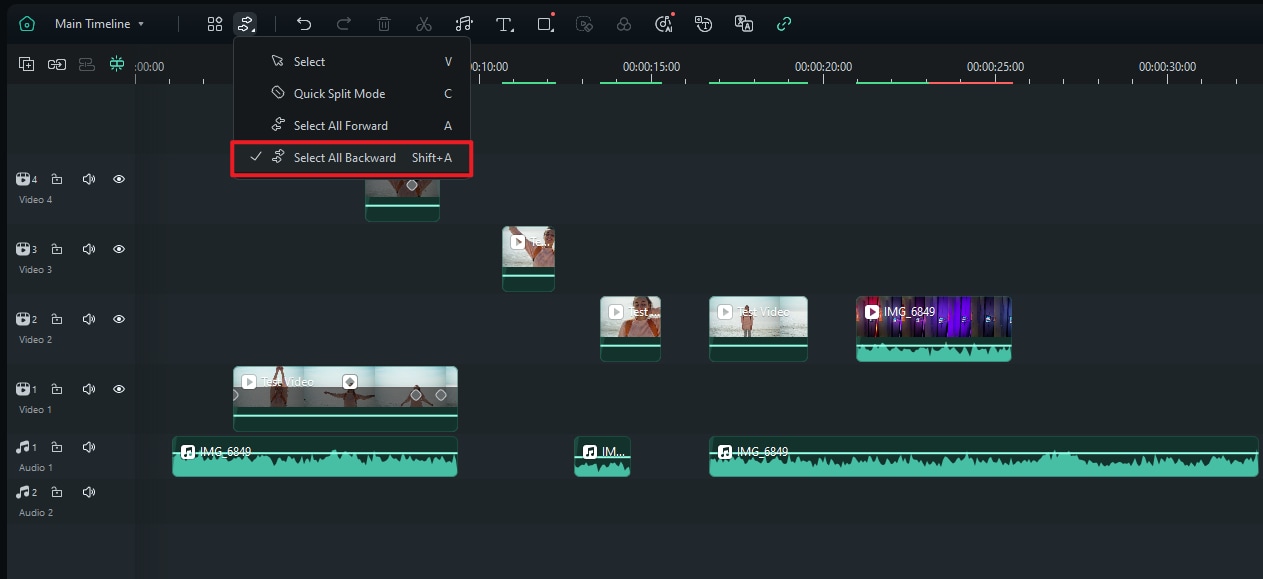
2. Click on 'Select All Backward' or Use shortcut 'Shift+A':
You can choose 'Select All Backward' or use shortcut 'Shift+A' to select all clips on every track, including audio tracks and video tracks.
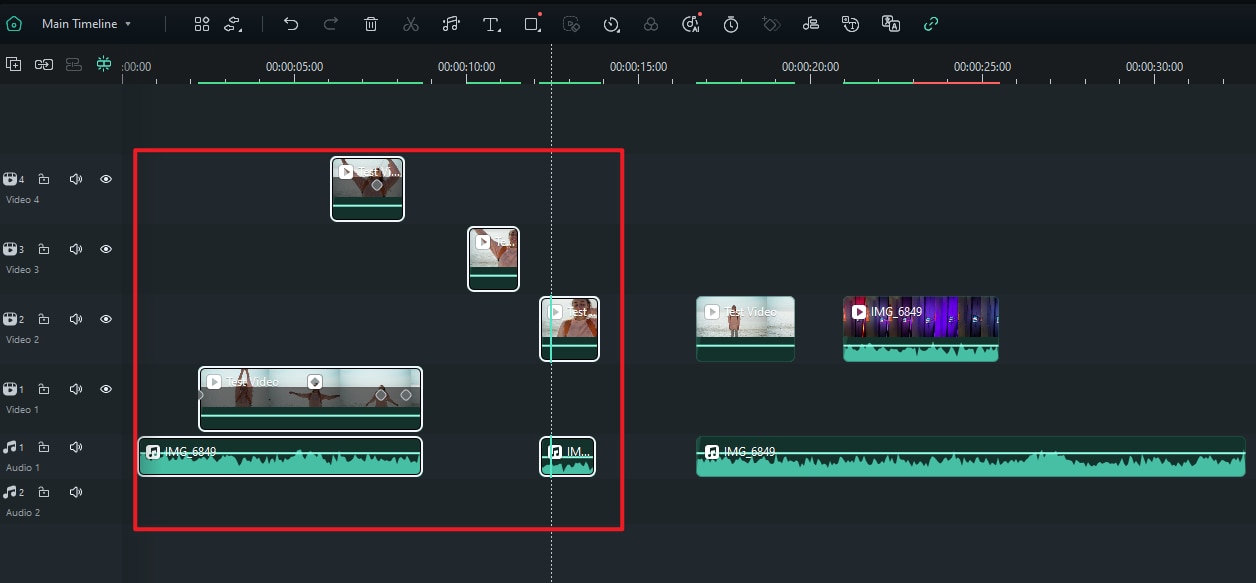
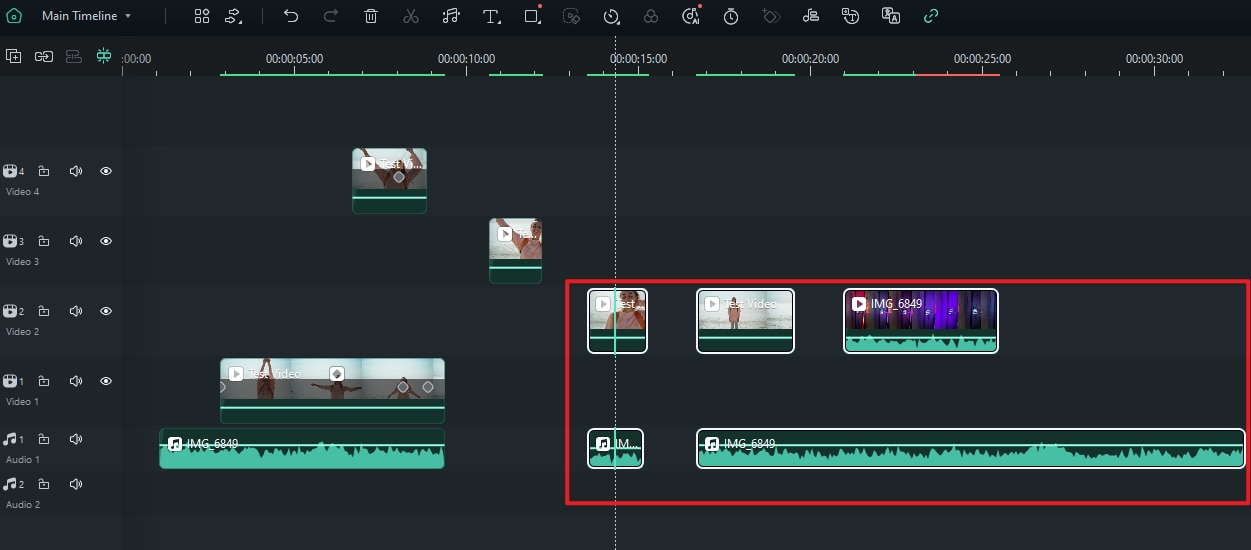
Click on the first clip in the group of clips you want to select.
Then all clips after the first clip would be selected, you can drag any of these clips to move all clips.
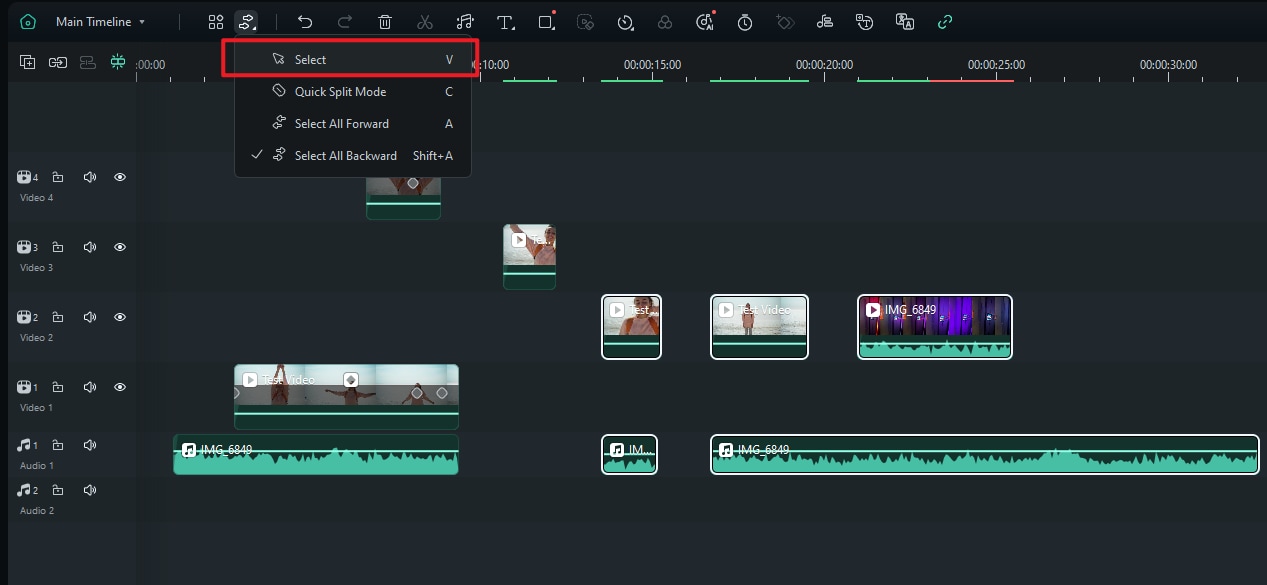
3. Unselect All Clips:
Once you've selected the clips forwards, you can move them, delete them, or apply effects. You can also unselect them. Just choose 'Select' or use shortcut V.
Why This Feature Is Useful
Being able to select clips forwards or backwards allows you to quickly modify sections of your project without having to select clips one by one. Whether you're editing a large multi-track sequence or making adjustments to specific sections of your project, this method speeds up the editing process and keeps your workflow smooth.
Related Posts
Featured Articles
Anniversary Video Maker: Fast & Easy with Templates
Is your wedding anniversary around the corner? Go through this guide and learn how to make a video for the anniversary to make your partner happy.
Audio to Video Maker: Get Stunning Videos From Podcasts and Music!
Convert audio to engaging videos quickly with AI-powered audio to video makers like Wondershare Filmora. Create professional videos from podcasts or music with ease.
The Best Way to Separate Voice From Background Noise [With Tips]
This guide will show you how to isolate voice from background noise in your video to help you streamline the audio/video editing process.
Recommended User Guide
Adjustment Layer for Mac
This guide shows how to add one layer to adjust several clips. The effects applied to an adjustment layer affect all layers below it in the layer stacking order. You only need to edit the layer, dragging the transitions and effects on the layer, to apply the effects to the layers below it.
Playback Zoom Level for Mac
Filmora is a professional video editing software with many editing features working together at the backend.
Edit Live Photos on Mac
edit Live Photos on mac
