For the Best Results, Use the Latest Version.
-
Preparations for Mac
-
Account (Mac)
-
Get Started & Basic Settings (Mac)
- Release notes for Mac
- Latest Versions and Features for Mac
- Get Started on Mac - Full Guide
- Download/register/uninstall on Mac
- Panel Layout on Mac
- Keyboard shortcuts on Mac
- Touchbar on Mac
- Change playback quality on Mac
- Render preview files on Mac
- Manage timeline on Mac
- Media for use on Mac
- Logo Reveal For Mac
- Marked Favorites for Mac
-
Compatibility & Tech Specs (Mac)
-
Performance Settings (Mac)
-
-
Creating Projects - Mac
-
Creating New Projects (Mac)
-
-
Importing & Recording - Mac
-
Importing (Mac)
-
Recording (Mac)
-
-
Video Editing for Mac
-
Basic Video Editing for Mac
- Edit Live Photos on Mac
- Enable/Disable Clip for Mac
- Magnetic Timeline For Mac
- Select All Clips on Timeline for Mac
- Auto Ripple for Mac
- Split & cut videos on Mac
- Compositing on Mac
- Crop and zoom on Mac
- Playback Zoom Level for Mac
- Change speed on Mac
- Play video in reverse on Mac
- Mark In and Mark Out for Mac
- Markers for Mac
- Group clips on Mac
- Customized Backgrounds for Videos and Images in Mac
- Video snapshot on Mac
- Freeze frame on Mac
- Auto enhance on Mac
- Applying Drop Shadow for Mac
- Adjustment Layer for Mac
- Mark clip on Mac
- Video Editing Ruler – Mac
- Apply Transforming for Mac
-
Advanced Video Editing for Mac
-
AI-Powered Video Editing for Mac
- Smart Scene Cut for Mac
- Smart Short Clips for Mac
- Image to Video for Mac
- AI Idea to Video for Mac
- AI Text-to-Video for Mac
- Instant Cutter Tool on Mac
- AI Face Mosaic for Mac
- Keyframe Path Curve for Mac
- Planar Tracking for Mac
- AI Extend For Mac
- AI Script-to-Video for Mac
- AI Text-Based Editing in Mac
- Create With Instant Mode on Mac
- ChatGPT Plugin - AI Copywriting on Mac
- AI Smart Cutout for Mac
- Auto reframe on Mac
- Lens correction on Mac
- AI Portrait Cutout on Mac
- Scene detection on Mac
- AI Smart Masking for Mac
- AI Mate Editing for Mac
- Motion Tracking on Mac
- Stabilize video on Mac
- AI Object Remover For Mac
- AI Smart Search for Mac
- AI Skin Tone Protection for Mac
- Green screen on Mac
- Super Slow Motion with Optical Flow for Mac
- AI stylizer on Mac
- Video Denoise for Mac
-
-
Audio Editing for Mac
-
Basic Audio Editing for Mac
-
Advanced Audio Editing for Mac
-
AI-Powered Audio Editing for Mac
- Audio To Video for Mac
- AI Sound Effect for Mac
- Smart BGM Generation for Mac
- AI Voice Enhancer for Mac
- Audio Stretch for Mac
- AI Audio Denoise for Mac
- Auto synchronization for Mac
- AI Vocal Remover for Mac
- Auto Beat Sync on Mac
- AI Music Generator for Mac
- How to Perform AI Voice Cloning in Wondershare Filmora?
- Silence detection on Mac
-
-
Text Editing for Mac
-
Basic Text Editing for Mac
-
Advanced Text Editing for Mac
-
AI-Powered Text Editing for Mac
-
-
Video Customizations for Mac
-
Video Effects (Mac)
-
Audio Effects (Mac)
-
Transitions (Mac)
-
Stickers (Mac)
-
Filters (Mac)
-
Color Editing (Mac)
-
Animations (Mac)
-
Templates (Mac)
-
Asset Center (Mac)
-
-
Exporting & Share & Cloud Backup - Mac
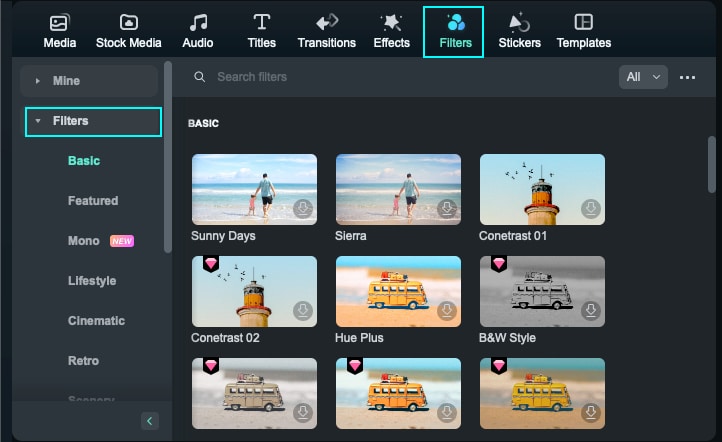
Filters for Mac
Wondershare Filmora enables you to add as many filters as you want. You can add or customize the filters to create a brilliant video. Learn how to add, remove, customize, and favorite Filmora Filters.
Filmora offers hundreds of filters to help you create amazing videos. Just follow the steps below to figure out how to use it.
Add Filters
There are three ways to add filters to a video:
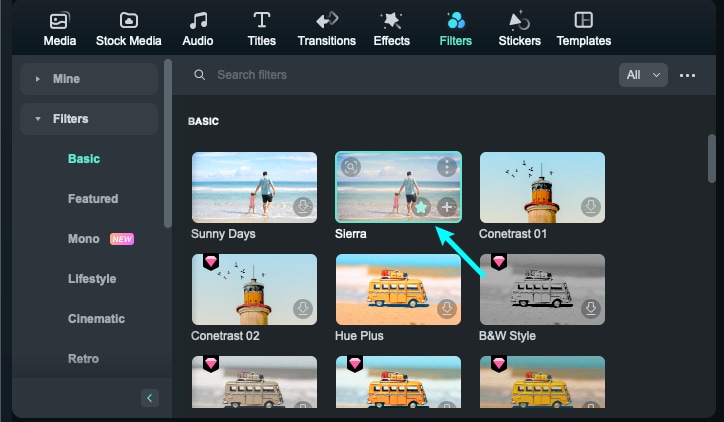
Method 1: Open your project, go to the Filter tab, and then select the filter that you want and add it to your project.
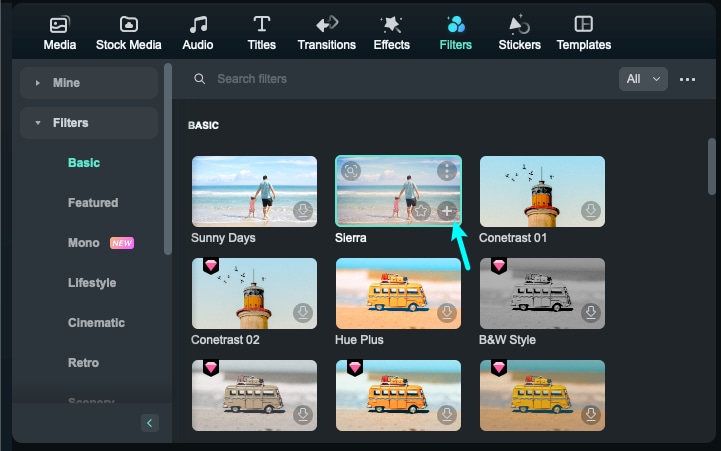
Method 2: Hover your mouse over the filter you want. When you see a Plus icon in the middle, click it. Then the filter will be added to the timeline.
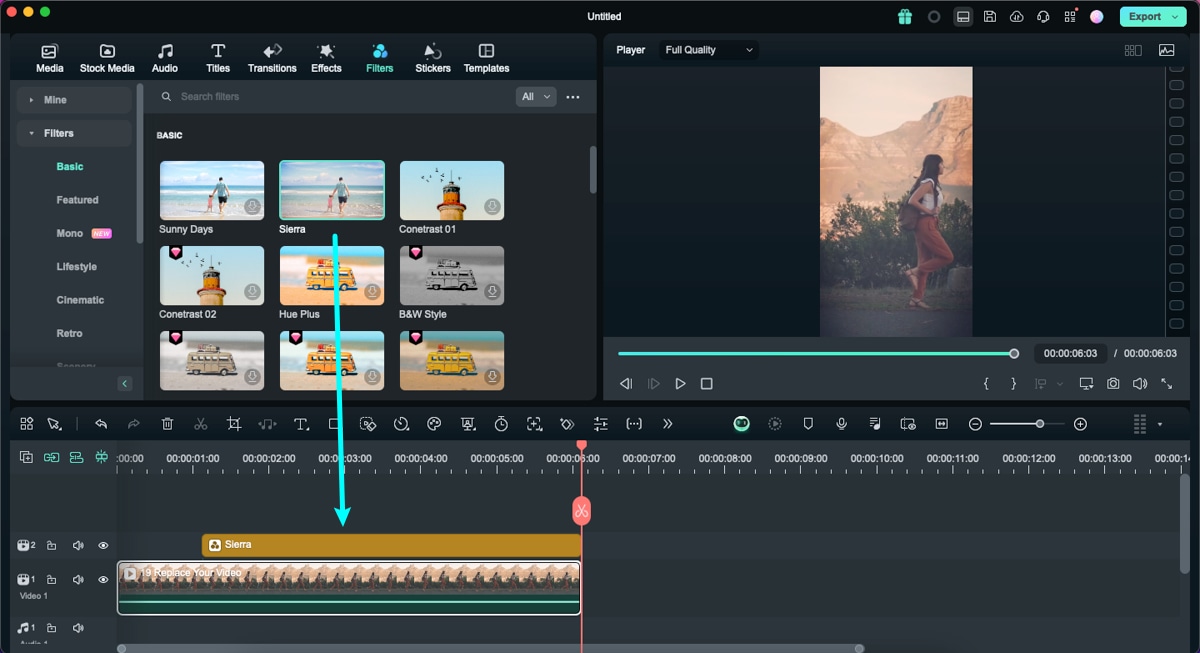
Method 3: Drag the filter and drop it directly onto the video clip in your timeline that you want to add it to. Filters will be applied to the whole video clip this way.
Note:
If you are editing a portrait (9:16) clip in a 16:9 video, you can add background blur filters to replace the black bars.Customize Filters
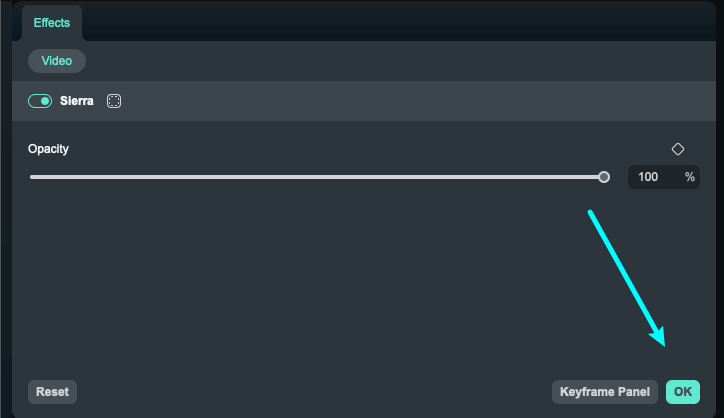
Wondershare Filmora enables you to change the duration or opacity of filters.
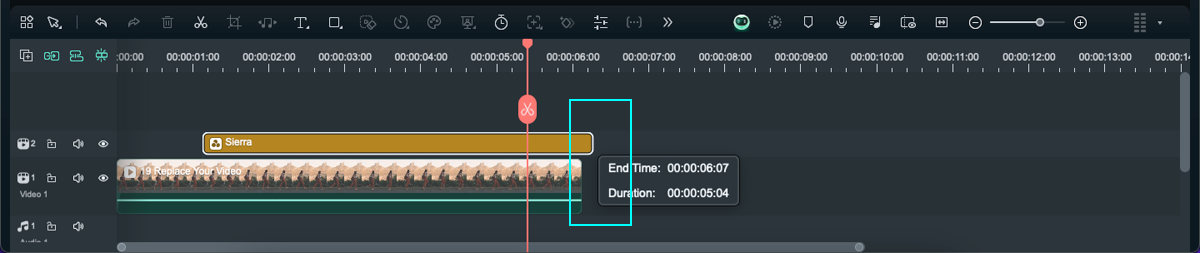
To change the duration
The default length is five seconds, but you can change its duration by dragging the edge of the effect in your timeline.
To Change the Alpha Opacity of a Filter
The alpha opacity (transparency) property has a value of 0-100. The lower the number is, the more transparent the filter is. You can double-click on the filter in the timeline to customize its opacity. Then in the Preview Window to view the effect.
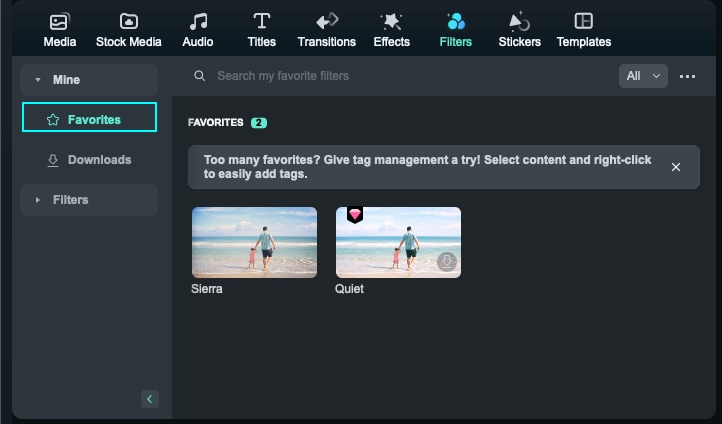
Favorite Filters
Right-click on a filter in the Filters menu and select Add to Favorite. Then, go to the Favorite category to find it again quickly.
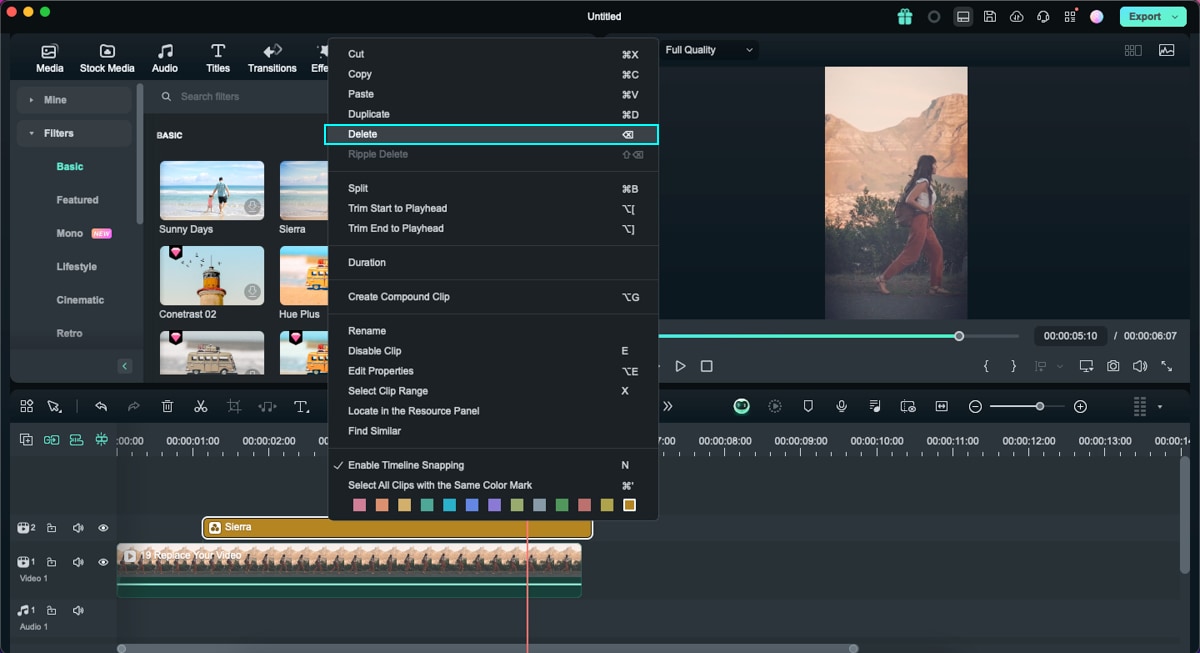
Remove Filters
There are two ways to remove filters from your project:
Method 1: Select the filter in the timeline and click Delete.

Method 2: Right-click on the filter in the timeline and select Delete from the menu.
Related Posts
Featured Articles
Updated | 10 Best Omegle Alternatives That Are Worth Exploring
Want an Omegle alternative to connect with people having similar interests? Read this article, which mentions the top 10 Omegle alternatives.
Morphing in Premiere Pro: What is It and How to Do It?
This guide explains how to apply the morph cut transition effect in Premiere Pro. For an easier option, stick around until the end.
Create Memes Like a Pro: Top 20 Best Meme Templates
Get inspired with the best meme templates from all kinds of content. Customize them to fit your style and message, and make memorable and shareable memes.
