For the Best Results, Use the Latest Version.
-
Preparations for Mac
-
Account (Mac)
-
Get Started & Basic Settings (Mac)
- Release notes for Mac
- Latest Versions and Features for Mac
- Get Started on Mac - Full Guide
- Download/register/uninstall on Mac
- Panel Layout on Mac
- Keyboard shortcuts on Mac
- Touchbar on Mac
- Change playback quality on Mac
- Render preview files on Mac
- Manage timeline on Mac
- Media for use on Mac
- Logo Reveal For Mac
- Marked Favorites for Mac
-
Compatibility & Tech Specs (Mac)
-
Performance Settings (Mac)
-
-
Creating Projects - Mac
-
Creating New Projects (Mac)
-
-
Importing & Recording - Mac
-
Importing (Mac)
-
Recording (Mac)
-
-
Video Editing for Mac
-
Basic Video Editing for Mac
- Edit Live Photos on Mac
- Enable/Disable Clip for Mac
- Magnetic Timeline For Mac
- Select All Clips on Timeline for Mac
- Auto Ripple for Mac
- Split & cut videos on Mac
- Compositing on Mac
- Crop and zoom on Mac
- Playback Zoom Level for Mac
- Change speed on Mac
- Play video in reverse on Mac
- Mark In and Mark Out for Mac
- Markers for Mac
- Group clips on Mac
- Customized Backgrounds for Videos and Images in Mac
- Video snapshot on Mac
- Freeze frame on Mac
- Auto enhance on Mac
- Applying Drop Shadow for Mac
- Adjustment Layer for Mac
- Mark clip on Mac
- Video Editing Ruler – Mac
- Apply Transforming for Mac
-
Advanced Video Editing for Mac
-
AI-Powered Video Editing for Mac
- Smart Scene Cut for Mac
- Smart Short Clips for Mac
- Image to Video for Mac
- AI Idea to Video for Mac
- AI Text-to-Video for Mac
- Instant Cutter Tool on Mac
- AI Face Mosaic for Mac
- Keyframe Path Curve for Mac
- Planar Tracking for Mac
- AI Extend For Mac
- AI Script-to-Video for Mac
- AI Text-Based Editing in Mac
- Create With Instant Mode on Mac
- ChatGPT Plugin - AI Copywriting on Mac
- AI Smart Cutout for Mac
- Auto reframe on Mac
- Lens correction on Mac
- AI Portrait Cutout on Mac
- Scene detection on Mac
- AI Smart Masking for Mac
- AI Mate Editing for Mac
- Motion Tracking on Mac
- Stabilize video on Mac
- AI Object Remover For Mac
- AI Smart Search for Mac
- AI Skin Tone Protection for Mac
- Green screen on Mac
- Super Slow Motion with Optical Flow for Mac
- AI stylizer on Mac
- Video Denoise for Mac
-
-
Audio Editing for Mac
-
Basic Audio Editing for Mac
-
Advanced Audio Editing for Mac
-
AI-Powered Audio Editing for Mac
- Audio To Video for Mac
- AI Sound Effect for Mac
- Smart BGM Generation for Mac
- AI Voice Enhancer for Mac
- Audio Stretch for Mac
- AI Audio Denoise for Mac
- Auto synchronization for Mac
- AI Vocal Remover for Mac
- Auto Beat Sync on Mac
- AI Music Generator for Mac
- How to Perform AI Voice Cloning in Wondershare Filmora?
- Silence detection on Mac
-
-
Text Editing for Mac
-
Basic Text Editing for Mac
-
Advanced Text Editing for Mac
-
AI-Powered Text Editing for Mac
-
-
Video Customizations for Mac
-
Video Effects (Mac)
-
Audio Effects (Mac)
-
Transitions (Mac)
-
Stickers (Mac)
-
Filters (Mac)
-
Color Editing (Mac)
-
Animations (Mac)
-
Templates (Mac)
-
Asset Center (Mac)
-
-
Exporting & Share & Cloud Backup - Mac
Transitions for Mac
A transition is an effect added between pieces of media to create an animated link between them. Transitions can help your movie switch smoothly from one scene to the next. Filmora offers different types of video transitions to help you create smoother videos without noticeable cuts and breaks.
Each of the video transition categories includes multiple transition templates. You can find them under Transitions tab.
Upon reading this guide, you will learn about the workflow of transitions on Mac.
Index
Find Transition
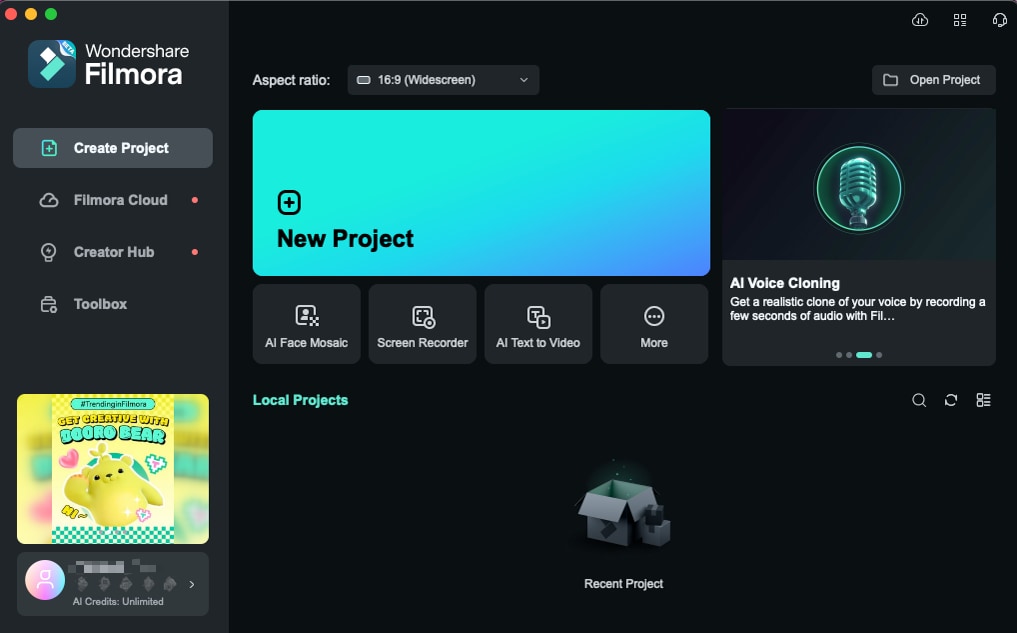
Double-click on the app's desktop icon, and once the welcome window pops up on the screen click on the New Project option.
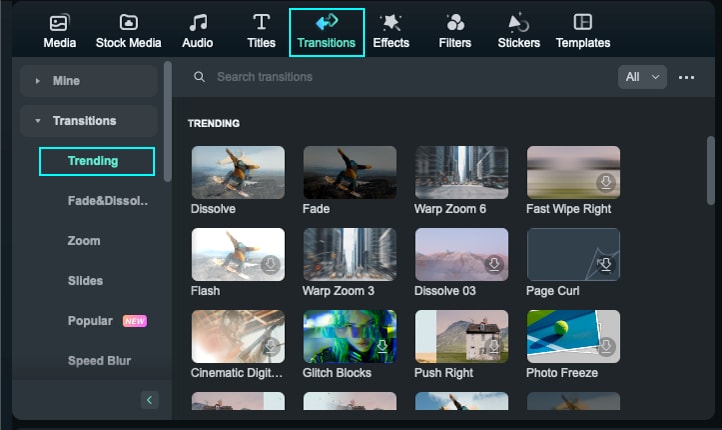
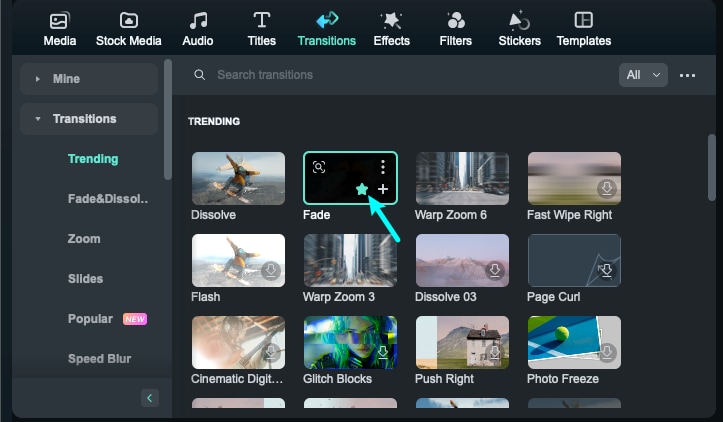
In the upper left corner of the editor's main window, you'll be able to see a few tabs, like Audio, Titles and Effects. Click on the Transitions tab. Click into the Transitions tab to see the available transitions.
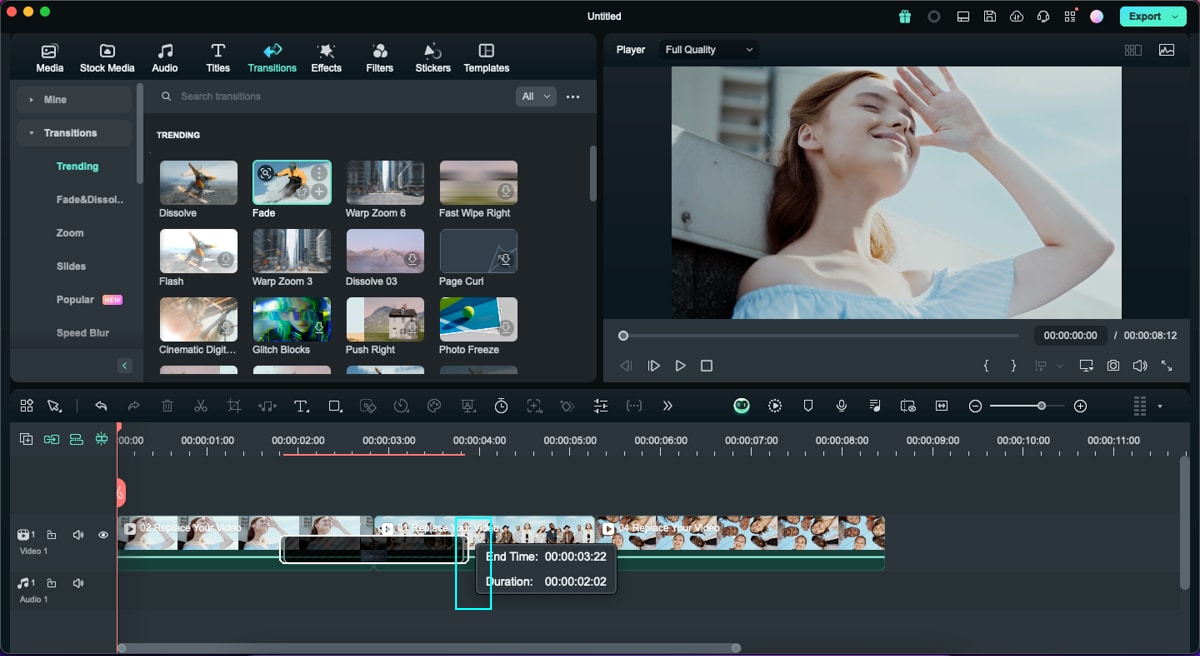
Add Transitions
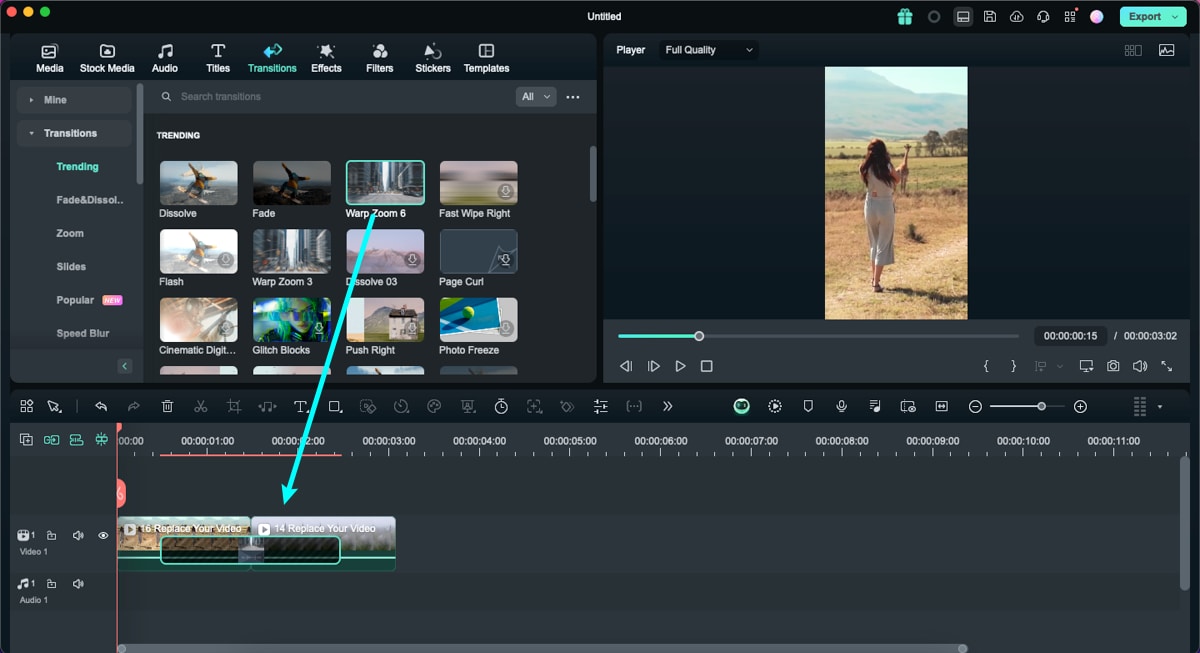
Method 1: Drag the Transition to the Timeline
Find a transition you want to use in your project, drag and drop it to the desired location on the timeline.
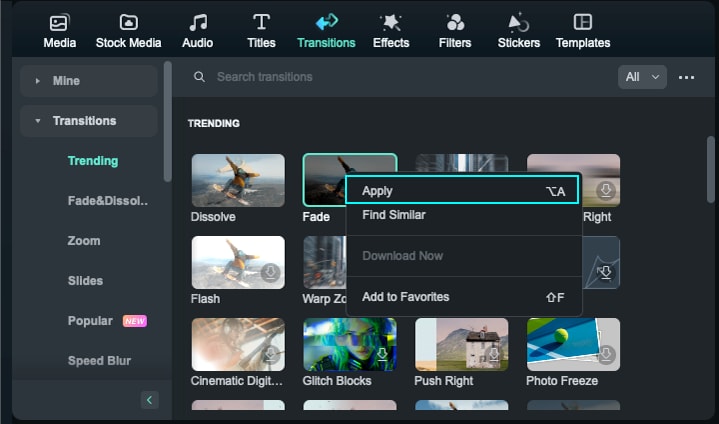
Method 2: Apply the Transitions
Instead of dragging and dropping the transition you can also place the playhead at the exact spot on the timeline where you want to add a transition, right-click on a transition you want to add, and select Apply.
You can also use the Apply to All option if you would like to add the same transition to all video clips in your project. To add a random transition to all video clips, choose Random to All.
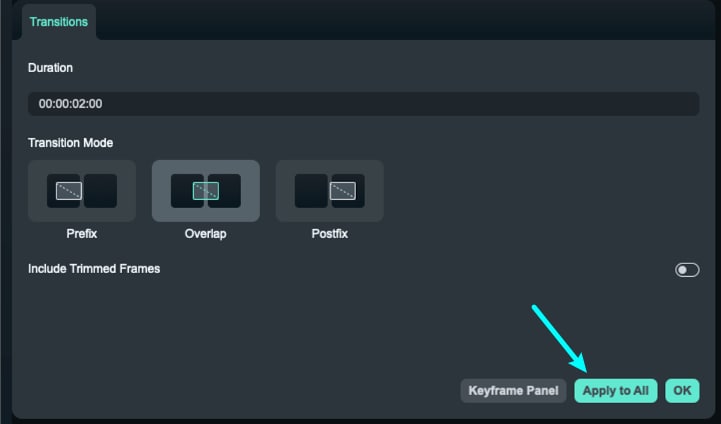
Adjust Transitions
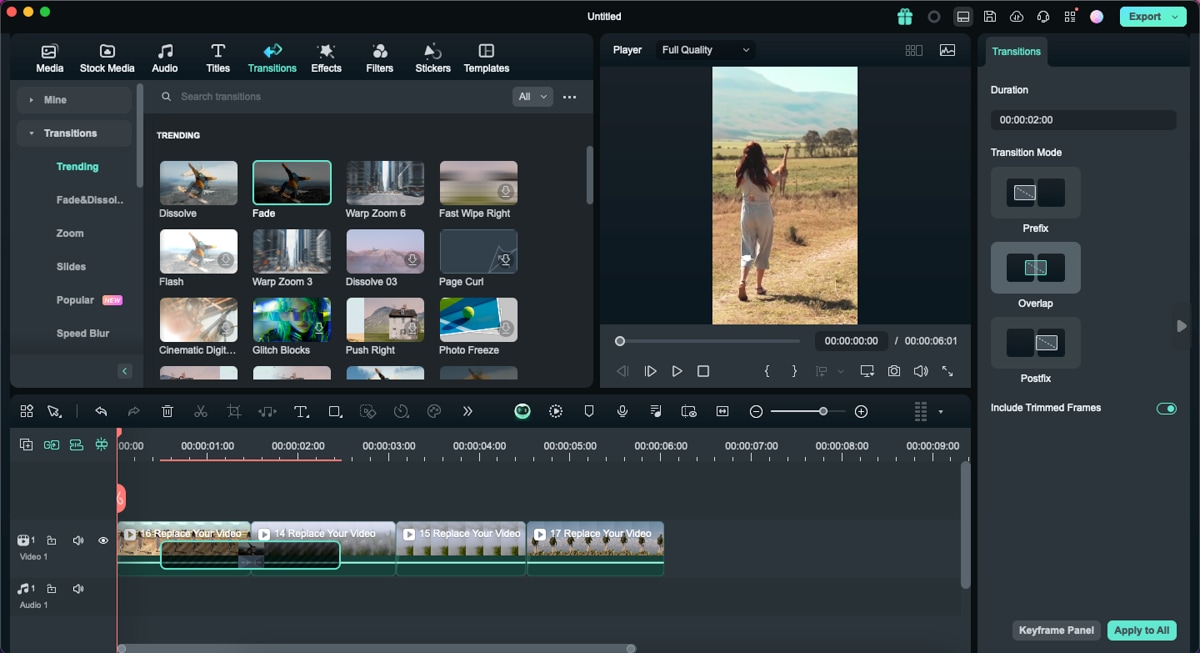
After dragging the transition to the timeline, you can double-click the transition to adjust the duration and the position. Usually, the default duration is 2 seconds. Filmora offers many types of transitions and the ability to customize the properties of the transitions.
Step 1: Open the edit menu
To do that, you can right-click on the transition on the timeline, and a small menu will pop up.

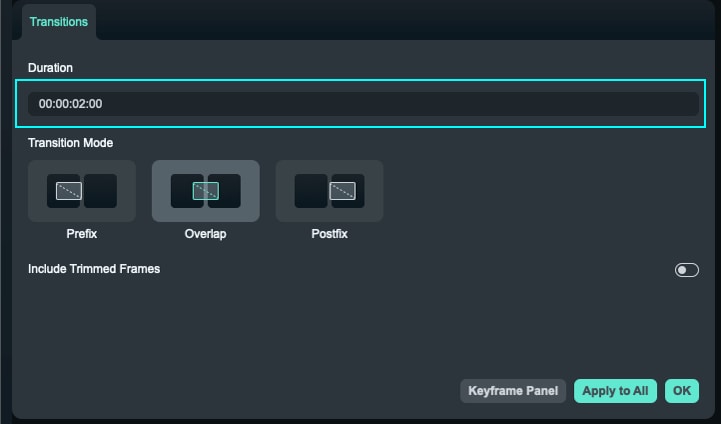
Step 2: Change the Duration
Method 1: You can right-click on the transition you've added and select Duration from the menu. Change the duration in the pop-up Duration Settings window and Click OK to apply the change.
Method 2: Once you've added a transition to the timeline, you can alter its duration by dragging one of its edges in the timeline.
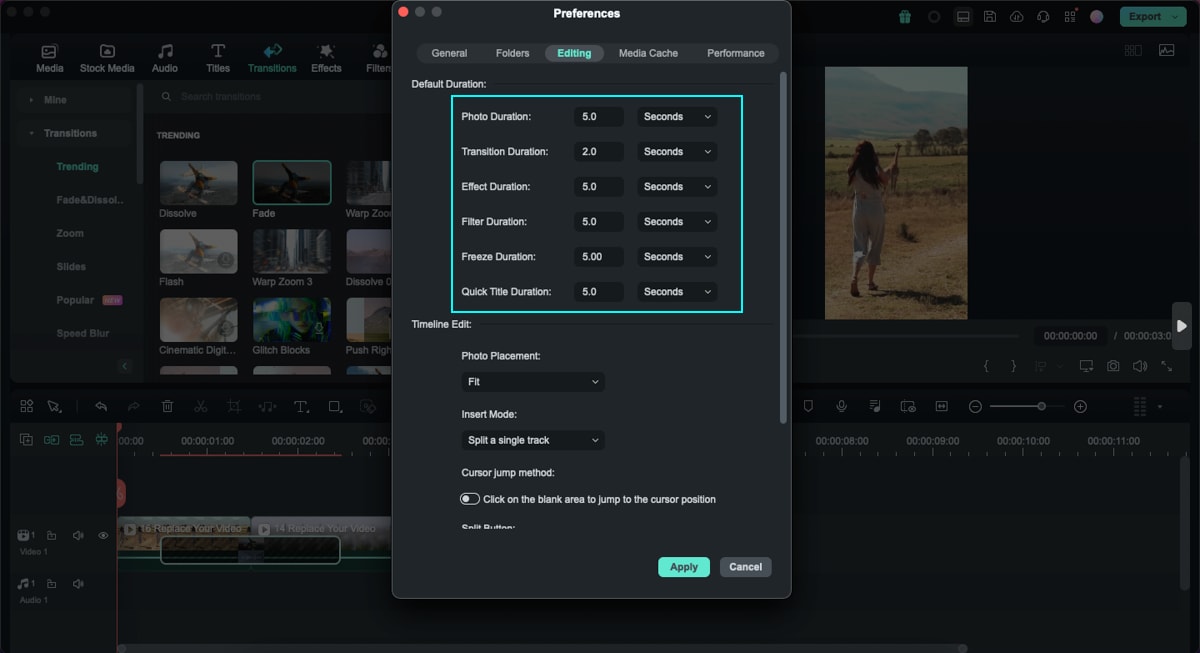
Method 3: Select Preferences under the Wondershare Filmora menu to change the default duration and switch to the Editing Tab. Find the “Transition Duration” and enter the new duration. This will become the new default duration for all transitions in your project.
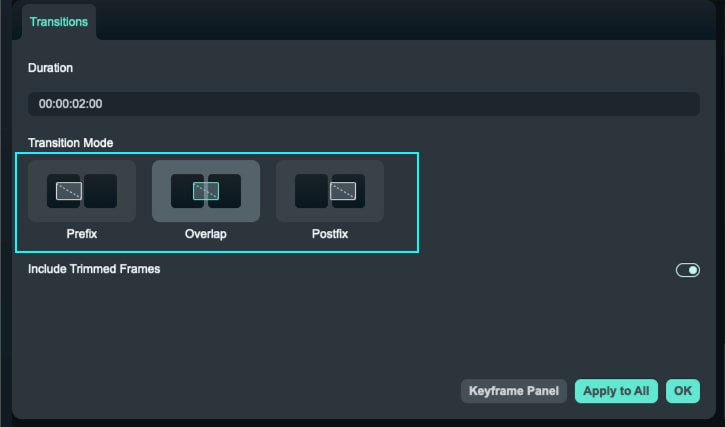
Step 3: Transition Mode
You can also change more options of the transition by selecting Show properties. You can also select a Transition Mode in this menu to determine how your transition will sit between the clips. You can choose from Overlap, Prefix, and Postfix.
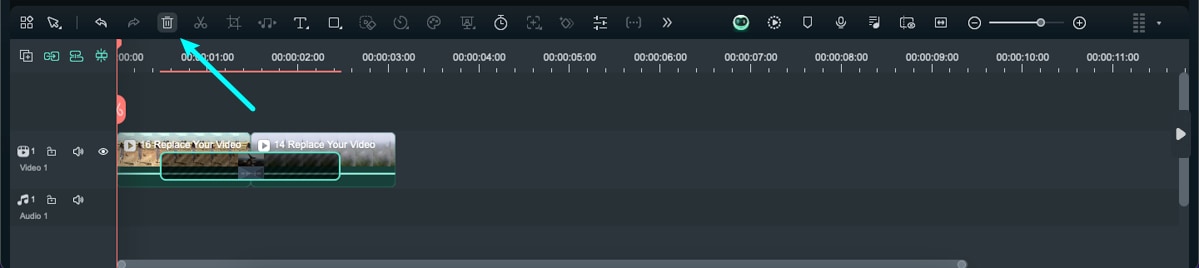
Remove Transitions
Select the transition you want to remove from the timeline and hit the "Delete" button.
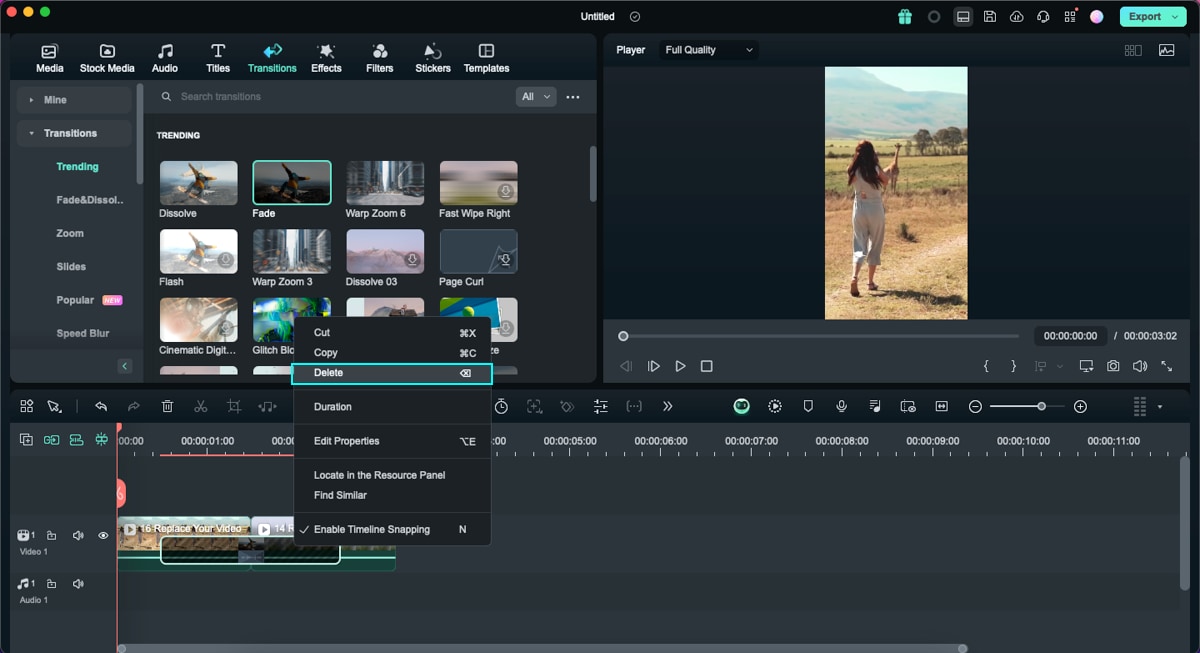
Or right-click on the transition in the timeline and select the "Delete" option from the menu.
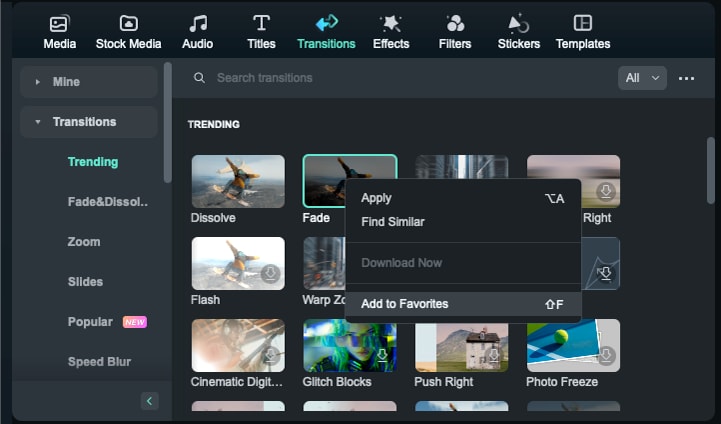
Favorite Transitions
If you especially love a transition, you can add it to Favorite by right clicking transition in the list and selecting "Add to Favorites" from the menu.
Note:
Keep in mind that if you are applying a transition, you need to make sure that you've placed a video clip on the timeline.Or you can also choose the transition as your requirement. You will see a "Star" shape on the top right. Click the "Star" into the green.
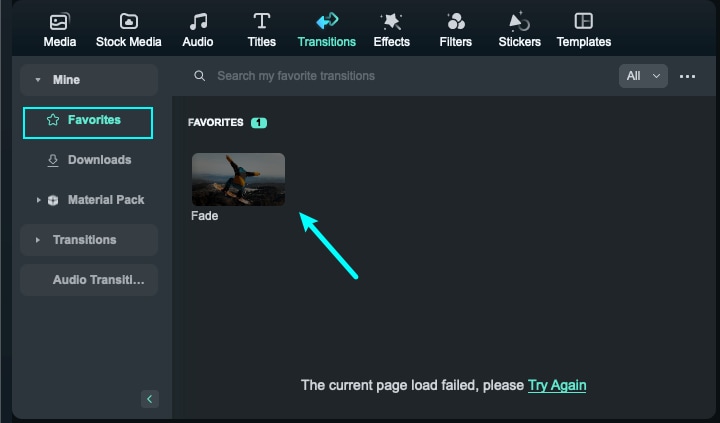
You can check your favorite transitions from the left drop-down list Mine- Favorites.
Batch Apply Transitions
Once you've added a transition to your video clip within the timeline, you can now batch apply a single transition to the video with a define duration. After adding one transition across the timeline, set the "Transition Mode" and "Duration" before selecting "Apply to All" button.
Randomly Apply Transitions to Selected Clips
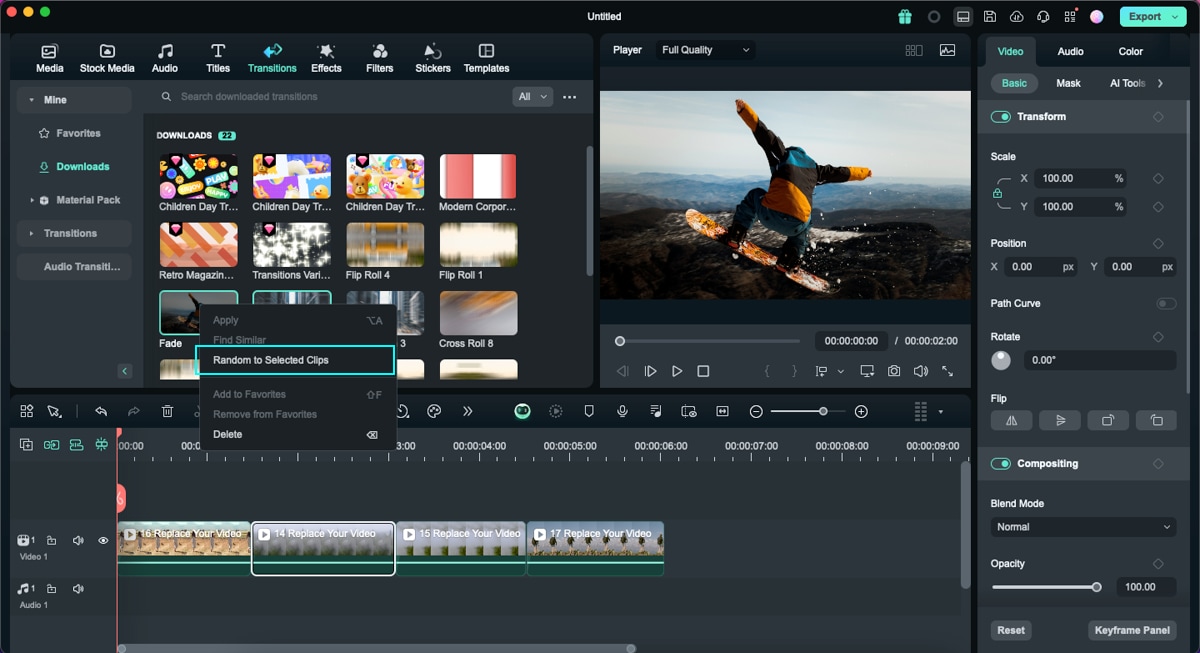
Wondershare Filmora now allows you to randomly apply a selected set of transitions to your video clips. For that, select the video clips across which you wish to apply the transitions and navigate to the "Downloads" sub-section in the "Mine" category of the "Transitions" tab.
With the selected clips, press the "CTRL" button on your keyboard and select the transitions you want to apply. Right-click after the selection and press the "Random to Selected Clips" button to apply the transitions.
Related Posts
Featured Articles
Best Methods to Add Corner Pin Effect to Videos
Are you wondering how you can use the corner pin effect on your videos? Here is a guide on how to use a corner pin.
Google Universal Translator: The Best Tool for Video Creators?
Explore how Google's Universal Translator helps video creators, as well as how advanced AI features like voice cloning, lip-syncing, and subtitle editing are essential for seamless multilingual video content creation.
Guide on How To Find and Add Background Music to YouTube Video
Figure out the most popular background music for your YouTube videos and apply AI-Powered tool to add BGM for YouTube videos,
