For the Best Results, Use the Latest Version.
-
Preparations for Mac
-
Account (Mac)
-
Get Started & Basic Settings (Mac)
- Release notes for Mac
- Latest Versions and Features for Mac
- Get Started on Mac - Full Guide
- Download/register/uninstall on Mac
- Panel Layout on Mac
- Keyboard shortcuts on Mac
- Touchbar on Mac
- Change playback quality on Mac
- Render preview files on Mac
- Manage Timeline on Mac
- Media for use on Mac
- Logo Reveal For Mac
- Marked Favorites for Mac
-
Compatibility & Tech Specs (Mac)
-
Performance Settings (Mac)
-
-
Creating Projects - Mac
-
Creating New Projects (Mac)
-
-
Importing & Recording - Mac
-
Importing (Mac)
-
Recording (Mac)
-
-
Video Editing for Mac
-
Basic Video Editing for Mac
- Edit Live Photos on Mac
- Enable/Disable Clip for Mac
- Magnetic Timeline For Mac
- Dual Monitor Setup for Video Editing on Mac
- Select All Clips on Timeline for Mac
- Auto Ripple for Mac
- Split & cut videos on Mac
- Compositing on Mac
- Crop and zoom on Mac
- Playback Zoom Level for Mac
- Change speed on Mac
- Play video in reverse on Mac
- Mark In and Mark Out for Mac
- Markers for Mac
- Group clips on Mac
- Customized Backgrounds for Videos and Images in Mac
- Video snapshot on Mac
- Freeze frame on Mac
- Auto enhance on Mac
- Applying Drop Shadow for Mac
- Adjustment Layer for Mac
- Mark clip on Mac
- Video Editing Ruler – Mac
- Apply Transforming for Mac
-
Advanced Video Editing for Mac
-
AI-Powered Video Editing for Mac
- Smart Scene Cut for Mac
- Smart Short Clips for Mac
- Image to Video for Mac
- AI Idea to Video for Mac
- AI Text-to-Video for Mac
- Instant Cutter Tool on Mac
- AI Face Mosaic for Mac
- Keyframe Path Curve for Mac
- Planar Tracking for Mac
- AI Extend For Mac
- AI Script-to-Video for Mac
- AI Text-Based Editing in Mac
- Create With Instant Mode on Mac
- ChatGPT Plugin - AI Copywriting on Mac
- AI Smart Cutout for Mac
- Auto reframe on Mac
- Lens correction on Mac
- AI Portrait Cutout on Mac
- Scene detection on Mac
- AI Smart Masking for Mac
- AI Mate Editing for Mac
- Motion Tracking on Mac
- Stabilize video on Mac
- AI Object Remover For Mac
- AI Smart Search for Mac
- AI Skin Tone Protection for Mac
- Green screen on Mac
- Super Slow Motion with Optical Flow for Mac
- AI stylizer on Mac
- Video Denoise for Mac
-
-
Audio Editing for Mac
-
Basic Audio Editing for Mac
-
Advanced Audio Editing for Mac
-
AI-Powered Audio Editing for Mac
- Audio To Video for Mac
- AI Sound Effect for Mac
- Smart BGM Generation for Mac
- AI Voice Enhancer for Mac
- Audio Stretch for Mac
- AI Audio Denoise for Mac
- Auto synchronization for Mac
- AI Vocal Remover for Mac
- Auto Beat Sync on Mac
- AI Music Generator for Mac
- How to Perform AI Voice Cloning in Wondershare Filmora?
- Silence detection on Mac
-
-
Text Editing for Mac
-
Basic Text Editing for Mac
-
Advanced Text Editing for Mac
-
AI-Powered Text Editing for Mac
-
-
Video Customizations for Mac
-
Video Effects (Mac)
-
Audio Effects (Mac)
-
Transitions (Mac)
-
Stickers (Mac)
-
Filters (Mac)
-
Color Editing (Mac)
-
Animations (Mac)
-
Templates (Mac)
-
Asset Center (Mac)
-
-
Exporting & Share & Cloud Backup - Mac
Video Compressor on Mac
Are you looking to share videos without hassle? Filmora makes it easy to shrink your video files by up to 90% at an astonishing 47x faster speed, perfect for social media and email. Enjoy seamless conversions to popular formats like MP4, MOV, and AVI for free without any noticeable loss in quality.
Discover how to streamline your video editing on a Mac with unparalleled speed and efficiency using Video Compressor in this comprehensive guide.
Steps to Use Video Compressor
To efficiently compress your video with Filmora, follow these straightforward steps:
Step 1: Upload Your Video
- Import your video file from Google Drive or Dropbox, or drag and drop your videos into Filmora.
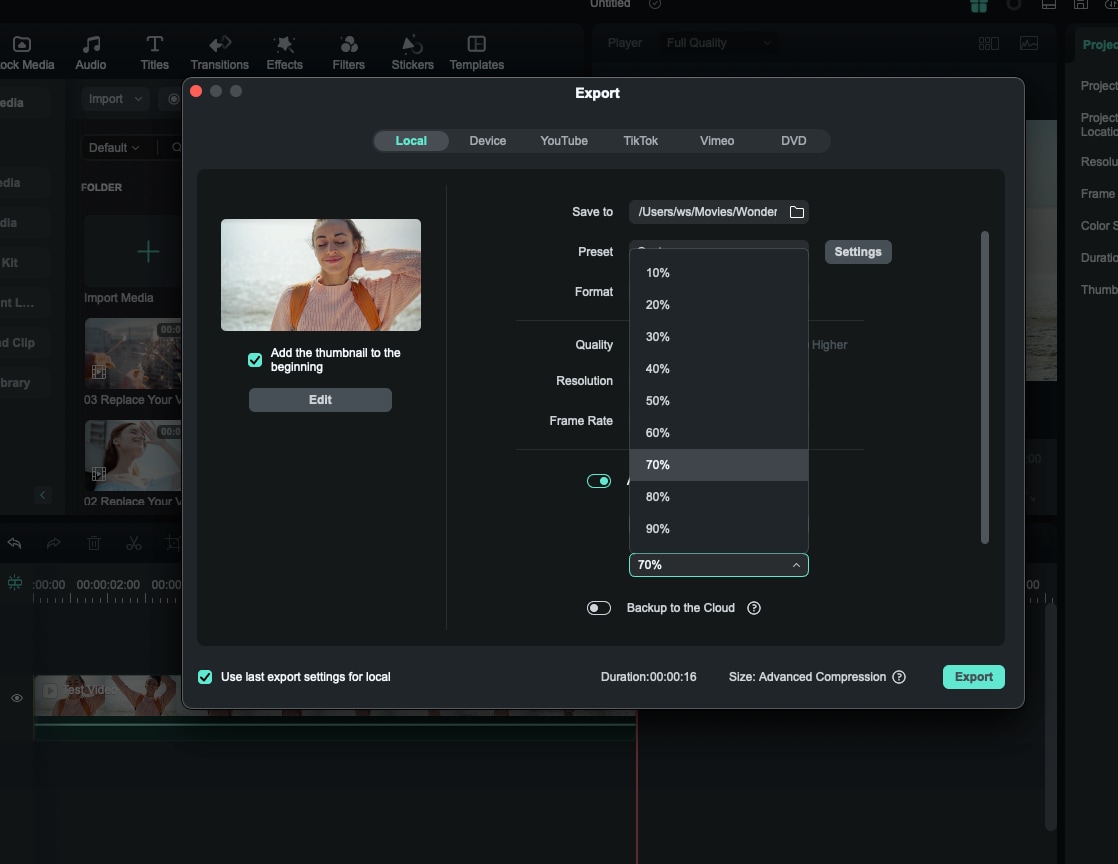
Step 2: Compress Your Video
- Click "Export" at the right top, and then select the mode of video compression: "By Quality" or "YouTube Upload". Choose one compression preset and wait for the tool to automatically compress your video.

Note:
- If you click "By Quality", you can choose the quality level to adjust the size of the compressed file, ranging from 10% to 90%.
- If you click "YouTube Upload", the video will be automatically compressed at the recommended bitrate for the YouTube platform, which will prevent blurriness caused by secondary compression when uploading to YouTube.
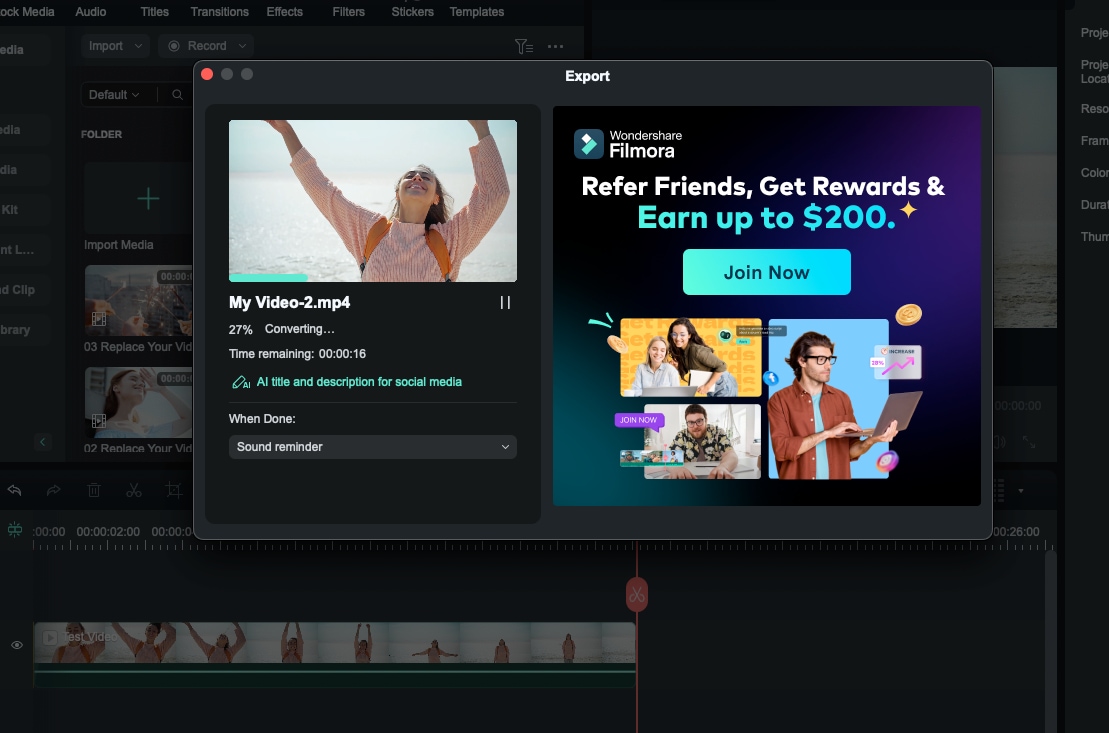
Step 3: Export Your Video
- Export your compressed video with the reduced file size. You can also use AI to generate titles and descriptions for various social media platforms.
Conclusion
With Filmora, compressing your videos is quick and easy. Enjoy reduced file sizes and efficient sharing without compromising on quality. Whether for social media or email, Filmora ensures your videos are optimized and ready to go with just a few simple steps.
Related Posts
Featured Articles
How to Turn a GIF Into a Live Photo and Vice Versa
Are you worried your GIF may go useless since it’s not that professional? Read this article to learn methods to convert your GIF to Live Photo.
Top 7 Podcasts To Text Converters
Absorbing a podcast's content can be time-consuming. Thus, using tools like podcast-to-text converters can be a quick way to save time.
Latest | 7 Best Photo Enhancer Tools for Image Enhancement
Want to remove blurs from your photos? Check our top list of the best photo enhancers.
Recommended User Guide
The Workflow of Exporting on Mac
You will export the video when you finish editing. Here is the workflow of exporting.
AI Thumbnail Creator For Mac
Filmora has long supported generating thumbnails through the export window, the latest upgrade takes it to the next level with AI.
Export Selected Clips for Mac
In video editing, editors often need to export specific clips from a timeline and a function, and Filmora offers this option in its editing interface.
