For the Best Results, Use the Latest Version.
-
Preparations for Mac
-
Account (Mac)
-
Get Started & Basic Settings (Mac)
- Release notes for Mac
- Latest Versions and Features for Mac
- Get Started on Mac - Full Guide
- Download/register/uninstall on Mac
- Panel Layout on Mac
- Keyboard shortcuts on Mac
- Touchbar on Mac
- Change playback quality on Mac
- Render preview files on Mac
- Manage timeline on Mac
- Media for use on Mac
- Logo Reveal For Mac
- Marked Favorites for Mac
-
Compatibility & Tech Specs (Mac)
-
Performance Settings (Mac)
-
-
Creating Projects - Mac
-
Creating New Projects (Mac)
-
-
Importing & Recording - Mac
-
Importing (Mac)
-
Recording (Mac)
-
-
Video Editing for Mac
-
Basic Video Editing for Mac
- Edit Live Photos on Mac
- Enable/Disable Clip for Mac
- Magnetic Timeline For Mac
- Select All Clips on Timeline for Mac
- Auto Ripple for Mac
- Split & cut videos on Mac
- Compositing on Mac
- Crop and zoom on Mac
- Playback Zoom Level for Mac
- Change speed on Mac
- Play video in reverse on Mac
- Mark In and Mark Out for Mac
- Markers for Mac
- Group clips on Mac
- Customized Backgrounds for Videos and Images in Mac
- Video snapshot on Mac
- Freeze frame on Mac
- Auto enhance on Mac
- Applying Drop Shadow for Mac
- Adjustment Layer for Mac
- Mark clip on Mac
- Video Editing Ruler – Mac
- Apply Transforming for Mac
-
Advanced Video Editing for Mac
-
AI-Powered Video Editing for Mac
- Smart Scene Cut for Mac
- Smart Short Clips for Mac
- Image to Video for Mac
- AI Idea to Video for Mac
- AI Text-to-Video for Mac
- Instant Cutter Tool on Mac
- AI Face Mosaic for Mac
- Keyframe Path Curve for Mac
- Planar Tracking for Mac
- AI Extend For Mac
- AI Script-to-Video for Mac
- AI Text-Based Editing in Mac
- Create With Instant Mode on Mac
- ChatGPT Plugin - AI Copywriting on Mac
- AI Smart Cutout for Mac
- Auto reframe on Mac
- Lens correction on Mac
- AI Portrait Cutout on Mac
- Scene detection on Mac
- AI Smart Masking for Mac
- AI Mate Editing for Mac
- Motion Tracking on Mac
- Stabilize video on Mac
- AI Object Remover For Mac
- AI Smart Search for Mac
- AI Skin Tone Protection for Mac
- Green screen on Mac
- Super Slow Motion with Optical Flow for Mac
- AI stylizer on Mac
- Video Denoise for Mac
-
-
Audio Editing for Mac
-
Basic Audio Editing for Mac
-
Advanced Audio Editing for Mac
-
AI-Powered Audio Editing for Mac
- Audio To Video for Mac
- AI Sound Effect for Mac
- Smart BGM Generation for Mac
- AI Voice Enhancer for Mac
- Audio Stretch for Mac
- AI Audio Denoise for Mac
- Auto synchronization for Mac
- AI Vocal Remover for Mac
- Auto Beat Sync on Mac
- AI Music Generator for Mac
- How to Perform AI Voice Cloning in Wondershare Filmora?
- Silence detection on Mac
-
-
Text Editing for Mac
-
Basic Text Editing for Mac
-
Advanced Text Editing for Mac
-
AI-Powered Text Editing for Mac
-
-
Video Customizations for Mac
-
Video Effects (Mac)
-
Audio Effects (Mac)
-
Transitions (Mac)
-
Stickers (Mac)
-
Filters (Mac)
-
Color Editing (Mac)
-
Animations (Mac)
-
Templates (Mac)
-
Asset Center (Mac)
-
-
Exporting & Share & Cloud Backup - Mac
Export on Mac
Filmora provides six ways to export your videos. Follow the steps to learn how to export your video in different ways.
Index
Export to Local
Step 1: Choose the format
To export your video to your computer, click the "Export" button and choose the "Local" tab. Then, select the format you want to export in. Currently, Filmora supports the following formats: WAV, MP4, AVI, MOV, F4V, MKV, TS, MPEG-2, WebM, GIF, AV1 MP4, MP3, GoPro CineFrom and more as shown below.
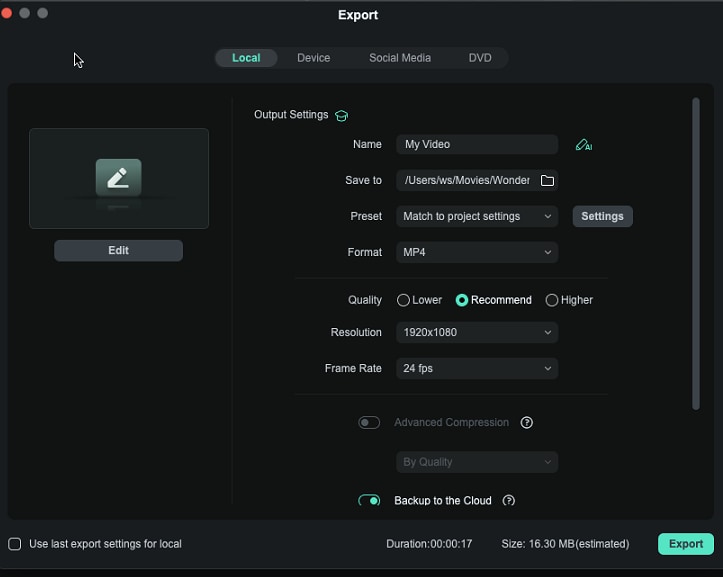
Step 2: Adjust export settings
After selecting the output format, you can rename the video and change the location on your computer where you want to save it. You can also check the output resolution, frame rate, size, and duration before you export. To change your export settings (i.e. resolution, bit rate, and frame rate) click the "Settings" button.
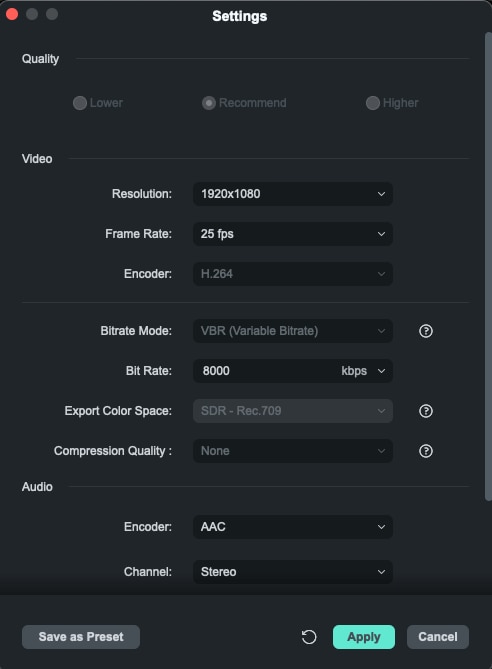
In the Settings window, there are three quality levels: Lower, Recommend and Higher. The only difference between them is the Bit Rate. You can easily adjust this or other parameters, such as Resolution, and Frame Rate in this window.
It is best to export your video with the same settings as your original video.
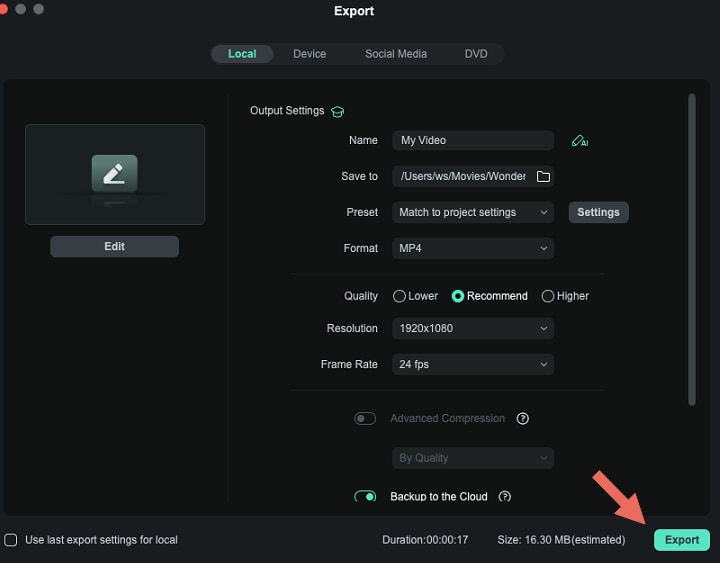
Step 3: Export the video
When you're finished adjusting your export settings, press "Apply" to save them. Then, after you have closed the Settings window, press the "Export" button in the Export window.
Note:
The size of the video depends on the length of the project and the bit rate. If the file size looks too big, you can try changing the bit rate in the Settings window to make it smaller.
Export to Device
In the Device tab under Format, you can choose to output your video according to the ideal settings for different types of devices, such as iPhones, iPads, Apple TVs, Smart Phone, Galaxy S, Smart TV, PlayStation, and more. You can also make manual adjustments to your settings by clicking the Settings button. Click on "Export" button when you’re finished.

Note:
Exporting in this way won't automatically transfer your videos to your devices. While, your videos will still be stored on your computer's local hard drive.
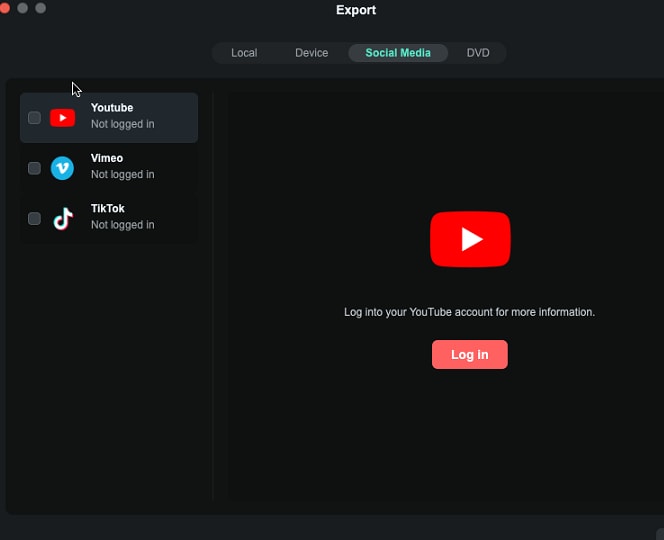
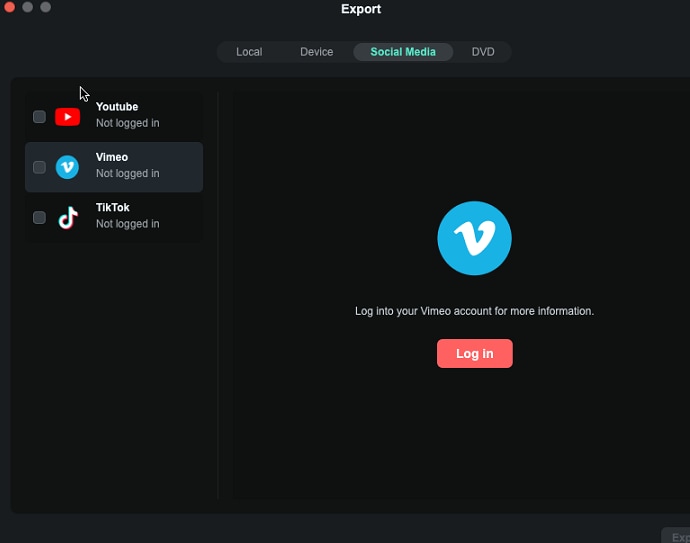
Export to Social Media
To upload a finished video directly to YouTube, click "Export" and select "YouTube," "Vimeo,"or"Tiktok." Input the title, description, and tags for the video and choose whether to upload the video as public, unlisted, or private. You will also need to sign in to your YouTube account.
Export to TikTok
When you finish editing a video clip in Filmora, you can also export and share it to TikTok directly. Follow the steps below:
Step 1: To upload a finished video directly to YouTube, click “Export” and select "TikTok".
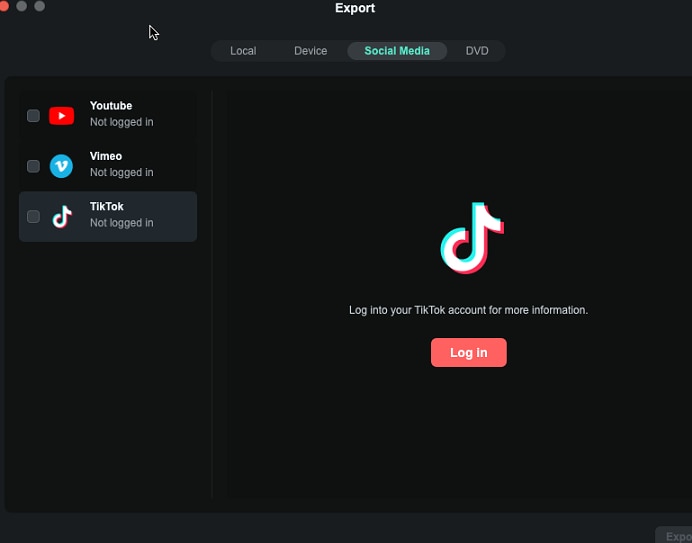
Step 2: Click on "Log in" icon from the window, and you'll be led to the "Log in to TikTok" page.
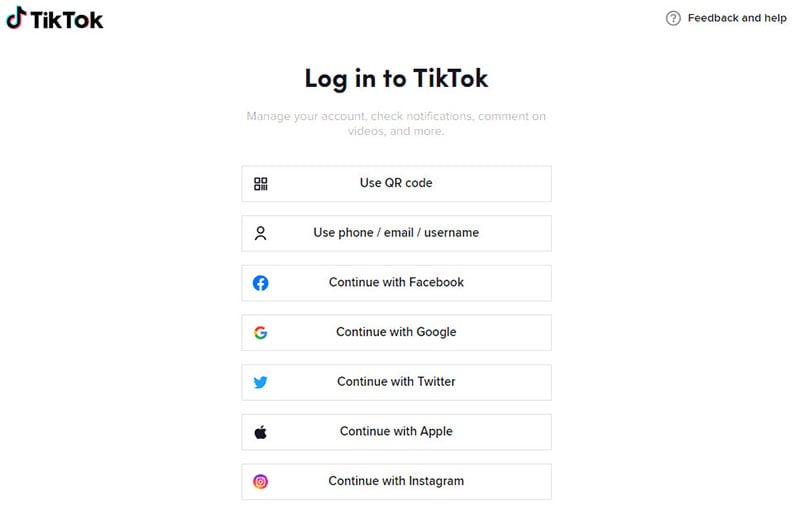
Step 3: You’ll see 7 login options; choose the one you registered in TikTok. (If you don’t have a TikTok account, you'll need to create one from here.)
Step 4: Here we take the phone number as an example, enter the number and login code, and then click "Log in" to proceed.
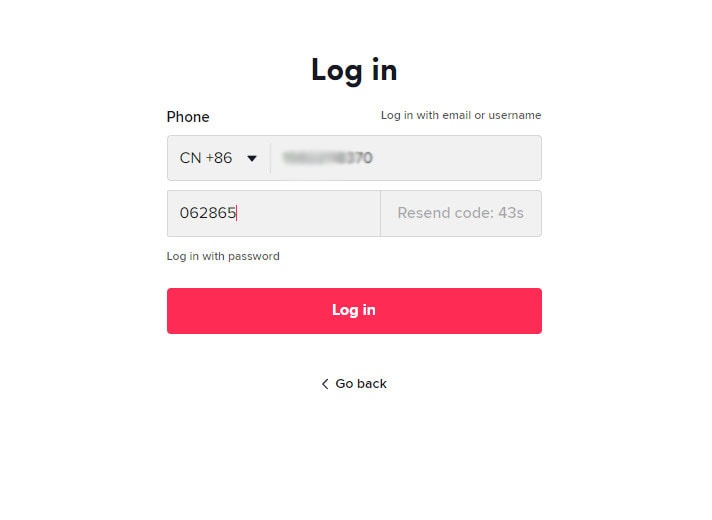
Step 5: Once you log into your TikTok account successfully, authorize Filmora to connect with TikTok, and you'll see a window below.
Step 6: You can customize the video and audio settings in Filmora before sharing it with TikTok.
Export to Vimeo
To upload a finished video directly to Vimeo, click on "Export" and then select Vimeo. Input the title, description, and tags for the video and choose whether to upload the video as public, unlisted, or private. You will also need to sign in to your Vimeo account.
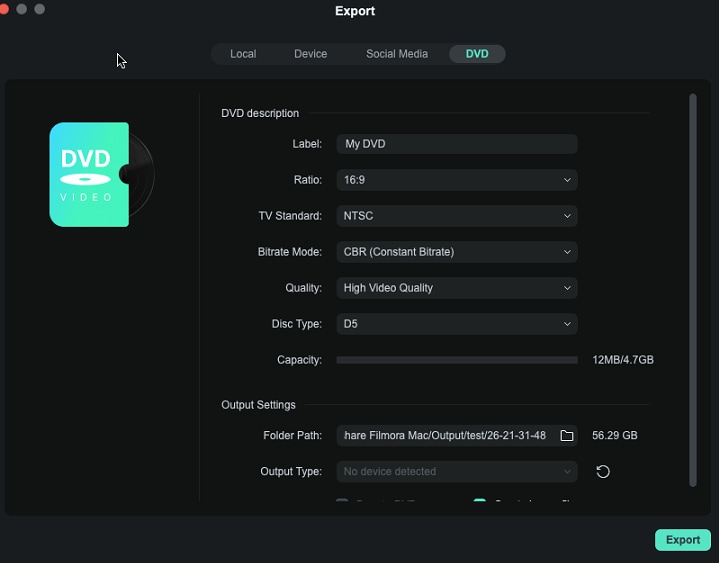
Burn a DVD
You can burn your video from a DVD. Choose the "DVD" tab and enter the required settings, such as the aspect ratio, TV Standard and disc type.
Related Posts
Featured Articles
How to Apply Bunny Ear Filters to Photos?
Transform your selfies with charming bunny ear filters. A quick, step-by-step guide to fun, Instagram-worthy edits.
Full Guide| How to Record Screen with OBS?
Want to know how to use OBS to record screens? Check this article to learn three methods.
Top 9 AI Voice Cloning Software Trending in 2025
Struggling to find realistic voice cloning software in 2025? Discover the best tool using this curated list offering accuracy and customization to your needs.
Recommended User Guide
The Workflow of Exporting on Mac
You will export the video when you finish editing. Here is the workflow of exporting.
Auto Highlight for Mac
You will learn how to use auto highlight feature in Filmora for mac to generate the highlight moment in 1 click.
