Think Bigger From Filmora User Guide
-
Introduction of Filmora for Mobile
-
Get Started for Mobile
-
AI Features for Mobile
- AI Denoise
- Speech-To-Text
- Text-To-Speech
- AI Captions
- AI Highlight
- Filmora VideoGen Feature Guide
- VEO 3 in Filmora Mobile
- AI Enhancer - Filmora App
- AI Remover
- AI Auto Cut for Filmora Mobile
- AI Music
- AI Text to Video
- Speaker Detection
- AI Emoji
- AI Beats - Filmora App
- AI Camera
- Edit Speech
- Image to Video for Android and iPhone
- Instant Mode
- AI Audio - Filmora App
- AI Voice Cloning - Filmora App
- AI Voice Changer - Filmora App
- AI Portrait - Filmora for Mobile Guide
- Smart Cutout
-
Recording for Mobile
-
Video Editing for Mobile
- Trim Video
- Duplicate Video
- Spilt Video on Android and iPhone
- Delete Video
- Crop Video
- Replace Video
- Rotate Video
- Reverse Video
- Speed Up Video
- Adjust the Sequence of Clips
- Adjust the Volume of Clips on Android and iPhone
- Adjust the Opacity of Clips on Android and iPhone
- Adjust the Color of Clips on iPhone and Android
- Add Mask on Android and iPhone
- Add Mosaic on Android and iPhone
- Add Freeze for Android and iPhone
- Green Screen for Android and iPhone
- Thumbnail Edit on Android and iPhone
- Track Switching for Android and iPhone
- Color Palette - Filmora App
-
Audio Editing for Mobile
-
Text Editing for Mobile
-
Stickers & Effects & Filters for Mobile
-
Advanced Editing for Mobile
-
Exporting & Cloud Backup for Mobile
Export & Share for Android and iPhone
After you edit a project, it's time to save it or share it with your family and friends. The Wondershare Filmora application allows you to adjust the export settings to provide the most customizable experience possible. The best part is that you can post your creations to your social media networks and avoid extensive steps. We'll teach you to export and share through the Filmora app below.
Filmora for Mobile
Edit Videos on Your Mobile Phone with 1-Click!
- • Powerful Brand New AI Features.
- • User-friendly video editing for beginners.
- • Full-featured video editing for professional.


Export and Share
After you edit your projects, you can follow the steps below to learn how to save and share your creations:
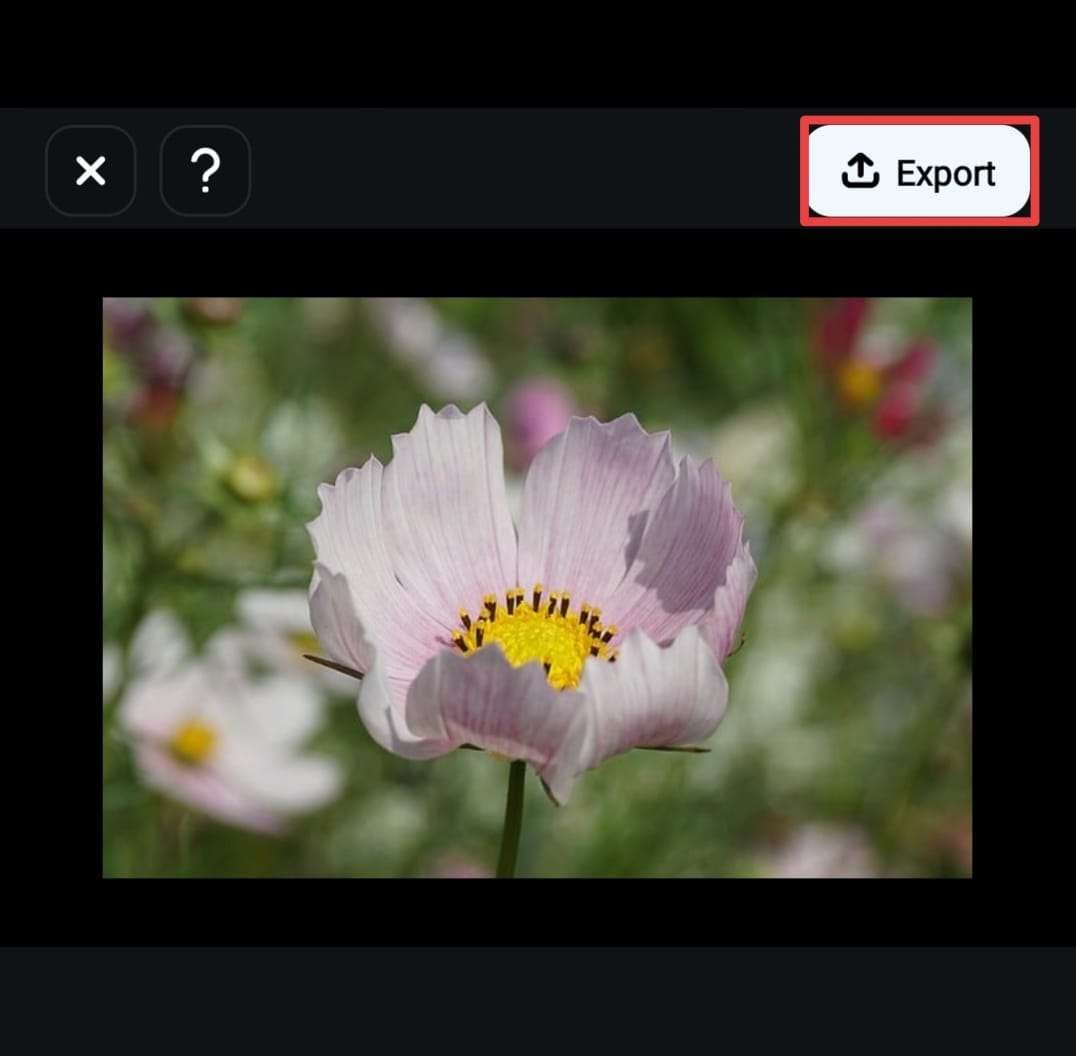
- Tap the Export button from the top right corner of your screen.
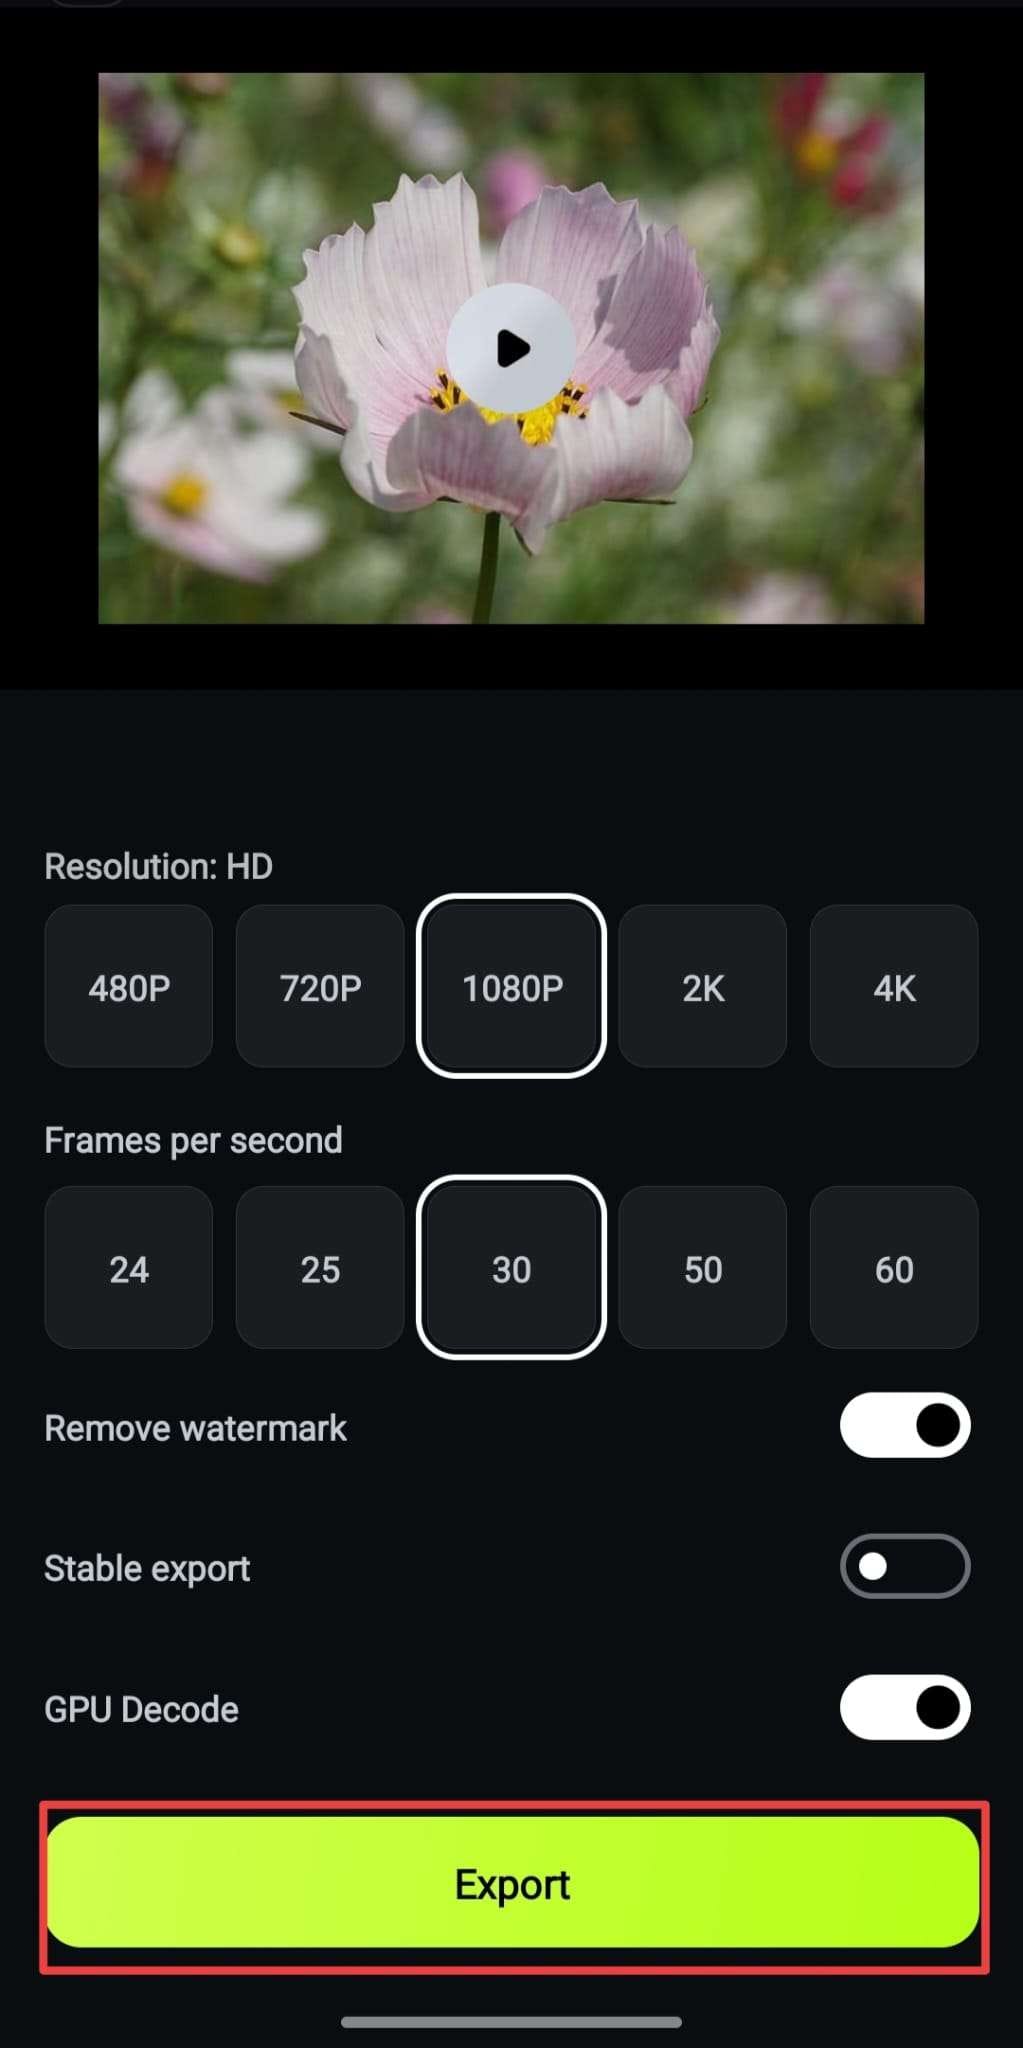
- Select the resolution, FPS, watermark settings, GPU Decode, and Stable Export according to your preferences.
- Tap the Export button.
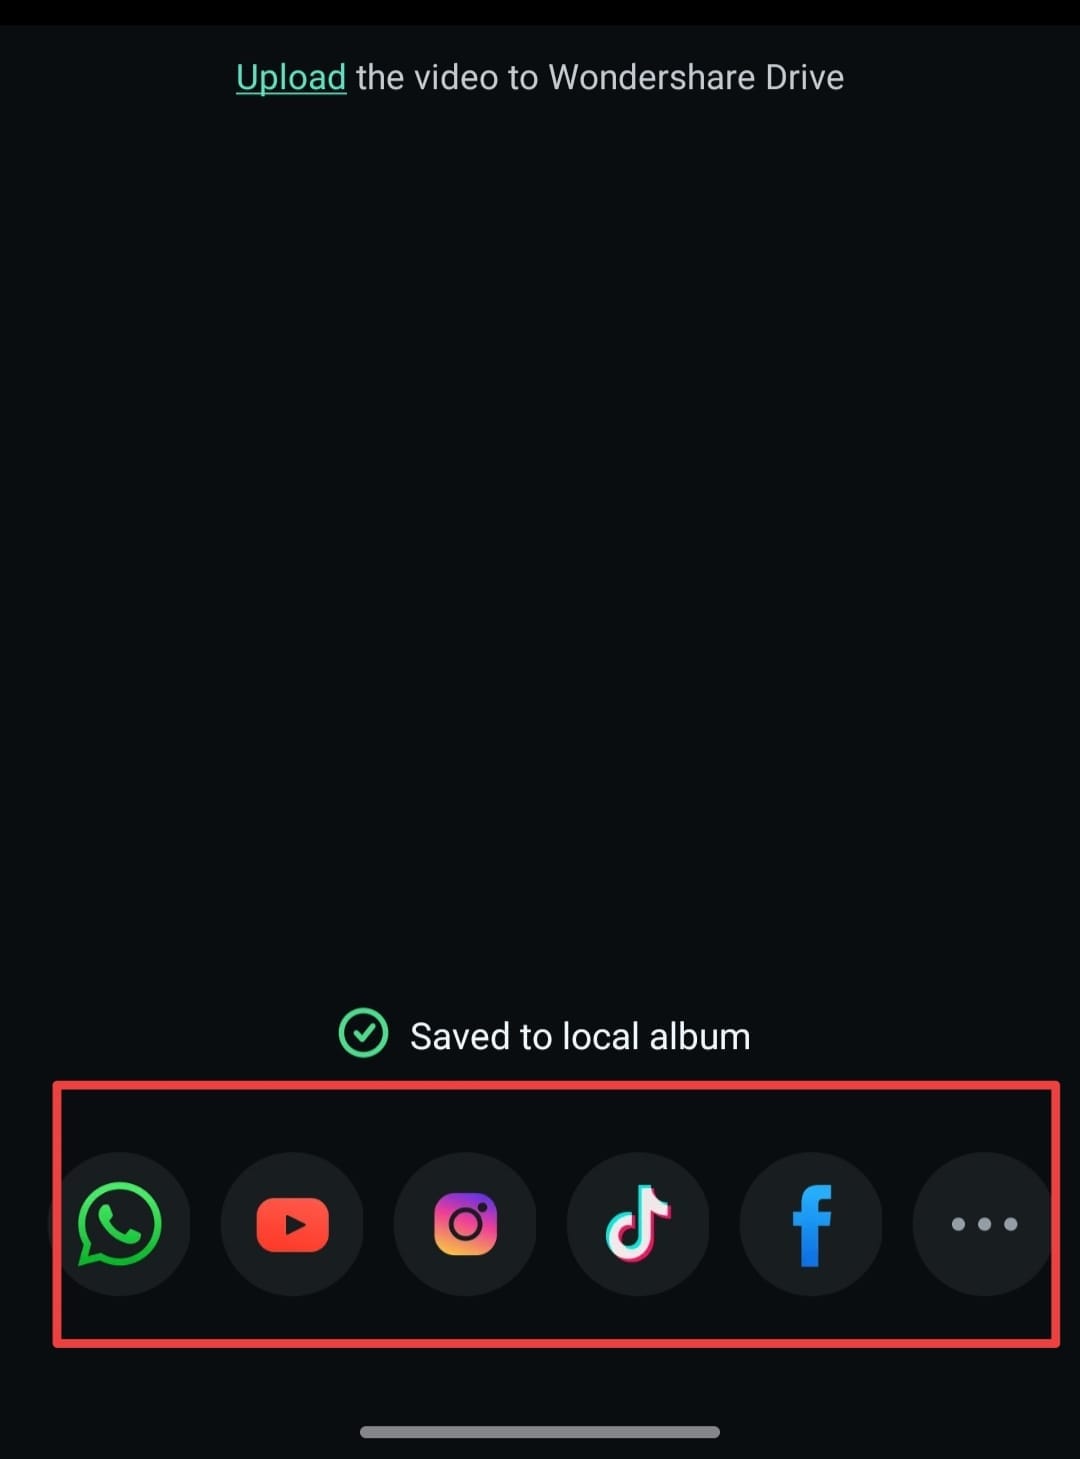
- As soon as you tap the button, the app will save the video to your local library. You can tap a social media app from the bottom of the screen to post your creations.
Save the Video on Wondershare Drive
Wondershare Filmora provides you with cloud storage you can use for all of your projects. To save your videos in one place and access them easily, follow these steps:
- Once you've tapped the Export button and chosen the saving preferences, tap the Upload option from the next window.

This will automatically save your file to the Wondershare Drive. You can now access all of your creations on the custom cloud drive.
Conclusion
Exporting is the last step to your video editing experience, and we're here to teach you how to customize your experience in the Wondershare Filmora app easily. This app provides numerous export options, so you can choose what you want to do with your professional video creations.
Related Posts
Featured Articles
Cozy Winter Break? 13 Christmas Movies Teens Will Love Watching
Are you willing to spend a good time with your teenager but do not know how? Read this article to learn about the top 13 Christmas movies for teens.
Best Vlog Editing Software: Create a Vlog Effortlessly With Filmora
Looking for the best vlog editing software? Meet Filmora, your AI-powered companion for breathing new life into your vlogs.
Stepwise Guide for How To Change Fonts Premiere Pro [2025]
Learn how to change fonts Premiere Pro. Use custom fonts and multiple customization options to do high-quality text editing. This is ideal for professional videos and more!
Recommended User Guide
Backup Draft to Cloud for Android and iPhone
Saving all of the changes you made to your video project can be a pain in the neck, which is why the Filmora app will do everything for you. It'll remember all your changes and save them as drafts in your library. However, you can upload the draft to the built-in cloud if you want more security and ensure you save the project. We'll teach you how to do it below.
Filmora for iOS 18+: High-Quality Video Workflow
This guide discusses how Filmora, for users of iOS 18 and above, can assist in importing and exporting higher-quality videos, such as Dolby Vision audio effects and Live Photo formats.
