Think Bigger From Filmora User Guide
-
Introduction of Filmora for Mobile
-
Get Started for Mobile
-
AI Features for Mobile
- AI Denoise
- Speech-To-Text
- Text-To-Speech | Filmora App Guide
- AI Captions
- AI Highlight
- Filmora VideoGen Feature Guide
- AI Enhancer | Filmora App Guide
- AI Remover
- AI Auto Cut for Filmora Mobile
- AI Music
- AI Text to Video | Filmora App Guide
- Speaker Detection
- AI Emoji
- AI Beats - Filmora App
- AI Camera
- Edit Speech
- Image to Video for Android and iPhone
- Instant Mode
- AI Audio | Filmora App Guide
- AI Voice Cloning - Filmora App
- AI Voice Changer - Filmora App
- Smart Cutout | Filmora App Guide
-
Recording for Mobile
-
Video Editing for Mobile
- Trim Video
- Duplicate Video | Filmora App Guide
- Spilt Video on Android and iPhone
- Delete Video
- Crop Video
- Replace Video
- Rotate Video
- Reverse Video
- Speed Up Video
- Adjust the Sequence of Clips
- Adjust the Volume of Clips on Android and iPhone
- Adjust the Opacity of Clip | Filmora App Guide
- Adjust the Color of Clips on iPhone and Android
- Add Mask on Android and iPhone
- Add Mosaic on Android and iPhone
- Add Freeze for Android and iPhone
- Green Screen | Filmora App Guide
- Thumbnail Editing | Filmora App Guide
- Track Switching for Android and iPhone
- Color Palette - Filmora App
-
Audio Editing for Mobile
-
Text Editing for Mobile
-
Stickers & Effects & Filters for Mobile
-
Advanced Editing for Mobile
-
Exporting & Cloud Backup for Mobile
Filmora App Open Projects
The Filmora App allows you to quickly access and continue editing your saved videos without starting from scratch. From the app's home screen, you can view all existing projects in one place and reopen them instantly. This makes it easy to resume edits, update thumbnails, or make final adjustments, helping creators manage projects smoothly and save valuable editing time.
Guide on How to Open Projects on the Filmora App
The Filmora App allows users to open projects from their device as well as cloud storage to continue editing without starting everything from scratch again. To learn how to open projects on Filmora App, read the steps provided next:
Index
Filmora for Mobile
Edit Videos on Your Mobile Phone with 1-Click!
- • Powerful Brand New AI Features.
- • User-friendly video editing for beginners.
- • Full-featured video editing for professional.


Open an Existing Local Project
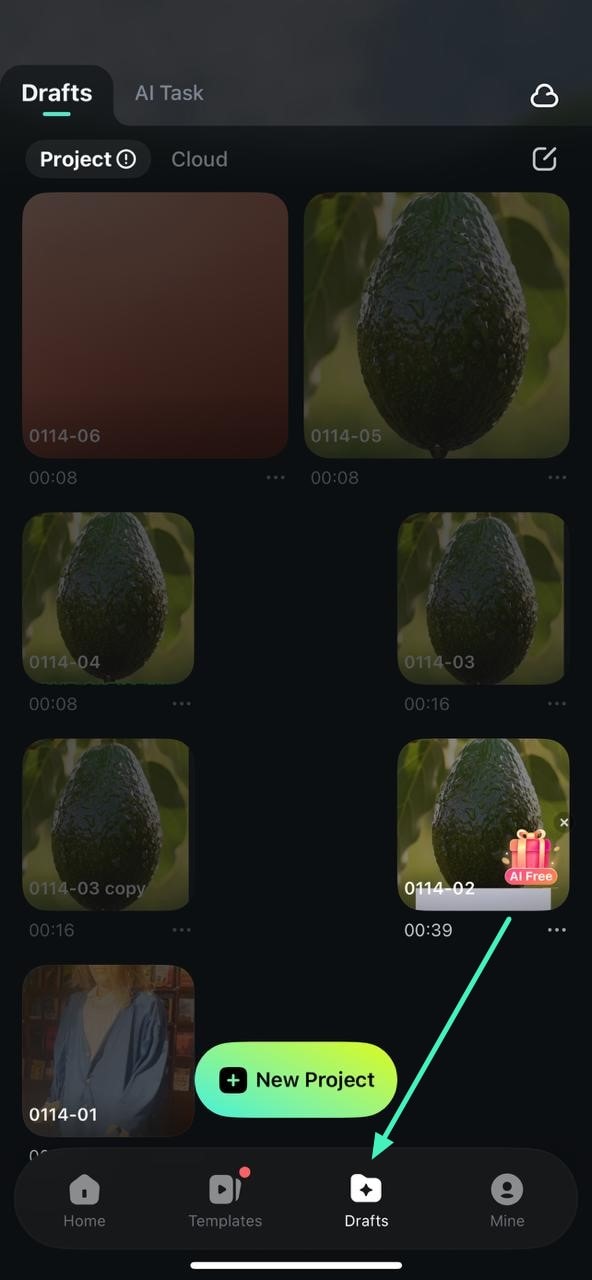
Step 1. Access Draft Tab
From Filmora's startup screen, go to the homepage and select the Draft tab located at the bottom.
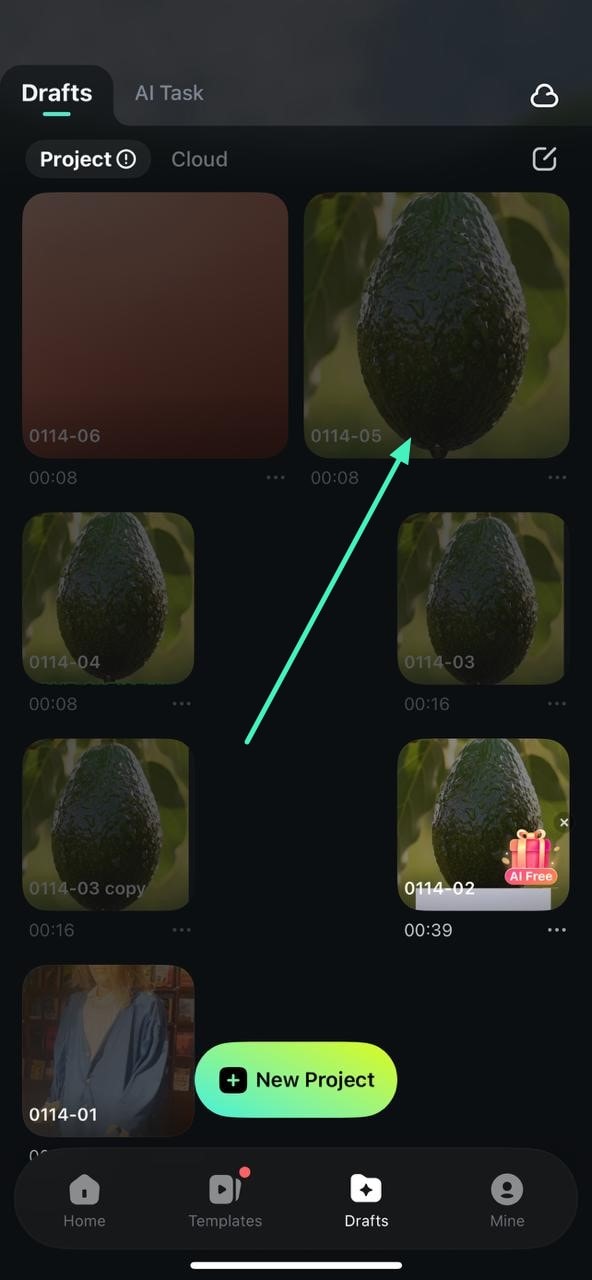
Step 2. Open the Project to Edit
Tap the project you want to open, and it will load instantly in the editing workspace so you can continue editing without delay.
Open a Project Saved in Filmora Cloud
Step 1. Access Cloud Projects From the Startup Screen
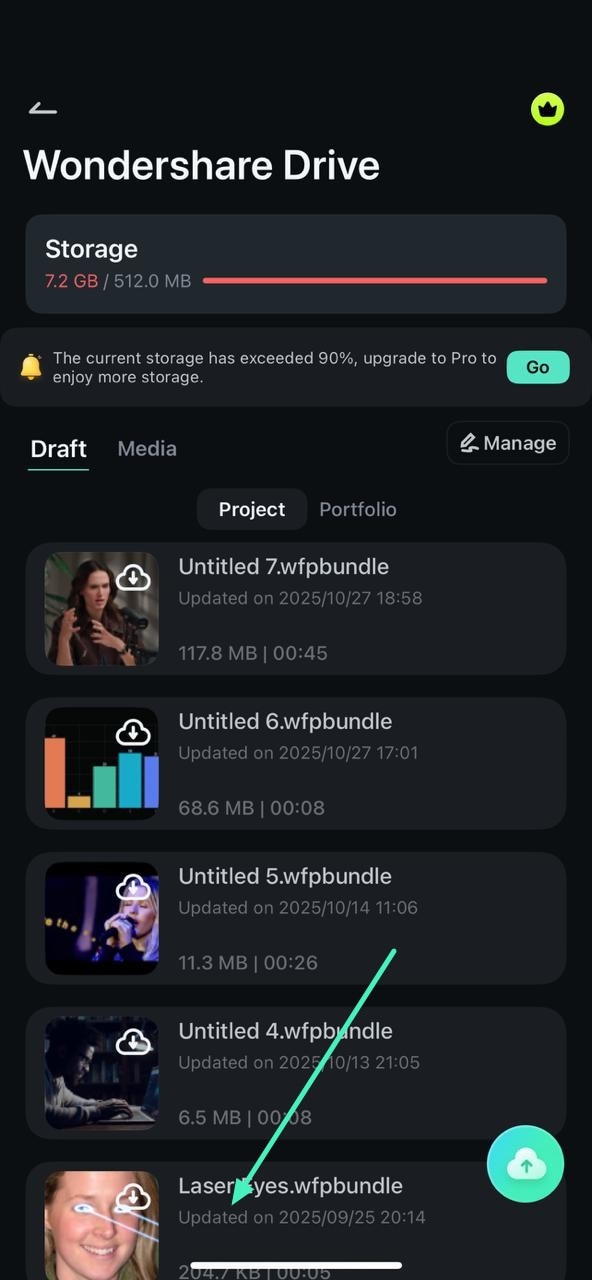
On the home screen, navigate to the Draft panel and tap the Cloud tab to view projects stored in Wondershare Drive.
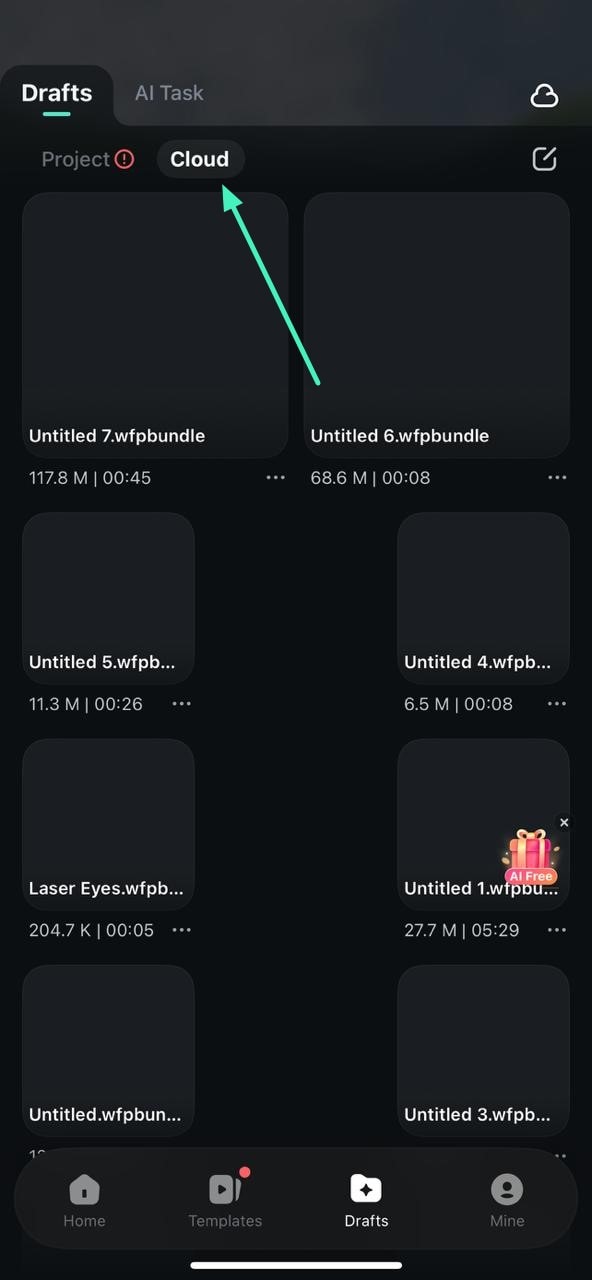
Step 2. Open Wondershare Drive Directly
Alternatively, tap the Wondershare Drive icon in the top-right corner of the screen to access your full Filmora Cloud storage.
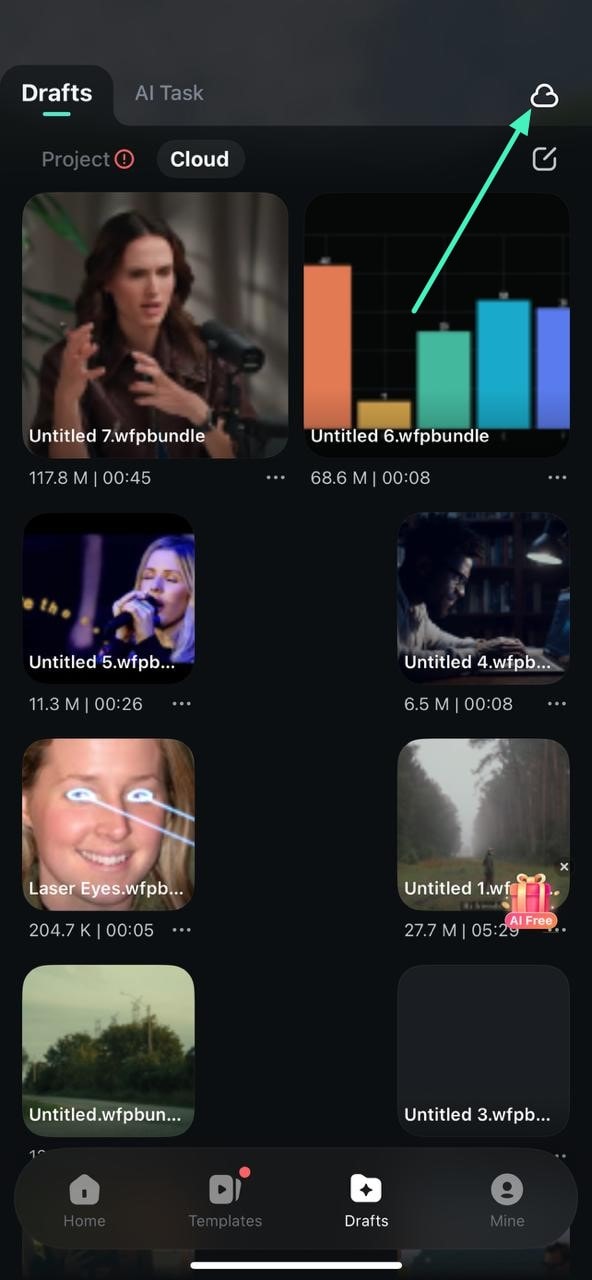
Step 3. Download the Cloud Project
Cloud-based projects appear as .wfpbundle files. Select the desired project and tap on it to save it locally on your device.
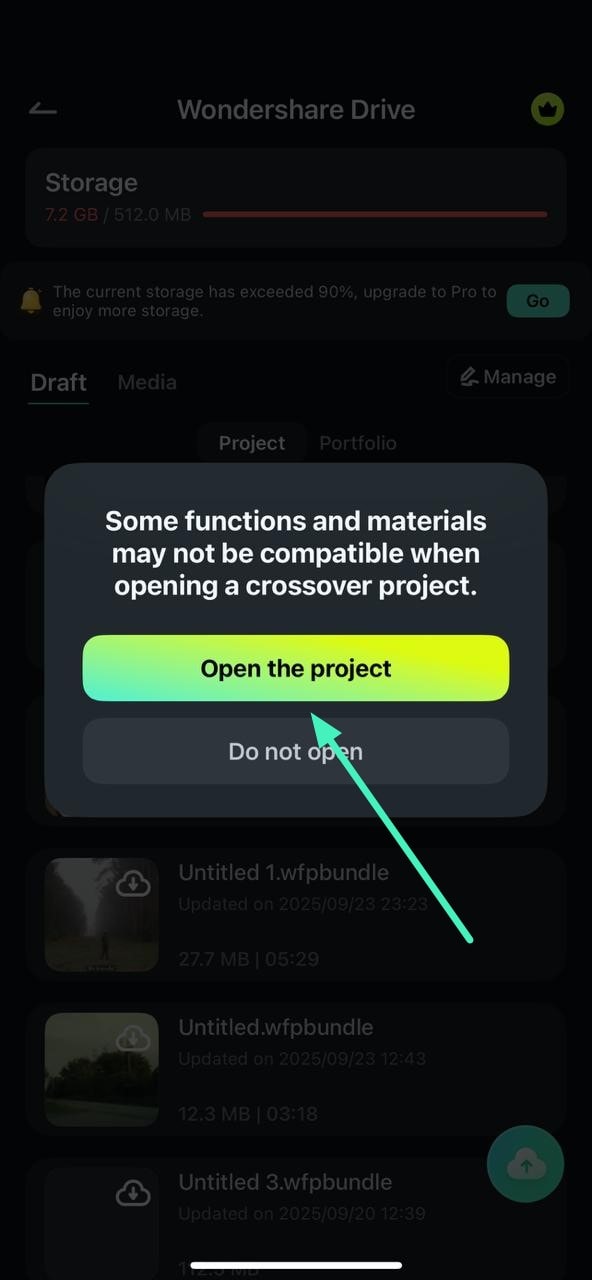
Step 4. Open the Downloaded Project for Editing
Once the download is complete, tap the project again and select Open the Project. The project will open as a local draft, allowing you to continue editing seamlessly.
Begin by Accessing New Project Option
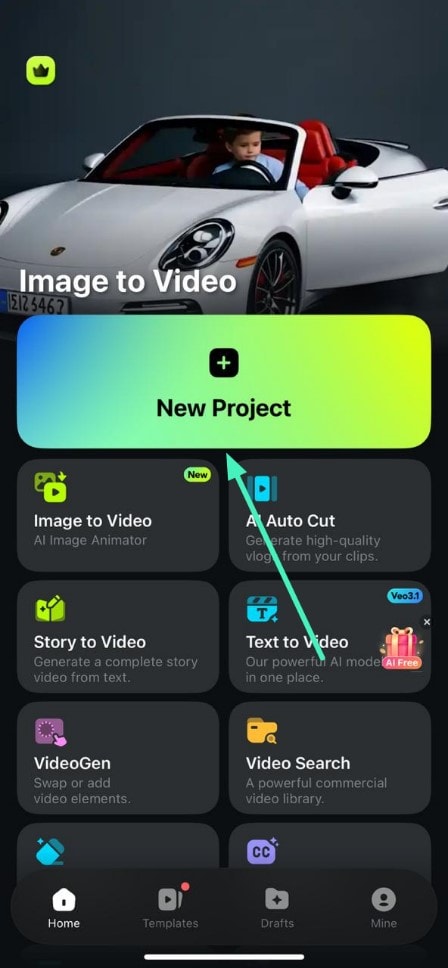
Step 1. Begin by Accessing New Project Option
After launching the app, locate the New project option located within the homepage to create a new project.
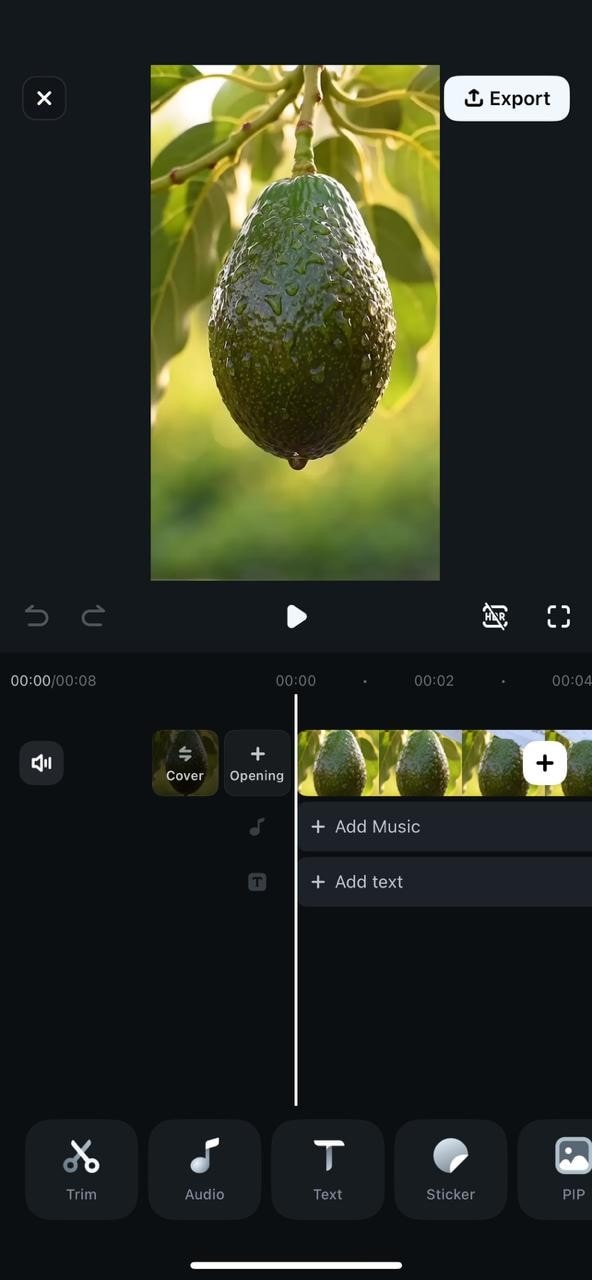
Step 2. Import Video and Edit
Once the new project is created, you can import your video and perform your desired functions within the Filmora App effortlessly.
Related Posts
Featured Articles
How to Add Captions and Subtitles to Videos in Canva (Manual & Auto Methods)
Need subtitles for your video but don’t want to type them manually? Try Canva captions or explore advanced auto-captioning tools. It's an easy and time-saving way to add captions to your videos.
Newborn Hacks You'll Wish You Knew Before Baby Arrived
New to parenting? Skip the stress and check out these parenting hacks for newborns that make those long nights and tiny tantrums a whole lot easier.
How to Change Your TikTok Thumbnail: Step-by-Step Guide
Want to know how to change the thumbnail on TikTok? Learn how to set a thumbnail before posting and find out if you can edit it after. Plus, create thumbnails with Filmora!
Recommended User Guide
Create a New Project for Android and iPhone
In Filmora for Mobile, users can create new projects using three different methods. These include using existing media files from your Android or iOS device, trying the app’s numerous editing templates, and starting new projects with videos and images you create through Filmora’s built-in camera function.
Manage Your Projects
In Filmora for Mobile, your editing projects appear in the Project Management panel. Tapping on a particular item here opens it and lets you continue editing. However, that’s not the only option; you can access the additional ones by clicking the Three Dot button on the right side of a specific project.
