Think Bigger From Filmora User Guide
Image to Video for Mobile
The AI-powered Image to Video feature offered by the Filmora App allows you to convert your mundane images into interesting videos. The application offers different modes with multiple customization options to generate the desired results. Moreover, you get various templates to select from and get an idea of the videos you can generate from photos.
Filmora has now also integrated the new Veo 3 technology that adds background score to your generated videos in high quality. Using this technology, you get the best quality, AI-powered audio and visuals with minimal effort.
Index
Filmora for Mobile
Edit Videos on Your Mobile Phone with 1-Click!
- • Powerful Brand New AI Features.
- • User-friendly video editing for beginners.
- • Full-featured video editing for professional.


1. Convert Image to Video via Inspiration Mode
1.1 Convert Image to Video with Template in Inspiration Mode
Step 1: Acquire the Image to Video Feature
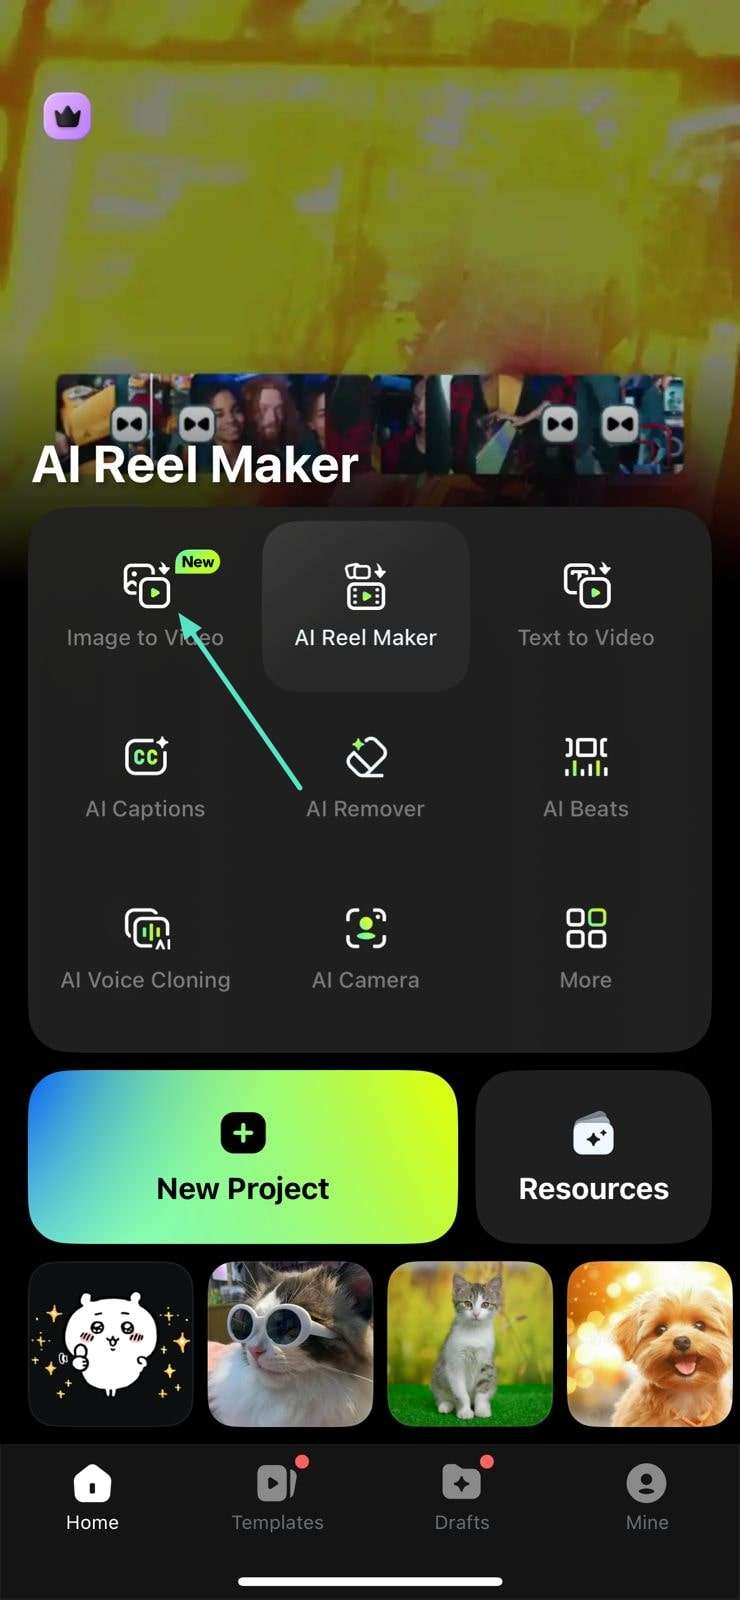
To initiate the process, launch the application on your smartphone and tap the Image to Video feature located on the homepage.
Step 2: Choose the More Templates Option
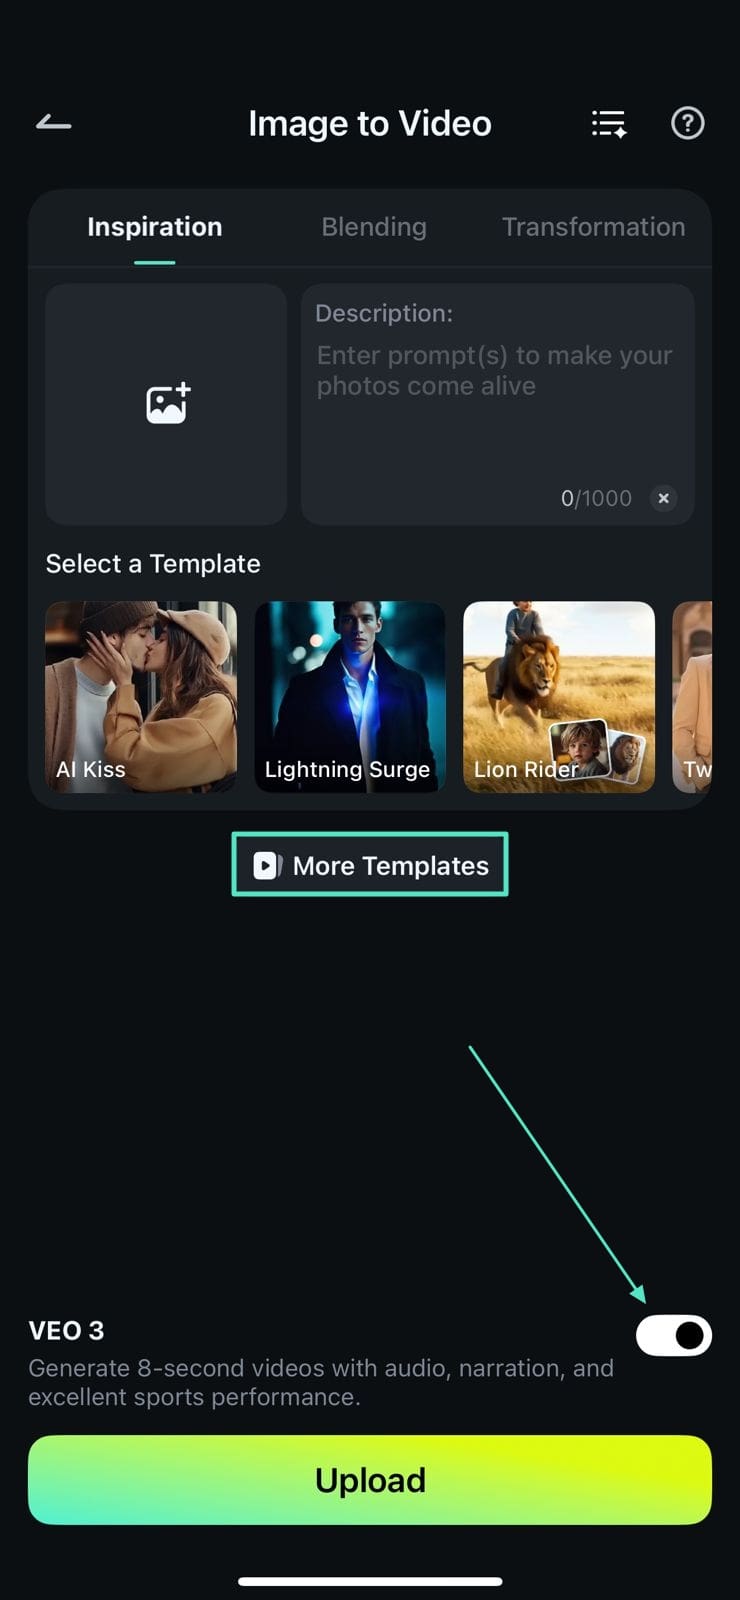
Next, scroll through the templates in the following interface or tap on the More Templates option to explore more options on the following screen. Turn the toggle located at the bottom to enable the Veo 3 feature before choosing the template.
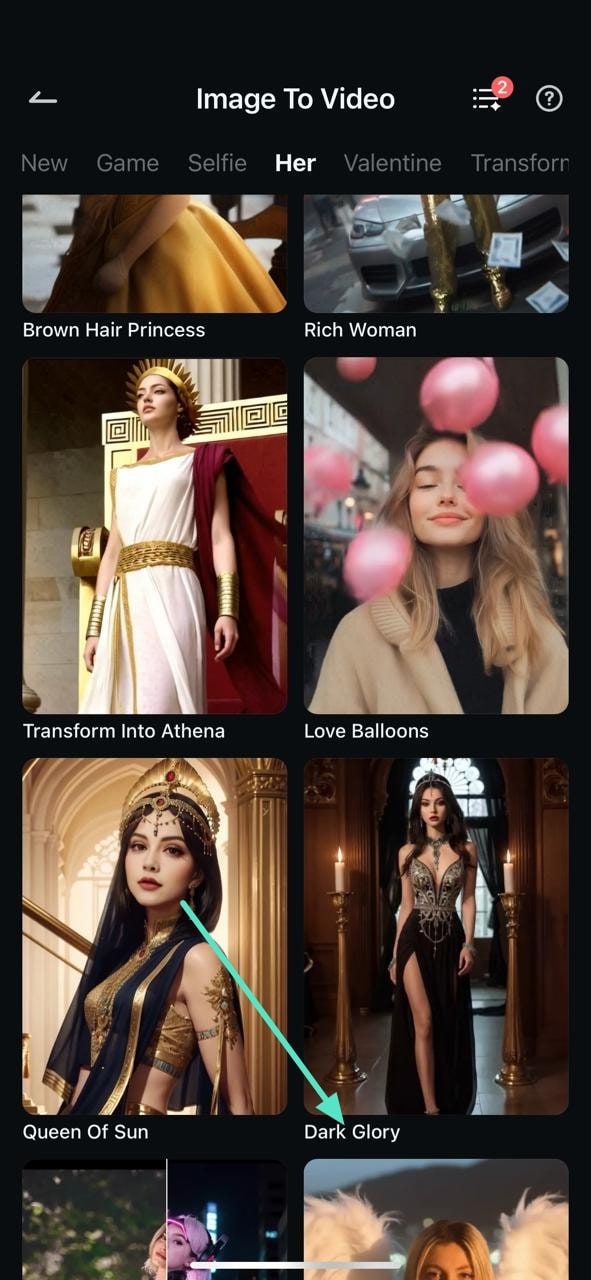
Step 3: Select a Template from the Library
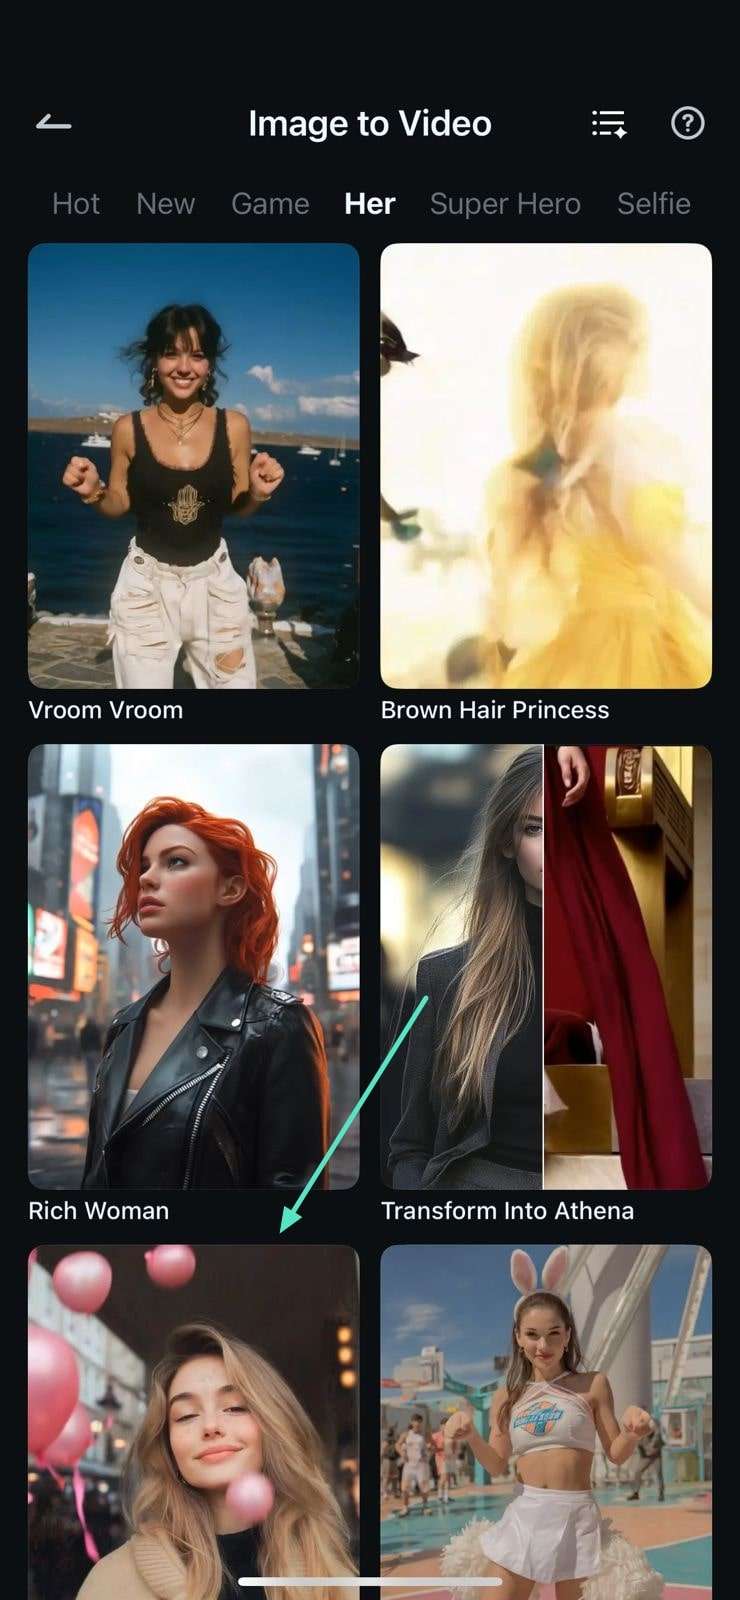
Choose the template of your choice from the templates library by tapping on it after swiping through different categories.
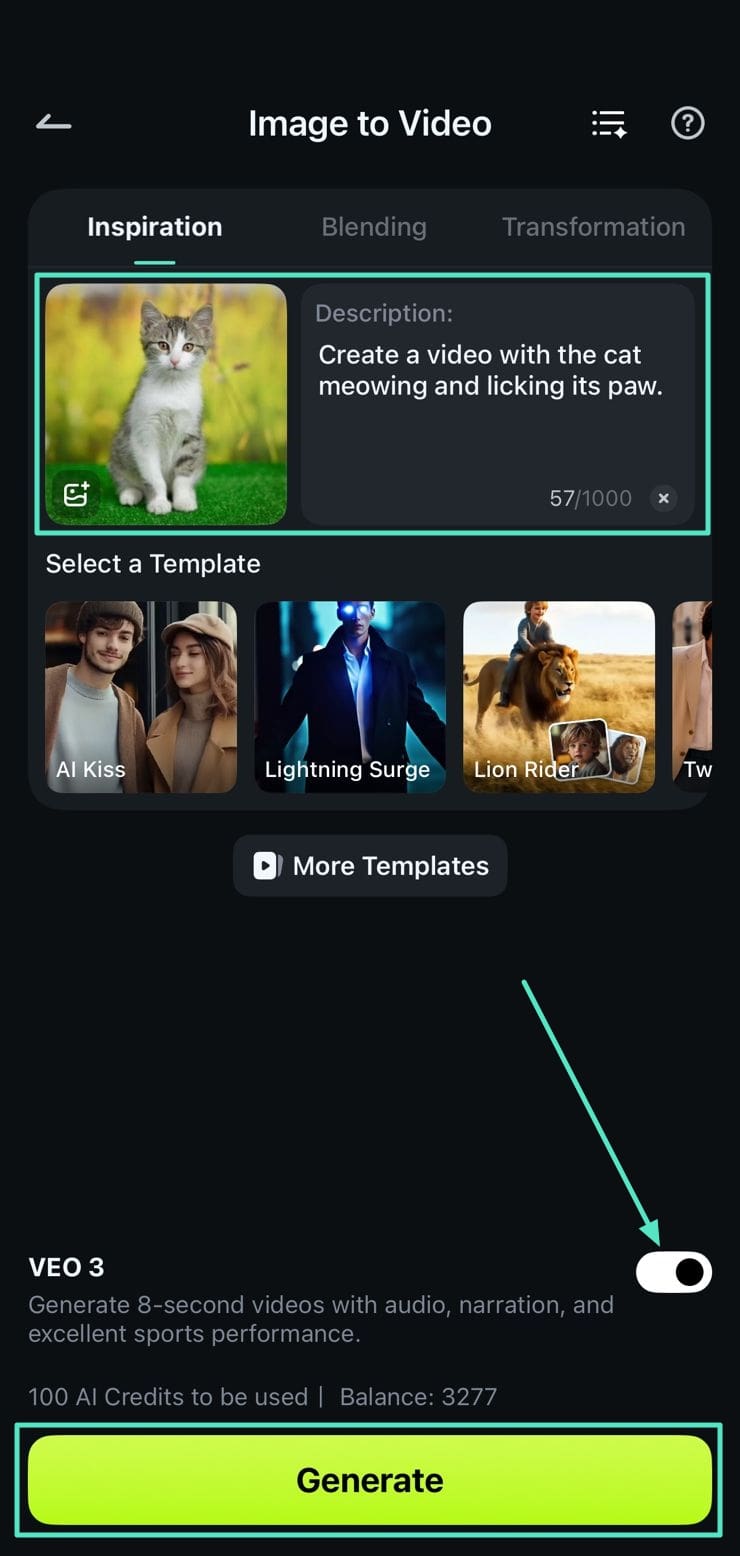
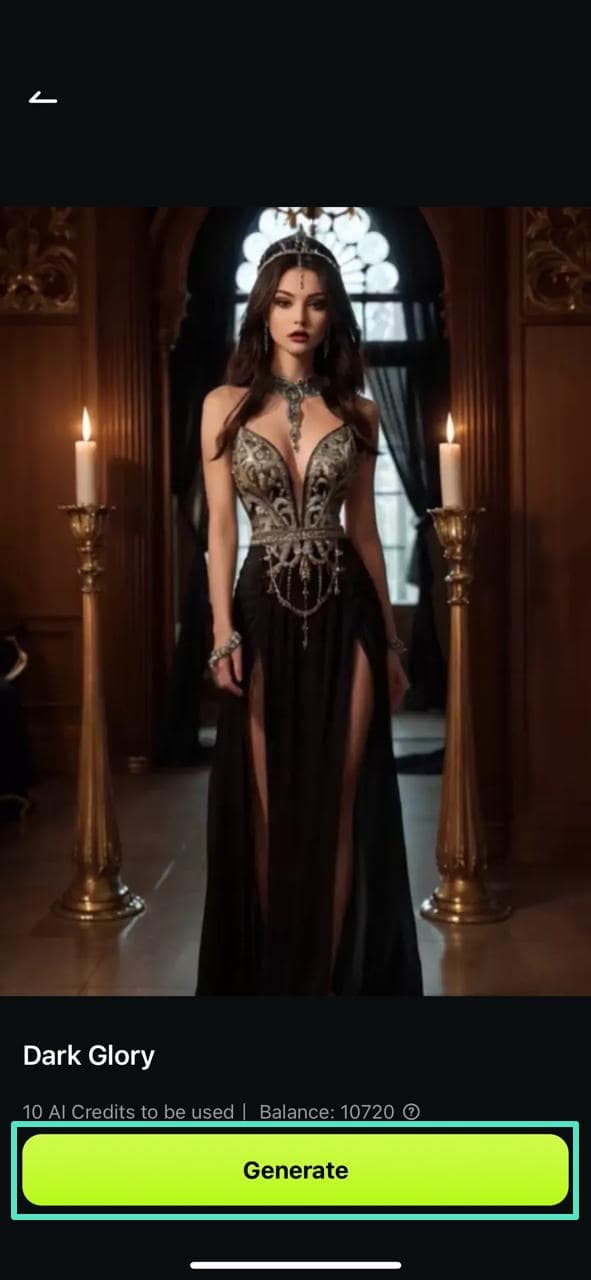
Step 4: Import Image and Hit Generate
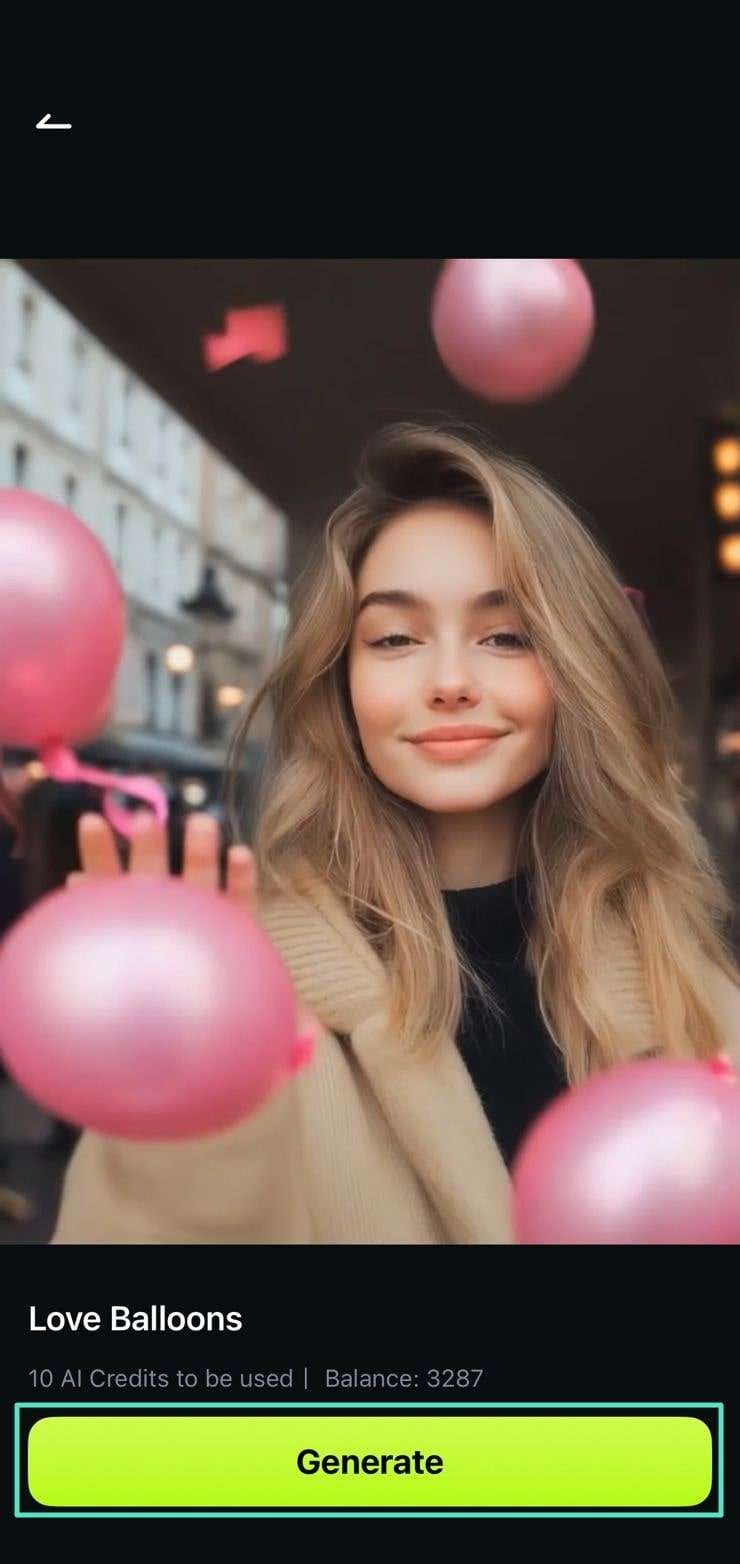
Review the selected template and tap on the Generate button to create a video after importing the image from your device’s gallery.
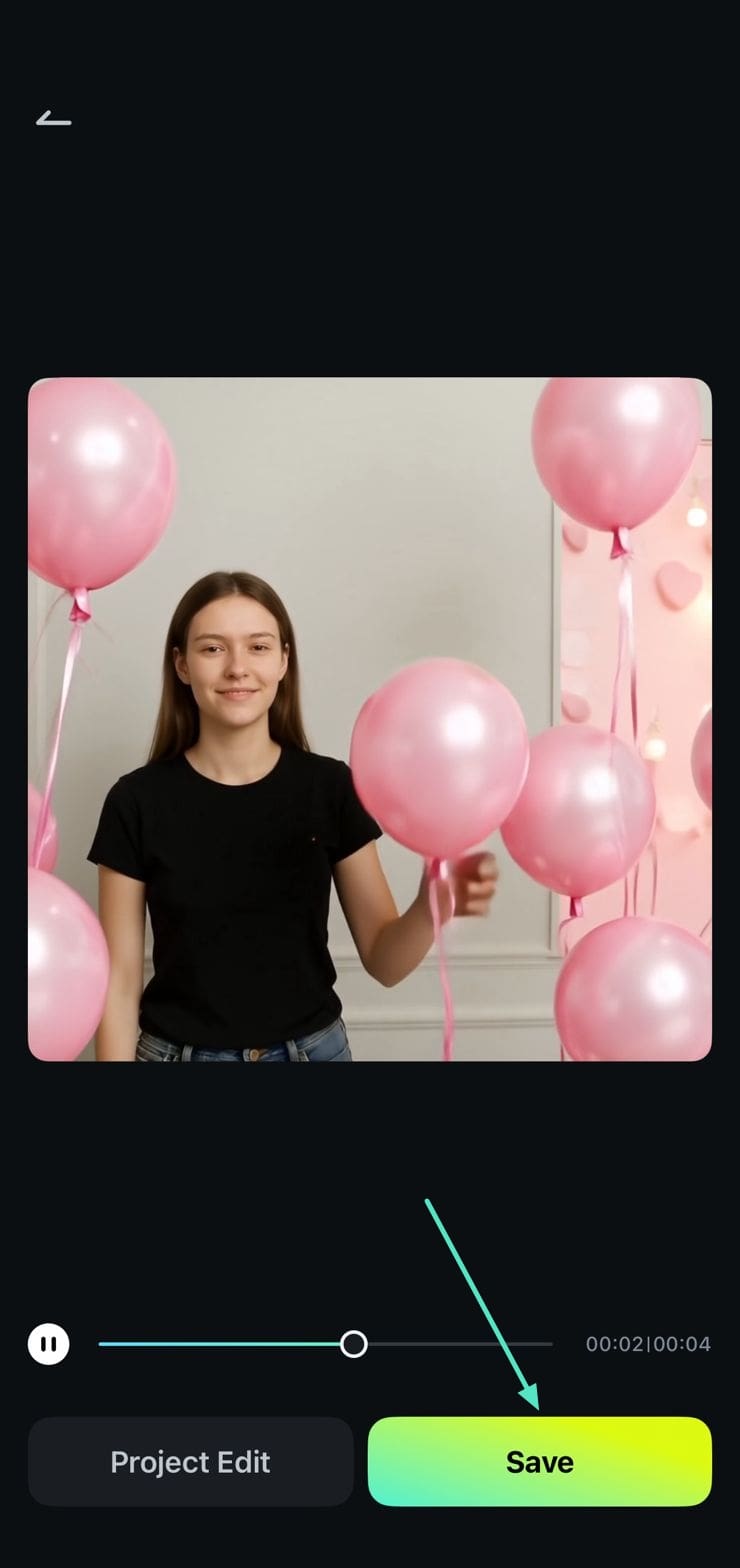
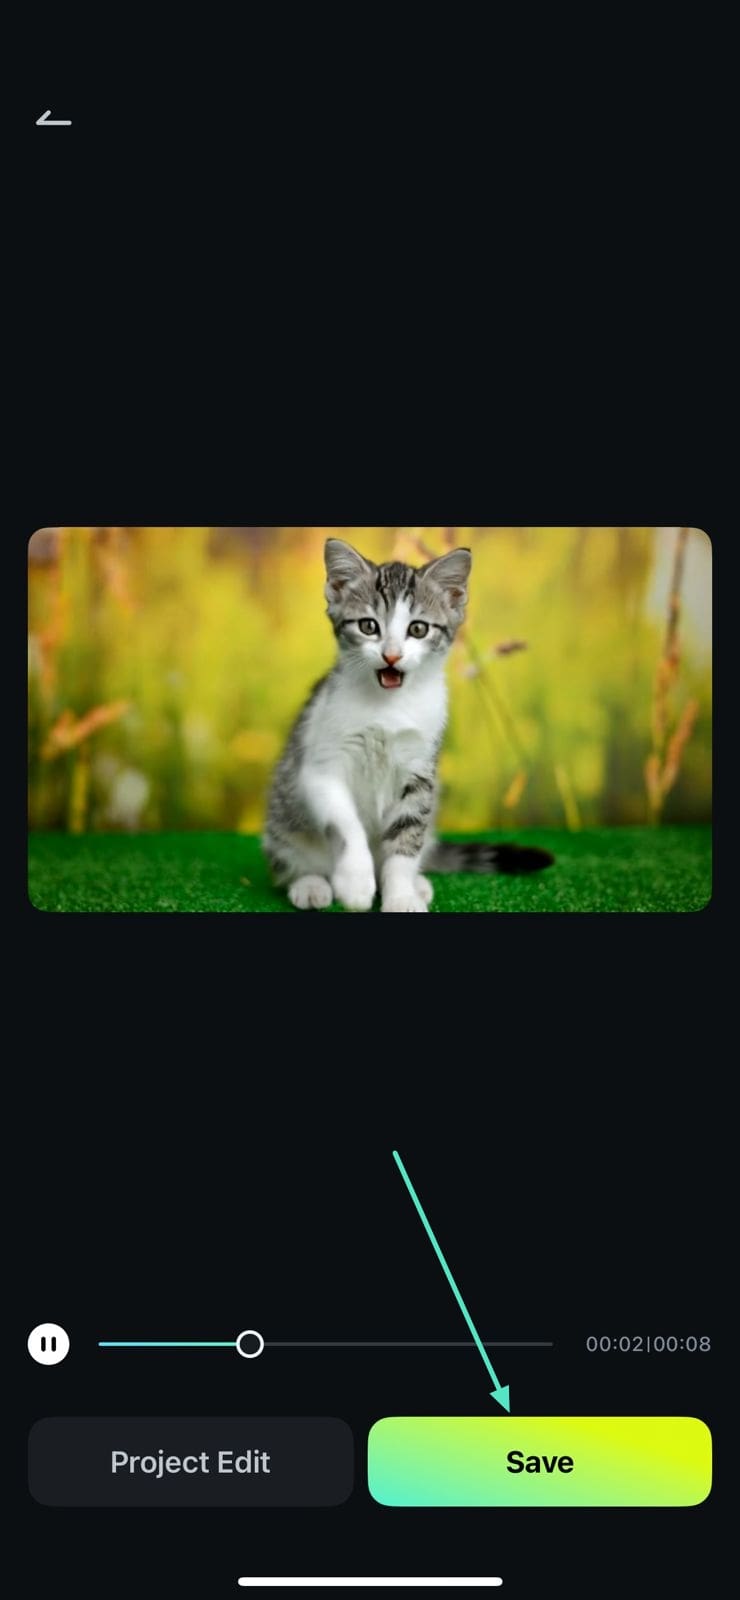
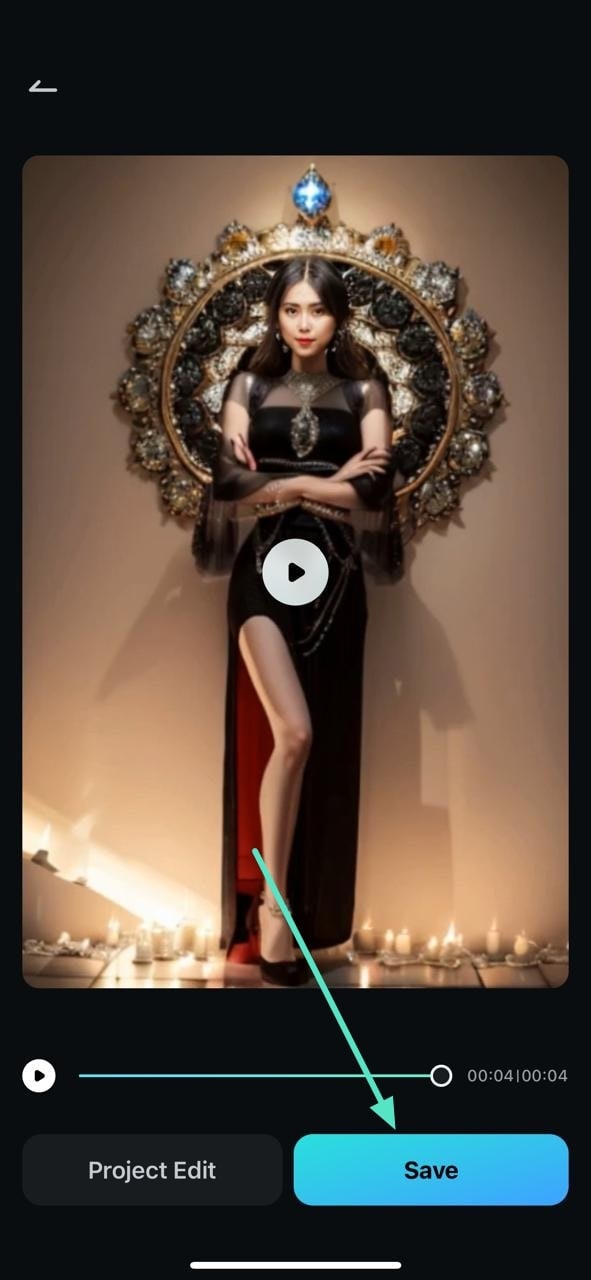
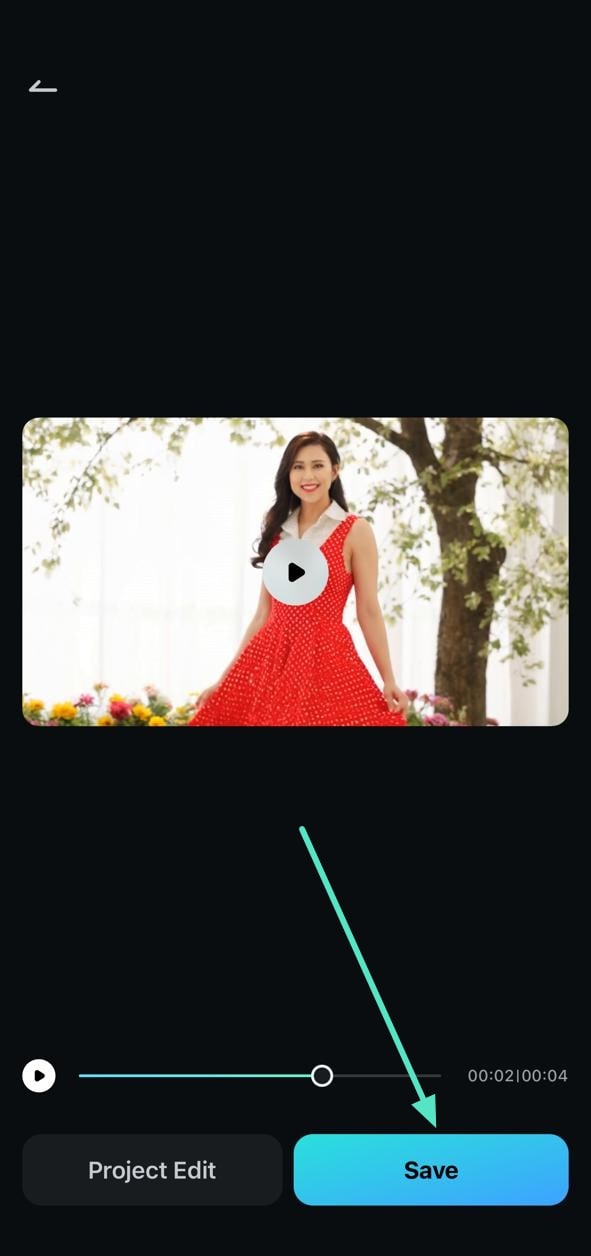
Step 5: Save the Created Video
When the video is successfully generated across the image provided, press the Save button located at the bottom to export the video to your device.
1.2 Convert Image to Video without a Template in Inspiration Mode
Step 1: Locate and Select the Image to Video Function
Start the process by accessing the Image to Video feature from the homepage of the application.

Step 2: Input Image and Text Details
Next, tap on the designated option on the left to upload the image that needs to be converted into the video and specify the description in the text box on the right. The prompt must contain details that you want to add to your video, such as background, body movement, props, and more. Now, enable the Veo 3 option located at the bottom and tap on the Generate button located at the bottom to initiate the process.
Step 3: Export Video to Phone
Once the app is done generating the video across your requirements, review the results by playing it, and save it to your phone using the Save button.
2. Convert Image to Video via Blending Mode
This feature is currently available on iOS devices only, allowing you to add two or more images and create a video by blending the input images. Brands can use this feature to show how a certain dress would look on a customer by converting a picture to a video conveniently.
2.1 Convert Image to Video with Template in Blending Mode
Step 1: Choose the Image to Video Feature
Begin the process by pressing the Image to Video feature from the homepage after launching the application.

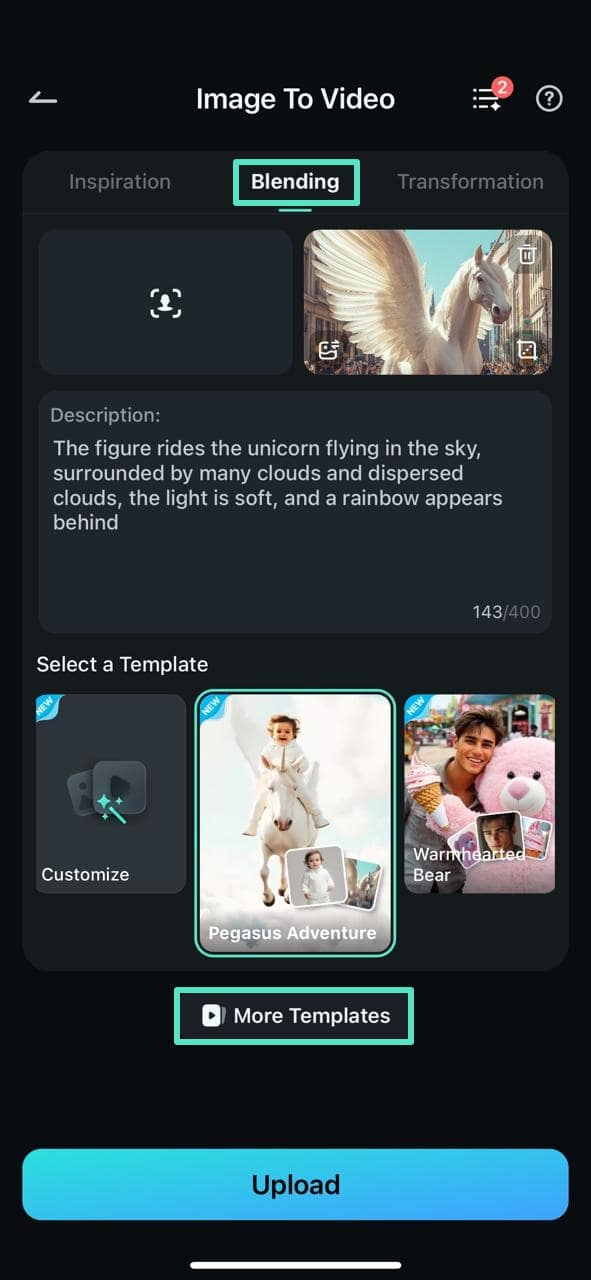
Step 2: Access Blending Mode
Next, access the Blending Mode and scroll through the templates. Conversely, tap on the More Templates option to explore more templates.
Step 3: Choose a Template from the Library
Now, scroll through the library and select your favorite template from different categories by tapping on them.
Step 4: Press the Generate Button
After that, tap on the Generate button when you have reviewed the selected template by playing it. Now, import the image you want to blend and hit the Import button to let the app execute the process.
Step 5: Press Save to Export Video
Once the video is generated through the blended mode, hit the Save button located below the video preview.
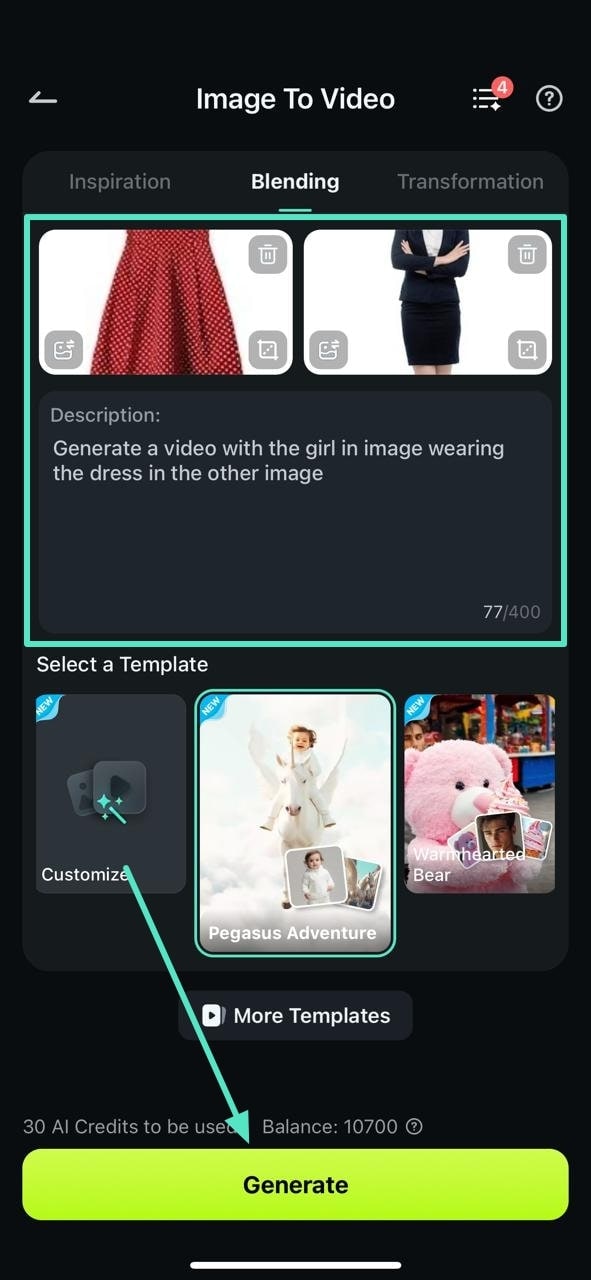
2.2 Convert Image to Video without a Template in Blending Mode
Step 1: Generate an Image to Video with Input
Once you have accessed the Image to Video feature from the homepage of the Filmora App, import the images for blending and add a description for the video in the text box. Next, locate the Generate button and tap on it to process the image to video conversion.
Step 2: Export the Generated Video
After the video is generated in the following interface, tap on the Save button to save the generated video to your device.
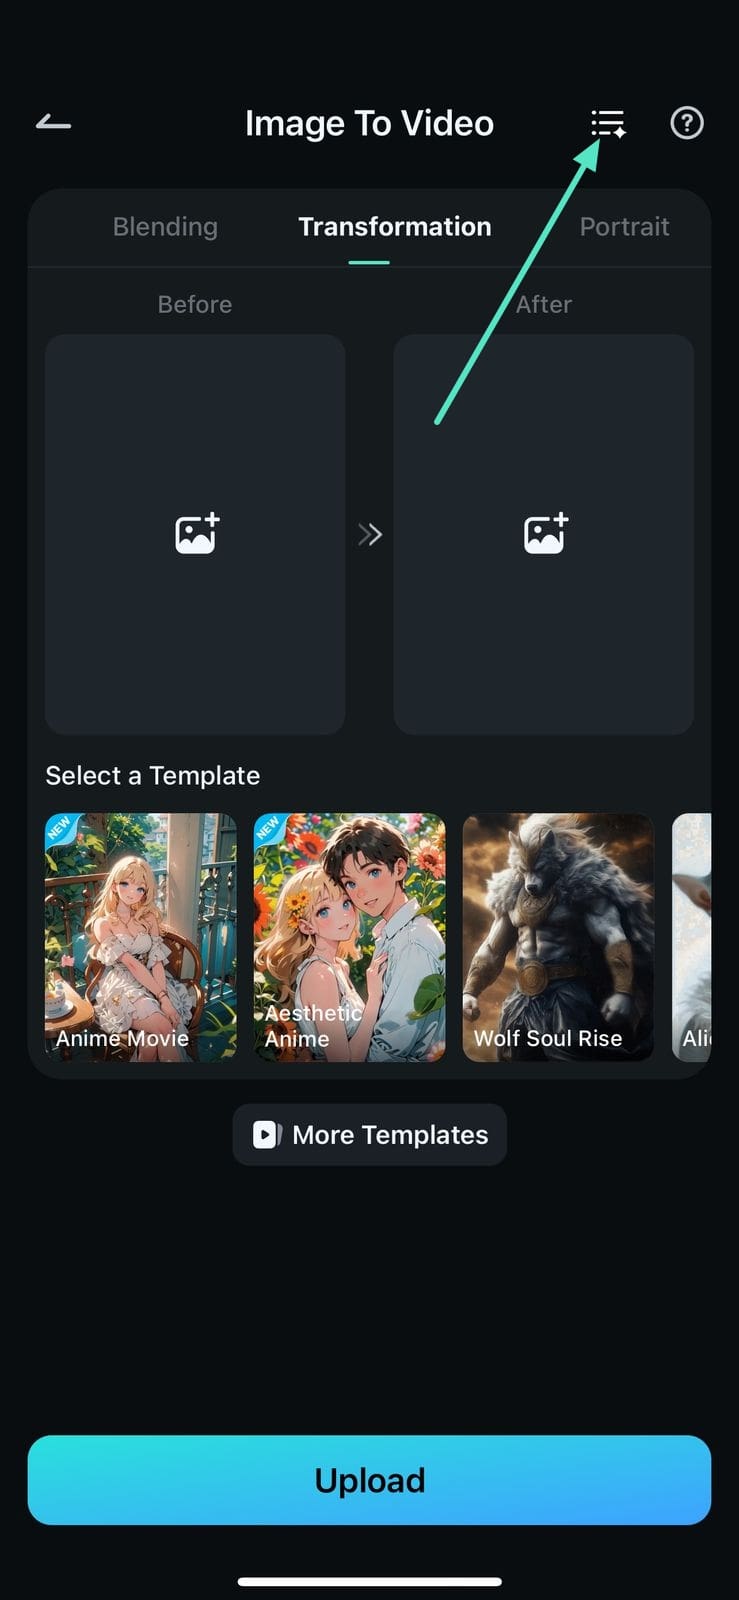
3. Convert Image to Video via Transformation Mode
In this mode of the image-to-video conversion feature, you can provide the first and last frame to the app, and it will generate an accurate video with various transitions.
3.1 Convert Image to Video with Template in Transformation Mode
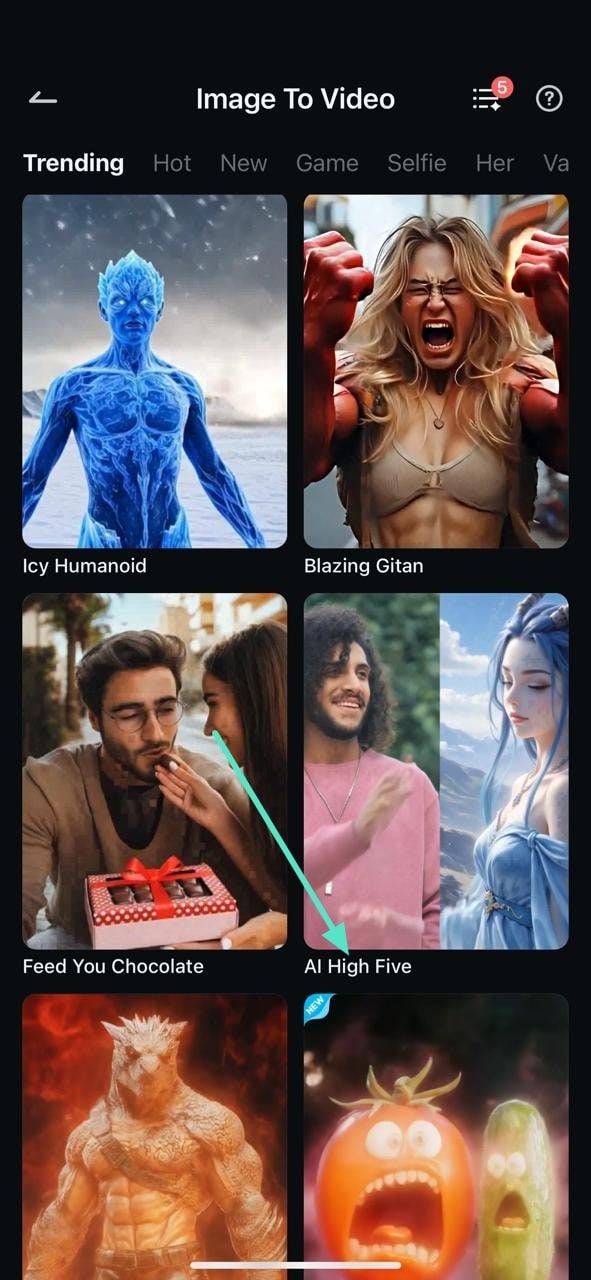
Step 1: Tap on More Templates Option
To begin, access the image-to-video function from the app’s homepage after launching it and tap on the More Templates option located within the interface.

Step 2: Choose the Desired Template
Here, swipe through the categories and choose the template of your choice by tapping on it.
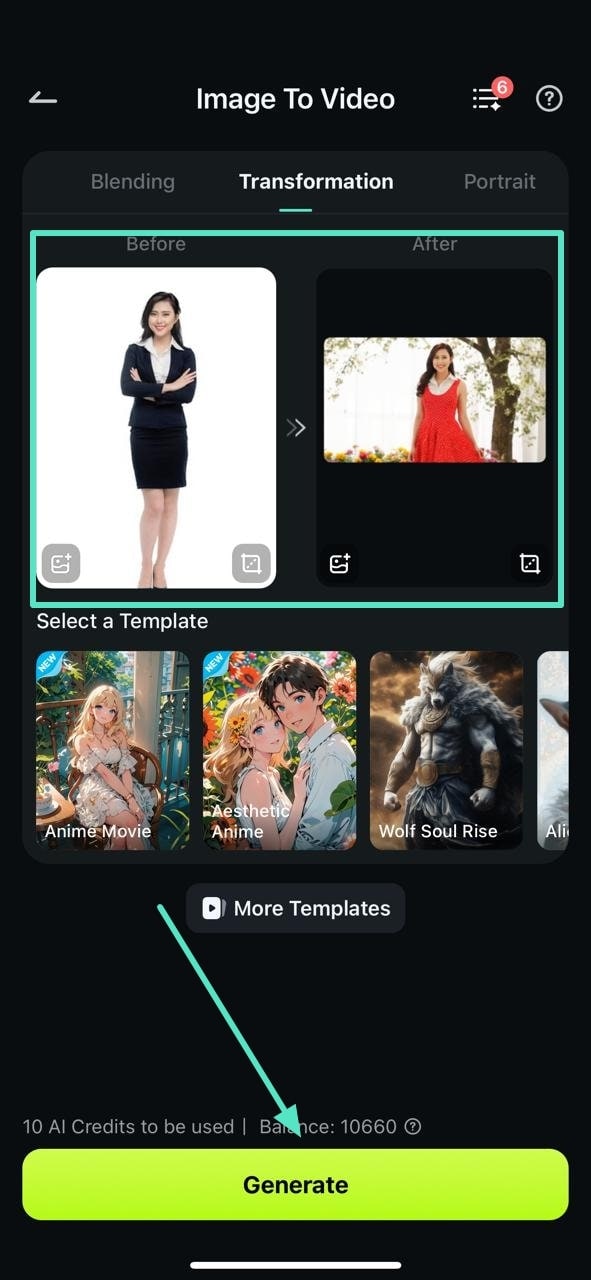
Step 3: Press Generate to Execute
Next, import your image into the left box and press the Generate button located at the bottom of the interface.

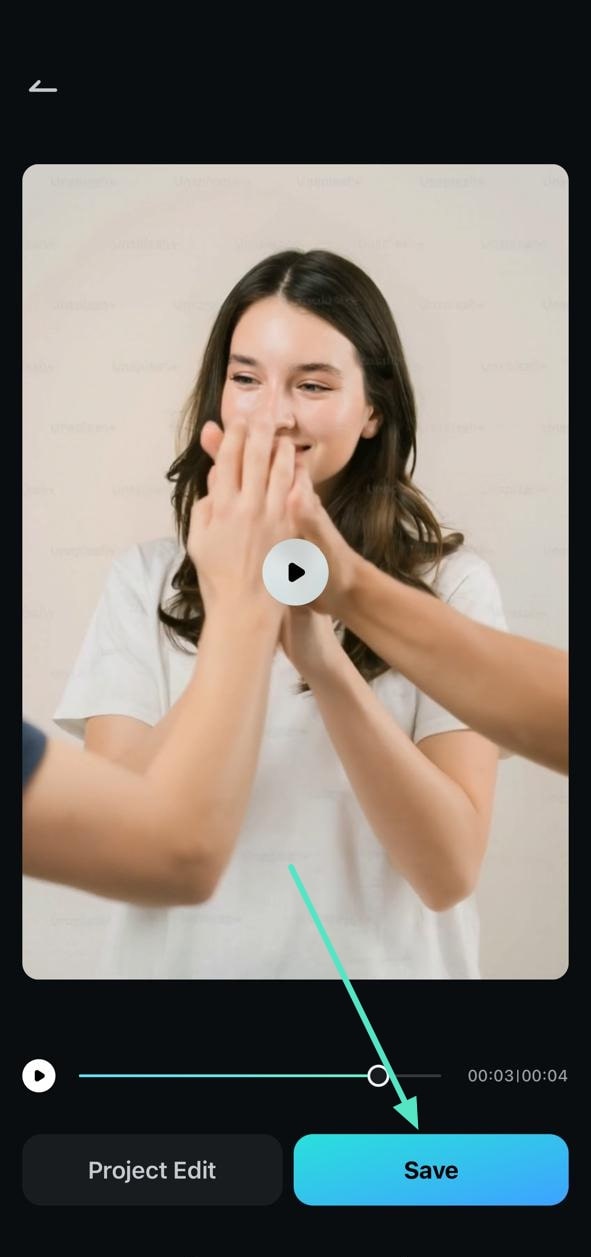
Step 4: Tap Save to Export
Once the video is generated in the following interface, you can press the Save button to save the video to your device.
3.2 Convert Image to Video without a Template in Transformation Mode
Step 1: Add the First and Last Frame for Video Generation
Access the image-to-video feature from the homepage, import the first and last frames of the video in the designated section, and press the Generate button to start the image-to-video conversion process.
Step 2: Save The Generated Results
Finally, tap on the Save button located at the bottom after reviewing the generated video in the following interface.
4. Convert Image to Video via Portrait Mode
For generating videos from images containing portraits, this dedicated mode is ideal. It efficiently captures all the facial details in the image provided to it and generates videos with realistic faces and expressions.
4.1 Convert Image to Video with Template in Portrait Mode
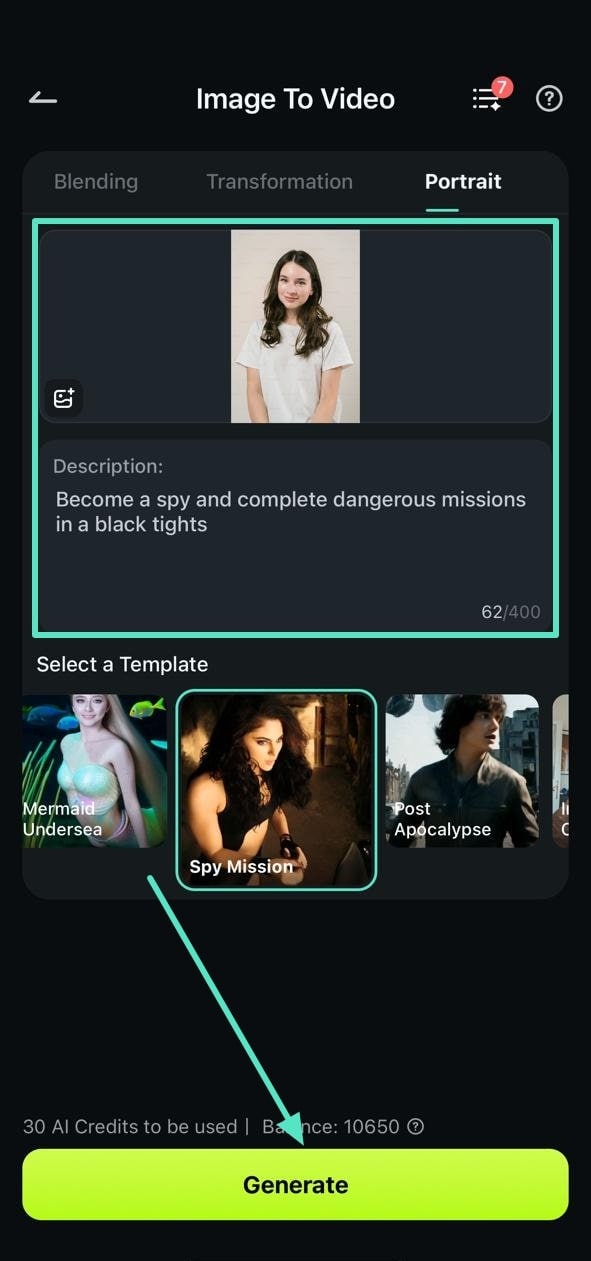
Step 1: Add Image for Video Generation
Initiate the process by accessing the Image to Video feature from the homepage of the application and input the image in the designated section. Next, select the templates from the options located at the bottom. Once done, locate the Generate button to execute the picture-to-video conversion process.
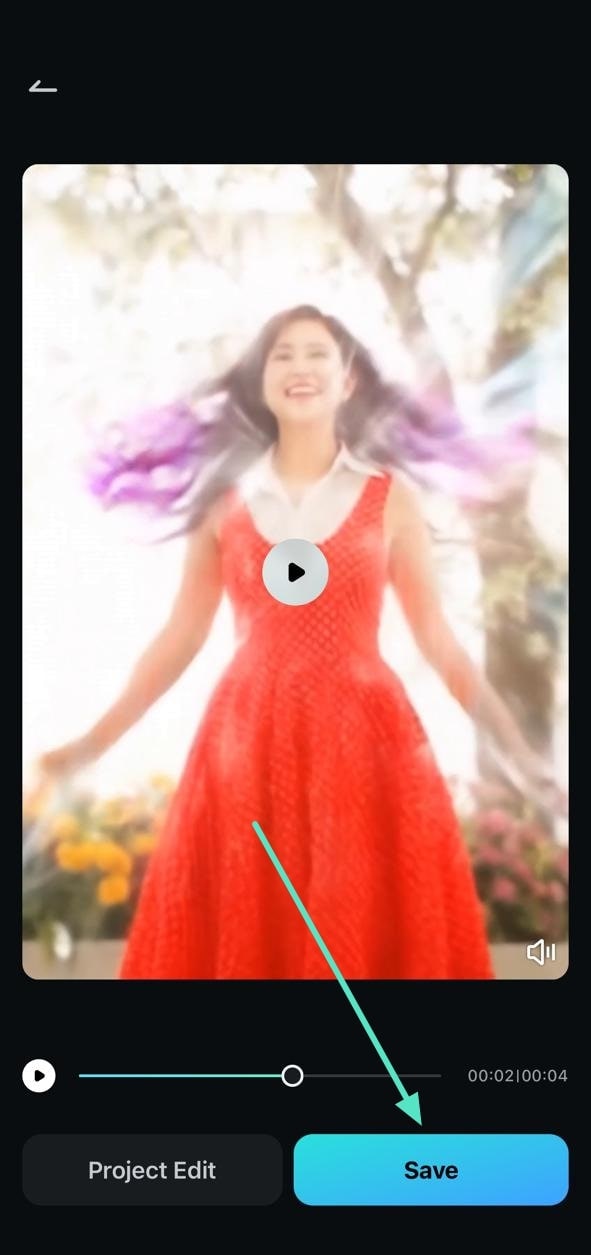
Step 2: Export the Created Video
After the successful generation of the video from the image, review it by tapping on the Play button. Next, save the video to your smartphone using the Save button at the bottom.

4.2 Convert Image to Video without a Template in Portrait Mode
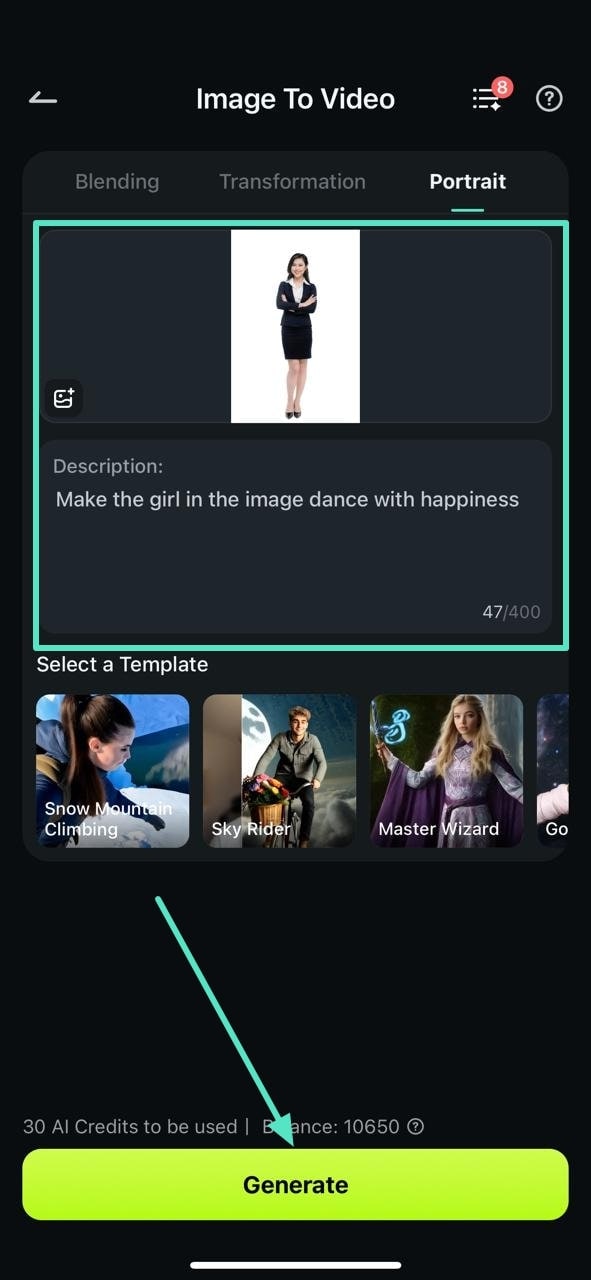
Step 1: Add Image and Description before Pressing Generate
To generate videos from images without selecting any template, acquire the Image to Video utility and insert the image in the following interface. Proceed by adding the text description in the text box and pressing the Generate button to initiate the process.
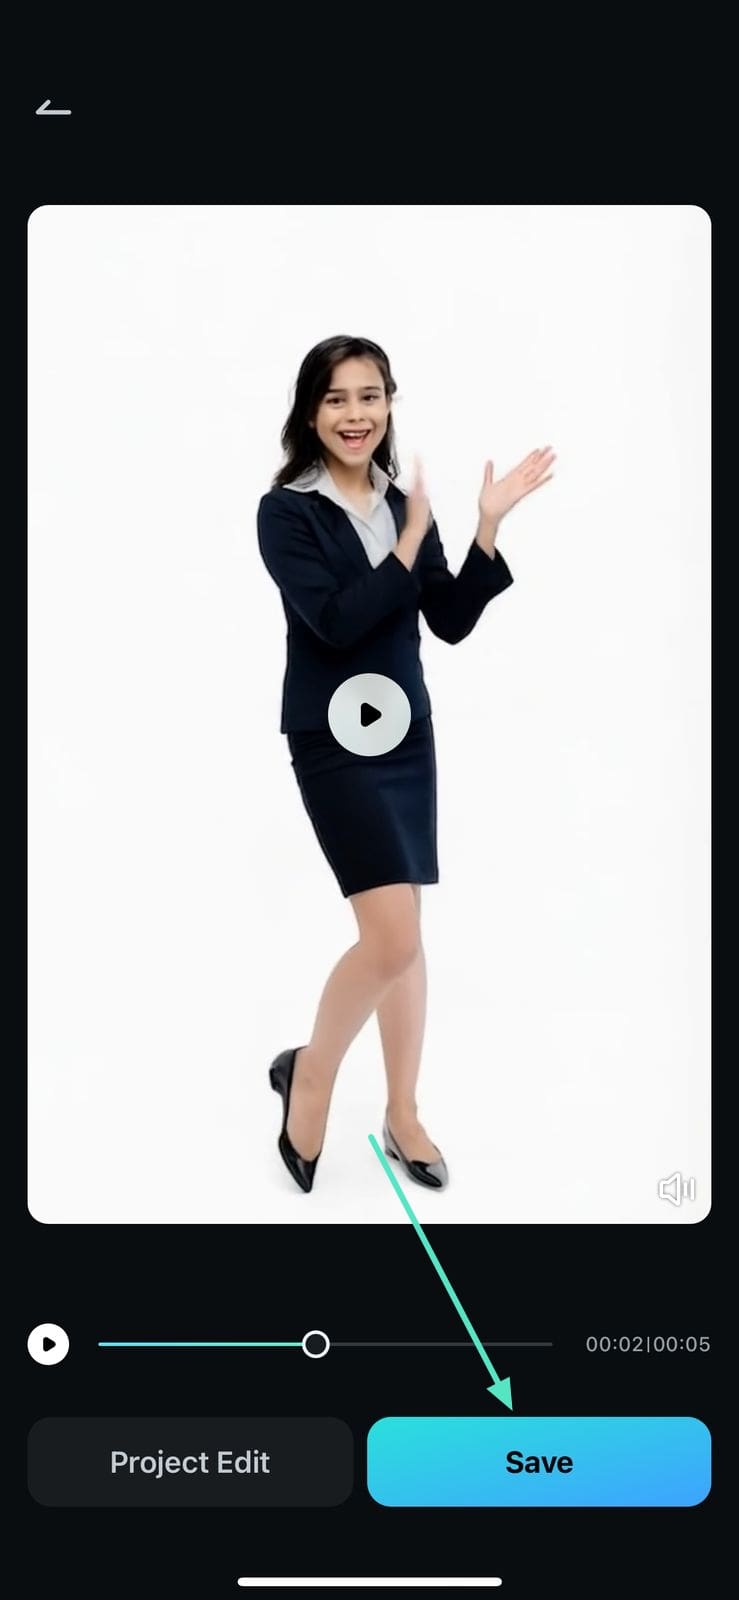
Step 2: Hit Save to Export
Once the visual content is crafted in the following interface, hit the Save button after reviewing it within the preview window.
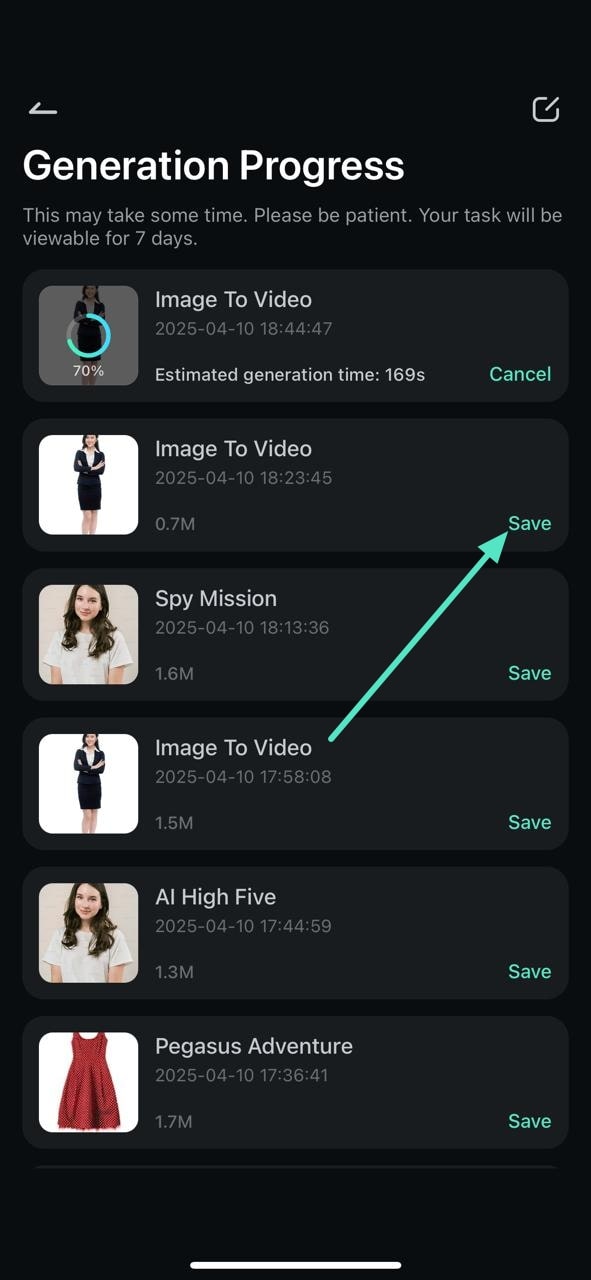
5. Check the Generation Progress for Your Video
The advanced utility of the Filmora App for turning pictures into video also shows the generation progress while executing the process. You can review the estimated time and also cancel the process at any time.
Step 1: Access Generation Progress
After you have commanded the app to convert an image to a video, head to the main interface of the feature and locate the Three Bars section in the top-right corner.
Step 2: Check Progress and Save
In the following interface, all the project progress will be displayed. Tap on the Save button to save the completed project directly to your local album.
Conclusion
To conclude, this guide offered a detailed tutorial on how to convert an image to a video using the Filmora App. The application stands out as the most reliable AI video generator app, as it offers multiple modes to create videos from images. The vast template library offered by the application allows you to get a head start on your video generation journey through photos.
