For the Best Results, Use the Latest Version.
-
Preparations for Mac
-
Account (Mac)
-
Get Started & Basic Settings (Mac)
- Release notes for Mac
- Latest Versions and Features for Mac
- Get Started on Mac - Full Guide
- Download/register/uninstall on Mac
- Panel Layout on Mac
- Keyboard shortcuts on Mac
- Touchbar on Mac
- Change playback quality on Mac
- Render preview files on Mac
- Manage Timeline on Mac
- Media for use on Mac
- Logo Reveal For Mac
- Marked Favorites for Mac
-
Compatibility & Tech Specs (Mac)
-
Performance Settings (Mac)
-
-
Creating Projects - Mac
-
Creating New Projects (Mac)
-
-
Importing & Recording - Mac
-
Importing (Mac)
-
Recording (Mac)
-
-
Video Editing for Mac
-
Basic Video Editing for Mac
- Edit Live Photos on Mac
- Enable/Disable Clip for Mac
- Magnetic Timeline For Mac
- Dual Monitor Setup for Video Editing on Mac
- Select All Clips on Timeline for Mac
- Auto Ripple for Mac
- Split & cut videos on Mac
- Compositing on Mac
- Crop and zoom on Mac
- Playback Zoom Level for Mac
- Change speed on Mac
- Play video in reverse on Mac
- Mark In and Mark Out for Mac
- Markers for Mac
- Group clips on Mac
- Customized Backgrounds for Videos and Images in Mac
- Video snapshot on Mac
- Freeze frame on Mac
- Auto enhance on Mac
- Applying Drop Shadow for Mac
- Adjustment Layer for Mac
- Mark clip on Mac
- Video Editing Ruler – Mac
- Apply Transforming for Mac
-
Advanced Video Editing for Mac
-
AI-Powered Video Editing for Mac
- Smart Scene Cut for Mac
- Smart Short Clips for Mac
- Filmora Image to Video for Mac
- AI Idea to Video for Mac
- AI Text-to-Video for Mac
- Instant Cutter Tool on Mac
- AI Face Mosaic for Mac
- Keyframe Path Curve for Mac
- Planar Tracking for Mac
- AI Extend For Mac
- AI Script-to-Video for Mac
- AI Text-Based Editing in Mac
- Create With Instant Mode on Mac
- ChatGPT Plugin - AI Copywriting on Mac
- AI Smart Cutout for Mac
- Auto reframe on Mac
- Lens correction on Mac
- AI Portrait Cutout on Mac
- Scene detection on Mac
- AI Smart Masking for Mac
- AI Mate Editing for Mac
- Motion Tracking on Mac
- Video Stabilization for Mac
- AI Object Remover For Mac
- AI Smart Search for Mac
- AI Skin Tone Protection for Mac
- Green screen on Mac
- Super Slow Motion with Optical Flow for Mac
- AI stylizer on Mac
- Video Denoise for Mac
-
-
Audio Editing for Mac
-
Basic Audio Editing for Mac
-
Advanced Audio Editing for Mac
-
AI-Powered Audio Editing for Mac
- Audio To Video for Mac
- AI Sound Effect for Mac
- Smart BGM Generation for Mac
- AI Voice Enhancer for Mac
- Audio Stretch for Mac
- AI Audio Denoise for Mac
- Auto synchronization for Mac
- AI Vocal Remover for Mac
- Auto Beat Sync on Mac
- AI Music Generator for Mac
- How to Perform AI Voice Cloning in Wondershare Filmora?
- Silence detection on Mac
-
-
Text Editing for Mac
-
Basic Text Editing for Mac
-
Advanced Text Editing for Mac
-
AI-Powered Text Editing for Mac
-
-
Video Customizations for Mac
-
Video Effects (Mac)
-
Audio Effects (Mac)
-
Transitions (Mac)
-
Stickers (Mac)
-
Filters (Mac)
-
Color Editing (Mac)
-
Animations (Mac)
-
Templates (Mac)
-
Asset Center (Mac)
-
-
Exporting & Share & Cloud Backup - Mac
AI Sticker Generator for Mac
Stickers are an effective element that can be added into your video content to enhance its overall outlook. Filmora has included a generative AI feature of sticker generation, which helps in taking video editing onto new heights. Through a prompt, you can easily create your favorite sticker without any copyright issues.
For those who want to create proper stickers with AI, the following is a comprehensive guide to AI Stickers in Filmora Mac:
Index
Launch Filmora and Create a New Project
Upon successfully downloading Filmora, open it and login or sign up from the main menu. Afterward, direct the cursor towards the control panel at the left and select "Create Project". From the numerous tabs appearing on the main menu, tap on the "New Project" tab.
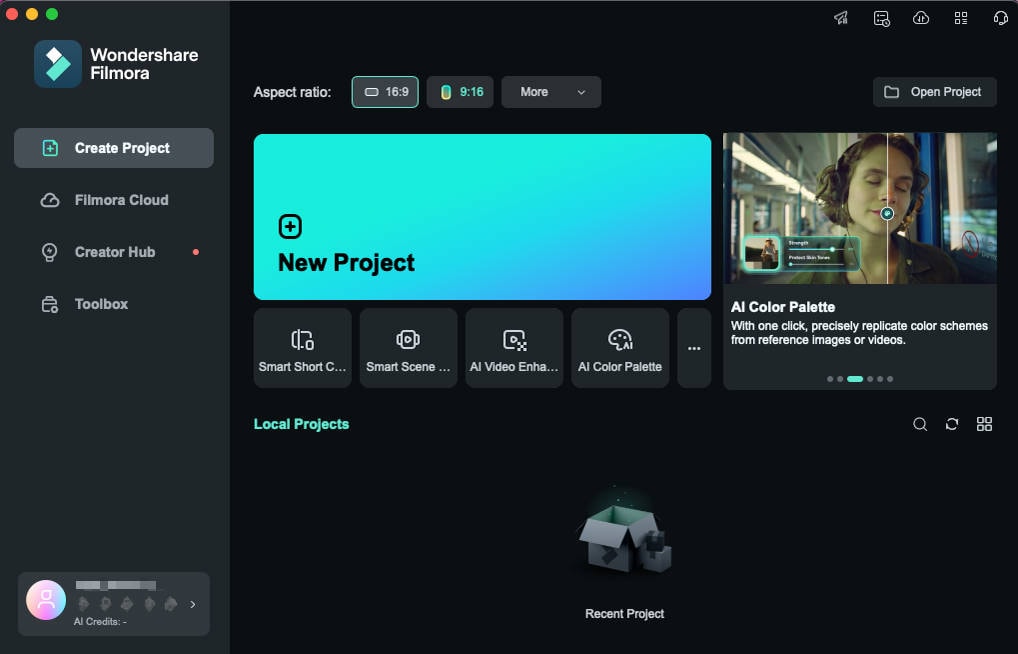
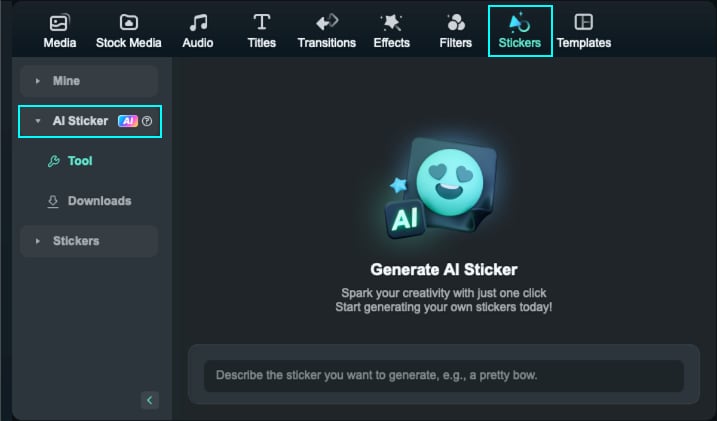
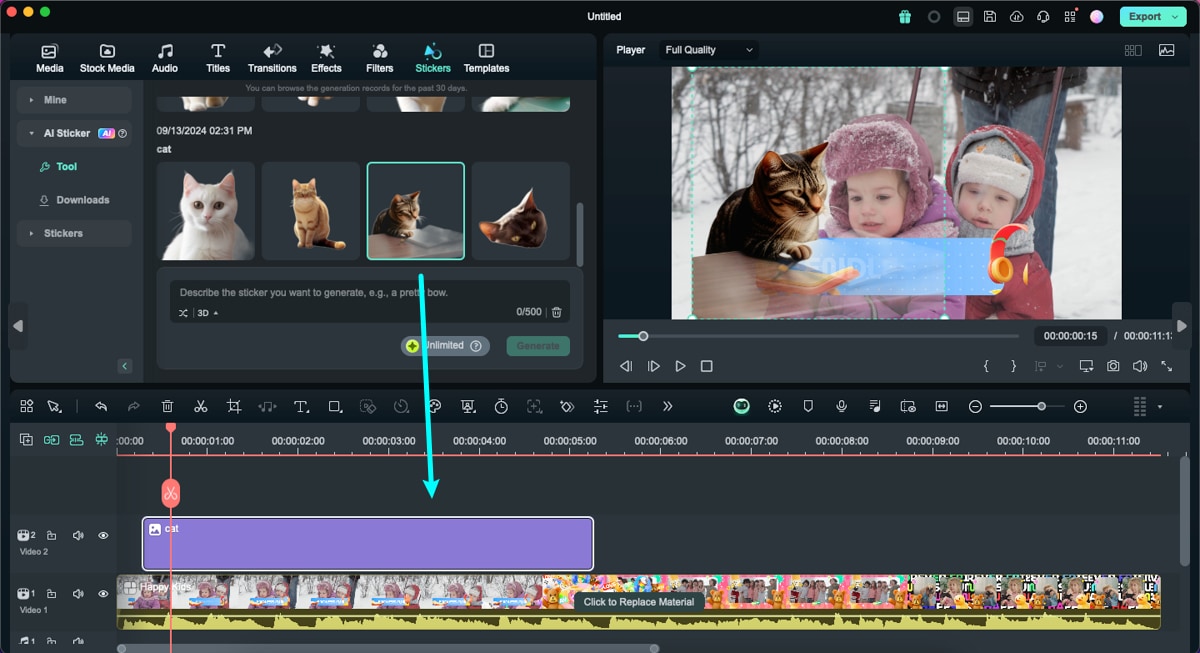
Once you have created a new project and added your video content to the timeline, proceed to the "Stickers" tab on the top toolbar. Here, you will find the "AI Sticker" tab on the left panel, which opens up a new window.
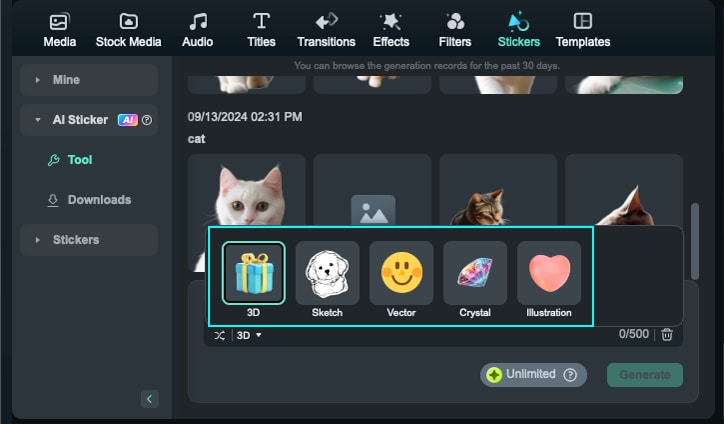
On the new window, provide a proper prompt within 500 characters to generate the sticker and select a style from the available options.
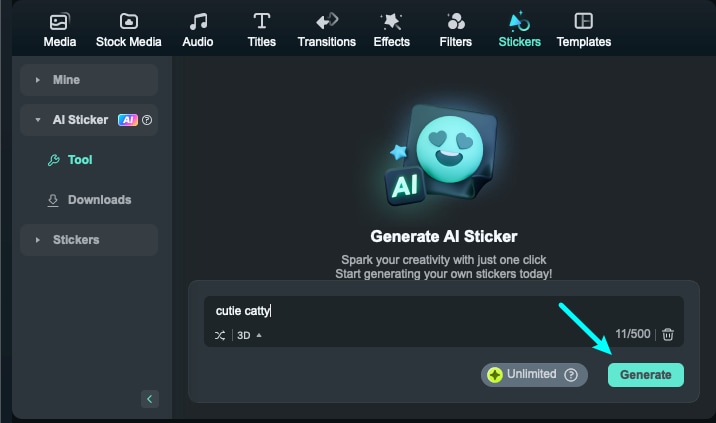
Click "Generate" after adding the prompt to create 4 different versions of the demanded sticker.
As it generates, download any specific option and drag it to the timeline for using it on your video.
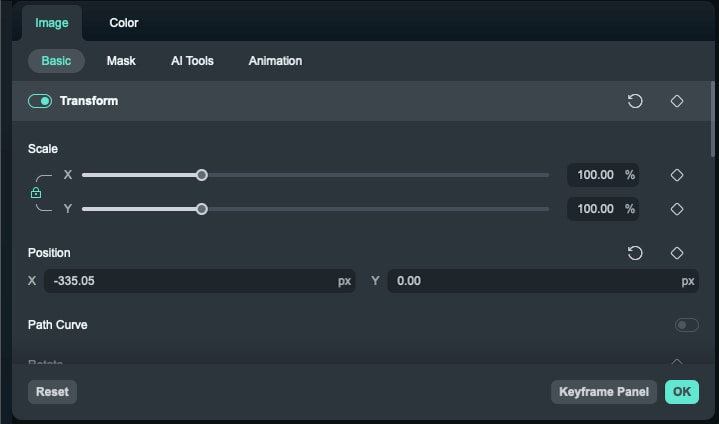
Double-click the sticker on the timeline, and you will see four options for adjustment: Basic, Mask, AI Matting, and AIGC. Choose the one you want to adjust, you can click OK to apply the video when you finish adjusting.
Related Posts
Featured Articles
FREE Top 10 Facebook Video Downloader for Android [Latest]
It's easy to save your favorite Facebook videos on Android! Check out our curated list of the best apps to download Facebook videos easily on your Android device.
Best 4K Screen Recorders for Any Platforms
Do you want to create high-quality recordings of your screen or camera? Try these seven 4K screen recorders and enjoy superior screen capture on any device.
Find Out How To Easily Translate YouTube Videos with Filmora on PC
Struggling with YouTube's auto-translate? Try Filmora’s AI-powered tools to deliver precise translations and multilingual subtitles.
Recommended User Guide
Stickers for Mac
In this guide, let's learn how to add elements on your videos in Fillmore and how to control that element.
