For the Best Results, Use the Latest Version.
-
Preparations for Mac
-
Account (Mac)
-
Get Started & Basic Settings (Mac)
- Release notes for Mac
- Latest Versions and Features for Mac
- Get Started on Mac - Full Guide
- Download/register/uninstall on Mac
- Panel Layout on Mac
- Keyboard shortcuts on Mac
- Touchbar on Mac
- Change playback quality on Mac
- Render preview files on Mac
- Manage Timeline on Mac
- Media for use on Mac
- Logo Reveal For Mac
- Marked Favorites for Mac
-
Compatibility & Tech Specs (Mac)
-
Performance Settings (Mac)
-
-
Creating Projects - Mac
-
Creating New Projects (Mac)
-
-
Importing & Recording - Mac
-
Importing (Mac)
-
Recording (Mac)
-
-
Video Editing for Mac
-
Basic Video Editing for Mac
- Edit Live Photos on Mac
- Enable/Disable Clip for Mac
- Magnetic Timeline For Mac
- Dual Monitor Setup for Video Editing on Mac
- Select All Clips on Timeline for Mac
- Auto Ripple for Mac
- Split & cut videos on Mac
- Compositing on Mac
- Crop and zoom on Mac
- Playback Zoom Level for Mac
- Change Speed on Mac
- Play video in reverse on Mac
- Mark In and Mark Out for Mac
- Markers for Mac
- Group clips on Mac
- Customized Backgrounds for Videos and Images in Mac
- Video snapshot on Mac
- Freeze frame on Mac
- Auto enhance on Mac
- Applying Drop Shadow for Mac
- Adjustment Layer for Mac
- Mark clip on Mac
- Video Editing Ruler – Mac
- Apply Transforming for Mac
-
Advanced Video Editing for Mac
- Text Animation Path for Mac
- Create Multi-Camera Clip for Mac
- Filmora Motion Blur | Mac
- Drawing Tools for Mac | Filmora Guide
- Compound Clips for Mac
- AI Video Enhancer for Mac
- Filmora Flicker Removal Guide | Mac
- Multi-Clip Editing for Mac
- Keyframe Graph Editor for Mac
- Add Animation Keyframing in Filmora for Mac
- Mask on Mac
- PIP (picture in picture) on Mac
-
AI-Powered Video Editing for Mac
- Smart Scene Cut for Mac
- Smart Short Clips for Mac
- Filmora AI Eye Contact - Mac
- Filmora Image to Video for Mac
- AI Idea to Video for Mac
- AI Text-to-Video for Mac
- Instant Cutter Tool on Mac
- AI Face Mosaic for Mac
- Filmora Image to Prompt for Mac
- Keyframe Path Curve for Mac
- Filmora AI Image Enhancer Guide – macOS
- Planar Tracking for Mac
- Filmora AI Relight - Mac
- AI Extend For Mac
- AI Script-to-Video for Mac
- AI Text-Based Editing in Mac
- Create With Instant Mode on Mac
- ChatGPT Plugin - AI Copywriting on Mac
- AI Smart Cutout for Mac
- Auto reframe on Mac
- Lens correction on Mac
- AI Portrait Cutout on Mac
- Scene detection on Mac
- AI Smart Masking for Mac
- AI Mate Editing for Mac
- Motion Tracking on Mac
- Video Stabilization for Mac
- AI Object Remover For Mac
- AI Smart Search for Mac
- AI Skin Tone Protection for Mac
- Green screen on Mac
- Super Slow Motion with Optical Flow for Mac
- AI Stylizer for Mac
- Video Denoise for Mac
-
-
Audio Editing for Mac
-
Basic Audio Editing for Mac
-
Advanced Audio Editing for Mac
-
AI-Powered Audio Editing for Mac
- Audio To Video for Mac
- AI Sound Effect for Mac
- Smart BGM Generation for Mac
- AI Voice Enhancer for Mac
- Audio Stretch for Mac
- AI Audio Denoise for Mac
- Auto synchronization for Mac
- AI Vocal Remover for Mac
- AI Auto Beat Sync for Mac
- AI Music Generator for Mac
- AI Voice Cloning on Mac
- Silence detection on Mac
-
-
Text Editing for Mac
-
Basic Text Editing for Mac
-
Advanced Text Editing for Mac
-
AI-Powered Text Editing for Mac
-
-
Video Customizations for Mac
-
Video Effects (Mac)
-
Audio Effects (Mac)
-
Transitions (Mac)
-
Stickers (Mac)
-
Filters (Mac)
-
Color Editing (Mac)
-
Animations (Mac)
-
Templates (Mac)
-
Asset Center (Mac)
-
-
Exporting & Share & Cloud Backup - Mac
Auto Reframe Video in Filmora for Mac
Video content today needs to work across multiple platforms, and Filmora for Mac’s Auto Reframe feature makes that process effortless. It intelligently reshapes your footage to match different aspect ratios while keeping the main subject properly centered. Powered by AI motion tracking, it automatically follows the subject so the framing always stays balanced and visually appealing. This makes it especially useful for converting videos for multiple platforms.
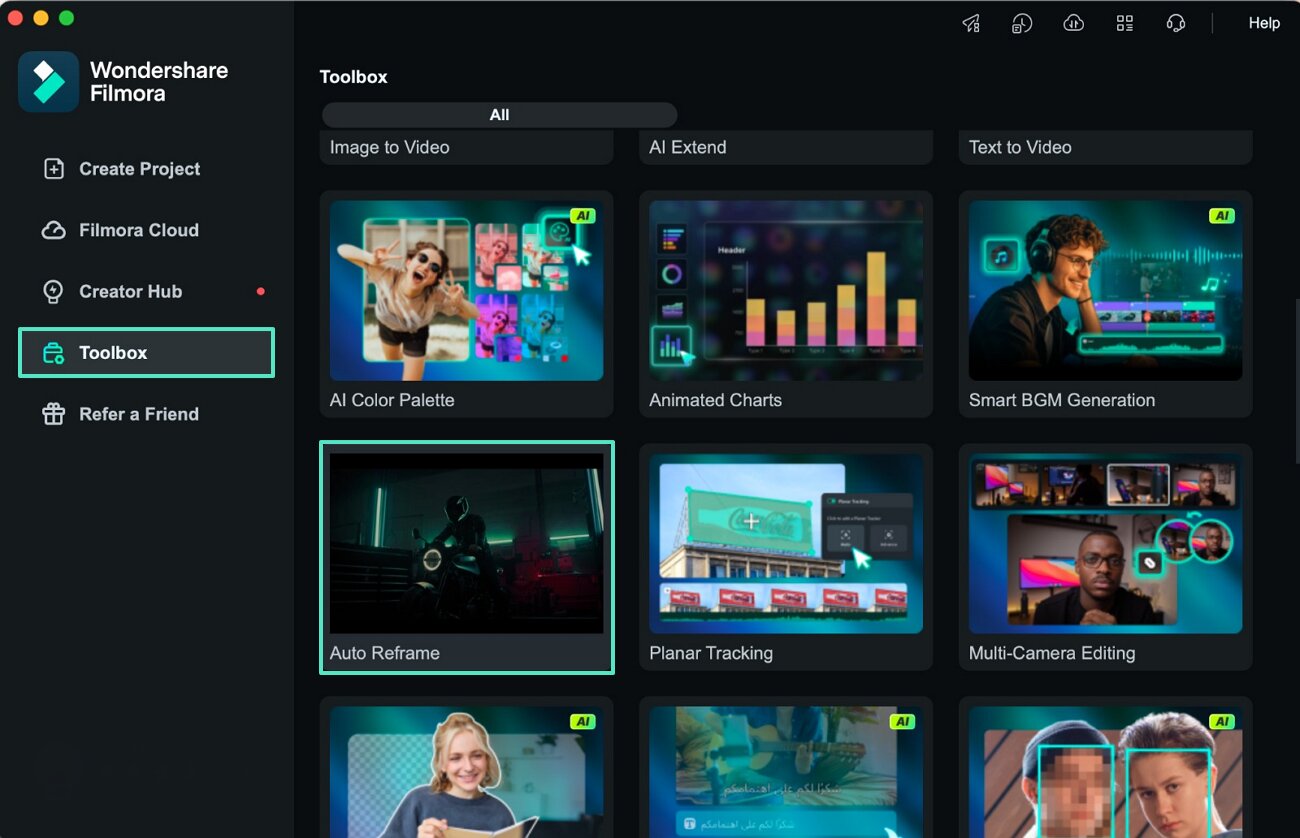
Method 1: Use Auto Reframe from Toolbox
Step 1. Open Auto Reframe Tool
Launch Filmora on your Mac and go to the left-side Toolbox section. From the available tools, select Auto Reframe to open the feature workspace.
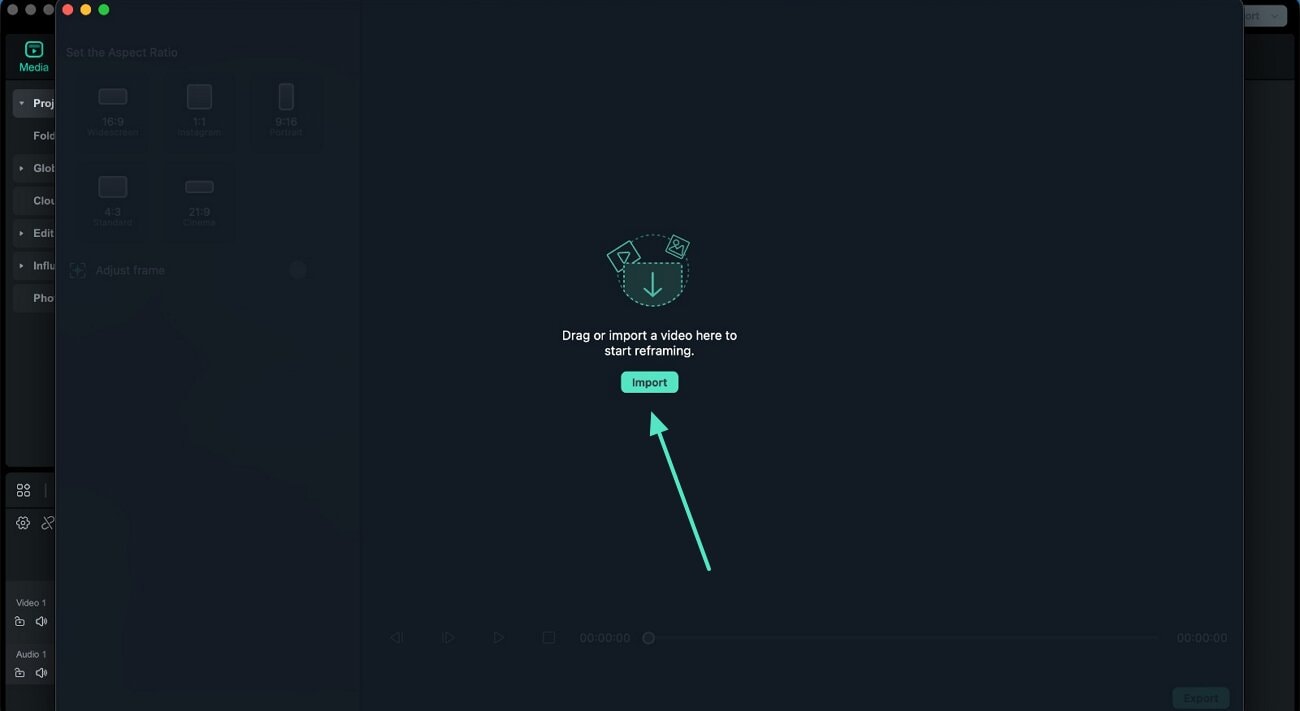
Step 2. Import Your Video
Click the Import option in the interface and add the video you want to resize for different platforms.
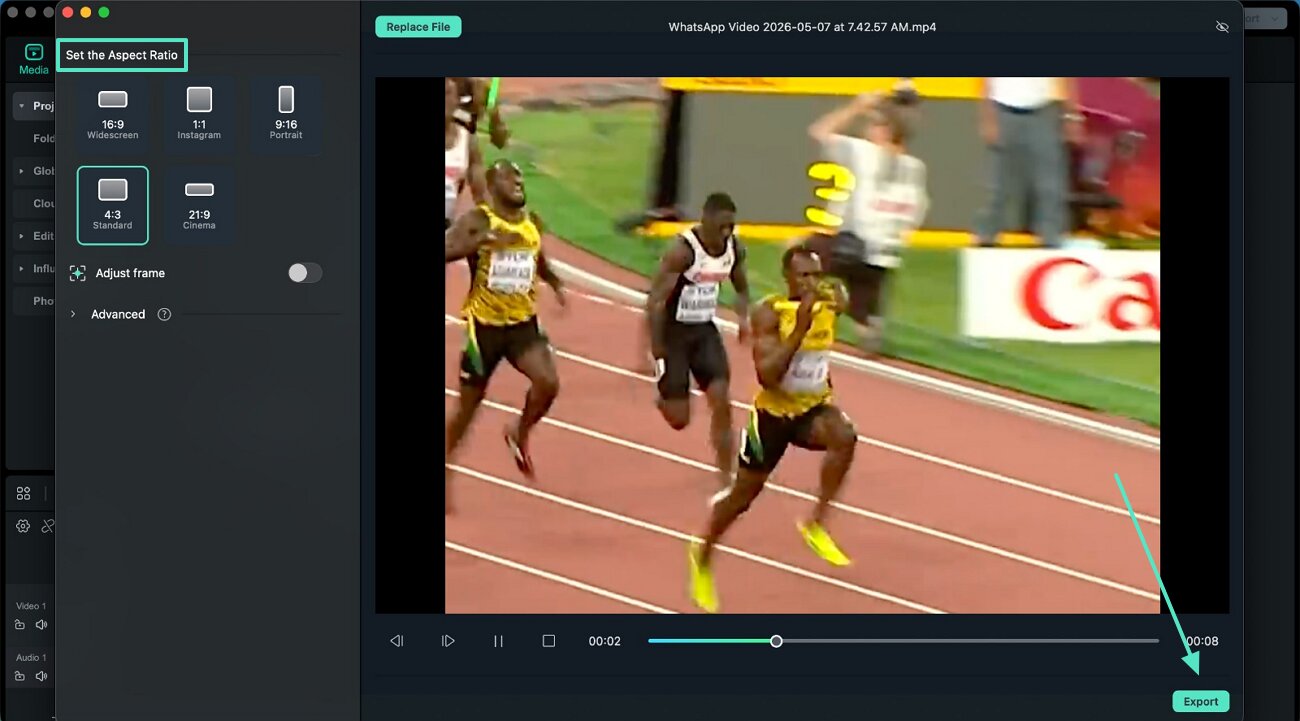
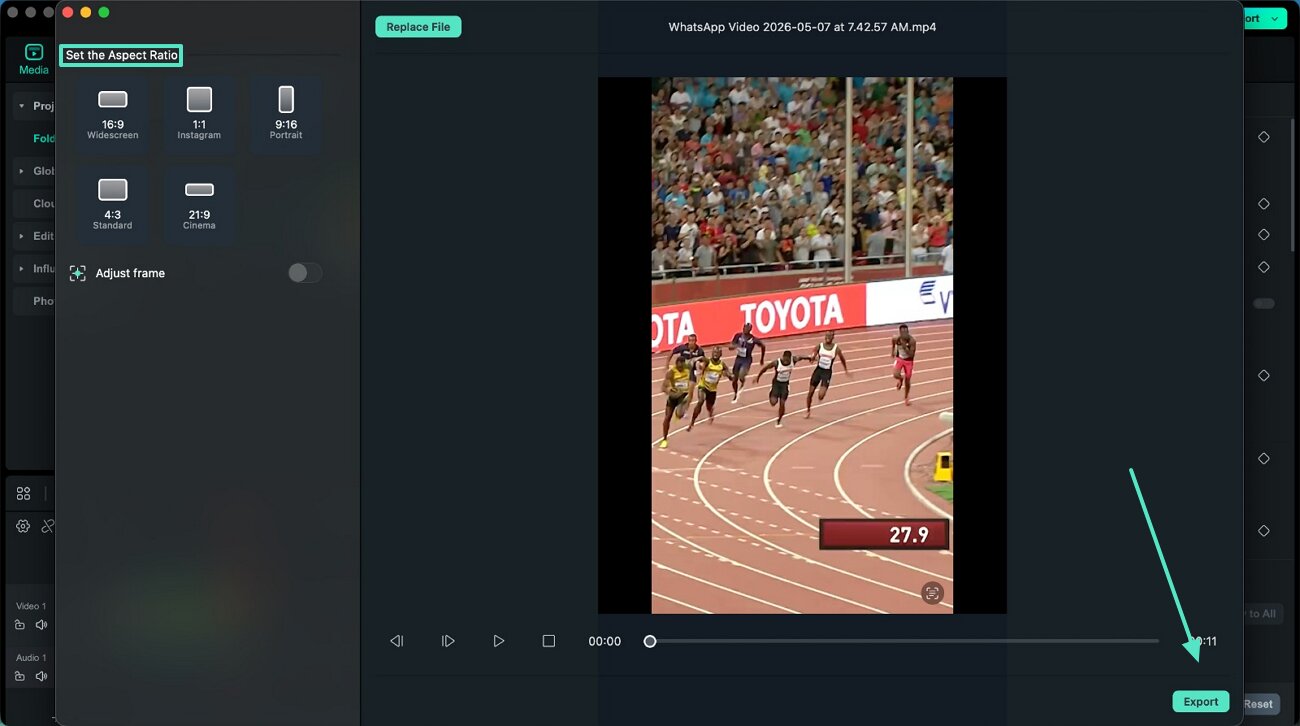
Step 3. Set Aspect Ratio and Analyze
Choose your preferred aspect ratio from the menu, such as 1:1, 9:16, or 16:9. Adjust motion settings if needed. Once processing is complete, preview the reframed video and press the Export button.
Method 2: Use from Timeline Interface
Step 1. Select Auto Reframe from Clip Options
Import your video into Filmora and place it on the timeline. Right-click the clip and choose Auto Reframe from the menu.
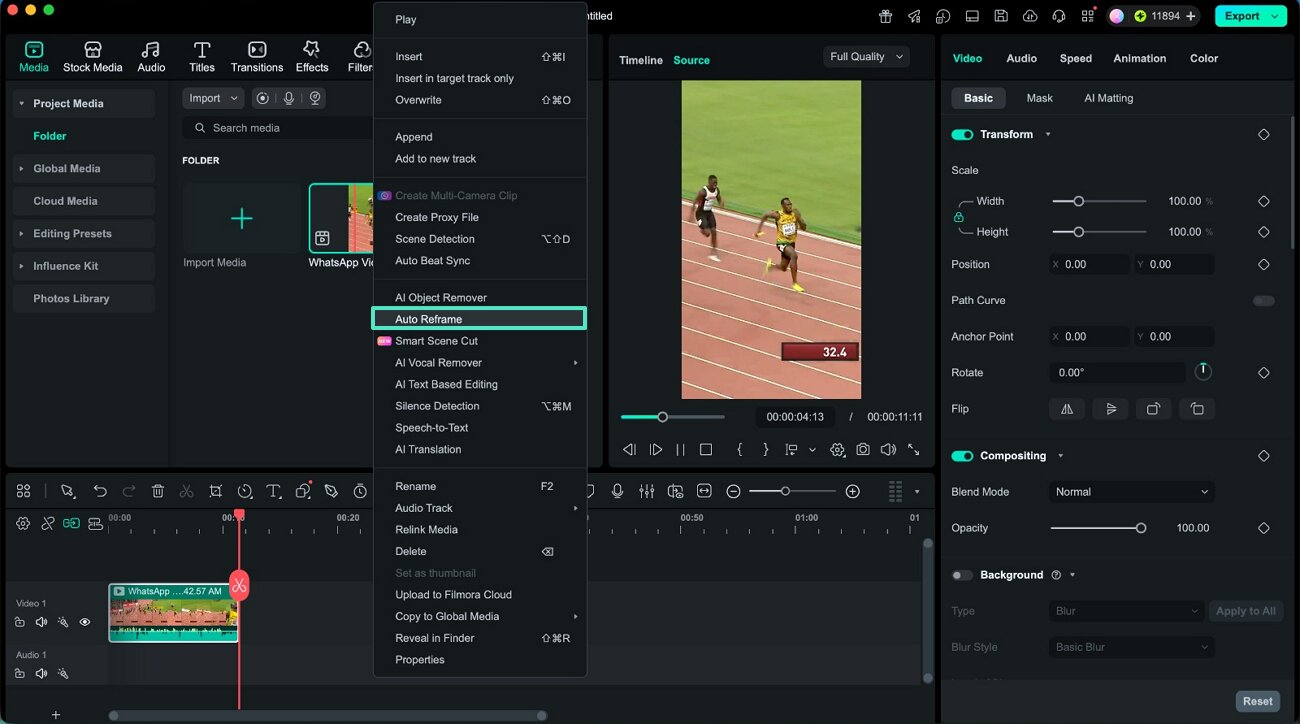
Step 2. Configure Settings and Process
Set the desired aspect ratio and motion preference from given options. After processing, export the final output or continue editing as needed.
Related Posts
Featured Articles
Easy Guide to Using Sora OpenAI: Sora Prompt for Image & Video
Sora OpenAI's text-to-video model and image generator make it easy to create visuals that stand out. Check out our guide to learn how to use prompts like a pro.
How to Make AI CGI Commercial Ad
CGI in advertising helps brands make memorable content for social media and beyond. Check out our guide to learn how to create CGI ads and see examples that work.
Samsung Remove Background: The Best Ways to Erase Image Backgrounds
Learn how to use Samsung Remove Background to erase image backgrounds on your phone. This guide also covers background removal on a computer and a bonus tip for videos.
Recommended User Guide
AI Stylizer for Mac
Overview of AI Stylizer.
Super Slow Motion with Optical Flow for Mac
Slo-mo has always been in trend, and now, with Filmora's upgrade, you can make your videos super slow to match the trends.
Create With Instant Mode on Mac
This is a guide on filmora's instant mode.
