For the Best Results, Use the Latest Version.
-
Preparations for Mac
-
Account (Mac)
-
Get Started & Basic Settings (Mac)
- Release notes for Mac
- Latest Versions and Features for Mac
- Get Started on Mac - Full Guide
- Download/register/uninstall on Mac
- Panel Layout on Mac
- Keyboard shortcuts on Mac
- Touchbar on Mac
- Change playback quality on Mac
- Render preview files on Mac
- Manage timeline on Mac
- Media for use on Mac
- Logo Reveal For Mac
- Marked Favorites for Mac
-
Compatibility & Tech Specs (Mac)
-
Performance Settings (Mac)
-
-
Creating Projects - Mac
-
Creating New Projects (Mac)
-
-
Importing & Recording - Mac
-
Importing (Mac)
-
Recording (Mac)
-
-
Video Editing for Mac
-
Basic Video Editing for Mac
- Edit Live Photos on Mac
- Enable/Disable Clip for Mac
- Magnetic Timeline For Mac
- Select All Clips on Timeline for Mac
- Auto Ripple for Mac
- Split & cut videos on Mac
- Compositing on Mac
- Crop and zoom on Mac
- Playback Zoom Level for Mac
- Change speed on Mac
- Play video in reverse on Mac
- Mark In and Mark Out for Mac
- Markers for Mac
- Group clips on Mac
- Customized Backgrounds for Videos and Images in Mac
- Video snapshot on Mac
- Freeze frame on Mac
- Auto enhance on Mac
- Applying Drop Shadow for Mac
- Adjustment Layer for Mac
- Mark clip on Mac
- Video Editing Ruler – Mac
- Apply Transforming for Mac
-
Advanced Video Editing for Mac
-
AI-Powered Video Editing for Mac
- Smart Scene Cut for Mac
- Smart Short Clips for Mac
- Image to Video for Mac
- AI Idea to Video for Mac
- AI Text-to-Video for Mac
- Instant Cutter Tool on Mac
- AI Face Mosaic for Mac
- Keyframe Path Curve for Mac
- Planar Tracking for Mac
- AI Extend For Mac
- AI Script-to-Video for Mac
- AI Text-Based Editing in Mac
- Create With Instant Mode on Mac
- ChatGPT Plugin - AI Copywriting on Mac
- AI Smart Cutout for Mac
- Auto reframe on Mac
- Lens correction on Mac
- AI Portrait Cutout on Mac
- Scene detection on Mac
- AI Smart Masking for Mac
- AI Mate Editing for Mac
- Motion Tracking on Mac
- Stabilize video on Mac
- AI Object Remover For Mac
- AI Smart Search for Mac
- AI Skin Tone Protection for Mac
- Green screen on Mac
- Super Slow Motion with Optical Flow for Mac
- AI stylizer on Mac
- Video Denoise for Mac
-
-
Audio Editing for Mac
-
Basic Audio Editing for Mac
-
Advanced Audio Editing for Mac
-
AI-Powered Audio Editing for Mac
- Audio To Video for Mac
- AI Sound Effect for Mac
- Smart BGM Generation for Mac
- AI Voice Enhancer for Mac
- Audio Stretch for Mac
- AI Audio Denoise for Mac
- Auto synchronization for Mac
- AI Vocal Remover for Mac
- Auto Beat Sync on Mac
- AI Music Generator for Mac
- How to Perform AI Voice Cloning in Wondershare Filmora?
- Silence detection on Mac
-
-
Text Editing for Mac
-
Basic Text Editing for Mac
-
Advanced Text Editing for Mac
-
AI-Powered Text Editing for Mac
-
-
Video Customizations for Mac
-
Video Effects (Mac)
-
Audio Effects (Mac)
-
Transitions (Mac)
-
Stickers (Mac)
-
Filters (Mac)
-
Color Editing (Mac)
-
Animations (Mac)
-
Templates (Mac)
-
Asset Center (Mac)
-
-
Exporting & Share & Cloud Backup - Mac
Super Slow Motion with Optical Flow for Mac
Slo-mo has always been in trend, and now, with Filmora's upgrade, you can make your videos super slow to match the trends. It uses advanced AI functioning to slow video without losing its quality. If you want to learn more about commencing this feature, here are the directions for you:
Index
Activate the Optical Flow Option
There is no need to search for software with difficult functioning to create a slo-mo because here we are going to perform the steps for activating optical flow in Filmora for super slow motion:
Method 1: Using the Settings Panel
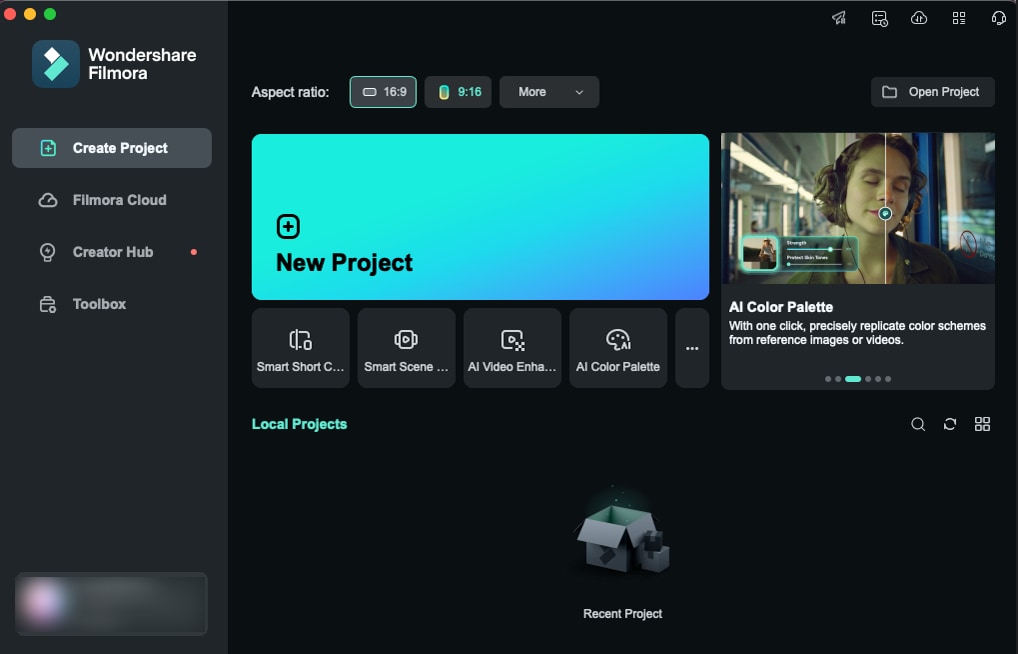
Step 1: Initiate a New Project after Launching Filmora
After getting Filmora on your Mac, navigate toward the top bar of the main screen and click on the "Profile" icon to log in. After that, click on the "New Project" button from the main menu to start editing.
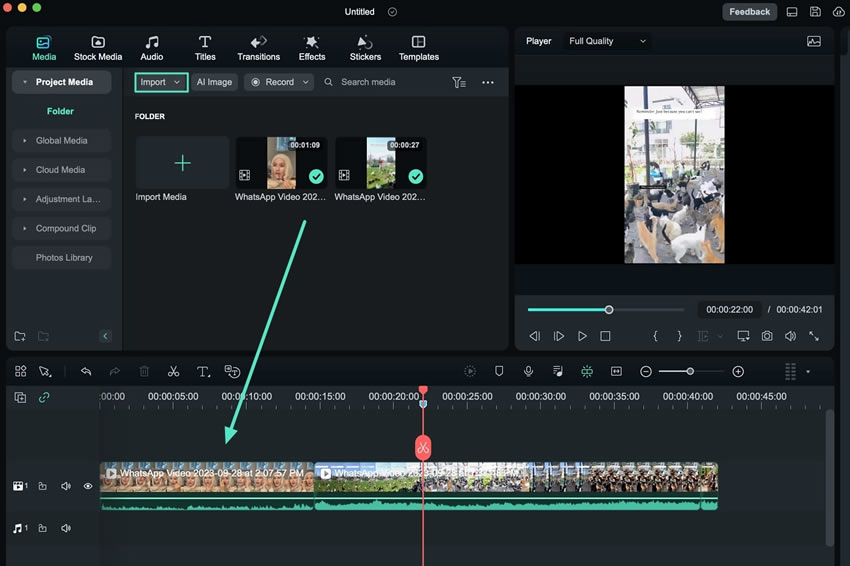
Step 2: Import Clips and Add Them To The Timeline
Once you are in the main interface of Filmora, use the "Command + I" key on your keyboard to import media from your device. Once the files are in the Media Library, drag and drop one of them into the timeline by using your cursor.
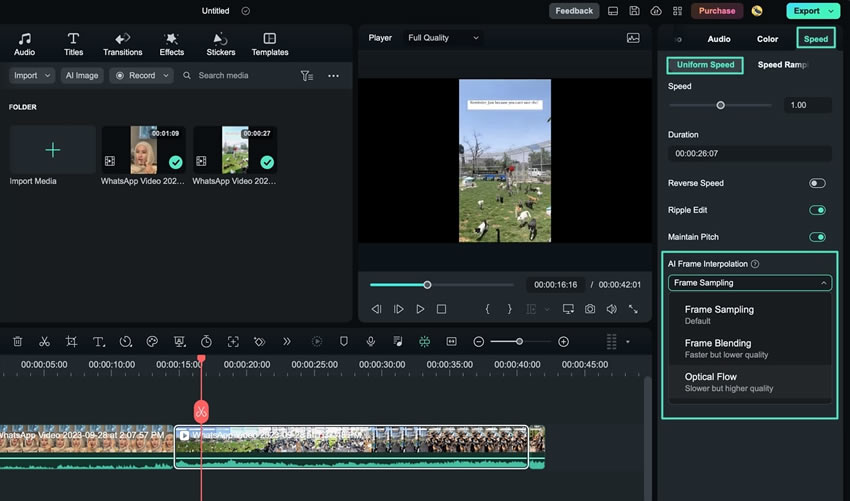
Step 3: Activate Optical Flow
Afterward, select the video clip in the timeline and access the settings panel on the left side. Under the "Speed" tab, choose "Uniform Speed" and expand the "AI Frame Interpolation" section. From the dropdown menu, choose "Optical Flow" from the provided options.
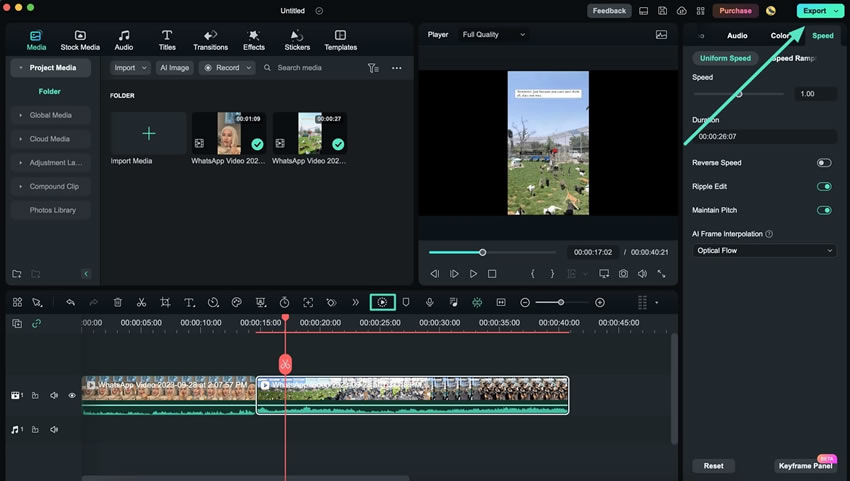
Step 4: Render Preview to See the Final Outcome
A notification will pop up pointing to "Render Preview" or "Export" to see the final results. So, choose either of the options to get the outcome.
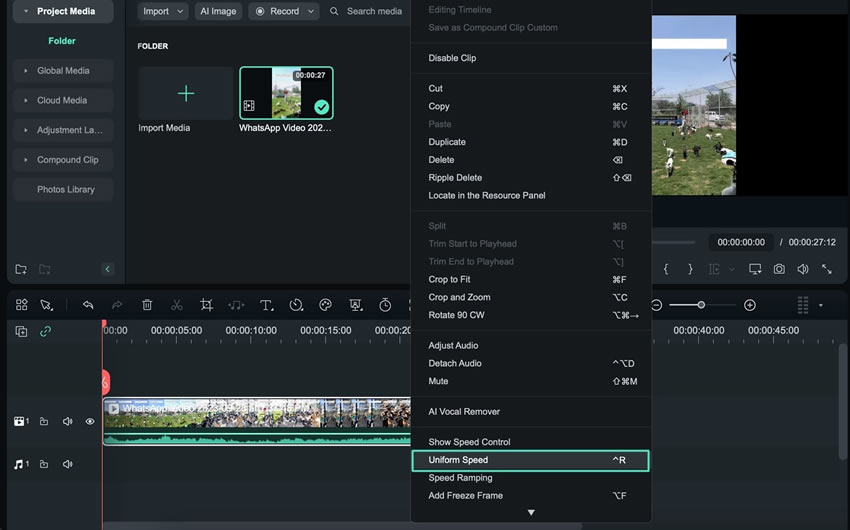
Method 2: Utilizing the Timeline Options Menu
Right-click on the clip in the timeline track and choose "Uniform Speed" from the options panel. After selecting "Uniform Speed", speed settings will appear on the left-side panel. Expand the "AI Frame Interpolation" section and choose "Optical Flow" from the dropdown menu.
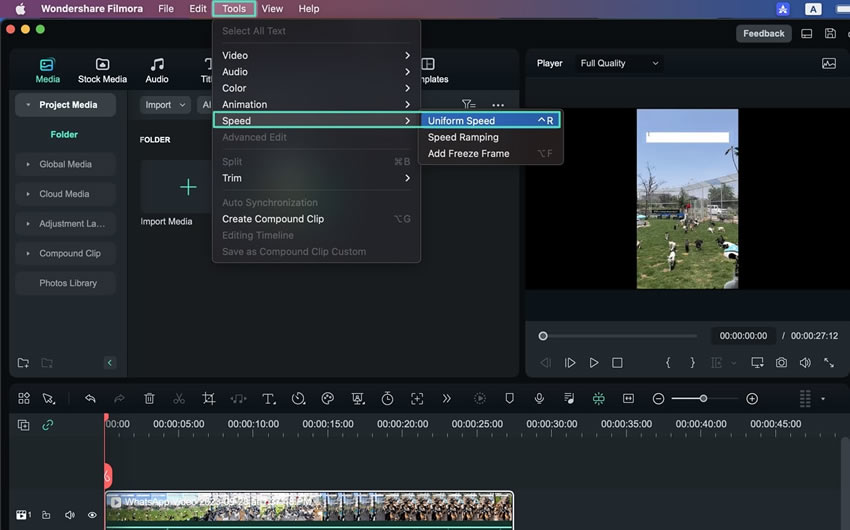
Method 3: Utilizing the Top Toolbar
Select the clip in the timeline track and navigate to the top toolbar. Click "Tools" and expand the "Speed" option from the dropdown menu. Choose "Uniform Speed" from the available options. Within the "Speed" settings on the left, select "Optical Flow" under the "AI Frame Interpolation" section.
Related Posts
Featured Articles
Best AI Classical Music Generators in 2025
Looking for classical music without the long search or composing? AI classical music generators make it easy, and we've rounded up the six best tools.
How to Convert Twitch Clips Format with Filmora?
Converting the Twitch clip format has never been easier with Filmora. In just a few clicks, your clips will be ready to be posted.
The 9 Best Apps for Making and Editing Instagram Reels [2025]
Ready to create outstanding Instagram Reels? Explore the best Reels maker apps to transform your creations.
Recommended User Guide
Green screen on Mac
Learn how to use Chroma Key in Filmora for Mac.
ChatGPT Plugin - AI Copywriting on Mac
Auto-generate your video scripts, captions, descriptions, and more with ChatGPT in Filmora for Mac
Video Denoise for Mac
Do you want to remove noise from videos on your Mac in Filmora? Know our step-by-step guide here.
