For the Best Results, Use the Latest Version.
-
Preparations for Mac
-
Account (Mac)
-
Get Started & Basic Settings (Mac)
- Release notes for Mac
- Latest Versions and Features for Mac
- Get Started on Mac - Full Guide
- Download/register/uninstall on Mac
- Panel Layout on Mac
- Keyboard shortcuts on Mac
- Touchbar on Mac
- Change playback quality on Mac
- Render preview files on Mac
- Manage Timeline on Mac
- Media for use on Mac
- Logo Reveal For Mac
- Marked Favorites for Mac
-
Compatibility & Tech Specs (Mac)
-
Performance Settings (Mac)
-
-
Creating Projects - Mac
-
Creating New Projects (Mac)
-
-
Importing & Recording - Mac
-
Importing (Mac)
-
Recording (Mac)
-
-
Video Editing for Mac
-
Basic Video Editing for Mac
- Edit Live Photos on Mac
- Enable/Disable Clip for Mac
- Magnetic Timeline For Mac
- Select All Clips on Timeline for Mac
- Auto Ripple for Mac
- Split & cut videos on Mac
- Compositing on Mac
- Crop and zoom on Mac
- Playback Zoom Level for Mac
- Change speed on Mac
- Play video in reverse on Mac
- Mark In and Mark Out for Mac
- Markers for Mac
- Group clips on Mac
- Customized Backgrounds for Videos and Images in Mac
- Video snapshot on Mac
- Freeze frame on Mac
- Auto enhance on Mac
- Applying Drop Shadow for Mac
- Adjustment Layer for Mac
- Mark clip on Mac
- Video Editing Ruler – Mac
- Apply Transforming for Mac
-
Advanced Video Editing for Mac
-
AI-Powered Video Editing for Mac
- Smart Scene Cut for Mac
- Smart Short Clips for Mac
- Image to Video for Mac
- AI Idea to Video for Mac
- AI Text-to-Video for Mac
- Instant Cutter Tool on Mac
- AI Face Mosaic for Mac
- Keyframe Path Curve for Mac
- Planar Tracking for Mac
- AI Extend For Mac
- AI Script-to-Video for Mac
- AI Text-Based Editing in Mac
- Create With Instant Mode on Mac
- ChatGPT Plugin - AI Copywriting on Mac
- AI Smart Cutout for Mac
- Auto reframe on Mac
- Lens correction on Mac
- AI Portrait Cutout on Mac
- Scene detection on Mac
- AI Smart Masking for Mac
- AI Mate Editing for Mac
- Motion Tracking on Mac
- Stabilize video on Mac
- AI Object Remover For Mac
- AI Smart Search for Mac
- AI Skin Tone Protection for Mac
- Green screen on Mac
- Super Slow Motion with Optical Flow for Mac
- AI stylizer on Mac
- Video Denoise for Mac
-
-
Audio Editing for Mac
-
Basic Audio Editing for Mac
-
Advanced Audio Editing for Mac
-
AI-Powered Audio Editing for Mac
- Audio To Video for Mac
- AI Sound Effect for Mac
- Smart BGM Generation for Mac
- AI Voice Enhancer for Mac
- Audio Stretch for Mac
- AI Audio Denoise for Mac
- Auto synchronization for Mac
- AI Vocal Remover for Mac
- Auto Beat Sync on Mac
- AI Music Generator for Mac
- How to Perform AI Voice Cloning in Wondershare Filmora?
- Silence detection on Mac
-
-
Text Editing for Mac
-
Basic Text Editing for Mac
-
Advanced Text Editing for Mac
-
AI-Powered Text Editing for Mac
-
-
Video Customizations for Mac
-
Video Effects (Mac)
-
Audio Effects (Mac)
-
Transitions (Mac)
-
Stickers (Mac)
-
Filters (Mac)
-
Color Editing (Mac)
-
Animations (Mac)
-
Templates (Mac)
-
Asset Center (Mac)
-
-
Exporting & Share & Cloud Backup - Mac
Manage Timeline on Mac
The timeline is where the majority of the video editing process takes place. So, in this tutorial, we are going to learn how to add, adjust, lock and hide video and audio tracks in Filmora timeline panel.
Using the timeline
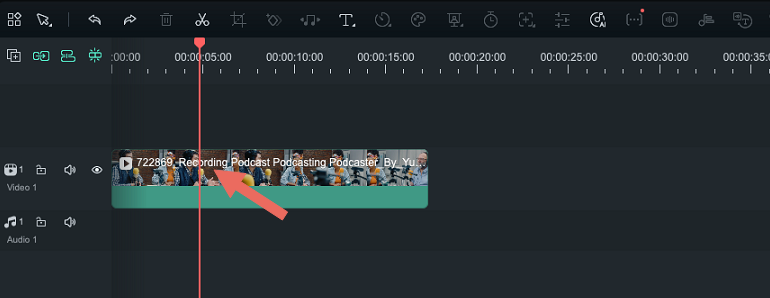
The Playhead is an indicator that shows you where on the timeline you are currently located and allows you to move through the media files you placed on the timeline. The frame at which the Playhead is positioned is going to be displayed in the Preview window.
Adjust Timeline View
As you hover over the area of the timeline that shows time with your mouse, the pointer is going to change into a two-way arrow. Move the mouse either to the left or the to the right while holding the left-click to zoom in or to zoom out of the timeline.
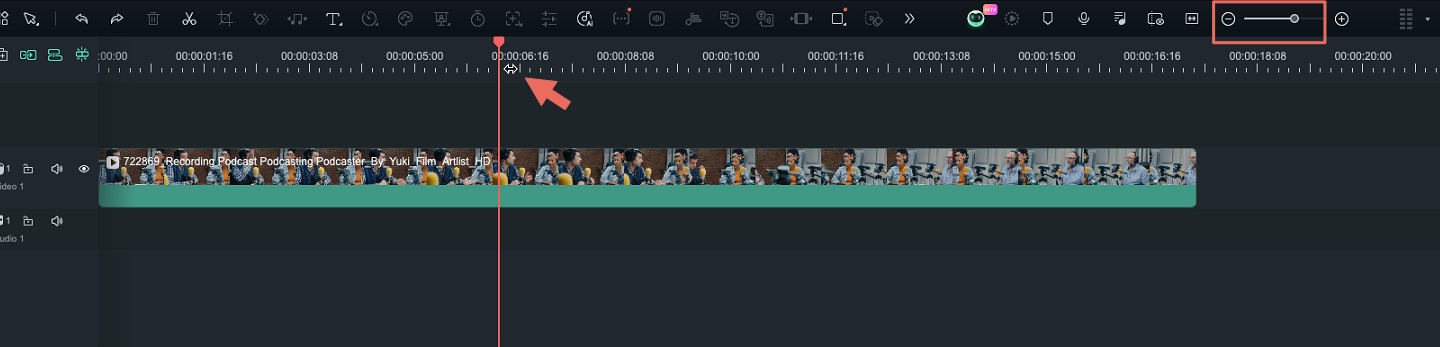
The Zoom to Fit the Timeline icon is located in the upper right corner of the timeline. Clicking on this icon will enable you to see all the media you’ve added to the timeline within a screen. Alternatively, you can use the zoom slider if you want to adjust the zoom level manually.
Managing Tracks
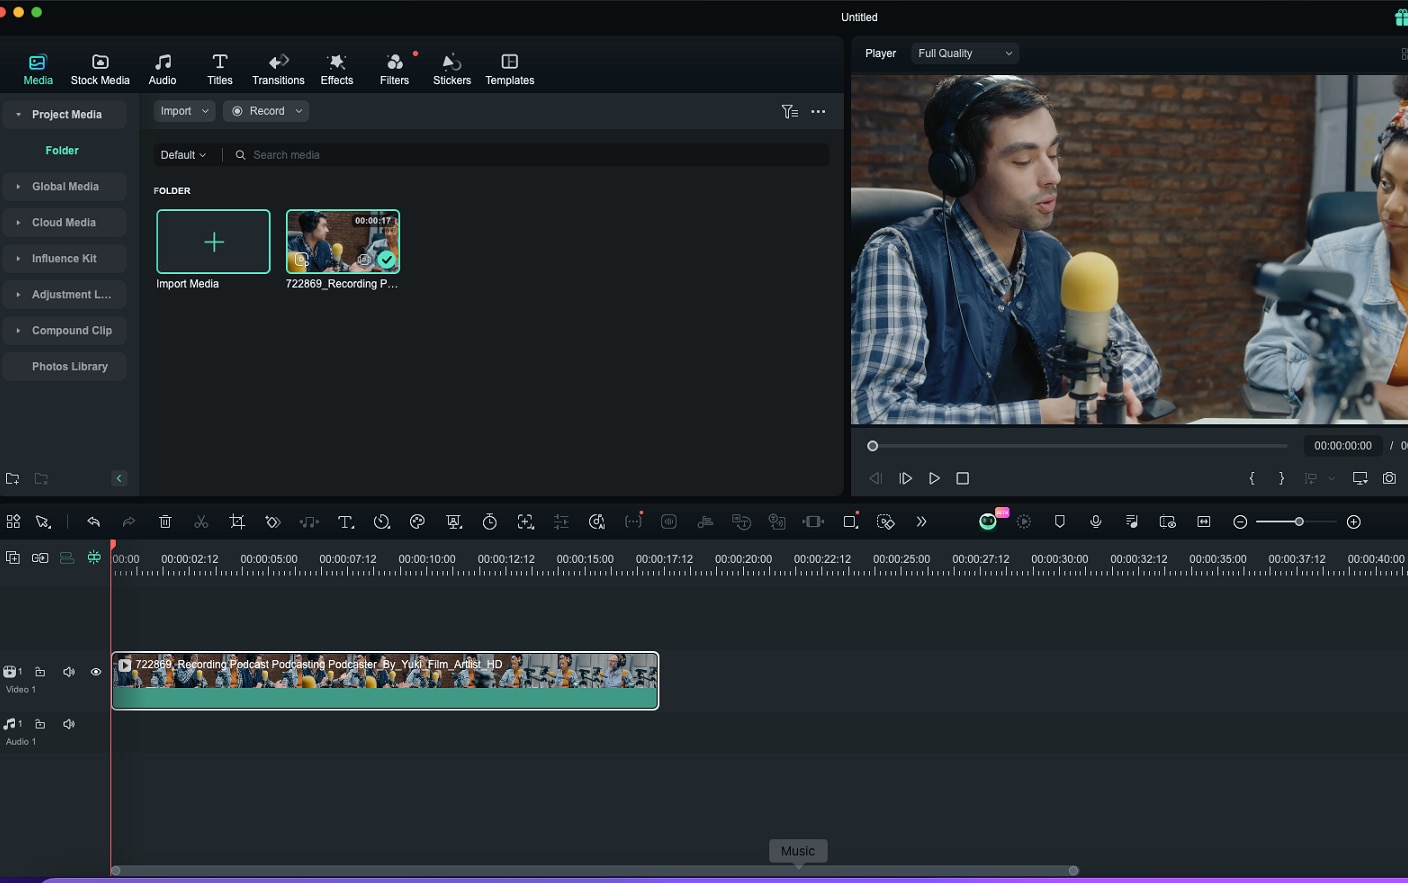
A track is the part of the timeline where all the media is located. Tracks in Filmora can either hold video or audio files, and you should keep in mind that audio and video clips can never be on the same track.
Add One Track Each Time
In order to create and add a new track you just have to drag and drop audio or video file to a preferred location. Filmora will automatically create a new track for the elements dragged to timeline.
Add multiple tracks at the same time
Click the Manage Tracks icon located in the upper left corner of the panel and a drop-down menu that lets you add new audio and video tracks or delete a track is going to appear on the screen.
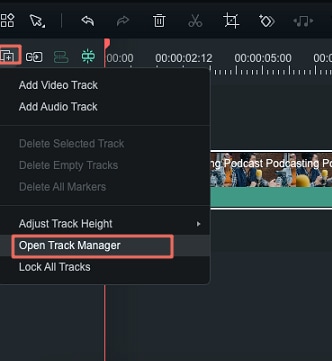
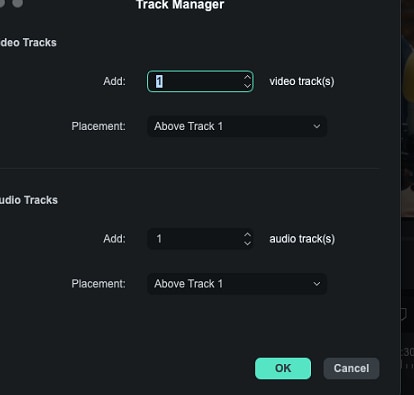
Click the Open Track Manager option and then you can add up to 99 video and audio tracks to a project from the Track Manager window. Moreover, the Placement drop-down menu lets you choose how the tracks are arranged.
If you right-click on the section of the timeline below the Manage Tracks icon where the information about tracks is displayed you can access each of these options from the right-click drop-down menu.
Under the Manage Tracks menu, you can increase or decrease the size of the tracks from the Adjust Track Height submenu.
Hide & Lock Timeline
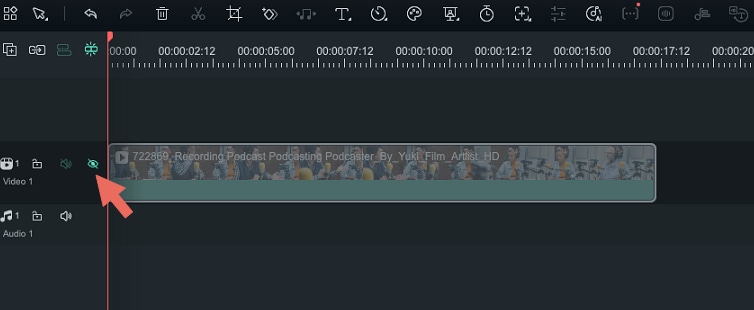
You can click on the Toggle Track Output icon that looks like an eye on a particular track if you want the media invisible. The Toggle Track Output option is depicted as the sound icon on audio tracks and it enables you to mute an entire track.
The lock icon lets you lock all media on a track. Once you look a track, you will not be able to edit, move or change the media files you added to that track.
Organizing the timeline with markers
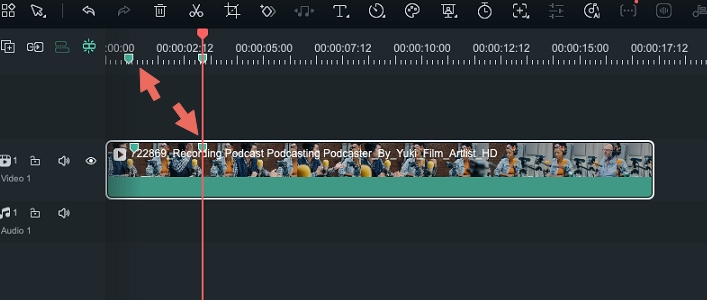
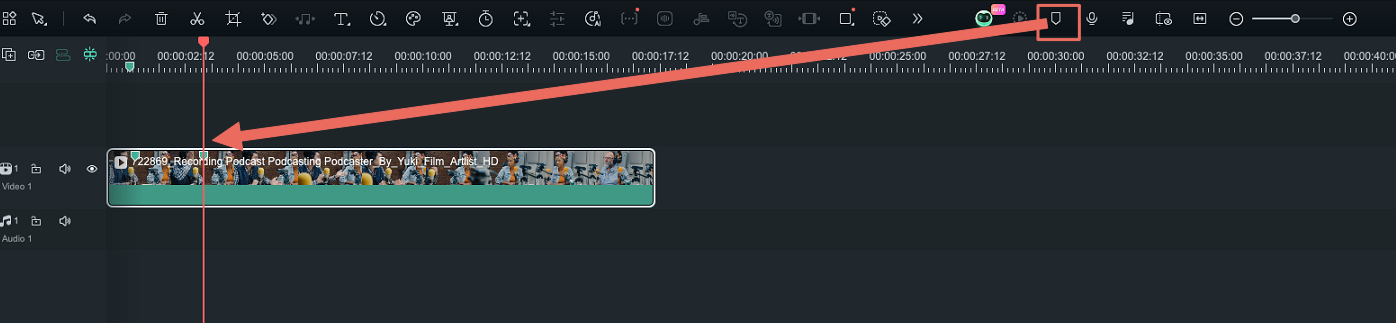
The Add Marker icon is located in the upper right corner of the timeline and after you click on it, a new marker will be added to the same location on the timeline where you placed the playhead.
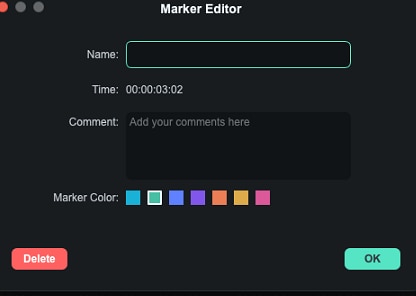
Double-click on the marker you created if you want to gain access to the Marker Editor window where you can change the name or the color of the marker or add a comment.
If you would like to add a marker to a video clip you just have to make sure that the clip is selected and click on the Add Marker icon. Creating notes can be useful when working on large projects because you can use them to line up different types of media assets.
Mastering Dual-Timeline Editing with Compound ClipsNEW
Elevate your editing workflow with Filmora's advanced dual-timeline editing function. Designed for complex projects, this feature allows you to manage multiple sequences simultaneously, streamlining your editing process and boosting efficiency. By leveraging Compound Clips as nested timelines, you gain unparalleled flexibility and control.
❶ Understanding Compound Clips and Timeline Tabs
Each Compound Clip you create now functions as its own independent timeline, accessible through a tab system located directly above the main timeline. This allows you to organize complex sequences, effects, or segments of your project into self-contained, editable clips.
- Creating Tabs: When you create a new Compound Clip, it will appear in your project media. Double-clicking the Compound Clip in the media library will open it as a new tab in the timeline area.
- Switching Timelines: Simply click on a tab (e.g., "Main Timeline," "Compound Clip 1") to switch between your main project and any nested sequence for focused editing.
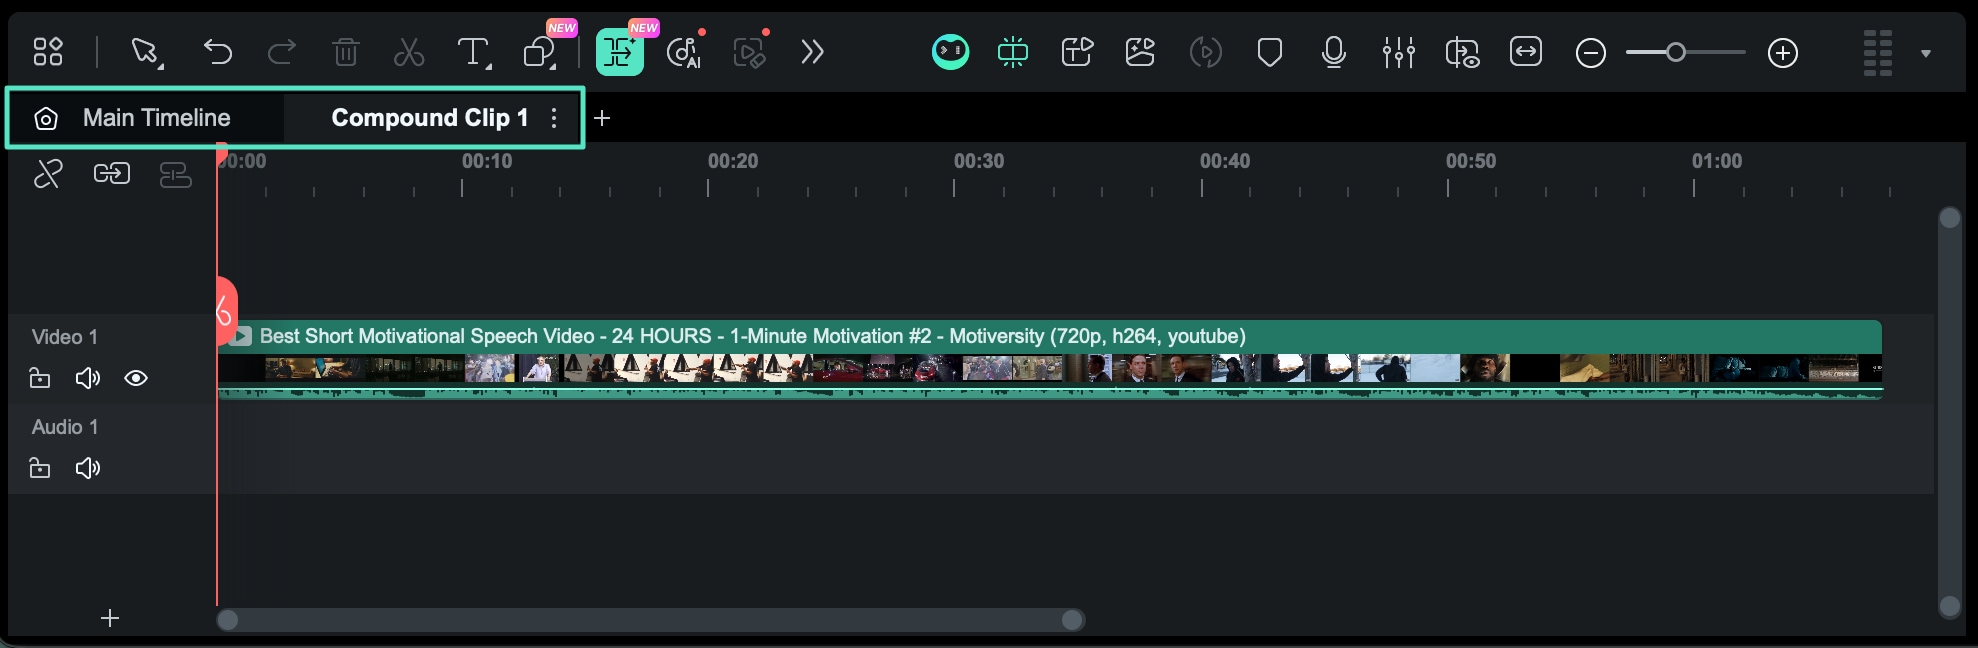
Manage multiple compound clips as tabs above the timeline.
❷ Activating the Dual Timeline View
Unleash the full power of multi-timeline editing by opening two timelines simultaneously. This dual-view setup is perfect for seamlessly moving assets between sequences or comparing different edits.
- How to Activate: Click and hold a Compound Clip tab, then drag it down into the timeline panel. A new timeline view will appear, creating a primary (bottom) and secondary (top) timeline workspace.
- Limitation: You can have a maximum of two timelines open at once.
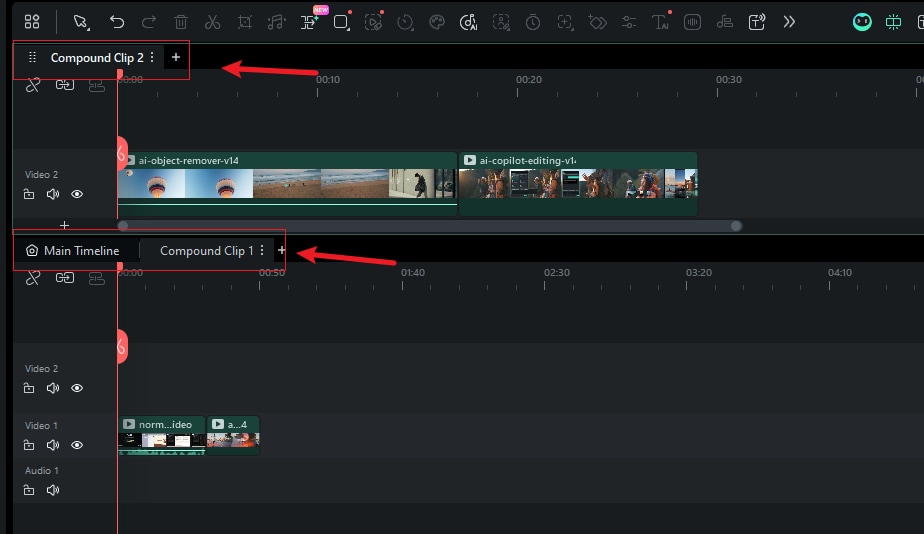
Drag a tab to create a secondary timeline for a dual-view setup.
❸ Interacting with Dual Timelines
With the dual timeline view active, editing becomes more fluid and intuitive.
- Drag and Drop Clips: Freely drag video or audio clips from the primary timeline to the secondary one, and vice versa. This makes reusing or re-arranging assets across different parts of your project incredibly fast.
- Focus Indicator: The currently active timeline (the one that will respond to keyboard shortcuts and playback commands) is highlighted with a focus frame. The Preview window will always display the content of the active timeline.
❹ Exporting a Specific Timeline
You no longer need to place a compound clip back into the main timeline to export it. Export any sequence directly from its tab.
- How to Export: Right-click on the tab of the timeline you wish to export, or click the three vertical dots icon next to the tab name.
- From the dropdown menu, select "Export Current Timeline". This will open the export dialog, allowing you to choose your desired format, resolution, and output settings for that specific sequence.

Right-click a tab to export only that specific timeline.
❺ Customizing Your Workflow in Preferences
Tailor the multi-timeline behavior to fit your professional needs. Navigate to File > Preferences > Editing to find the following option:
- "Auto-load tab in timeline after creating compound clip": By default, this option is enabled to provide immediate access to your newly created sequence. This means whenever you create a Compound Clip, it will automatically open as a new tab in the timeline. If you prefer a cleaner workspace and wish to open tabs manually, you can disable this option. When disabled, the compound clip will only be created in your project media library, allowing you to double-click to open it as a tab whenever you're ready.
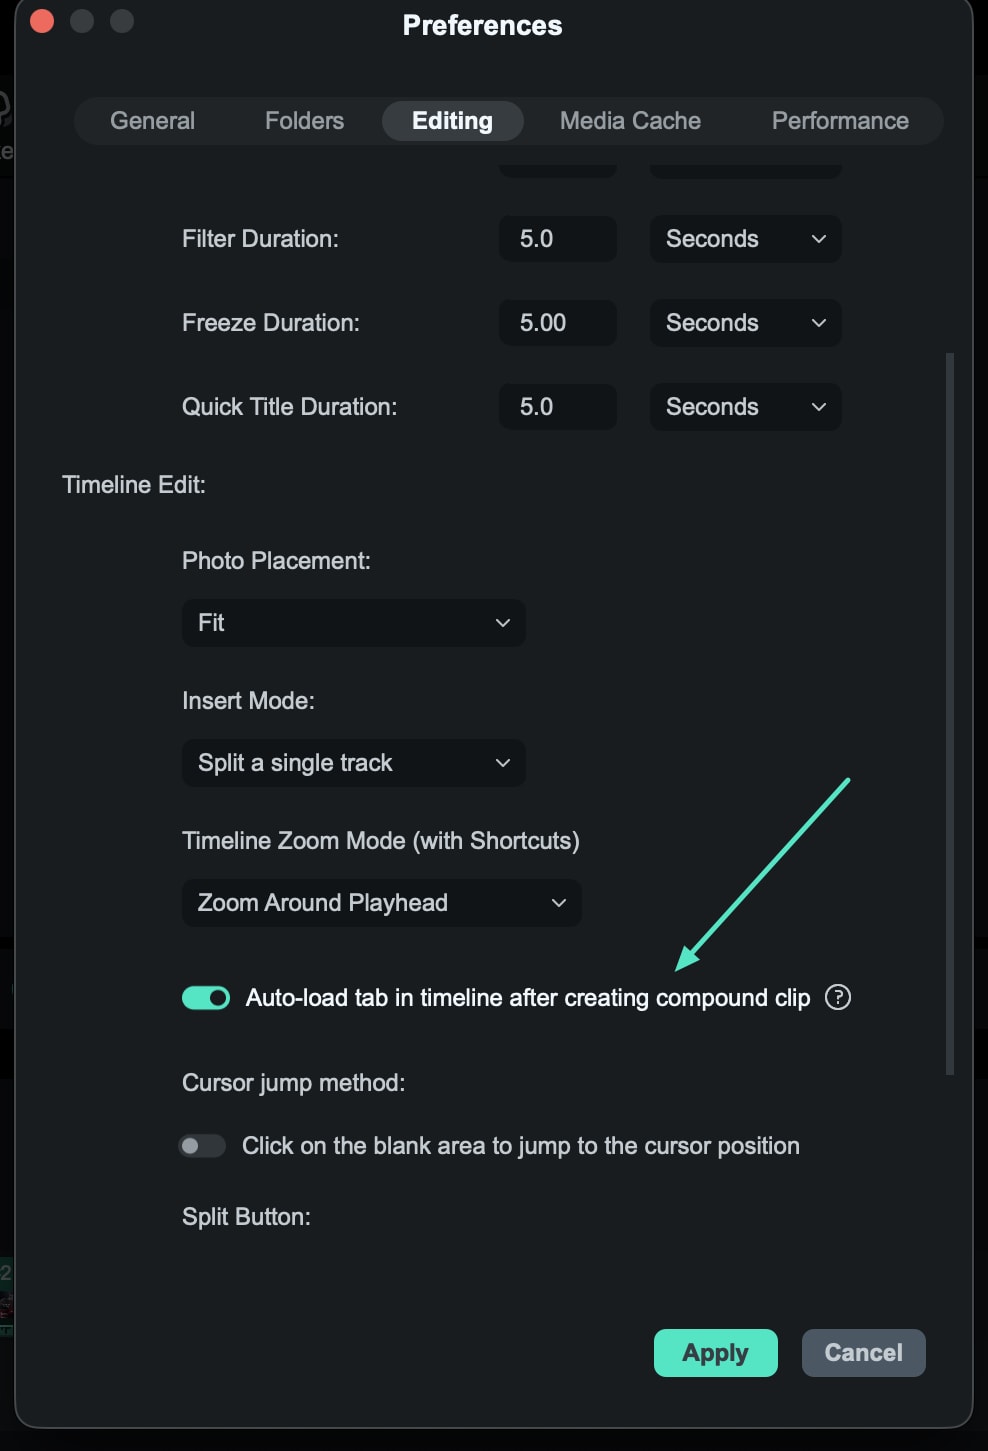
Customize auto-loading behavior for compound clip tabs in Preferences.
Related Posts
Featured Articles
5 Creative Tools to Convert Audio Files Into Stunning Videos
Find the best audio-to-video converter for your creative projects. Check out our guide to explore top-rated tools and quickly transform audio files into stunning visuals!
How To Add Text to Reel on Instagram [Tools & Tips]
Learn how to add text to Reels on Instagram to make them stand out and boost engagement. Discover top tips, tools, and best practices.
What is Timeline In Video Editing? [Guide 2025]
Discover what a timeline in video editing is and how it streamlines your projects. Essential for beginners and pros to master seamless editing.
Recommended User Guide
Get Started on Mac - Full Guide
Learn how to get started with Filmora.
Download/register/uninstall on Mac
Learn how to download/register/uninstall for Filmora for Mac
