For the Best Results, Use the Latest Version.
-
Preparations for Mac
-
Account (Mac)
-
Get Started & Basic Settings (Mac)
- Release notes for Mac
- Latest Versions and Features for Mac
- Get Started on Mac - Full Guide
- Download/register/uninstall on Mac
- Panel Layout on Mac
- Keyboard shortcuts on Mac
- Touchbar on Mac
- Change playback quality on Mac
- Render preview files on Mac
- Manage timeline on Mac
- Media for use on Mac
- Logo Reveal For Mac
- Marked Favorites for Mac
-
Compatibility & Tech Specs (Mac)
-
Performance Settings (Mac)
-
-
Creating Projects - Mac
-
Creating New Projects (Mac)
-
-
Importing & Recording - Mac
-
Importing (Mac)
-
Recording (Mac)
-
-
Video Editing for Mac
-
Basic Video Editing for Mac
- Edit Live Photos on Mac
- Enable/Disable Clip for Mac
- Magnetic Timeline For Mac
- Select All Clips on Timeline for Mac
- Auto Ripple for Mac
- Split & cut videos on Mac
- Compositing on Mac
- Crop and zoom on Mac
- Playback Zoom Level for Mac
- Change speed on Mac
- Play video in reverse on Mac
- Mark In and Mark Out for Mac
- Markers for Mac
- Group clips on Mac
- Customized Backgrounds for Videos and Images in Mac
- Video snapshot on Mac
- Freeze frame on Mac
- Auto enhance on Mac
- Applying Drop Shadow for Mac
- Adjustment Layer for Mac
- Mark clip on Mac
- Video Editing Ruler – Mac
- Apply Transforming for Mac
-
Advanced Video Editing for Mac
-
AI-Powered Video Editing for Mac
- Smart Scene Cut for Mac
- Smart Short Clips for Mac
- Image to Video for Mac
- AI Idea to Video for Mac
- AI Text-to-Video for Mac
- Instant Cutter Tool on Mac
- AI Face Mosaic for Mac
- Keyframe Path Curve for Mac
- Planar Tracking for Mac
- AI Extend For Mac
- AI Script-to-Video for Mac
- AI Text-Based Editing in Mac
- Create With Instant Mode on Mac
- ChatGPT Plugin - AI Copywriting on Mac
- AI Smart Cutout for Mac
- Auto reframe on Mac
- Lens correction on Mac
- AI Portrait Cutout on Mac
- Scene detection on Mac
- AI Smart Masking for Mac
- AI Mate Editing for Mac
- Motion Tracking on Mac
- Stabilize video on Mac
- AI Object Remover For Mac
- AI Smart Search for Mac
- AI Skin Tone Protection for Mac
- Green screen on Mac
- Super Slow Motion with Optical Flow for Mac
- AI stylizer on Mac
- Video Denoise for Mac
-
-
Audio Editing for Mac
-
Basic Audio Editing for Mac
-
Advanced Audio Editing for Mac
-
AI-Powered Audio Editing for Mac
- Audio To Video for Mac
- AI Sound Effect for Mac
- Smart BGM Generation for Mac
- AI Voice Enhancer for Mac
- Audio Stretch for Mac
- AI Audio Denoise for Mac
- Auto synchronization for Mac
- AI Vocal Remover for Mac
- Auto Beat Sync on Mac
- AI Music Generator for Mac
- How to Perform AI Voice Cloning in Wondershare Filmora?
- Silence detection on Mac
-
-
Text Editing for Mac
-
Basic Text Editing for Mac
-
Advanced Text Editing for Mac
-
AI-Powered Text Editing for Mac
-
-
Video Customizations for Mac
-
Video Effects (Mac)
-
Audio Effects (Mac)
-
Transitions (Mac)
-
Stickers (Mac)
-
Filters (Mac)
-
Color Editing (Mac)
-
Animations (Mac)
-
Templates (Mac)
-
Asset Center (Mac)
-
-
Exporting & Share & Cloud Backup - Mac
Keyframe Graph Editor for Mac
Keyframes hold a significant value when it comes to editing in Filmora. Users can make different animations with their help and they help in creating smooth transitions. In all the previous versions, keyframing was shown in the timeline panel however, it is now separated as an independent feature in Filmora.
Accessing the Keyframe Graph Editor
This section is dedicated to teaching you to access the keyframe panel in Filmora in a step-by-step manner:
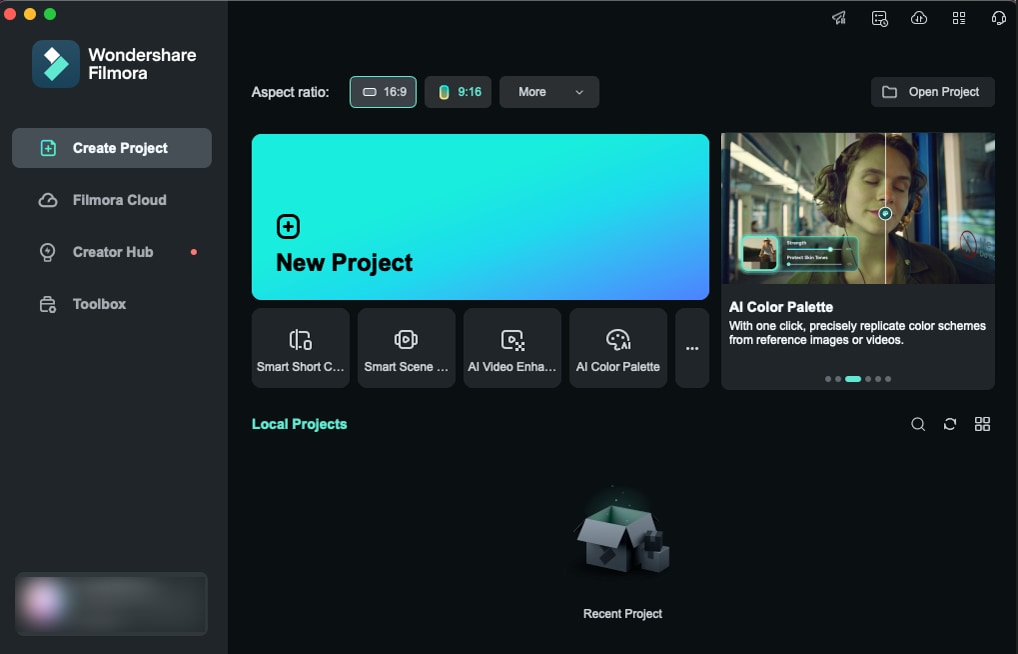
Step 1: Open Filmora and Start a New Project
From Filmora’s official website, download the latest version and open it. Then navigate towards the left and from the control panel select "Create Project" option. Further, from the main menu select "New Project" button in blue.
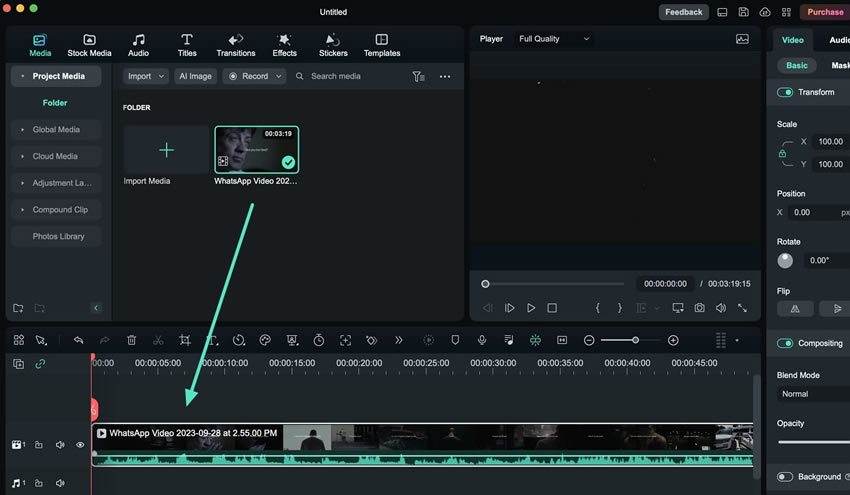
Step 2: Import Media in the Media Gallery
Once you reach the main interface of Filmora, click the "Click here to import media" button to import video clips. After the media shows up in the Media Library, place the cursor on the media file and drag it towards the timeline. Drop this file on one of the tracks in the timeline.
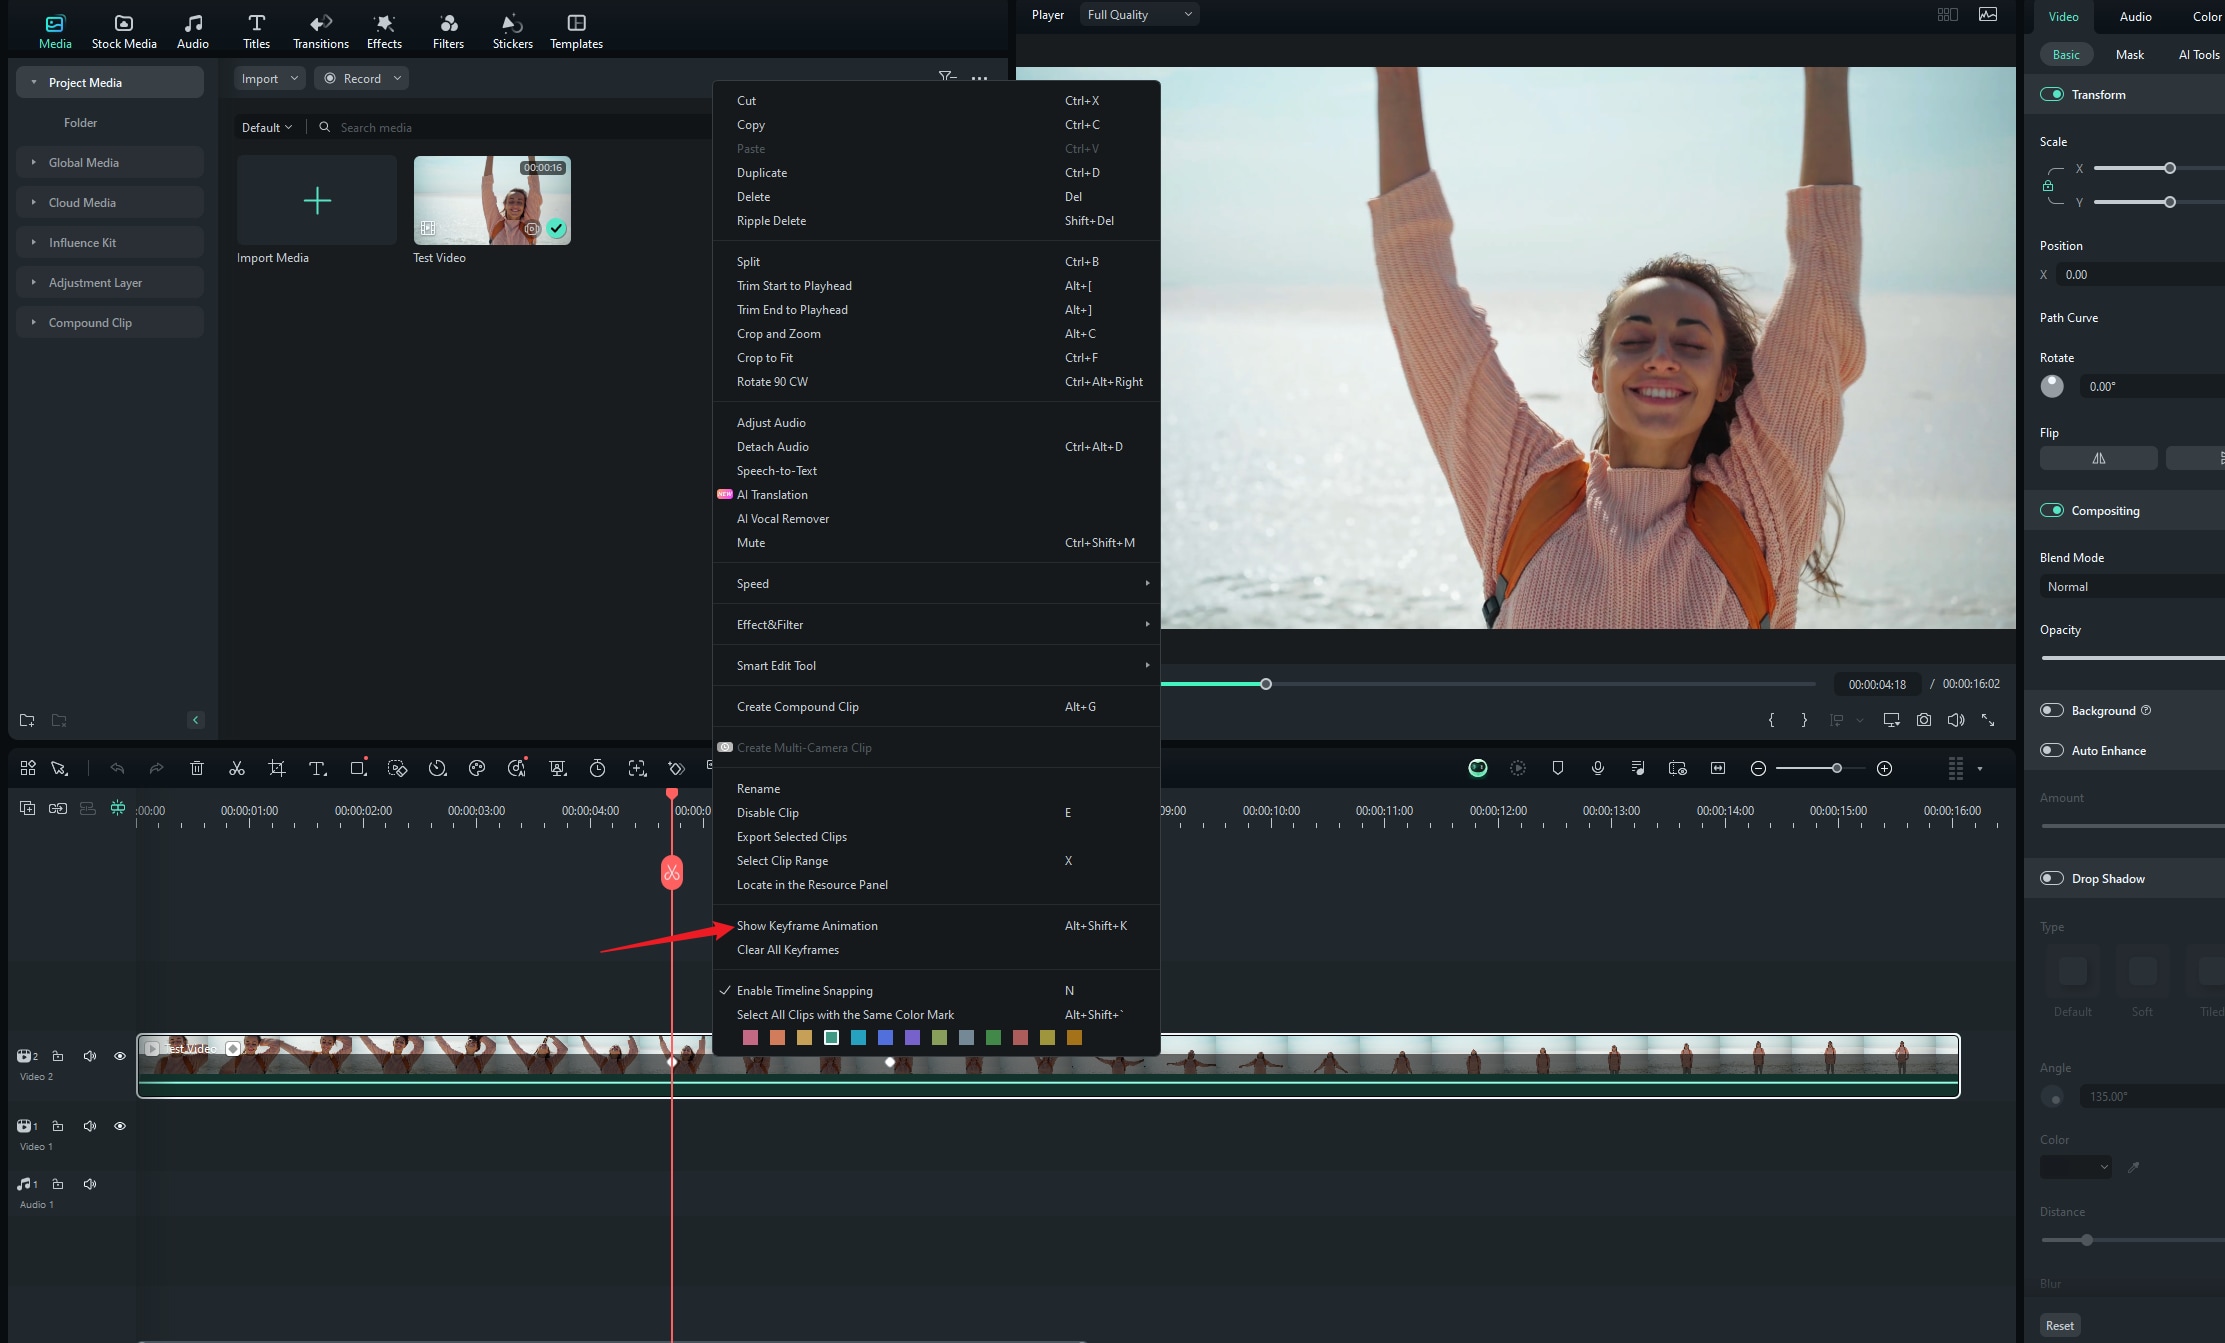
Step 3: Access the Settings Panel
Now, right-click on this dropped file in the timeline. Add a keyframe from Video > Basic > Transform. Then right-select the video, and from there, click the "Show KeyframeAnimation"
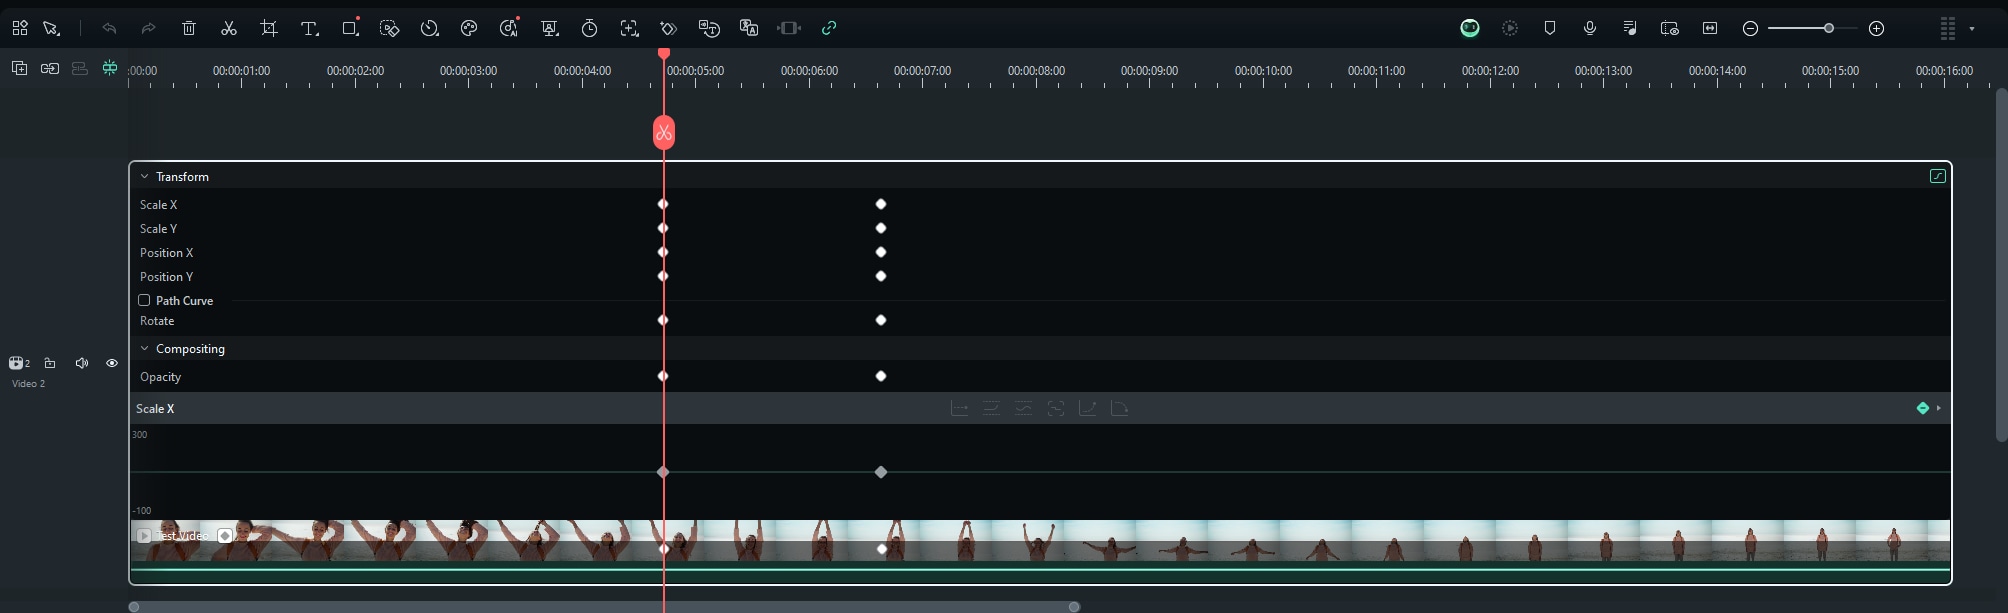
Step 4: Manage Keyframing Through Graph
The keyframe graph will be shown in the timeline. Now, add different keyframes in your videos, seamlessly edit them, and keep track through this graph editor.
Related Posts
Featured Articles
How to Improve Audio Quality on PC: Fixes, Tools & Pro Editing Tips
In search of ways to enhance audio on your computer system? Read this article to learn how to improve audio quality on PC effortlessly.
5 Best Free Apps to Create Movie Trailers on Android & iPhone [2025]
Looking for a movie trailer apps creator tool to make your videos look like Hollywood? Read this guide, where we discuss how to create eye-catching videos.
[Step-by-Step] How to Make a Longer Snapchat Video
If you’re wondering how to make Snapchat videos longer, our guide will show you simple ways to bypass the limitations and create seamless, cohesive longer videos on Snapchat.
Recommended User Guide
Animation keyframing on Mac
Overview of animation keyframing.
Mask on Mac
If you want to blur any part of a video, use mask. This guide will show to how to add mask to video with Filmora.
Mocha Filmora - For Mac
Here is the guide on how to use the Mocha plugin in Filmora on Mac.
