For the Best Results, Use the Latest Version.
-
Preparations for Mac
-
Account (Mac)
-
Get Started & Basic Settings (Mac)
- Release notes for Mac
- Latest Versions and Features for Mac
- Get Started on Mac - Full Guide
- Download/register/uninstall on Mac
- Panel Layout on Mac
- Keyboard shortcuts on Mac
- Touchbar on Mac
- Change playback quality on Mac
- Render preview files on Mac
- Manage Timeline on Mac
- Media for use on Mac
- Logo Reveal For Mac
- Marked Favorites for Mac
-
Compatibility & Tech Specs (Mac)
-
Performance Settings (Mac)
-
-
Creating Projects - Mac
-
Creating New Projects (Mac)
-
-
Importing & Recording - Mac
-
Importing (Mac)
-
Recording (Mac)
-
-
Video Editing for Mac
-
Basic Video Editing for Mac
- Edit Live Photos on Mac
- Enable/Disable Clip for Mac
- Magnetic Timeline For Mac
- Dual Monitor Setup for Video Editing on Mac
- Select All Clips on Timeline for Mac
- Auto Ripple for Mac
- Split & cut videos on Mac
- Compositing on Mac
- Crop and zoom on Mac
- Playback Zoom Level for Mac
- Change speed on Mac
- Play video in reverse on Mac
- Mark In and Mark Out for Mac
- Markers for Mac
- Group clips on Mac
- Customized Backgrounds for Videos and Images in Mac
- Video snapshot on Mac
- Freeze frame on Mac
- Auto enhance on Mac
- Applying Drop Shadow for Mac
- Adjustment Layer for Mac
- Mark clip on Mac
- Video Editing Ruler – Mac
- Apply Transforming for Mac
-
Advanced Video Editing for Mac
- Text Animation Path for Mac
- Create Multi-Camera Clip for Mac
- Drawing Tools for Mac | Filmora Guide
- Compound Clips for Mac
- Mocha Filmora - For Mac
- AI Video Enhancer for Mac
- Multi-Clip Editing for Mac
- Keyframe Graph Editor for Mac
- Animation keyframing on Mac
- Mask on Mac
- PIP (picture in picture) on Mac
-
AI-Powered Video Editing for Mac
- Smart Scene Cut for Mac
- Smart Short Clips for Mac
- Image to Video for Mac
- AI Idea to Video for Mac
- AI Text-to-Video for Mac
- Instant Cutter Tool on Mac
- AI Face Mosaic for Mac
- Keyframe Path Curve for Mac
- Planar Tracking for Mac
- AI Extend For Mac
- AI Script-to-Video for Mac
- AI Text-Based Editing in Mac
- Create With Instant Mode on Mac
- ChatGPT Plugin - AI Copywriting on Mac
- AI Smart Cutout for Mac
- Auto reframe on Mac
- Lens correction on Mac
- AI Portrait Cutout on Mac
- Scene detection on Mac
- AI Smart Masking for Mac
- AI Mate Editing for Mac
- Motion Tracking on Mac
- Video Stabilization for Mac
- AI Object Remover For Mac
- AI Smart Search for Mac
- AI Skin Tone Protection for Mac
- Green screen on Mac
- Super Slow Motion with Optical Flow for Mac
- AI stylizer on Mac
- Video Denoise for Mac
-
-
Audio Editing for Mac
-
Basic Audio Editing for Mac
-
Advanced Audio Editing for Mac
-
AI-Powered Audio Editing for Mac
- Audio To Video for Mac
- AI Sound Effect for Mac
- Smart BGM Generation for Mac
- AI Voice Enhancer for Mac
- Audio Stretch for Mac
- AI Audio Denoise for Mac
- Auto synchronization for Mac
- AI Vocal Remover for Mac
- Auto Beat Sync on Mac
- AI Music Generator for Mac
- How to Perform AI Voice Cloning in Wondershare Filmora?
- Silence detection on Mac
-
-
Text Editing for Mac
-
Basic Text Editing for Mac
-
Advanced Text Editing for Mac
-
AI-Powered Text Editing for Mac
-
-
Video Customizations for Mac
-
Video Effects (Mac)
-
Audio Effects (Mac)
-
Transitions (Mac)
-
Stickers (Mac)
-
Filters (Mac)
-
Color Editing (Mac)
-
Animations (Mac)
-
Templates (Mac)
-
Asset Center (Mac)
-
-
Exporting & Share & Cloud Backup - Mac
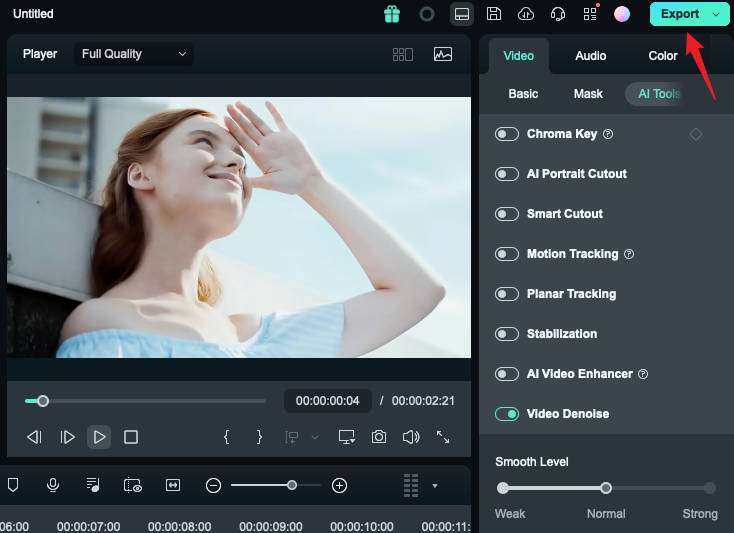
Video Denoise for Mac
Do you have many videos with noises? Don't want to adjust the brightness, contrast, and saturation manually? Try Filmora's newly released feature — Video Denoise! With the power of AI, Filmora's video denoise supports customizing the smooth level from weak to normal to strong. Let's learn to denoise videos with a simple click and say goodbye to noisy videos today!
How to Use Video Denoise in Filmora Mac
Index
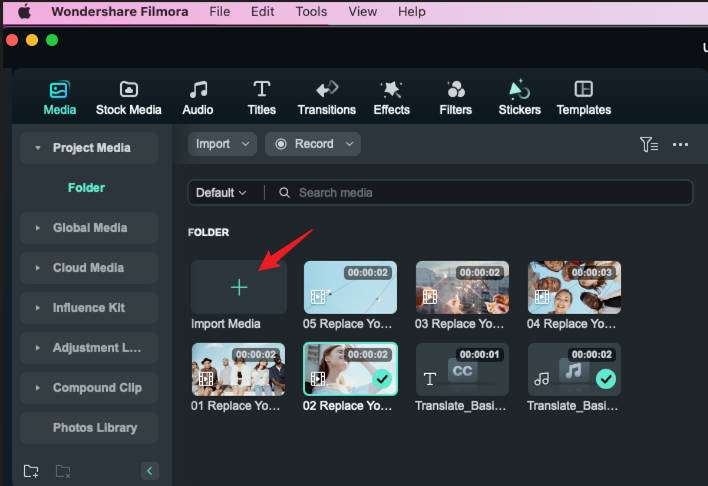
Step 1:Import the Video to Wondershare Filmora
Click on the import button to upload videos that need to be denoised to Filmora.
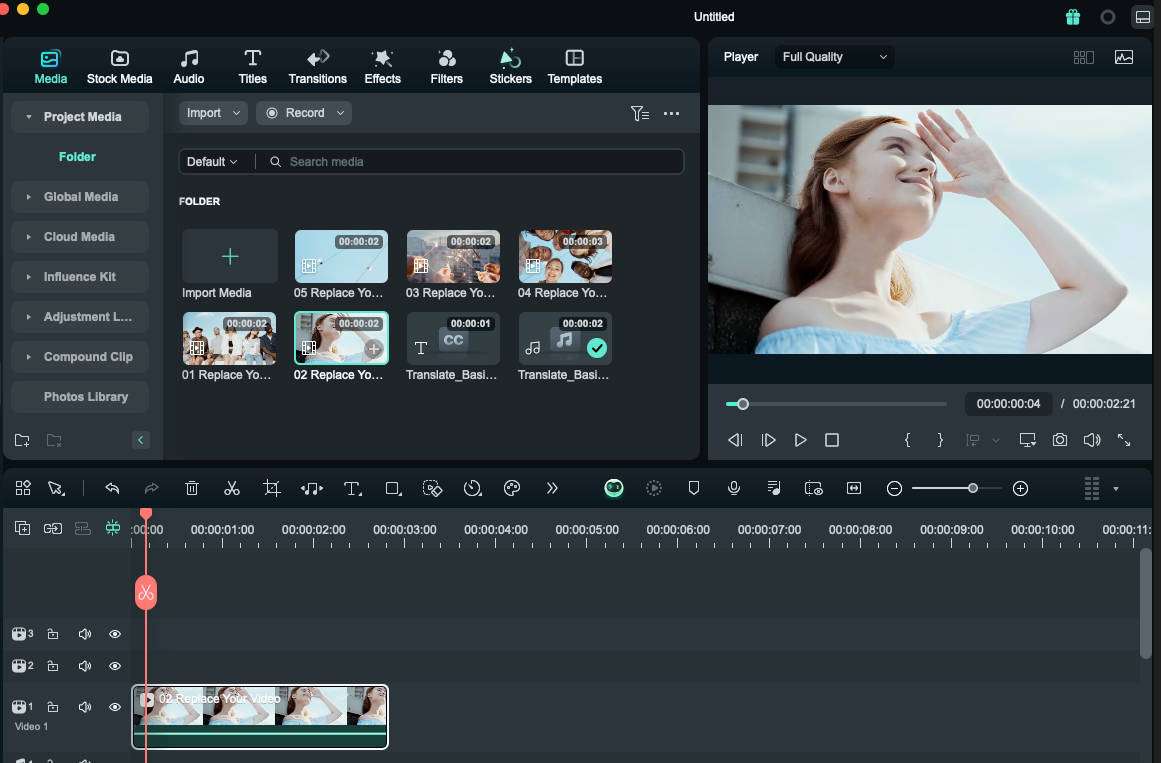
Step 2: Add the Uploaded Clip to the Timeline
Drag and drop the video to the timeline. Alternatively, you can also click the add button.
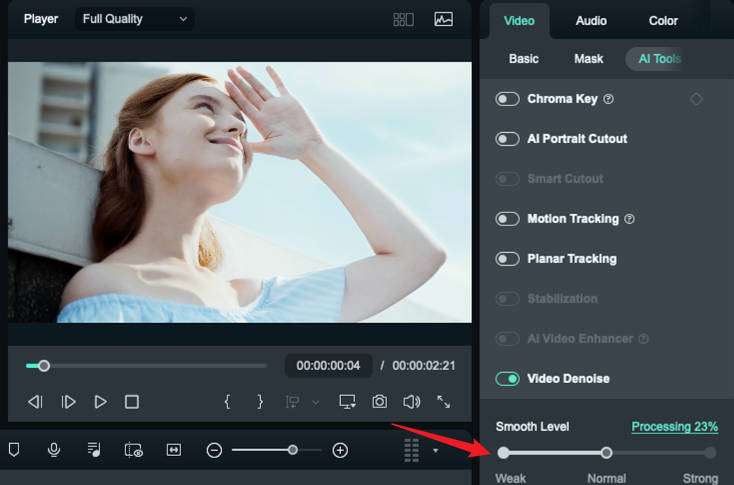
Step 3: Denoise Videos with a Simple Click
To remove visual noise from a video clip, right-click the clip on the timeline, find the video in the right toolbar, click Basic > Video Denoise, and turn on the option.
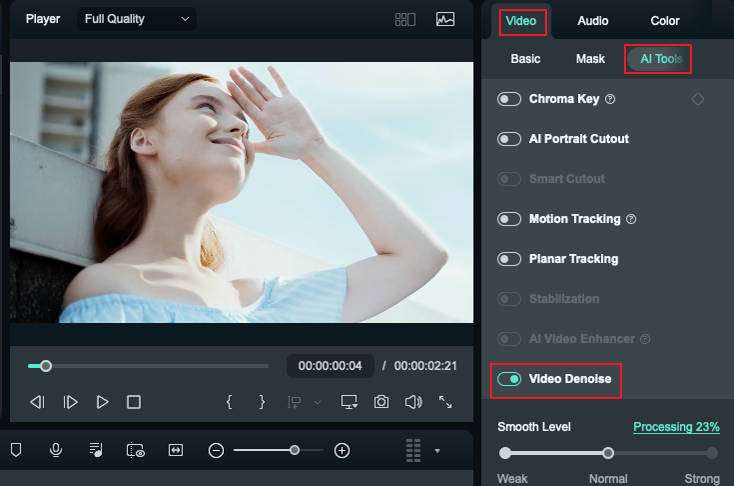
You can choose between three denoise modes (weak, normal, and strong). To adjust the smooth level, move the slider.
Step 4:Preview and Export the Denoised Video
When the process finishes, you can preview the video to see if you are satisfied with the result. Finally, export the video and choose a location to save it.
Related Posts
Featured Articles
The Best Format Video For Twitter/X: Discussing The Details
Are you in search of ways to generate videos that have a universal format? Read this article to learn about the best Twitter video formats for expanded usability.
Top 5 Video Editors To Embrace Thanksgiving Volunteering Moments
Want to share your Thanksgiving volunteering experience on social media? Then explore the article to get the video editor to help you create such stunning videos!
Discover the Best 6 Free AI Music Generators for Royalty-free Music
Explore the top 6 free AI music generators to effortlessly create unique music and background tracks. Enhance your projects with cutting-edge, cost-free tools.
Recommended User Guide
AI stylizer on Mac
Overview of AI Stylizer.
AI Smart Masking for Mac
Masking is a feature used in professional video editing, and being a professional video editor, Wondershare Filmora offers it.
AI Object Remover For Mac
Want to remove unwanted objects from videos or photos? Try Filmora's AI object remover now.
