For the Best Results, Use the Latest Version.
-
Preparations
-
Account
-
Get Started & Basic Settings
-
Compatibility & Tech Specs
-
Performance Settings
-
-
Creating Projects
-
Creating New Projects
-
-
Importing & Recording
-
Video Editing for Windows
-
Basic Video Editing
- Enable/Disable Clip in Windows
- Magnetic Timeline for Windows
- Dual Monitor Setup for Video Editing on Windows
- Select All Clips on Timeline for Windows
- Manage Timeline and Tracks on Windows
- Auto Ripple for Windows
- Split & trim video
- Crop & Pan & Zoom Video
- Compositing
- Change Video Speed on Windows
- Playing videos in reverse
- Mark In and Mark Out for Windows
- Markers for Windows
- Group editing
- Customizable Backgrounds for Videos and Images in Windows
- Video snapshot
- Using freeze frame
- Logo Reveal For Windows
- Apply auto enhance
- Applying drop shadow
- Adjustment layer for Windows
- Transforming
- Video Editing Ruler – Windows
-
Advanced Video Editing
- Drawing Tools for Windows | Filmora Guide
- Create Multi-Camera Clip
- Compound Clip for Windows
- Multi-Clip Editing for Windows
- Filmora Motion Blur | Windows
- Filmora Flicker Removal Guide | Windows
- Apply mask to video
- Creating a PIP effect
- Keyframe Graph Editor for Windows
- Add animation keyframing for Windows
- Keyframe Path Curve for Windows
-
AI-Powered Video Editing
- Smart Scene Cut for Windows
- Smart Short Clips for Windows
- AI Face Mosaic for Windows
- Filmora AI Eye Contact- Windows
- AI Video Enhancer for Windows
- AI Text-to-Video for Windows
- Planar Tracking for Windows
- AI Idea to Video for Windows
- Filmora Image to Video for Windows
- Filmora Image to Prompt for Windows
- Instant Cutter Tool for Windows
- AI Extend
- Filmora AI Relight - Windows
- Filmora AI Image Enhancer Guide - Windows
- AI Script to Video Guide for Windows
- AI Text-Based Editing for Windows
- AI Mate Editing for Windows
- Create with instant mode
- ChatGPT Plugin - AI Copywriting
- AI Smart Cutout
- Lens correction on Windows
- Auto reframe video
- AI Portrait Cutout
- Scene detection feature
- AI Smart Masking for Windows
- Make motion tracking
- Video Stabilization for Windows
- AI Video/Photo Object Remover for Windows
- AI Smart Search for Windows
- AI Skin Tone Protection for Windows
- AI Image for Windows
- Chroma key (green screen)
- Super Slow Motion with Optical Flow for Windows
- Video Denoise for Windows
-
-
Audio Editing for Windows
-
Basic Audio Editing
-
Advanced Audio Editing
-
AI-Powered Audio Editing
-
-
Text Editing for Windows
-
Basic Text Editing
-
Advanced Text Editing
-
AI-Powered Text Editing
-
-
Video Customizations
-
Video Effects
-
Audio Effects
-
Transitions
-
Stickers
-
Filters
-
Color Editing
-
Animations
-
Templates
-
Asset Center
-
-
Exporting & Share & Cloud Backup
Source & Timeline Preview Editing
Filmora's new Source and Timeline Preview Editing feature revolutionizes dual-screen workflows by introducing a dedicated "Source Monitor" alongside the existing "Timeline Monitor." This update allows for simultaneous, independent previewing of media assets and timeline sequences.
In Filmora, you can keep the Source Monitor in the main window for reviewing and editing raw footage, while placing the Timeline Monitor on a second screen for a full-screen view of your final project. When you select an asset from the media library, its preview appears in the Source Monitor. Dragging that asset to the timeline will show its final effect in real-time within the Timeline Monitor. This professional-grade setup boosts productivity and immersion, giving you full control over your media and editing process.
Upon reading this guide, you will learn how to utilize the Source and Timeline Preview Editing feature:
Overview of Source and Timeline Preview Editing
Filmora introduces a revolutionary dual-monitor system: the Source Monitor and the Timeline Monitor. The Source Monitor is dedicated to previewing raw footage and various assets (like effects and transitions) from your media library, allowing you to quickly review content before applying it. The Timeline Monitor, on the other hand, displays the final edited result on your timeline in real-time, ensuring you have complete control over your project's output. This innovative design, with its independent preview windows, significantly streamlines the editing workflow, boosting efficiency and enhancing the user experience.
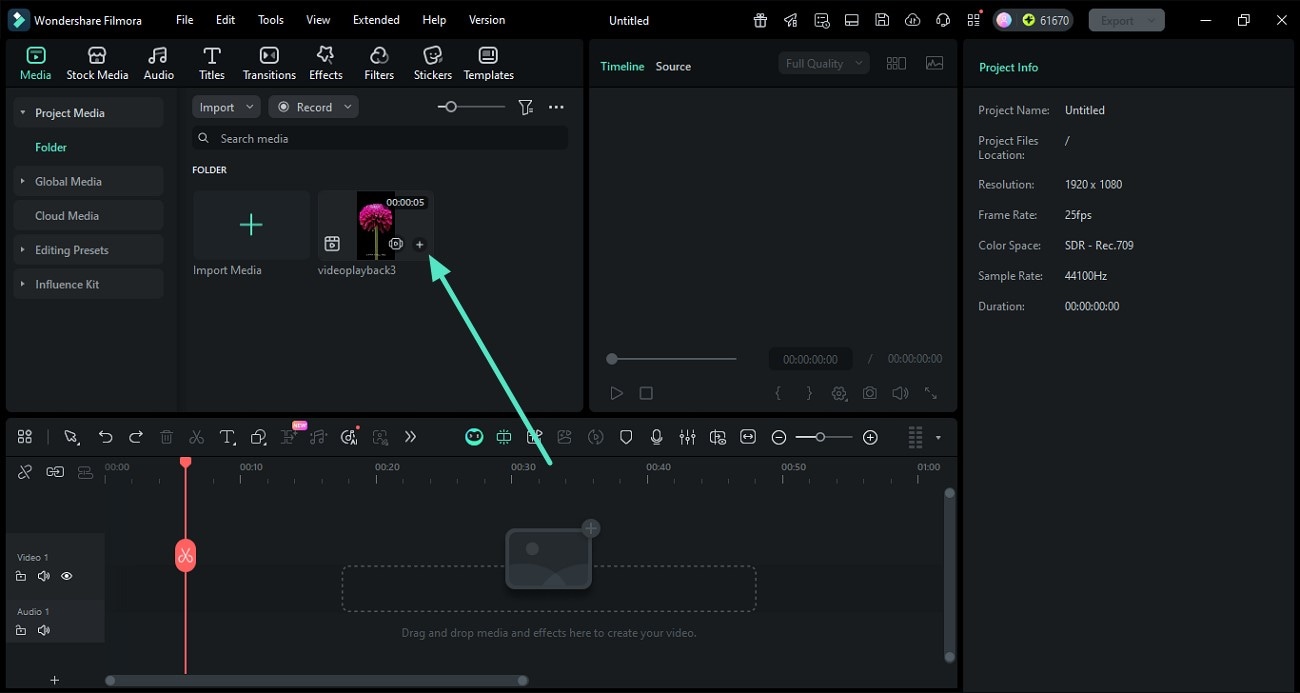
Step 1: Import Clips to Filmora's Interface
Begin by launching Filmora on your device and creating a new project. Next, import all the clips you wish to edit into Filmora's interface and drag them to the editing timeline.
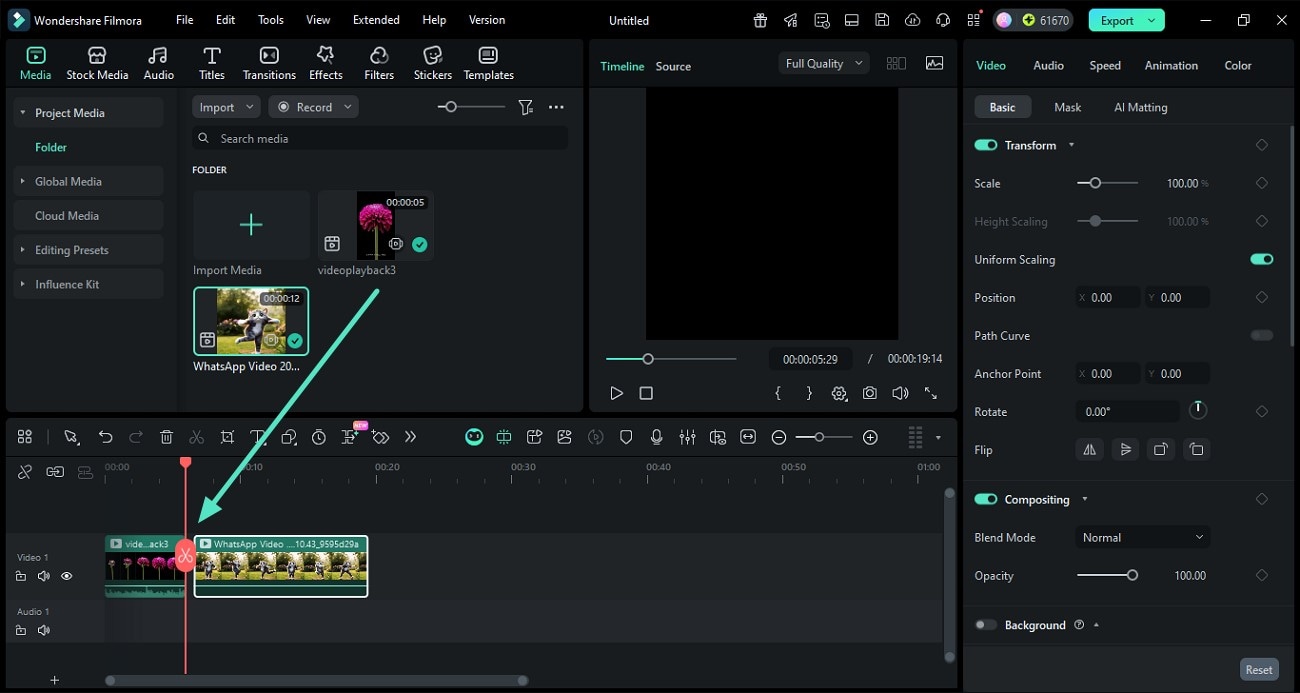
Step 2: Move the Timeline Monitor Window
Now, navigate to the preview section and drag the Timeline Monitor window, placing it wherever you prefer within the interface. For instance, you might drag it to a second screen for full-screen previewing.
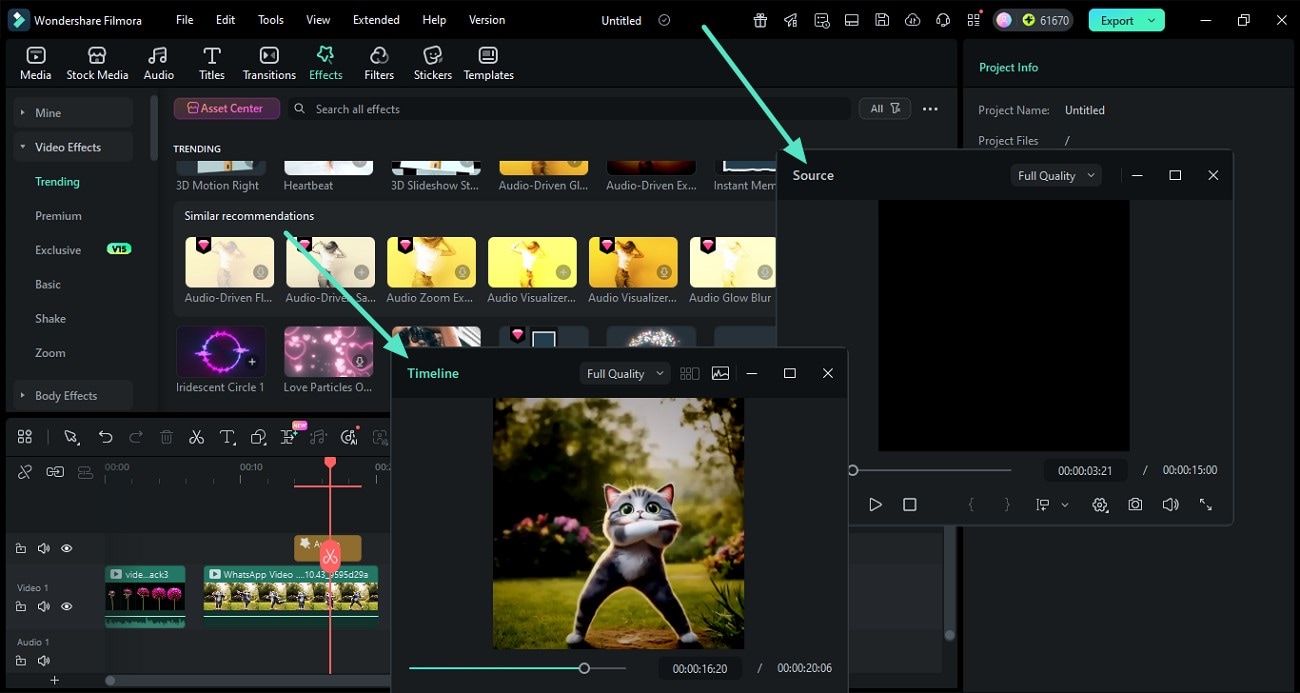
Step 3: Move the Source Monitor Window
Next, drag the Source Monitor window and position it within the interface according to your preferences. You can place it alongside the Timeline Monitor or adjust its location as needed.
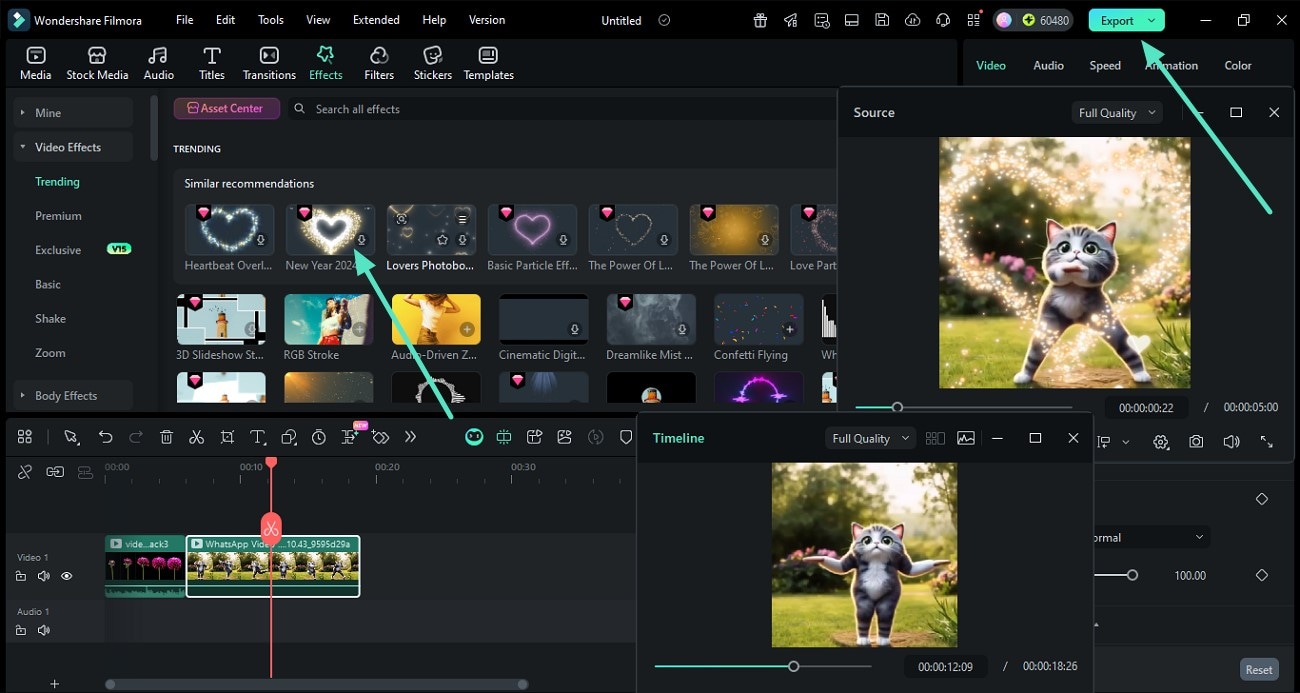
Step 4: Preview and Edit Windows Simultaneously
Once you have positioned both monitor windows to your liking, you can utilize them to preview and edit simultaneously. When you click on media assets or effects in the library, their content will display in the Source Monitor for quick review. If you decide to apply an asset or effect to the timeline, its final result will instantly appear in the Timeline Monitor in real-time. Additionally, you can make precise adjustments using options like the Video Scopes and change the Aspect Ratio as needed. After completing your edits, simply click the export button in the top-right corner to export your file.
Related Posts
Featured Articles
Top 15+ Best Meme Subreddits: The Funniest Reddit Pages of 2026
Looking for the funniest subreddits to find hilarious memes? We tested & ranked the 15+ best Reddit meme pages of 2026, from dank hits to wholesome laughs.
Step by Step: Add Grain to Photoshop
Learn how to add grain in Photoshop using the Add Noise filter, Grain filter, and film grain overlays. Discover step-by-step methods and a more manageable alternative with Filmora for a quick, cinematic effect.
10 Best Free Online AI Video Upscalers
If you're looking for the best free online AI video upscalers, check out our list.
Recommended User Guide
Using freeze frame
Learn how to use Freeze Frame in Filmora 11
Video Editing Ruler – Windows
Do you have a video that requires setting up a scale to define object positions properly? Learn how Filmora assists in providing impressive ruler options.
Magnetic Timeline for Windows
Discover Wondershare Filmora's Magnetic Timeline, a revolutionary tool that effortlessly aligns your clips for a seamless and organized video editing experience.
