For the Best Results, Use the Latest Version.
-
Preparations
-
Account
-
Get Started & Basic Settings
-
Compatibility & Tech Specs
-
Performance Settings
-
-
Creating Projects
-
Creating New Projects
-
-
Importing & Recording
-
Video Editing for Windows
-
Basic Video Editing
- Enable/Disable Clip in Windows
- Magnetic Timeline for Windows
- Dual Monitor Setup for Video Editing on Windows
- Select All Clips on Timeline for Windows
- Manage Timeline and Tracks on Windows
- Auto Ripple for Windows
- Split & trim video
- Crop & Pan & Zoom Video
- Compositing
- Change video playback speed
- Playing videos in reverse
- Mark In and Mark Out for Windows
- Markers for Windows
- Group editing
- Customizable Backgrounds for Videos and Images in Windows
- Video snapshot
- Using freeze frame
- Logo Reveal For Windows
- Apply auto enhance
- Applying drop shadow
- Adjustment layer for Windows
- Transforming
- Video Editing Ruler – Windows
-
Advanced Video Editing
- Drawing Tools for Windows | Filmora Guide
- Create Multi-Camera Clip
- Compound Clip for Windows
- Multi-Clip Editing for Windows
- Filmora Motion Blur | Windows
- Filmora Flicker Removal Guide | Windows
- Apply mask to video
- Creating a PIP effect
- Keyframe Graph Editor for Windows
- Add animation keyframing for Windows
- Keyframe Path Curve for Windows
-
AI-Powered Video Editing
- Smart Scene Cut for Windows
- Smart Short Clips for Windows
- AI Face Mosaic for Windows
- Filmora AI Eye Contact- Windows
- AI Video Enhancer for Windows
- AI Text-to-Video for Windows
- Planar Tracking for Windows
- AI Idea to Video for Windows
- Filmora Image to Video for Windows
- Filmora Image to Prompt for Windows
- Instant Cutter Tool for Windows
- AI Extend
- Filmora AI Relight - Windows
- Filmora AI Image Enhancer Guide - Windows
- AI Script to Video Guide for Windows
- AI Text-Based Editing for Windows
- AI Mate Editing for Windows
- Create with instant mode
- ChatGPT Plugin - AI Copywriting
- AI Smart Cutout
- Lens correction on Windows
- Auto reframe video
- AI Portrait Cutout
- Scene detection feature
- AI Smart Masking for Windows
- Make motion tracking
- Video Stabilization for Windows
- AI Video/Photo Object Remover for Windows
- AI Smart Search for Windows
- AI Skin Tone Protection for Windows
- AI Image for Windows
- Chroma key (green screen)
- Super Slow Motion with Optical Flow for Windows
- Video Denoise for Windows
-
-
Audio Editing for Windows
-
Basic Audio Editing
-
Advanced Audio Editing
-
AI-Powered Audio Editing
-
-
Text Editing for Windows
-
Basic Text Editing
-
Advanced Text Editing
-
AI-Powered Text Editing
-
-
Video Customizations
-
Video Effects
-
Audio Effects
-
Transitions
-
Stickers
-
Filters
-
Color Editing
-
Animations
-
Templates
-
Asset Center
-
-
Exporting & Share & Cloud Backup
NewBlue FX Effects
You can now use the following NewBlue effect collections that have been customized specifically for use in Filmora: Stylizer, Essentials, Filters, Elements, and Titler Pro. Each collection contains a set of factory-installed, professionally designed presets. These five collections include 100+ unique effects and 500+ professionally designed custom title presets.
Index
Find NewBlue FX effects
Install and Launch Filmora on your device. After importing the files, go to Effects> NewBlue FX.
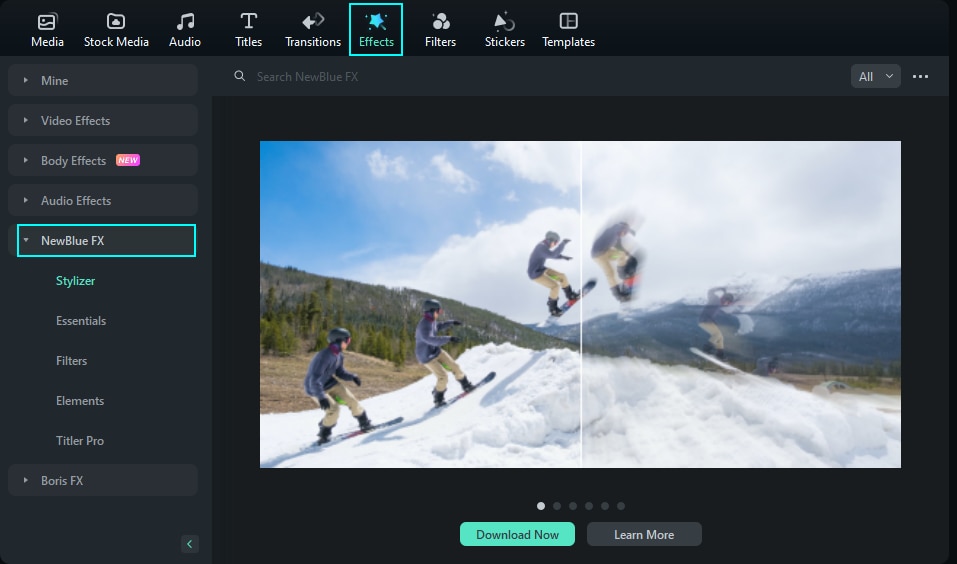
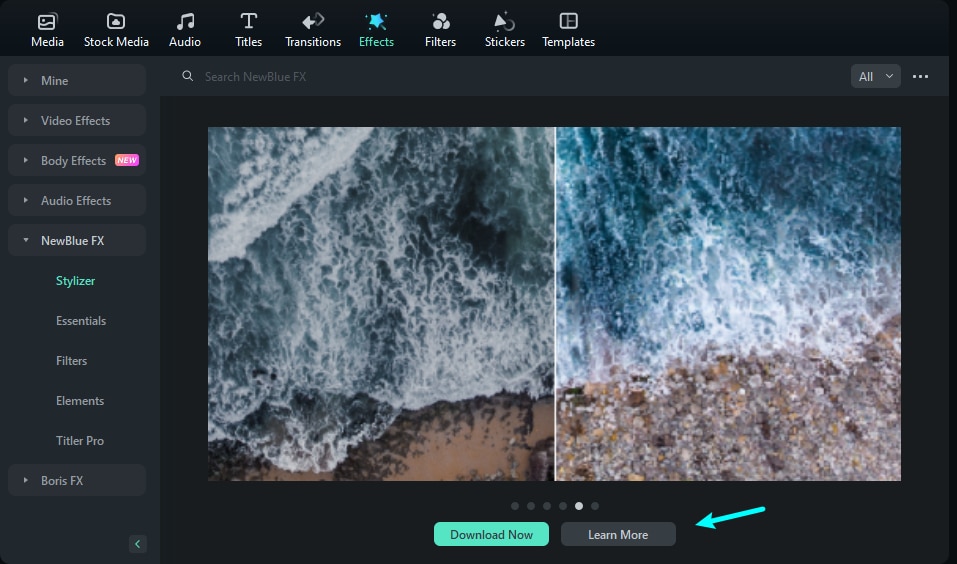
You can choose to learn about NewBlue FX effects before downloading the plugin.
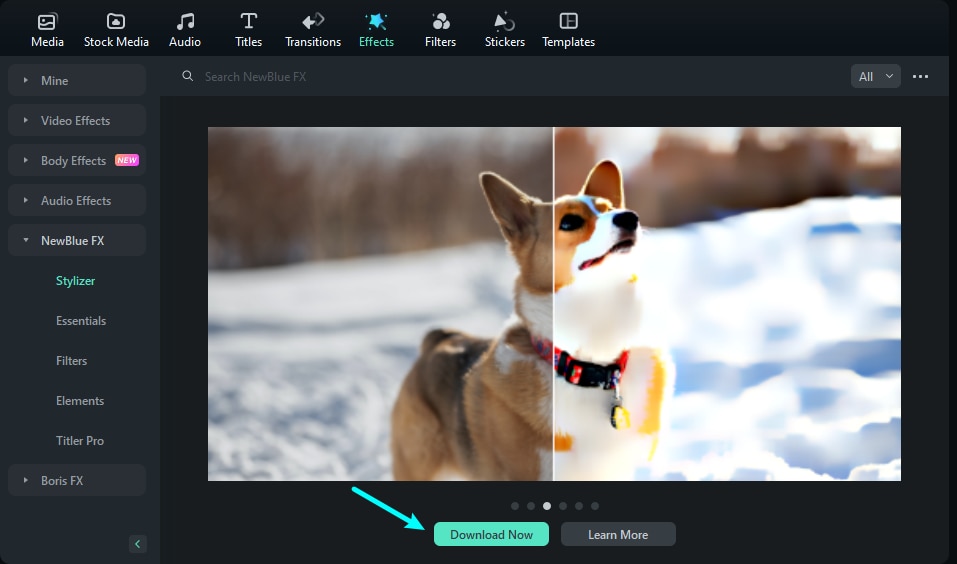
Download and Install NewBlue FX Effects
To use the NewBlue FX plugin, you need to download and install the NewBlue FX effect plugin.
Since the plugin effect package is about 600M, it will take time to download the package. Please wait patiently.
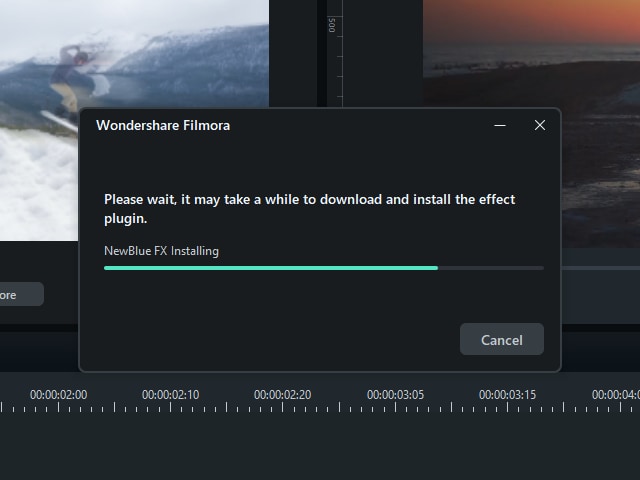
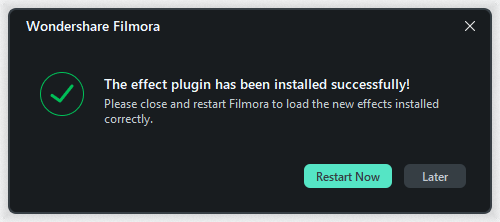
After the download process is finished, restart Filmora to load NewBlue FX effects.
Add NewBlue FX Effects
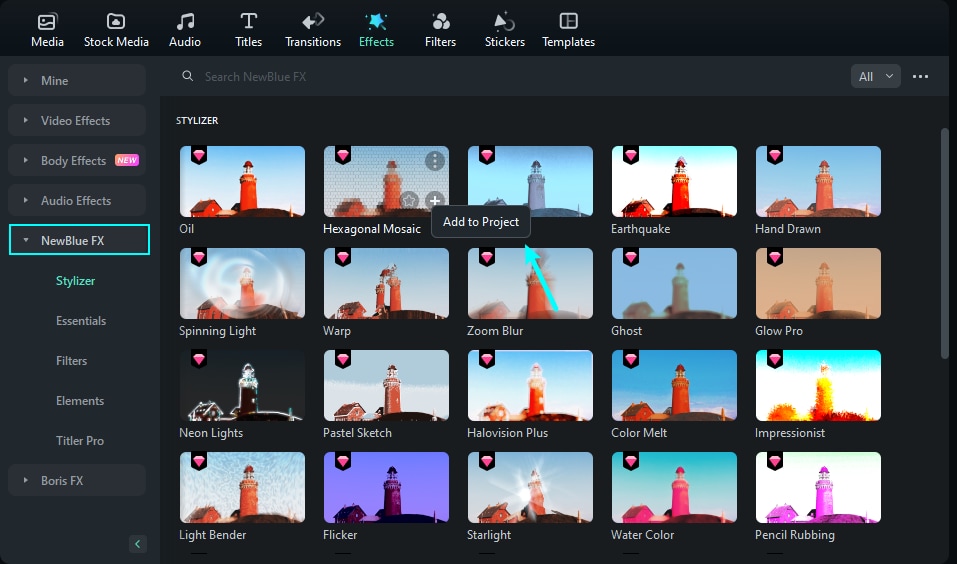
Go to Effects>NewBlue FX to add and preview the Preset effects.
You can see the NewBlue FX effects, such as Stylizer, Essentials, Filters, Elements, and Titler Pro.

You can click "Add to Project" to try to add the effects to your videos.
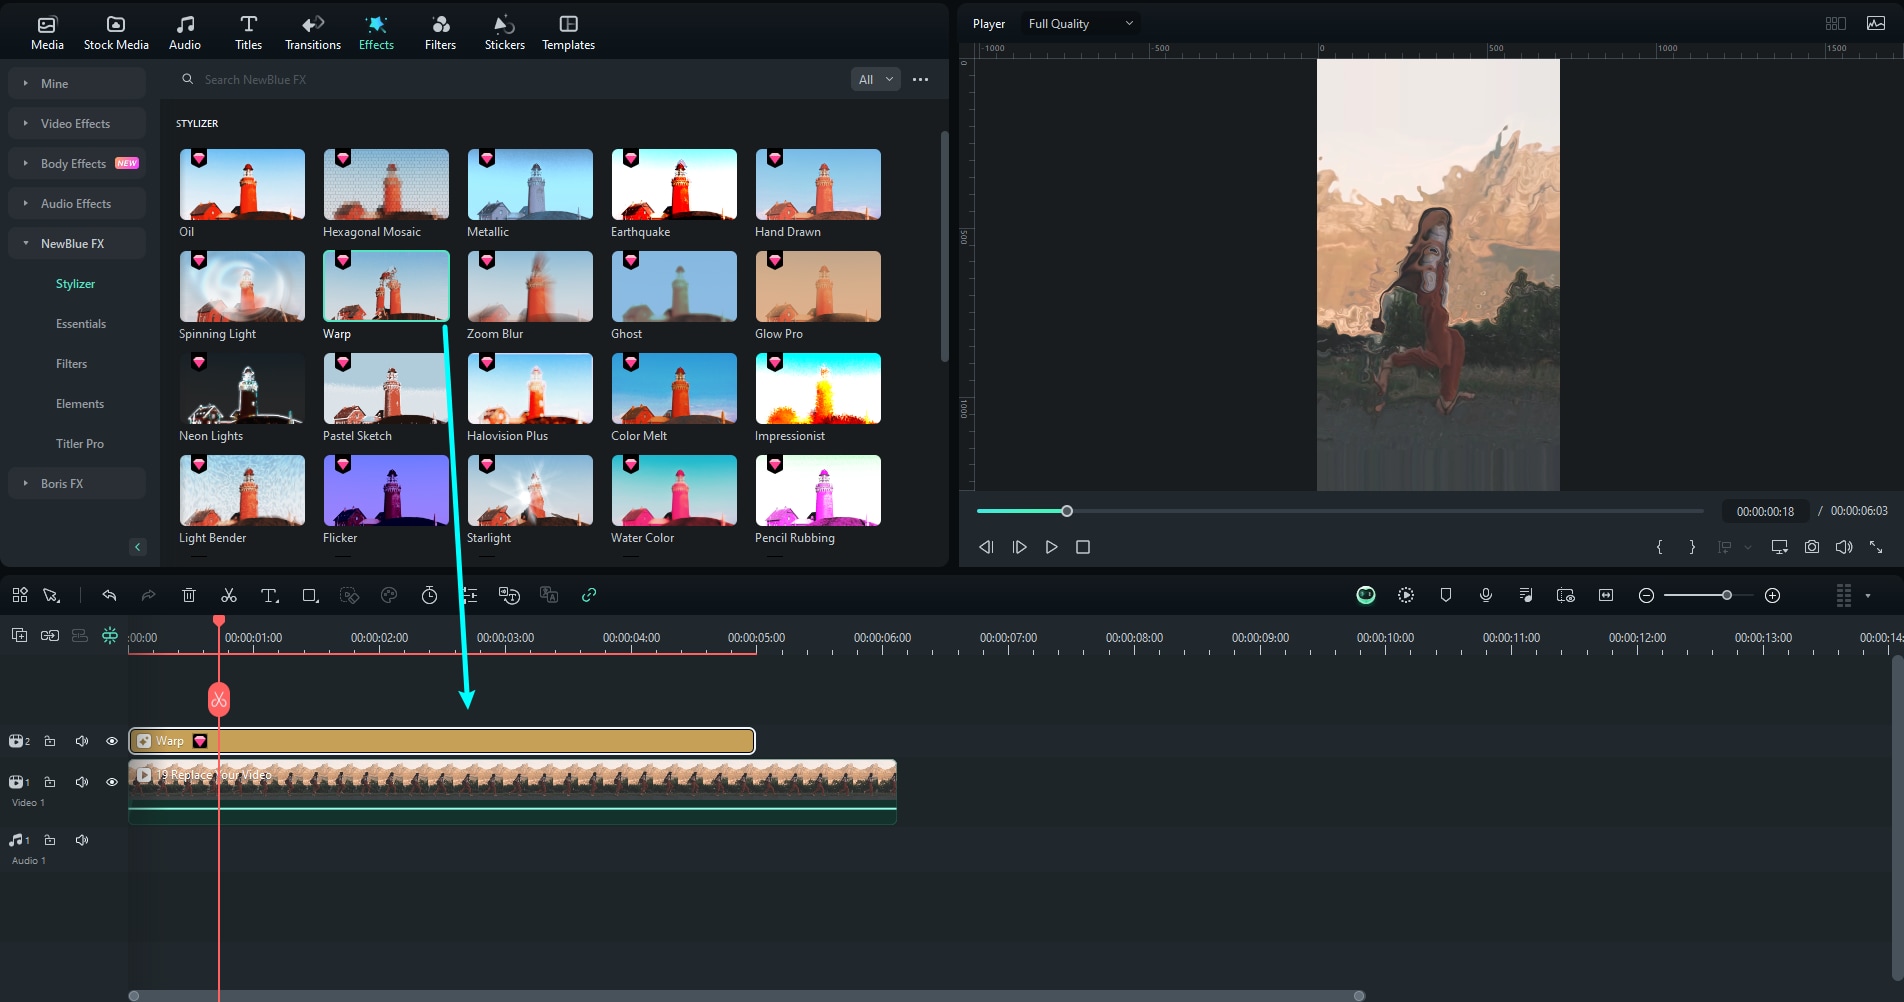
Or you can drag and drop a desired audio effect on the timeline track above your video and play to see the results.
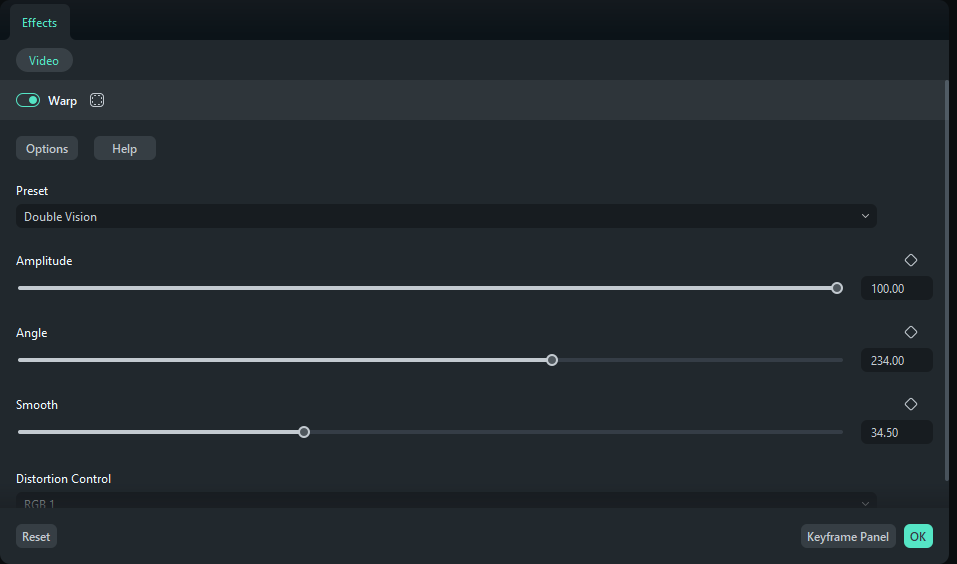
Modify NewBlue FX Effects
Double-click on the NewBlue FX effect in the timeline to customize its settings. Then, you preview how your clip looks with the effect applied to it in the Preview Window.
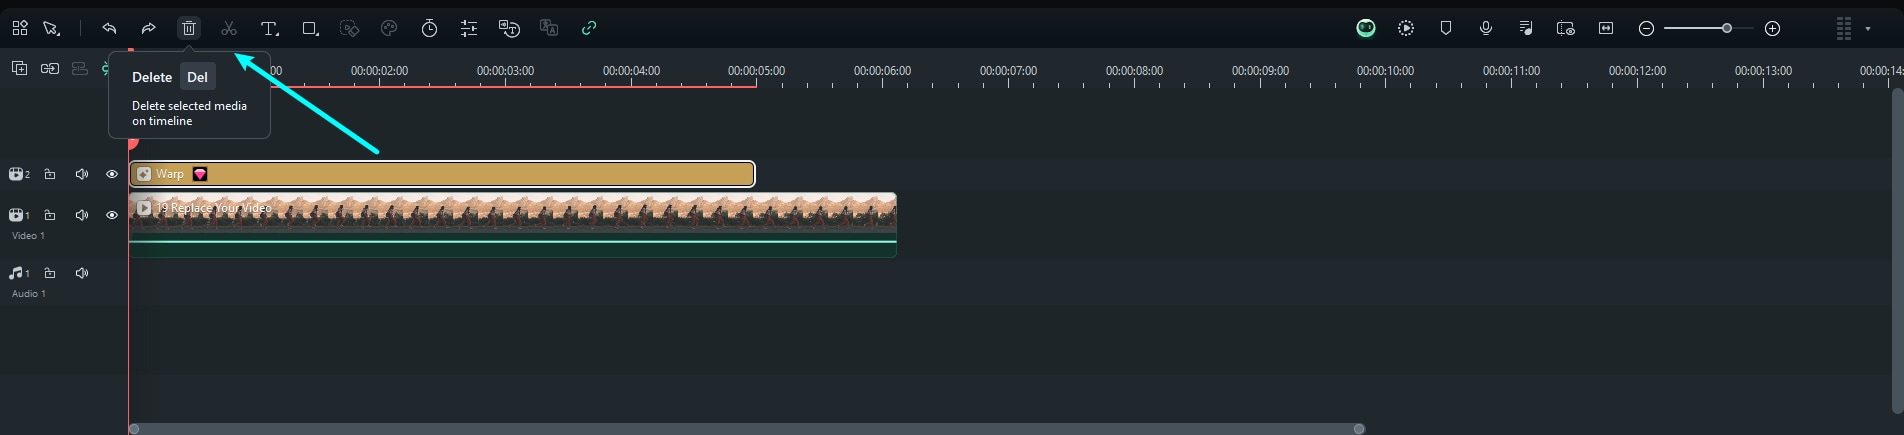
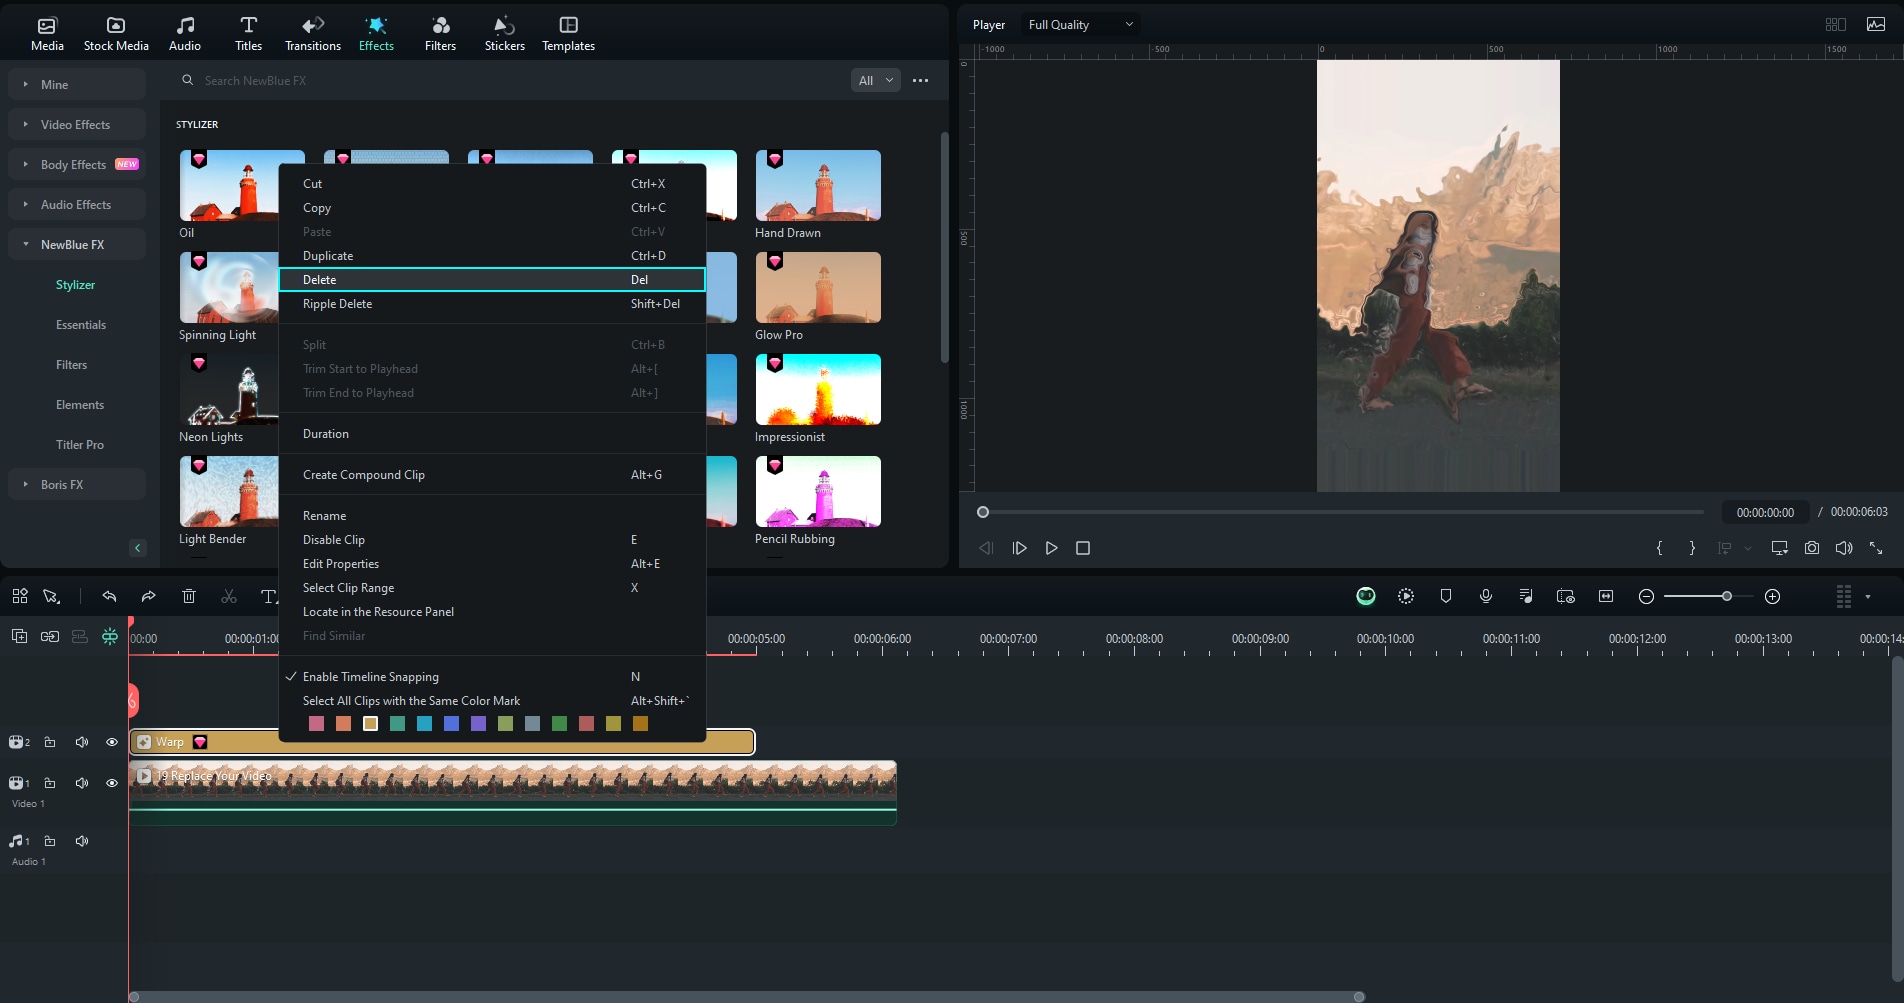
Remove NewBlue FX Effects
There are two ways to remove NewBlue FX Effect from your project.
Method 1: Select the effect in the timeline and hit Delete.
Method 2: Right click on the effect in the timeline and select Delete from the menu.
Related Posts
Featured Articles
How To Create a Hyperlapse Video on Your Smartphone: Step-by-Step
Still don't know how to make a hyperlapse video? Follow these easy steps to turn your ordinary footage into a stunning time-lapse that will wow your friends and followers!
How to Make YouTube Shorts That Go Viral (Including 10 Tips)
Hitting viral with your YouTube Shorts requires the right tricks. If you're wondering how to make YouTube Shorts go viral, you've come to the right place. We'll share YouTube Shorts viral tricks to help your video go viral.
Video Editing Tricks: Duplicate an Actor Using Green Screen
Learn how to duplicate actors in videos using Wondershare Filmora's green screen or split screen features. Create engaging content with ease!
Recommended User Guide
Animated Charts
Learn how to create professional animated charts effortlessly with Filmora. Turn your data into visually appealing animated graphs.
Filmora OpenFX Plugins for Windows
Learn how to install and use the Filmora OpenFX Plugin on Windows to enhance videos with professional visual effects easily.
