For the Best Results, Use the Latest Version.
-
Preparations
-
Account
-
Get Started & Basic Settings
-
Compatibility & Tech Specs
-
Performance Settings
-
-
Creating Projects
-
Creating New Projects
-
-
Importing & Recording
-
Video Editing for Windows
-
Basic Video Editing
- Enable/Disable Clip in Windows
- Magnetic Timeline for Windows
- Dual Monitor Setup for Video Editing on Windows
- Select All Clips on Timeline for Windows
- Manage Timeline and Tracks on Windows
- Auto Ripple for Windows
- Split & trim video
- Crop & Pan & Zoom Video
- Compositing
- Change video playback speed
- Playing videos in reverse
- Mark In and Mark Out for Windows
- Markers for Windows
- Group editing
- Customizable Backgrounds for Videos and Images in Windows
- Video snapshot
- Using freeze frame
- Logo Reveal For Windows
- Apply auto enhance
- Applying drop shadow
- Adjustment layer for Windows
- Transforming
- Video Editing Ruler – Windows
-
Advanced Video Editing
- Drawing Tools for Windows | Filmora Guide
- Create Multi-Camera Clip
- Compound Clip for Windows
- Multi-Clip Editing for Windows
- Filmora Flicker Removal Guide | Windows
- Apply mask to video
- Creating a PIP effect
- Keyframe Graph Editor for Windows
- Add animation keyframing for Windows
- Keyframe Path Curve for Windows
-
AI-Powered Video Editing
- Smart Scene Cut for Windows
- Smart Short Clips for Windows
- AI Face Mosaic for Windows
- AI Video Enhancer for Windows
- AI Text-to-Video for Windows
- Planar Tracking for Windows
- AI Idea to Video for Windows
- Filmora Image to Video for Windows
- Filmora Image to Prompt for Windows
- Instant Cutter Tool for Windows
- AI Extend
- Filmora AI Relight - Windows
- Filmora AI Image Enhancer Guide - Windows
- AI Script to Video Guide for Windows
- AI Text-Based Editing for Windows
- AI Mate Editing for Windows
- Create with instant mode
- ChatGPT Plugin - AI Copywriting
- AI Smart Cutout
- Lens correction on Windows
- Auto reframe video
- AI Portrait Cutout
- Scene detection feature
- AI Smart Masking for Windows
- Make motion tracking
- Video Stabilization for Windows
- AI Video/Photo Object Remover for Windows
- AI Smart Search for Windows
- AI Skin Tone Protection for Windows
- AI Image for Windows
- Chroma key (green screen)
- Super Slow Motion with Optical Flow for Windows
- Video Denoise for Windows
-
-
Audio Editing for Windows
-
Basic Audio Editing
-
Advanced Audio Editing
-
AI-Powered Audio Editing
-
-
Text Editing for Windows
-
Basic Text Editing
-
Advanced Text Editing
-
AI-Powered Text Editing
-
-
Video Customizations
-
Video Effects
-
Audio Effects
-
Transitions
-
Stickers
-
Filters
-
Color Editing
-
Animations
-
Templates
-
Asset Center
-
-
Exporting & Share & Cloud Backup
Chroma Key
Chroma Key is used to remove specific colors from overlay images and videos. For example, if you capture a subject against a "green screen" background or cover part of the subject with green, you can use Chroma Key to remove the green.
You can then place the subject onto different virtual backgrounds and make some cool shots like creating a superhero flying through the sky.
Use Chroma Key to Make Selected Colors Transparent
Enable Chroma Key
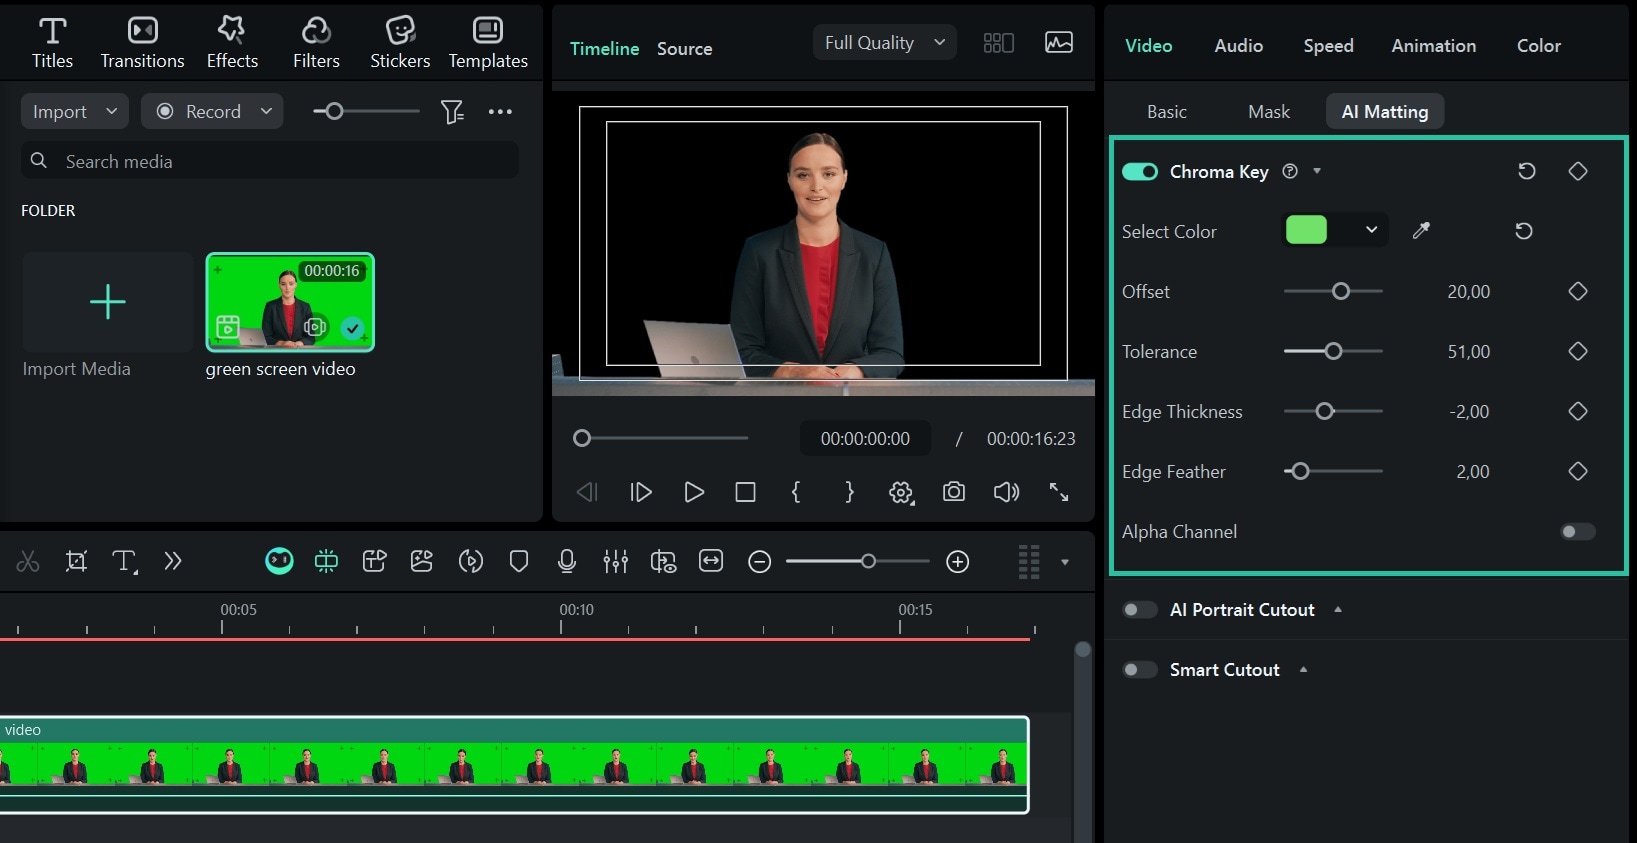
Double-click on the clip in your timeline to open the editing panel, and check the box next to Chroma Key. You can also select the video in the timeline first and then click on the AI Matting Tools > Chroma Key icon on the toolbar above the timeline to automatically enable the Chroma Key feature.
Select Color
Click on the Eyedropper tool to pick a color in the image or video clip you want to make transparent in the Preview window.

Adjust Settings
You can adjust the following settings to alter the video's borders, transparency, shadows, and much more.
- Offset: adjusts the visibility of the backdrop
- Tolerance: controls the width of the range of hues of the key color
- Edge Feather: softens the edges
- Edge Thickness: adjusts the edges of the subject
- Alpha Channel: turns anything keyed out appearing black and anything not keyed out appearing as white.
Creative Way to Use Chroma Key
The Chroma key makes a color range in the top layer of the clips transparent. Therefore, the background video clip or image behind the top layer could show through. This way, you can add the green screen video as an overlay to composite a PIP video.
Import Videos to Media Library
Import both your background video and green screen clip to the media library.
Drag and Place Videos to the Timeline
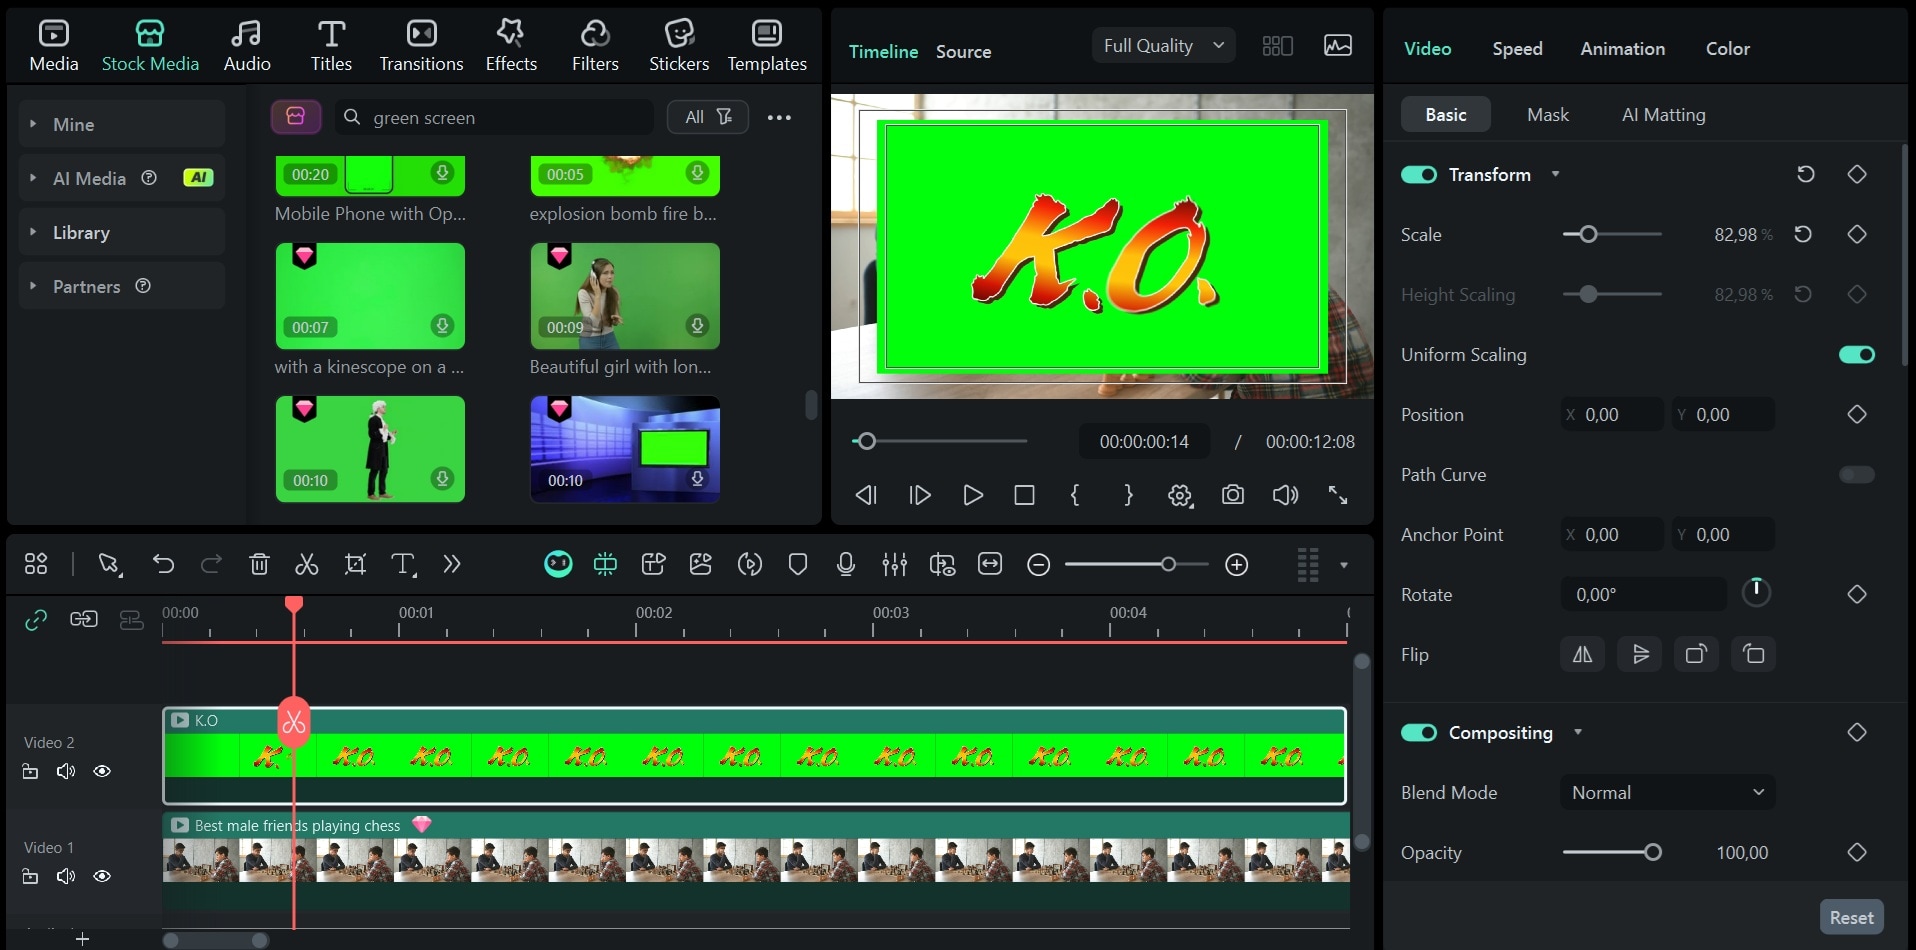
Drag the background clip to the video track on the timeline, and green screen footage to the track above as shown below:

Use Chroma Key to Remove Green Screen
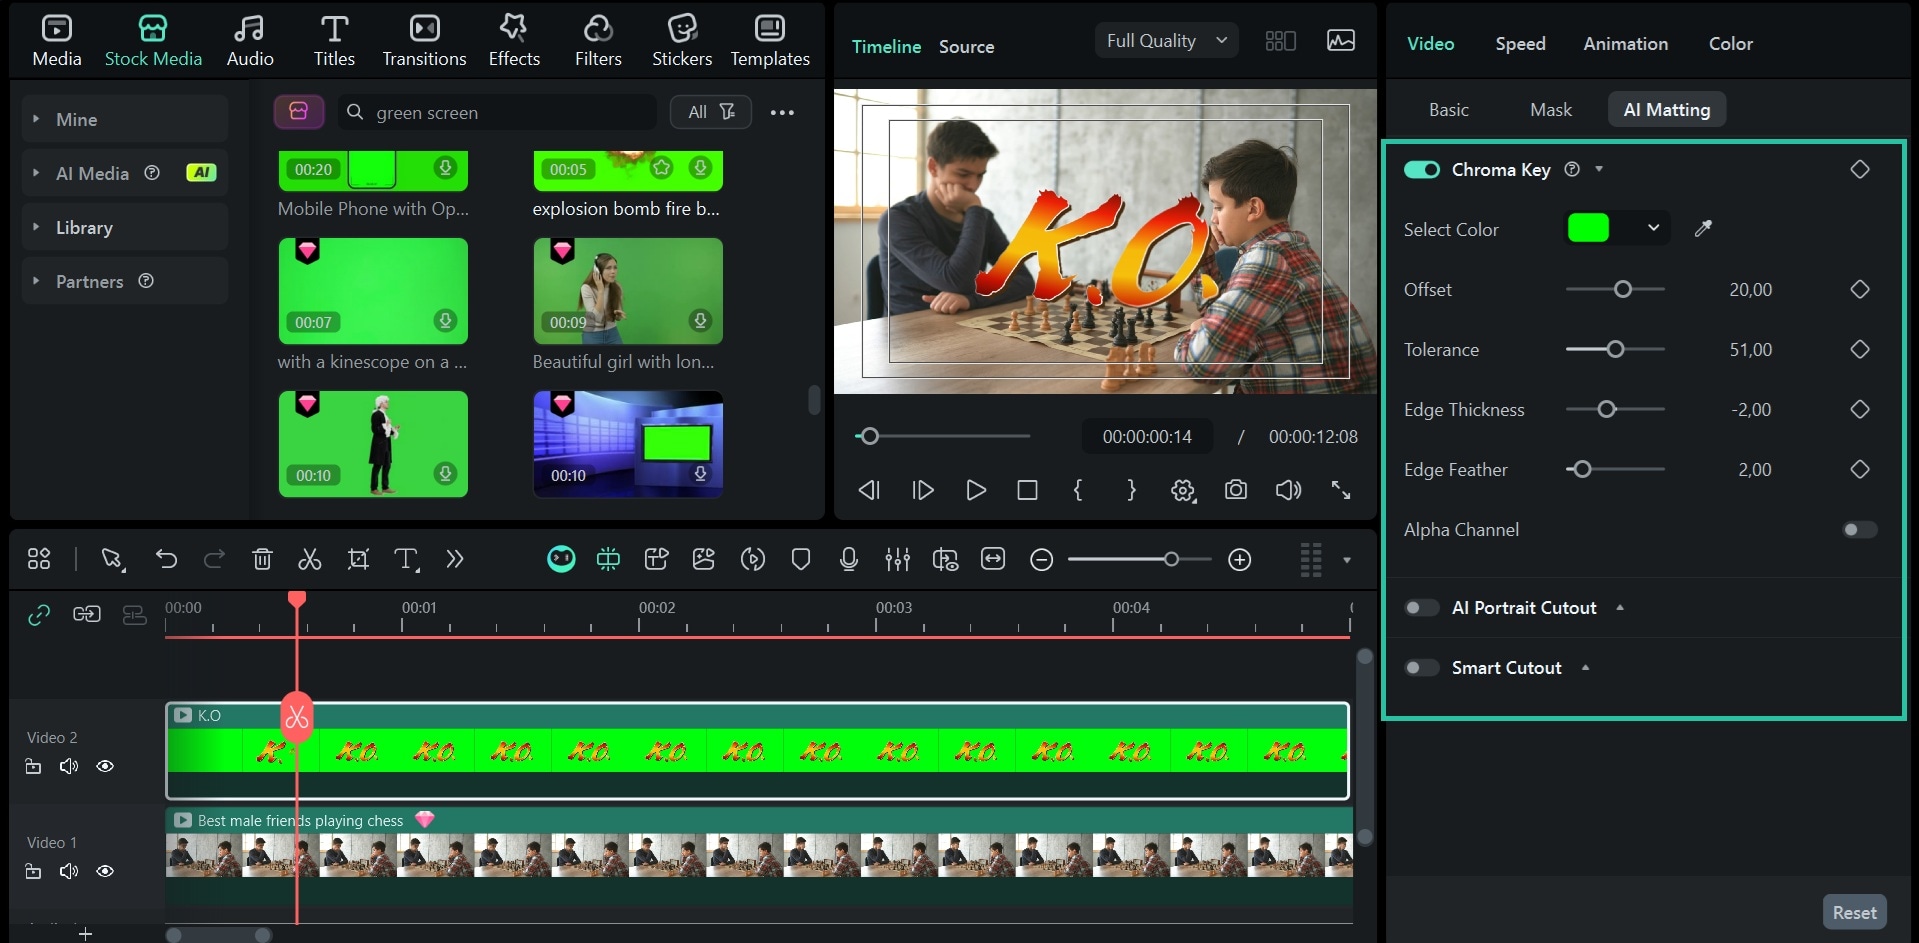
Double-click the green screen clip, and then tick the Chroma Key option. By default, the green screen color will be picked and removed automatically. You can also refine the video by adjusting the offset, tolerance, edge thickness, and edge feather settings to make the background video clearer.

Preview PIP and Adjust
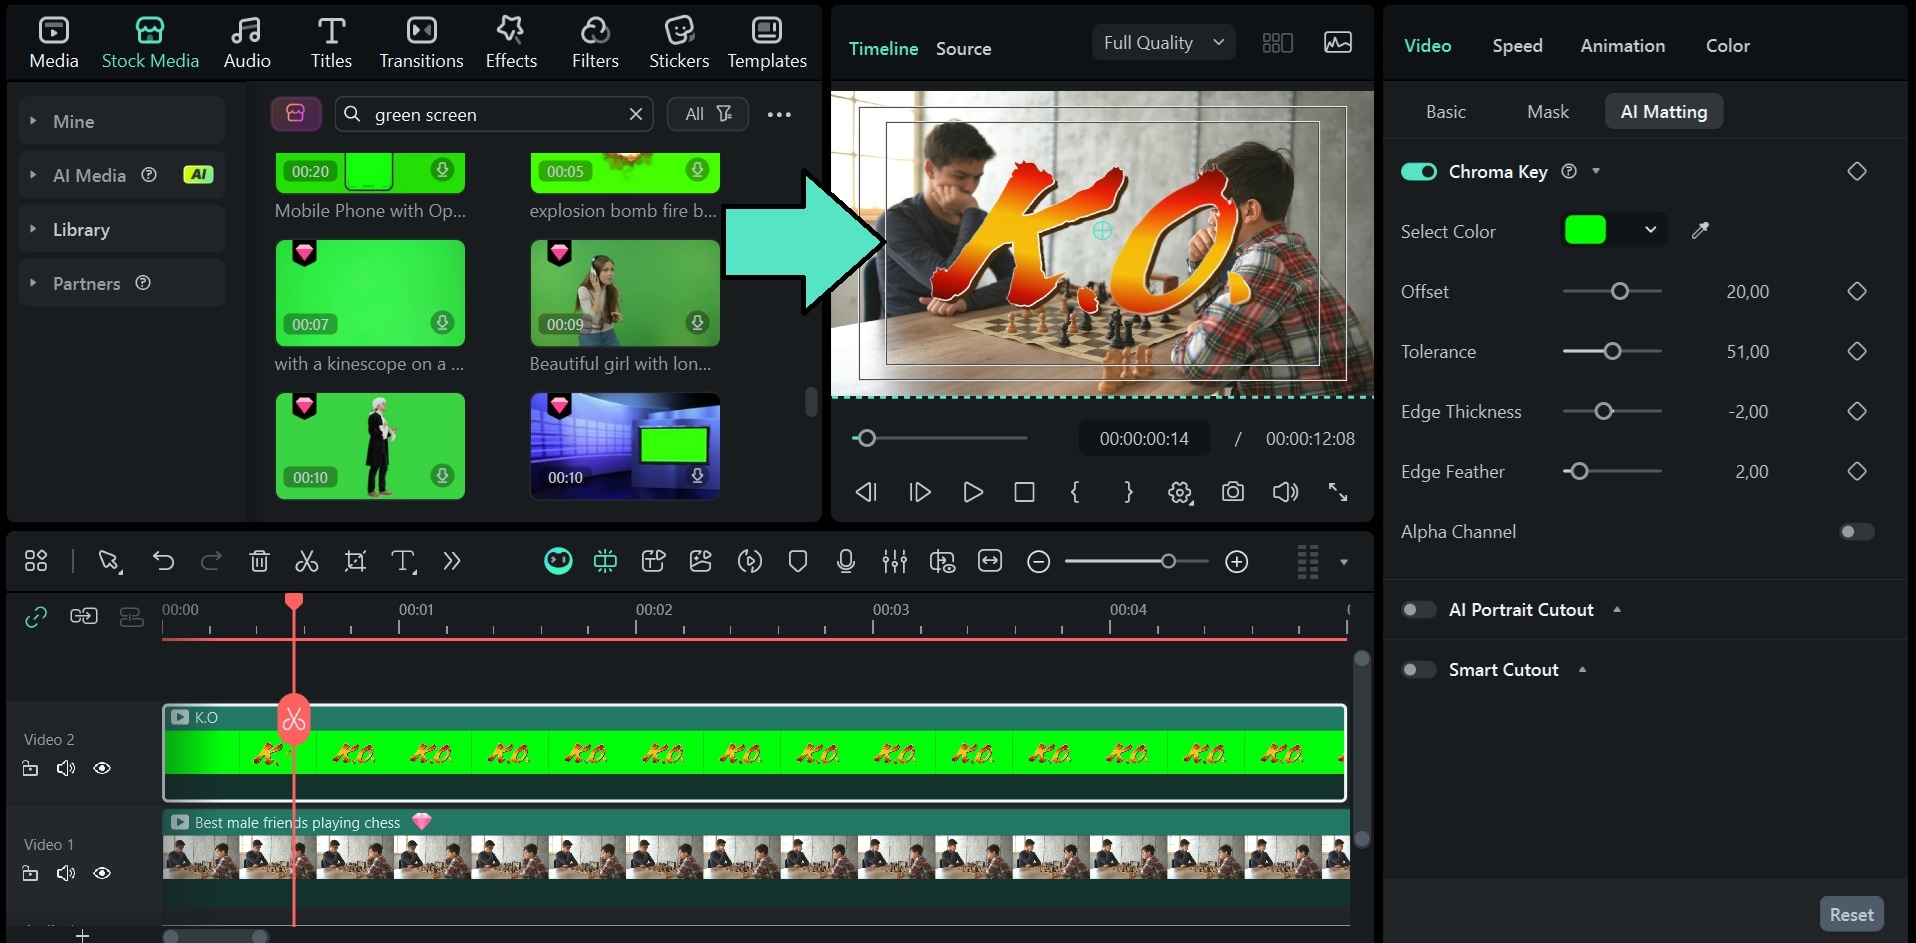
Check the result in the Preview window and adjust its size and position if needed.

Note:
If you want to fine-tune how the green screen overlay blends with the background, you can adjust the settings on the Compositing tab.Related Posts
Featured Articles
Make a Memorable Retirement Video: Best Ideas, Tips, Easy Tools
Looking to create a memorable retirement video or slideshow? This guide offers practical retirement video ideas and a guide process to create a heartwarming tribute.
Tips for Making Educational Reels–A Guide for Teachers and Educators
Master the art of making educational Instagram reels! This guide for teachers will help you create engaging content that will captivate your students.
Latest | Best 14 Free Screen Recorders for PC with Free Download
Looking for a free screen recorder? We've prepared 14 best tools for you.
Recommended User Guide
Make motion tracking
The Motion Tracker tool lets you track movement in your video and have objects like elements, videos, images, and text follow that movement.
Video Stabilization for Windows
Discover the ease of editing clips in Filmora: this feature of Filmora will allow you to smooth out shaky footage.
Planar Tracking for Windows
This guide explains how to use Planar Tracking in your videos on Windows


