For the Best Results, Use the Latest Version.
-
Preparations
-
Account
-
Get Started & Basic Settings
-
Compatibility & Tech Specs
-
Performance Settings
-
-
Creating Projects
-
Creating New Projects
-
-
Importing & Recording
-
Video Editing for Windows
-
Basic Video Editing
- Enable/Disable Clip in Windows
- Magnetic Timeline for Windows
- Drawing Tools fo Windows
- Dual Monitor Setup for Video Editing on Windows
- Select All Clips on Timeline for Windows
- Dual Monitor Setup for Video Editing on Mac
- Manage Timeline and Tracks
- Auto Ripple for Windows
- Split & trim video
- Crop & Pan & Zoom Video
- Compositing
- Change video playback speed
- Playing videos in reverse
- Mark In and Mark Out for Windows
- Markers for Windows
- Group editing
- Customizable Backgrounds for Videos and Images in Windows
- Video snapshot
- Using freeze frame
- Logo Reveal For Windows
- Apply auto enhance
- Applying drop shadow
- Adjustment layer for Windows
- Transforming
- Video Editing Ruler – Windows
-
Advanced Video Editing
-
AI-Powered Video Editing
- Smart Scene Cut for Windows
- Smart Short Clips for Windows
- AI Face Mosaic for Windows
- AI Video Enhancer
- AI Text-to-Video for Windows
- Planar Tracking
- AI Idea to Video for Windows
- Image to Video for Windows
- Instant Cutter Tool for Windows
- AI Extend
- AI Script to Video Guide for Windows
- AI Text-Based Editing for Windows
- AI Mate Editing for Windows
- Create with instant mode
- ChatGPT Plugin - AI Copywriting
- AI Smart Cutout
- Lens correction
- Auto reframe video
- AI Portrait Cutout
- Scene detection feature
- AI Smart Masking for Windows
- Make motion tracking
- Stabilization
- AI Video/Photo Object Remover for Windows
- AI Smart Search for Windows
- AI Skin Tone Protection for Windows
- AI Image for Windows
- Chroma key (green screen)
- Super Slow Motion with Optical Flow for Windows
- Video Denoise for Windows
-
-
Audio Editing for Windows
-
Basic Audio Editing
-
Advanced Audio Editing
-
AI-Powered Audio Editing
-
-
Text Editing for Windows
-
Basic Text Editing
-
Advanced Text Editing
-
AI-Powered Text Editing
-
-
Video Customizations
-
Video Effects
-
Audio Effects
-
Transitions
-
Stickers
-
Filters
-
Color Editing
-
Animations
-
Templates
-
Asset Center
-
-
Exporting & Share & Cloud Backup
Media for Use
Easy start with Filmora media for use to make a creative video. You can also save your video materials and templates on the cloud and exchange them with other creators.
Index
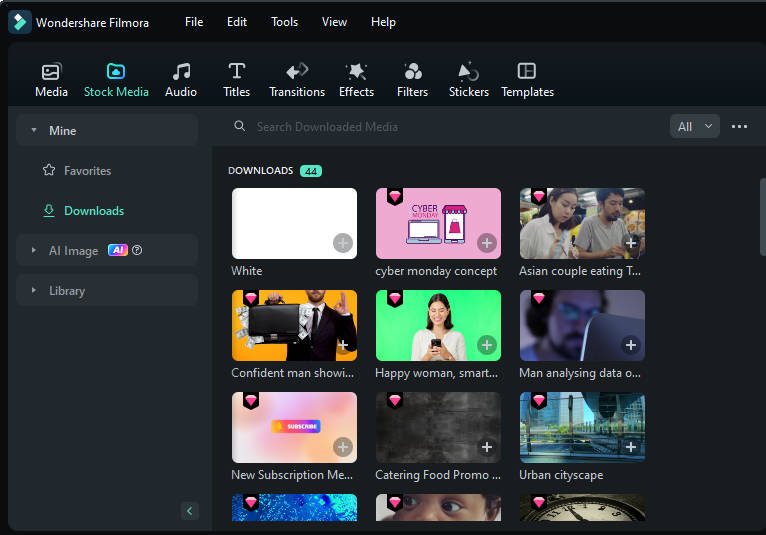
Stock Media
Project media refers to the media files you used for your videos, including your resources, AI image, library.
Find the Mine tab at the top, where there are two categories: Favorites, Downloads.
Favorites
- Click Favorite while hovering over a resource to add an tem to this folder.
Downloads
- The media downloaded from Filmora will be displayed here.
AI Image
- You can use AI image generation to create the pictures you need.
Library
- You can editing background materials here.
Project Media
You can import media files here.
● Right-click on Project Media, you can add a new folder.
● Right-click on Folder; you can rename and add a new folder.
Global Media
Import media here to use it in multiple projects.
● Right-click on Global Media, you can add a new folder.
● Right-click on Folder; you can rename, delete and add a new folder.
Cloud Media
Import media here to use it in multiple projects.
● My Cloud Media: You can drop or upload your video clips, images, or audio here to save them to your Cloud for backup.
● Downloads: The media downloaded from your Cloud will be displayed here.
Adjustment Layer
Preset
- Drag or click + icon to add the adjustment layer to the timeline. You can apply different effects, change the settings and edit again at any time without affecting the original clips.
Custom
After you have adjusted the settings, click Save as Custom, and your custom adjustment layer will be shown here. For multiple variable object uses, you can use the layer directly.
Compound Clip
It is a versatile tool that allows you to group a collection of video clips, audio clips, and graphics as a single bundle.
You can Import Clips and Place in the Timeline Panel and Create a Compound Clip.
You can click to learn more about Compound Clip
Relink Media
● Right-click the media file that you import in Project Media, choose Relink Media, you can replace a new media.
● If the selected file and the clip you used in the project have different durations, they cannot be relinked. Please reselect a file with the same duration to avoid issues.
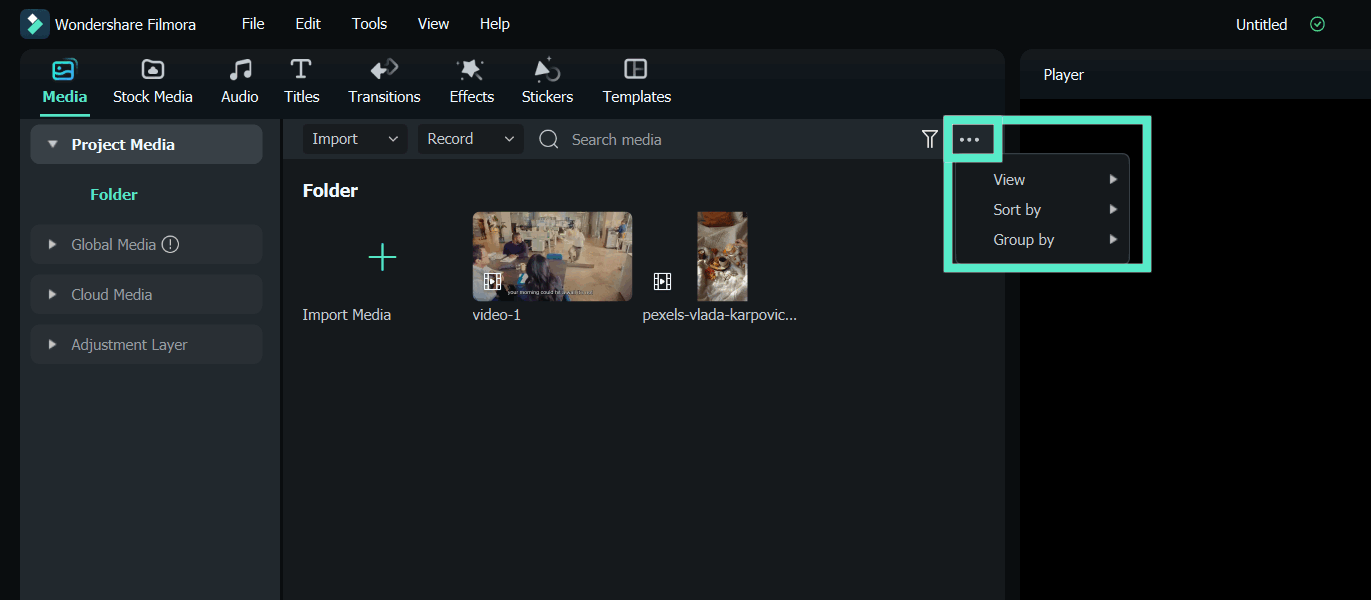
Filter and View Options
● Filter by File Type

On the right side of the Search Media bar, there are four filters here: All, Video, Audio, and Image
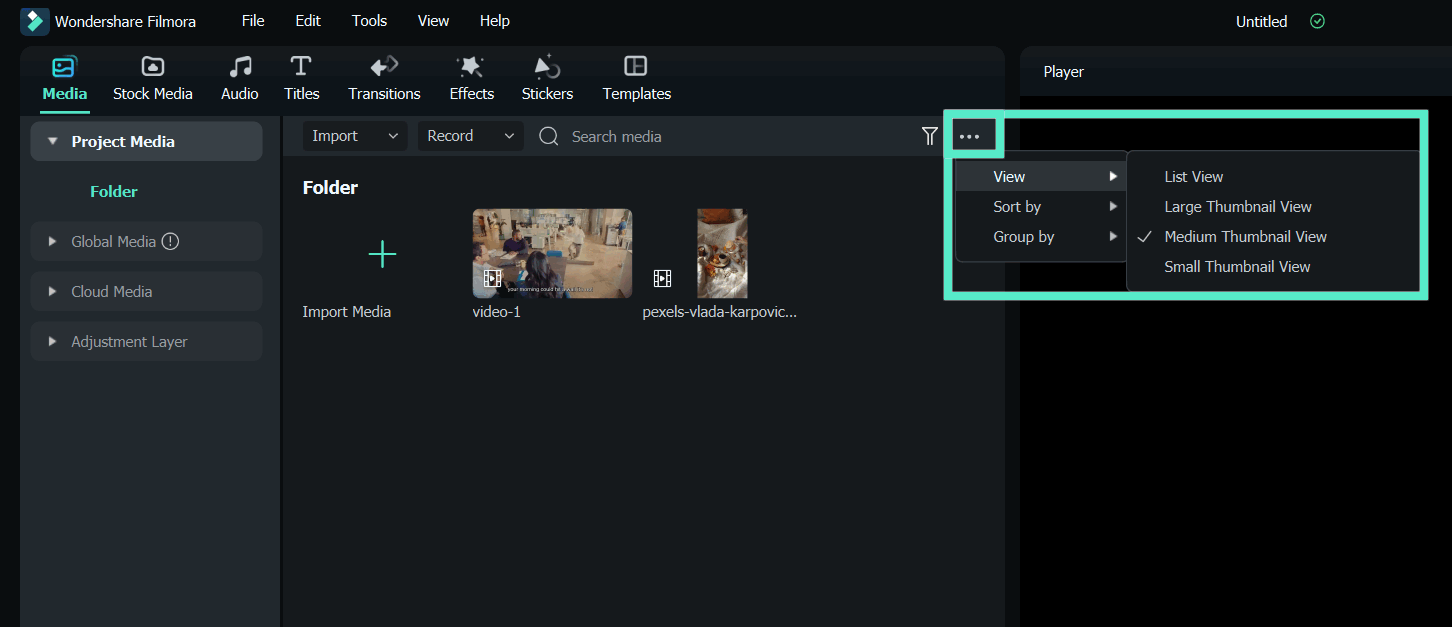
● View Options

You can view by:
- Large Thumbnail View
- Medium Thumbnail View
- Small Thumbnail View
Your media files can be sorted by:
- Name
- Duration
- Type
- Date Created
- Ascending
- Descending
Your media files can be grouped by:
- None
- Type
- Date Created
- Camera Name
- Duration
- Ascending
- Descending
Related Posts
Featured Articles
How to Change Video Thumbnail on Google Drive?
Are you looking for ways to add thumbnails to Google Drive videos? Read this article to learn how to change video thumbnails on Google Drive efficiently.
Best audio to video converters apps in 2025
Transform your audio files into stunning videos using AI features. Learn how to convert any audio to video with the best tools.
The Basics of DJ Beat Matching: A Beginner’s Guide
Start your DJ career on the right foot with this comprehensive and beginner-friendly guide to beat matching. Understand the essentials of DJ beat matching, and the tools and software you need to create smooth, professional mixes.
Recommended User Guide
Preview render files on Win
Preview Render Files win
Change playback quality
Change Playback Quality Win
Keyboard shortcuts list
Use this handy list to reference keyboard shortcuts for Filmora and even print a PDF of the keyboard shortcuts. You can also use the visual keyboard layout to customize the shortcuts and assign multiple shortcuts to a command.

