For the Best Results, Use the Latest Version.
-
Preparations
-
Account
-
Get Started & Basic Settings
-
Compatibility & Tech Specs
-
Performance Settings
-
-
Creating Projects
-
Creating New Projects
-
-
Importing & Recording
-
Video Editing for Windows
-
Basic Video Editing
- Enable/Disable Clip in Windows
- Magnetic Timeline for Windows
- Drawing Tools fo Windows
- Dual Monitor Setup for Video Editing on Windows
- Select All Clips on Timeline for Windows
- Dual Monitor Setup for Video Editing on Mac
- Manage Timeline and Tracks
- Auto Ripple for Windows
- Split & trim video
- Crop & Pan & Zoom Video
- Compositing
- Change video playback speed
- Playing videos in reverse
- Mark In and Mark Out for Windows
- Markers for Windows
- Group editing
- Customizable Backgrounds for Videos and Images in Windows
- Video snapshot
- Using freeze frame
- Logo Reveal For Windows
- Apply auto enhance
- Applying drop shadow
- Adjustment layer for Windows
- Transforming
- Video Editing Ruler – Windows
-
Advanced Video Editing
-
AI-Powered Video Editing
- Smart Scene Cut for Windows
- Smart Short Clips for Windows
- AI Face Mosaic for Windows
- AI Video Enhancer
- AI Text-to-Video for Windows
- Planar Tracking
- AI Idea to Video for Windows
- Image to Video for Windows
- Instant Cutter Tool for Windows
- AI Extend
- AI Script to Video Guide for Windows
- AI Text-Based Editing for Windows
- AI Mate Editing for Windows
- Create with instant mode
- ChatGPT Plugin - AI Copywriting
- AI Smart Cutout
- Lens correction
- Auto reframe video
- AI Portrait Cutout
- Scene detection feature
- AI Smart Masking for Windows
- Make motion tracking
- Stabilization
- AI Video/Photo Object Remover for Windows
- AI Smart Search for Windows
- AI Skin Tone Protection for Windows
- AI Image for Windows
- Chroma key (green screen)
- Super Slow Motion with Optical Flow for Windows
- Video Denoise for Windows
-
-
Audio Editing for Windows
-
Basic Audio Editing
-
Advanced Audio Editing
-
AI-Powered Audio Editing
-
-
Text Editing for Windows
-
Basic Text Editing
-
Advanced Text Editing
-
AI-Powered Text Editing
-
-
Video Customizations
-
Video Effects
-
Audio Effects
-
Transitions
-
Stickers
-
Filters
-
Color Editing
-
Animations
-
Templates
-
Asset Center
-
-
Exporting & Share & Cloud Backup
Auto Ripple for Windows
While editing a video in a timeline, the empty spaces disrupt the playback flow and must be eliminated. With Filmora's Auto Ripple functionality, users do not need to remove them manually. Enabling this functionality before the editing process will auto-remove these spaces between clips and maintain the workflow. To know more about auto rippling, keep reading:
Enabling Auto Rippling Before Editing
For optimized editing, here is a step-by-step guide to initiate auto-rippling in Filmora before you start editing:
Enabling Auto Rippling Before Editing
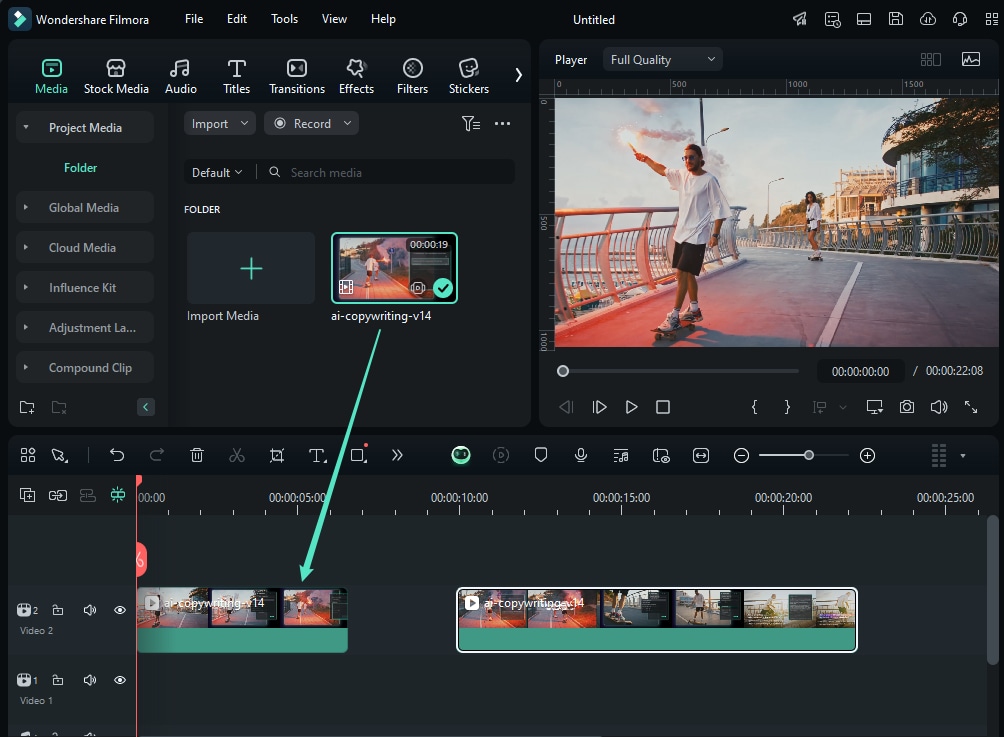
Step 1: Create a New Project and Import Media in the Timeline
Download the software from Filmora's official website and launch it on your device. Upon launching, the main menu window will appear. Click the "New Project" button and import your media files from there. Afterward, drag-and-drop functionality brings your media files to any timeline tracks.

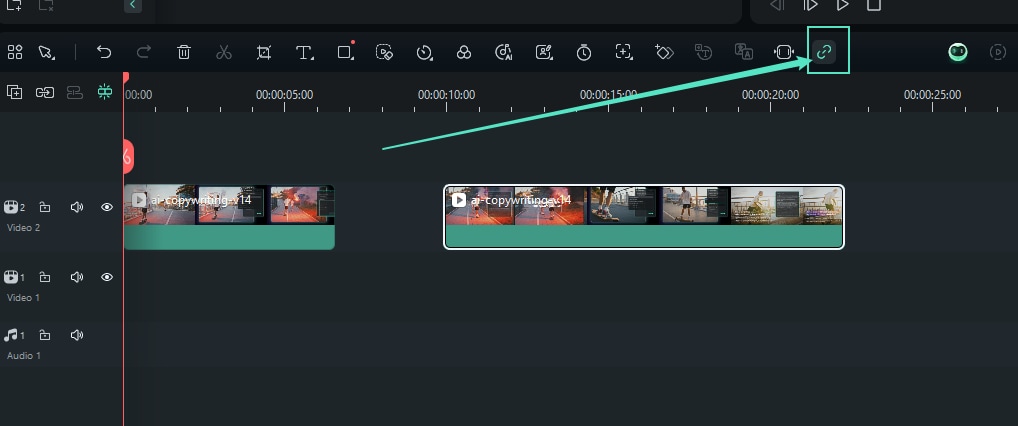
Step 2: Activate the Auto Ripple
Navigate towards the left side panel of the timeline track where you added your media files and click the "Open Auto Ripple" option adjacent to Track Manager. Now, this function will remove the spaces between videos whenever you start editing.

Manually Rippling the Spaces During Editing
If you forget to enable auto-rippling, you can remove the spaces manually by using the following methods discussed below:
Method 1: Using the "X" Icon
With your mouse's help, navigate the spaces between your clips in the timeline and click on them. Then click the "X" icon on the top right corner of these spaces to remove the space.

Method 2: Using the Right-Click Functionality
Another way of doing this is to position the cursor within the space separating two video clips in a track and right-click on it. From the options menu that shows up, select the "Ripple Delete" option.

Method 3: Using the Keyboard Shortcuts
An alternative method for removing the gaps between the clips in the timeline is clicking the space in between and clicking the "Shift + Delete" on the keyboard.
Related Posts
Featured Articles
Create Stunning Time-Lapse Videos Online: A Complete Guide
Looking to create a time-lapse video online? Explore beginner-friendly tools to convert clips or images into captivating sequences.
How to Record Screen with VLC? Step-by-Step
Looking to record your screen with VLC? Here we’ll walk you through how VLC screen record and capture your screen like a pro!
Luxury Real Estate Marketing Ideas to Consider in 2025
Looking for exciting luxury home marketing ideas? Want to enter the high-end real estate market? Check out our guide on marketing ideas for million-dollar homes.
Recommended User Guide
Crop & Pan & Zoom Video
Learn how to Crop & Pan & Zoom in Filmora 11.
Enable/Disable Clip in Windows
When working on professional projects as a video editor, turning on and off clips helps with optimized editing. Hence, Wondershare Filmora offers this functionality as a professional editing software.
Select All Clips on Timeline for Windows
If you’re editing in Filmora and want to speed up your workflow, knowing how to select clips both forwards and backwards on the timeline is essential. This feature allows you to select multiple clips at once, saving you time and effort when editing larger projects.
