For the Best Results, Use the Latest Version.
-
Preparations
-
Account
-
Get Started & Basic Settings
-
Compatibility & Tech Specs
-
Performance Settings
-
-
Creating Projects
-
Creating New Projects
-
-
Importing & Recording
-
Video Editing for Windows
-
Basic Video Editing
- Enable/Disable Clip in Windows
- Magnetic Timeline for Windows
- Dual Monitor Setup for Video Editing on Windows
- Select All Clips on Timeline for Windows
- Manage Timeline and Tracks on Windows
- Auto Ripple for Windows
- Split & trim video
- Crop & Pan & Zoom Video
- Compositing
- Change video playback speed
- Playing videos in reverse
- Mark In and Mark Out for Windows
- Markers for Windows
- Group editing
- Customizable Backgrounds for Videos and Images in Windows
- Video snapshot
- Using freeze frame
- Logo Reveal For Windows
- Apply auto enhance
- Applying drop shadow
- Adjustment layer for Windows
- Transforming
- Video Editing Ruler – Windows
-
Advanced Video Editing
- Drawing Tools for Windows | Filmora Guide
- Create Multi-Camera Clip
- Compound Clip for Windows
- Multi-Clip Editing for Windows
- Filmora Motion Blur | Windows
- Filmora Flicker Removal Guide | Windows
- Apply mask to video
- Creating a PIP effect
- Keyframe Graph Editor for Windows
- Add animation keyframing for Windows
- Keyframe Path Curve for Windows
-
AI-Powered Video Editing
- Smart Scene Cut for Windows
- Smart Short Clips for Windows
- AI Face Mosaic for Windows
- Filmora AI Eye Contact- Windows
- AI Video Enhancer for Windows
- AI Text-to-Video for Windows
- Planar Tracking for Windows
- AI Idea to Video for Windows
- Filmora Image to Video for Windows
- Filmora Image to Prompt for Windows
- Instant Cutter Tool for Windows
- AI Extend
- Filmora AI Relight - Windows
- Filmora AI Image Enhancer Guide - Windows
- AI Script to Video Guide for Windows
- AI Text-Based Editing for Windows
- AI Mate Editing for Windows
- Create with instant mode
- ChatGPT Plugin - AI Copywriting
- AI Smart Cutout
- Lens correction on Windows
- Auto reframe video
- AI Portrait Cutout
- Scene detection feature
- AI Smart Masking for Windows
- Make motion tracking
- Video Stabilization for Windows
- AI Video/Photo Object Remover for Windows
- AI Smart Search for Windows
- AI Skin Tone Protection for Windows
- AI Image for Windows
- Chroma key (green screen)
- Super Slow Motion with Optical Flow for Windows
- Video Denoise for Windows
-
-
Audio Editing for Windows
-
Basic Audio Editing
-
Advanced Audio Editing
-
AI-Powered Audio Editing
-
-
Text Editing for Windows
-
Basic Text Editing
-
Advanced Text Editing
-
AI-Powered Text Editing
-
-
Video Customizations
-
Video Effects
-
Audio Effects
-
Transitions
-
Stickers
-
Filters
-
Color Editing
-
Animations
-
Templates
-
Asset Center
-
-
Exporting & Share & Cloud Backup
Auto Synchronization
This guide helps you match your audio with your video and make the sound clear.
This function could quickly replace the recorded audio with the audio in the video when shooting with a camera/video and using a microphone. It can also automatically align the audio and video clips in the project without manual alignment.
Feature Usage Scenarios
You can use this feature in the following two scenarios:
❶ Prepare the material to be synchronized:
Use different shooting equipment to record and shoot multiple pieces of material in the same scene.
For example, the photographer uses a mobile phone or SLR to shoot distant pictures, while the other device is closer to the sound source, and the recording gets better audio.
❷ The user creates a project and imports multiple pieces of material to be synchronized into different timeline tracks.
How to Use the Feature
You can click the function entry in the following ways:
Method 1
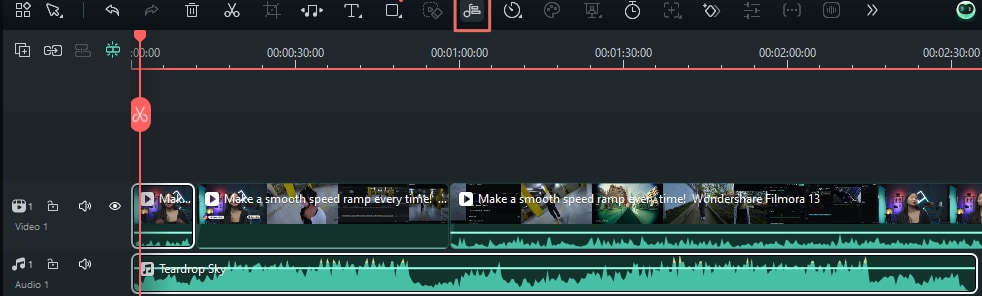
Select the video + audio with audio track on the timeline simultaneously. The Auto Synchronization button will appear on the toolbar. Hover the mouse over the icon, and it will show tooltips to remind you of the function summary.
Method 2
Select the video + audio with audio track simultaneously on the timeline, right-click and select Auto Synchronization.
Method 3
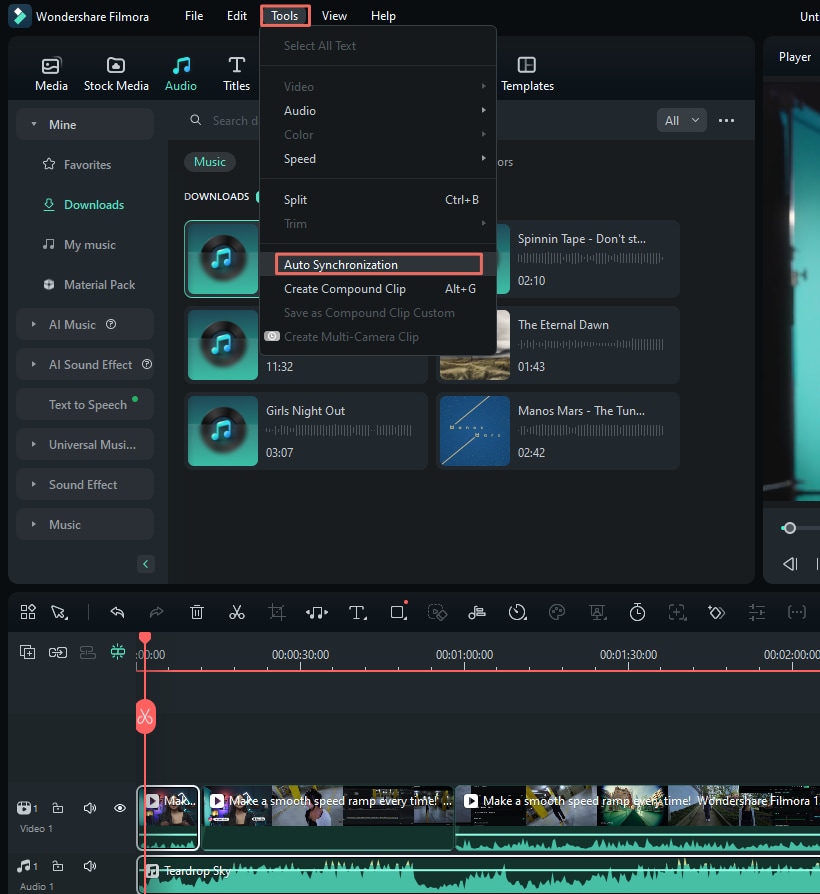
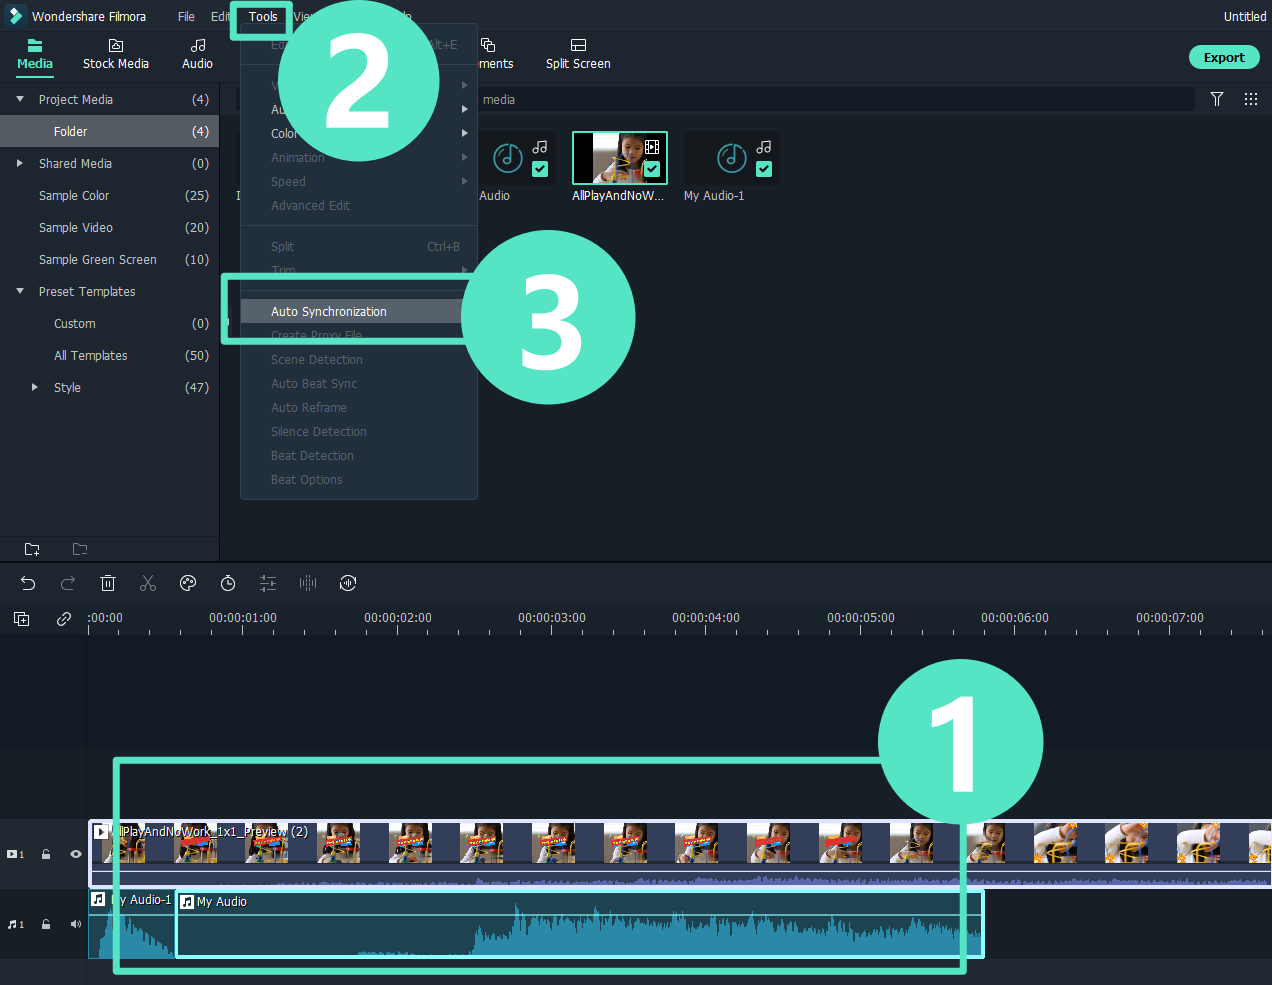
Select the video + audio with audio track simultaneously on the timeline, click Tools on the top menu bar and select Auto Synchronization.
Note:
If the selected clips cannot be synchronized, a pop-up window will prompt, "The selected clips cannot be synchronized, please reselect the clip." Click "OK" to close the popup window.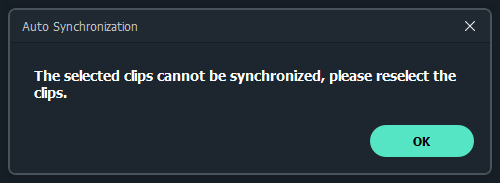
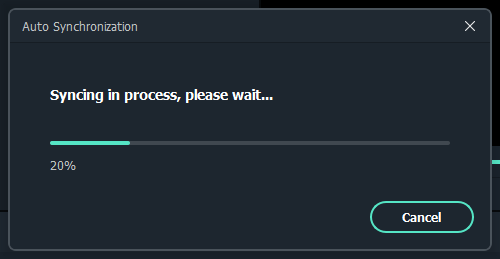
Method 4
If you click the "Cancel" button, the audio and video will automatically stop analyzing, and the pop-up window will be closed.
Note:
When more than two video and audio clips are selected, the button will be grayed out and cannot be clicked.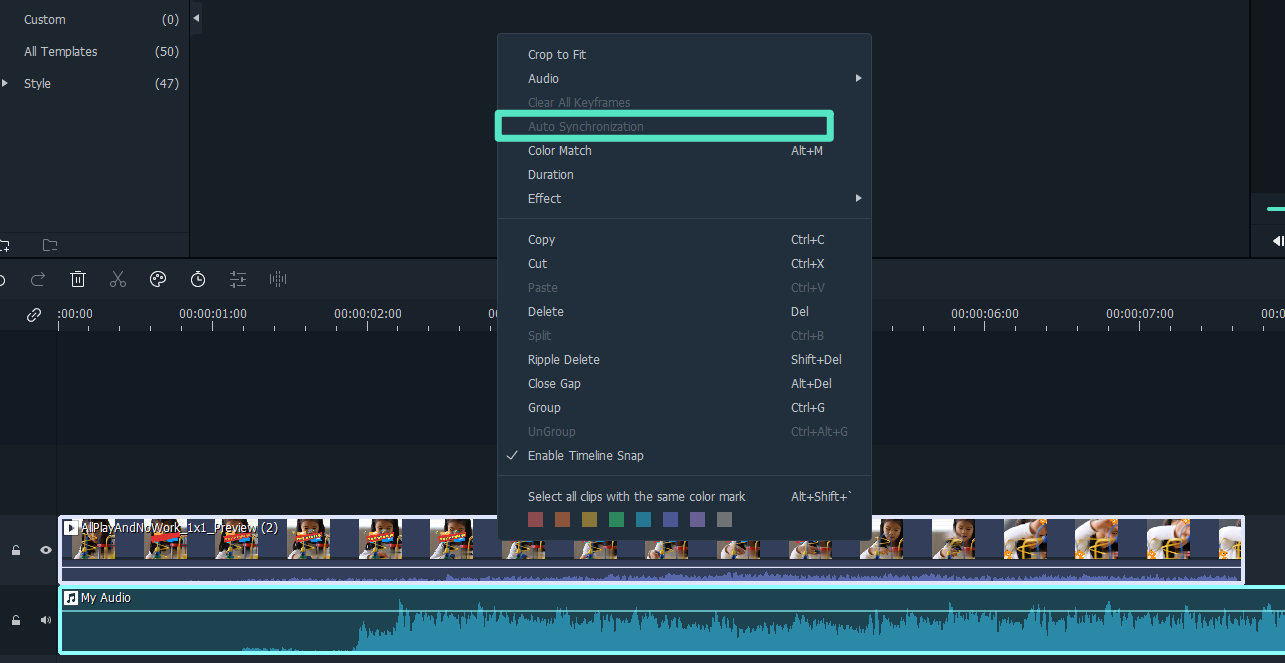
Related Posts
Featured Articles
How Long Sora 2 Videos Can Be and How to Make Them Longer
How long are Sora 2 videos? Find out Sora 2 video length limits, why clips sometimes end early, and how to make videos longer in our guide here.
How To Create High-Converting Tiktok Video Shopping Ads
Want to boost sales with TikTok Video Shopping Ads? Learn how to create high-quality TikTok shopping ads. Get step-by-step guides, ad examples, and expert tips.
Best 5 Online Audio Faders| How to Fade Out MP3 Online Free?
How to fade MP3 music? Learn our best five methods to fade out audio online step-by-step.
Recommended User Guide
AI Audio Denoise for Windows
AI approach is trained by deep learning model with a great amount of data. It performs better in removing the noise, generating a new clear audio signal with distortion at the minimum.
AI Voice Enhancer
This guide helps you to improves audio clarity and quality by reducing noise and enhancing voice features.
Audio To Video
Audio to Video is a technology that allows users to upload audio, with AI automatically generating corresponding video content. The AI analyzes the audio to create visuals that match its tone, message, and mood, streamlining the process of creating synchronized audio-visual content.
