For the Best Results, Use the Latest Version.
-
Preparations
-
Account
-
Get Started & Basic Settings
-
Compatibility & Tech Specs
-
Performance Settings
-
-
Creating Projects
-
Creating New Projects
-
-
Importing & Recording
-
Video Editing for Windows
-
Basic Video Editing
- Enable/Disable Clip in Windows
- Magnetic Timeline for Windows
- Dual Monitor Setup for Video Editing on Windows
- Select All Clips on Timeline for Windows
- Manage Timeline and Tracks on Windows
- Auto Ripple for Windows
- Split & trim video
- Crop & Pan & Zoom Video in Filmora for Windows
- Compositing
- Change Video Speed on Windows
- Playing videos in reverse
- Mark In and Mark Out for Windows
- Markers for Windows
- Group editing
- Customizable Backgrounds for Videos and Images in Windows
- Video snapshot
- Using freeze frame
- Logo Reveal For Windows
- Auto Enhance in Filmora for Windows
- Applying drop shadow
- Adjustment layer for Windows
- Apply Transforming for Windows
- Video Editing Ruler – Windows
-
Advanced Video Editing
- Drawing Tools for Windows | Filmora Guide
- Create Multi-Camera Clip in Filmora for Windows
- Compound Clip for Windows
- Multi-Clip Editing for Windows
- Filmora Motion Blur | Windows
- Filmora Flicker Removal Guide | Windows
- Apply mask to video
- Creating a PIP Effect for Windows
- Keyframe Graph Editor for Windows
- Add animation keyframing for Windows
- Keyframe Path Curve for Windows
-
AI-Powered Video Editing
- Smart Scene Cut for Windows
- Smart Short Clips for Windows
- AI Face Mosaic for Windows
- Filmora AI Eye Contact- Windows
- AI Video Enhancer for Windows
- AI Text-to-Video for Windows
- Planar Tracking for Windows
- AI Idea to Video for Windows
- Filmora Image to Video for Windows
- Filmora Image to Prompt for Windows
- Instant Cutter Tool for Windows
- AI Extend
- Filmora AI Relight - Windows
- Filmora AI Image Enhancer Guide - Windows
- AI Script to Video Guide for Windows
- AI Text-Based Editing for Windows
- AI Mate Editing for Windows
- Instant Mode in Filmora
- ChatGPT Plugin - AI Copywriting
- AI Smart Cutout for Windows
- Lens correction on Windows
- Auto Reframe Video for Windows
- AI Portrait Cutout
- Scene detection feature
- AI Smart Masking for Windows
- Make motion tracking
- Video Stabilization for Windows
- AI Video/Photo Object Remover for Windows
- AI Smart Search for Windows
- AI Skin Tone Protection for Windows
- AI Image for Windows
- Chroma key (green screen)
- Super Slow Motion with Optical Flow for Windows
- Video Denoise for Windows
-
-
Audio Editing for Windows
-
Basic Audio Editing
-
Advanced Audio Editing
-
AI-Powered Audio Editing
- Auto synchronization
- AI Sound Effect
- Smart BGM Generation
- AI Voice Enhancer
- How to Execute AI Voice Cloning in Wondershare Filmora?
- AI Music Generator for Windows
- Audio To Video
- AI Vocal Remover for Windows
- AI Auto Beat Sync for Windows
- AI Audio Stretch for Windows
- AI Audio Denoise for Windows
- Silence detection
-
-
Text Editing for Windows
-
Basic Text Editing
-
Advanced Text Editing
-
AI-Powered Text Editing
-
-
Video Customizations
-
Video Effects
-
Audio Effects
-
Transitions
-
Stickers
-
Filters
-
Color Editing
-
Animations
-
Templates
-
Asset Center
-
-
Exporting & Share & Cloud Backup
Magnetic Timeline on Windows
In Filmora on Windows, the magnetic timeline automatically snaps clips together, preventing gaps during editing. When you trim, move, or delete a clip, surrounding media adjusts instantly to maintain alignment. This smart feature streamlines workflow, reduces manual effort, and ensures a smooth, organized editing experience, especially for beginners.
Index
Steps to Enable and Use the Magnetic Timeline on Filmora
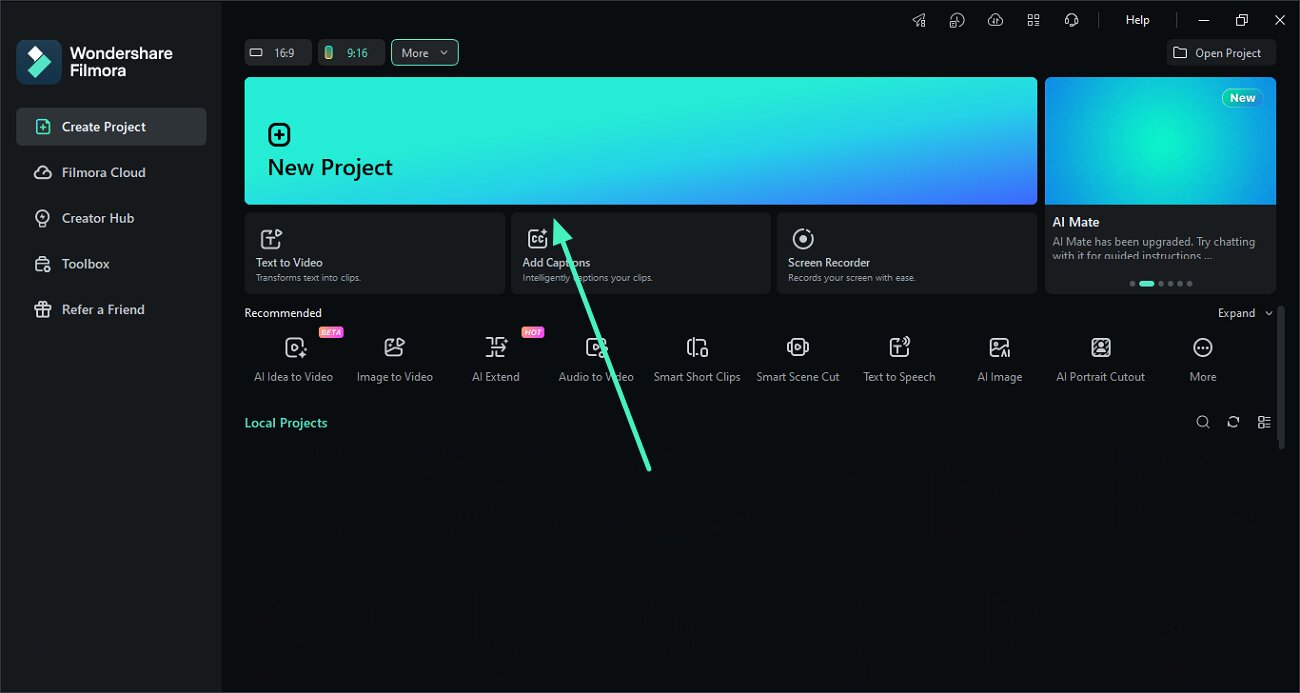
Step 1. Start With a New Filmora Project
To begin, launch Filmora on your device and click on the New Project button. Next, import multiple videos to the tool’s interface and drag them to the editing timeline.
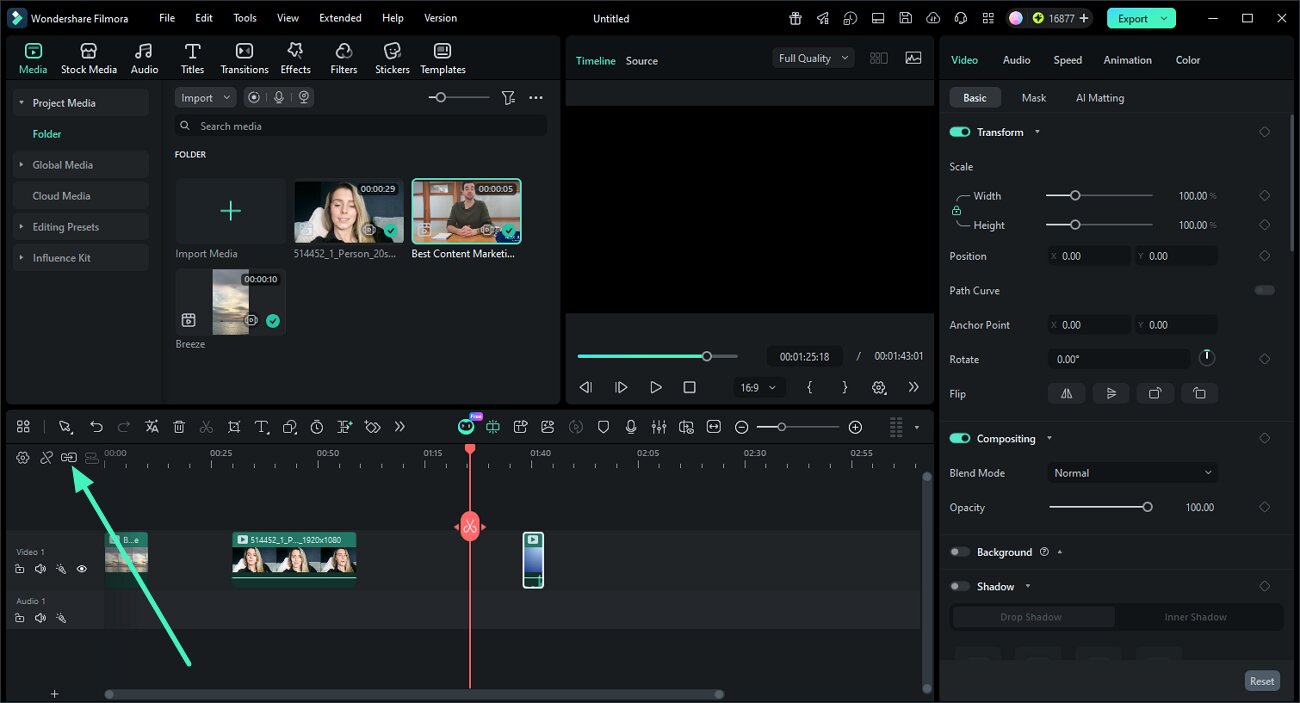
Step 2. Enable Magnetic Timeline
Now, head to the timeline where all the clips are present and click on the Magnetic Timeline icon located on the left side. This will align all the clips without leaving any gaps in between.
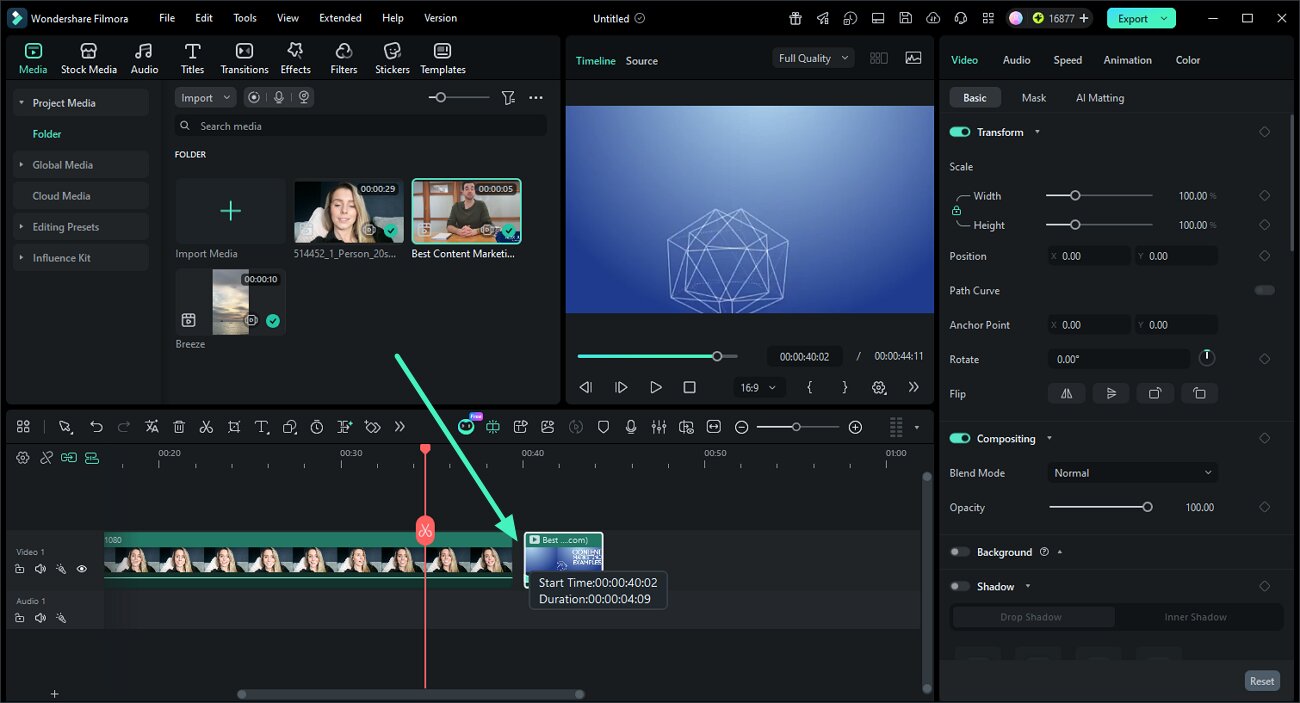
Functions You Can Perform on Multiple Clips on a Magnetic Timeline
With Filmora, you get the ability to perform multiple actions on the clips within the magnetic timeline. Here are the functions that you perform:
Trim
To trim the clip, simply hold the end of the video track that you want to trim and drag forward or backward.
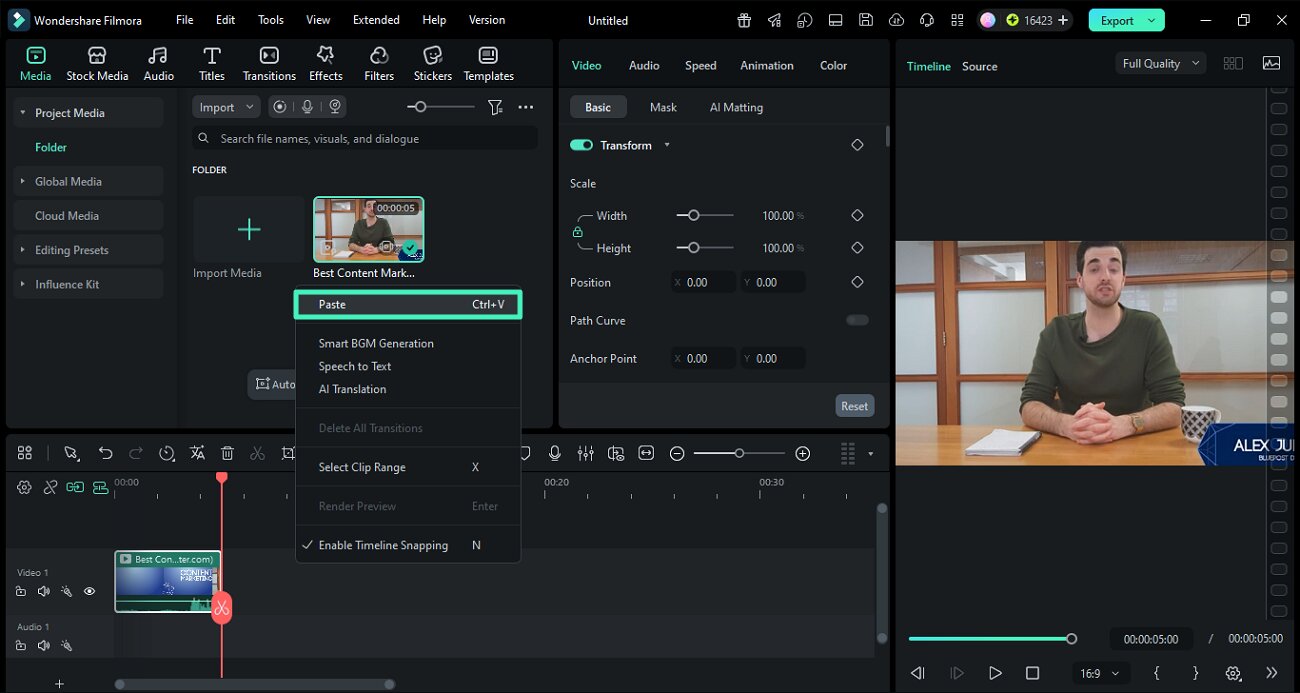
Copy/Paste
- Select the clip that you want to copy within the magnetic timeline and right-click on it to enable a list of options. Locate the Copy option and click on it.
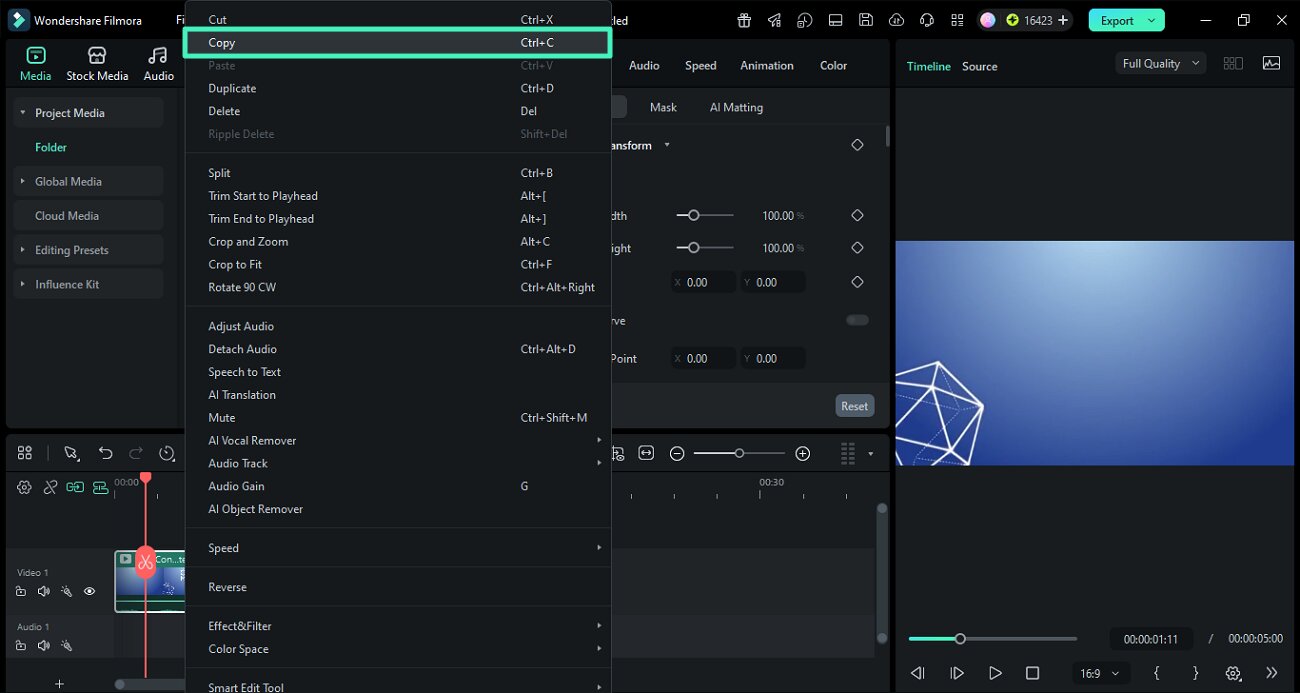
- Next, right-click again on the timeline and choose the Paste option to successfully paste the copied video.
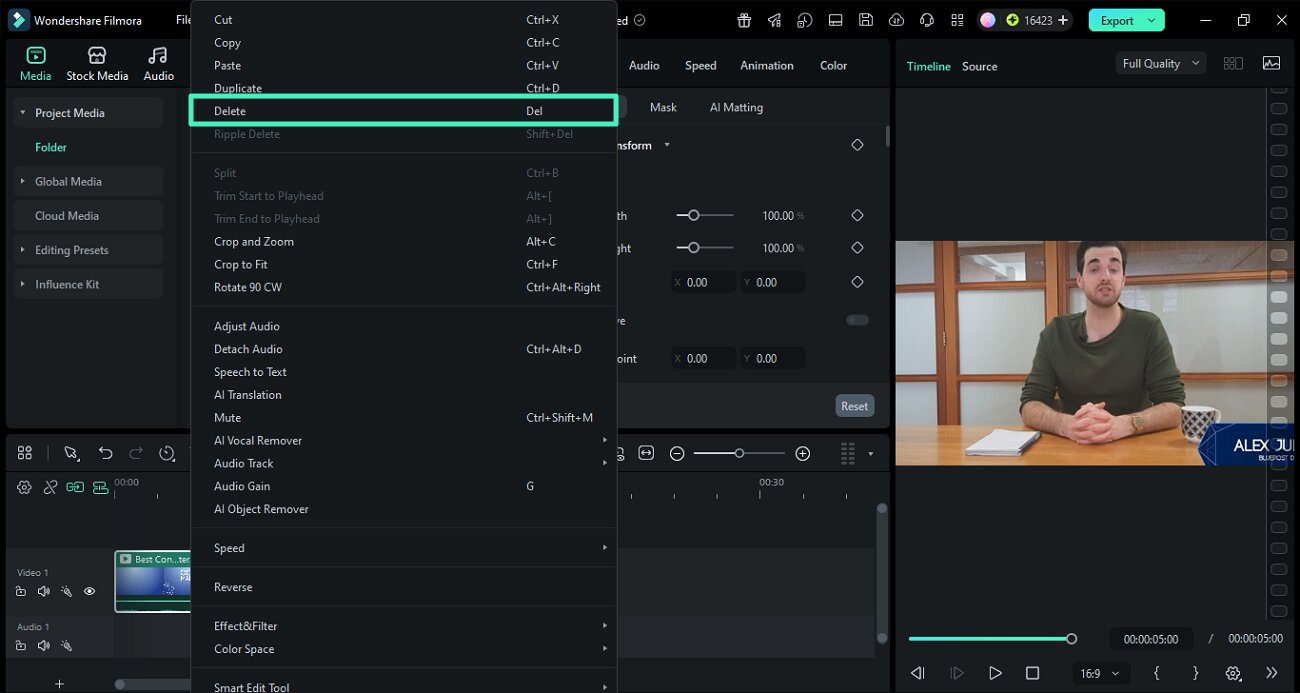
Delete
To delete a certain clip, select it and then right click for the options list. Press the Delete option located within the list. Conversely, select the clip and press the Delete icon located within the toolbar above the timeline.
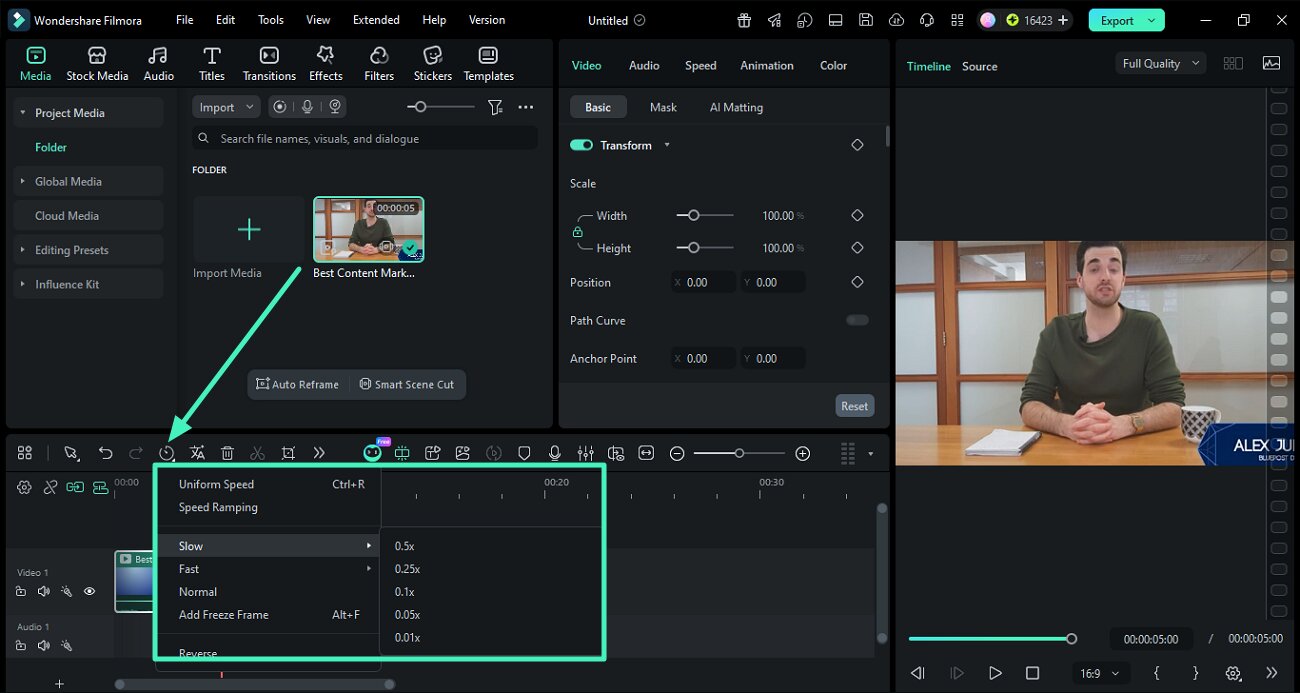
Change Speed
After selecting the clip, tap on the Speed icon above the timeline and select from the Slow, Fast, and Normal speed.
Related Posts
Featured Articles
How to Improve Zoom Video Quality: Settings, Setup, and Pro Tips
Struggling with poor Zoom quality? Learn how to adjust settings, use editing tools, and improve your setup to get clear video and recordings for better meetings.
How To Make an Amazing Video For Your Graduation Party [2026]
Graduation parties are a great way to celebrate an important milestone in life. The article below explores a graduation video maker to fulfill this purpose.
How To Create a Hyperlapse Video on Your Smartphone: Step-by-Step
Still don't know how to make a hyperlapse video? Follow these easy steps to turn your ordinary footage into a stunning time-lapse that will wow your friends and followers!
Recommended User Guide
Using freeze frame
Learn how to use Freeze Frame in Filmora 11
Compositing
To make an entire clip uniformly transparent or semi-transparent, use the Opacity effect in Compositing. You can set a selected clip’s opacity in video or image editing settings.
Logo Reveal For Windows
Do you seek a way to quickly create brand value with your product logo? Learn how Wondershare Filmora automatically creates impressive logo reveal animations.
