

 ChatGPT
 Perplexity
 Gemini
 Claude
 Grok
Grok
Figma is an exceptional design tool known for its clean finishes and numerous features. It can be used for almost any kind of design. However, curving text in Figma can be a hassle sometimes, especially when trying to do so without adequate guidance.
Fortunately, this article will describe how you can curve text in Figma without limitations. Here, you will explore the steps to adding text on a path with Figma so you can take your design to the next level. Let’s get started!

In this article
Part 1. What Can You Use to Curve Text in Figma?
Figma is widely popular for creating prototype designs for website UI/UX, mobile app design, and more. Basically, anyone involved in design can use Figma, from writers and designers to product managers. So, for such a versatile tool, it's only expected that it is loaded with tons of features to make the design process seamless.
In addition to its extensive features, you can use Figma to type on paths to create curved text. That’s right. While it doesn’t necessarily use a button, effect, or preset to directly curve your text, there are several ways you can achieve this.
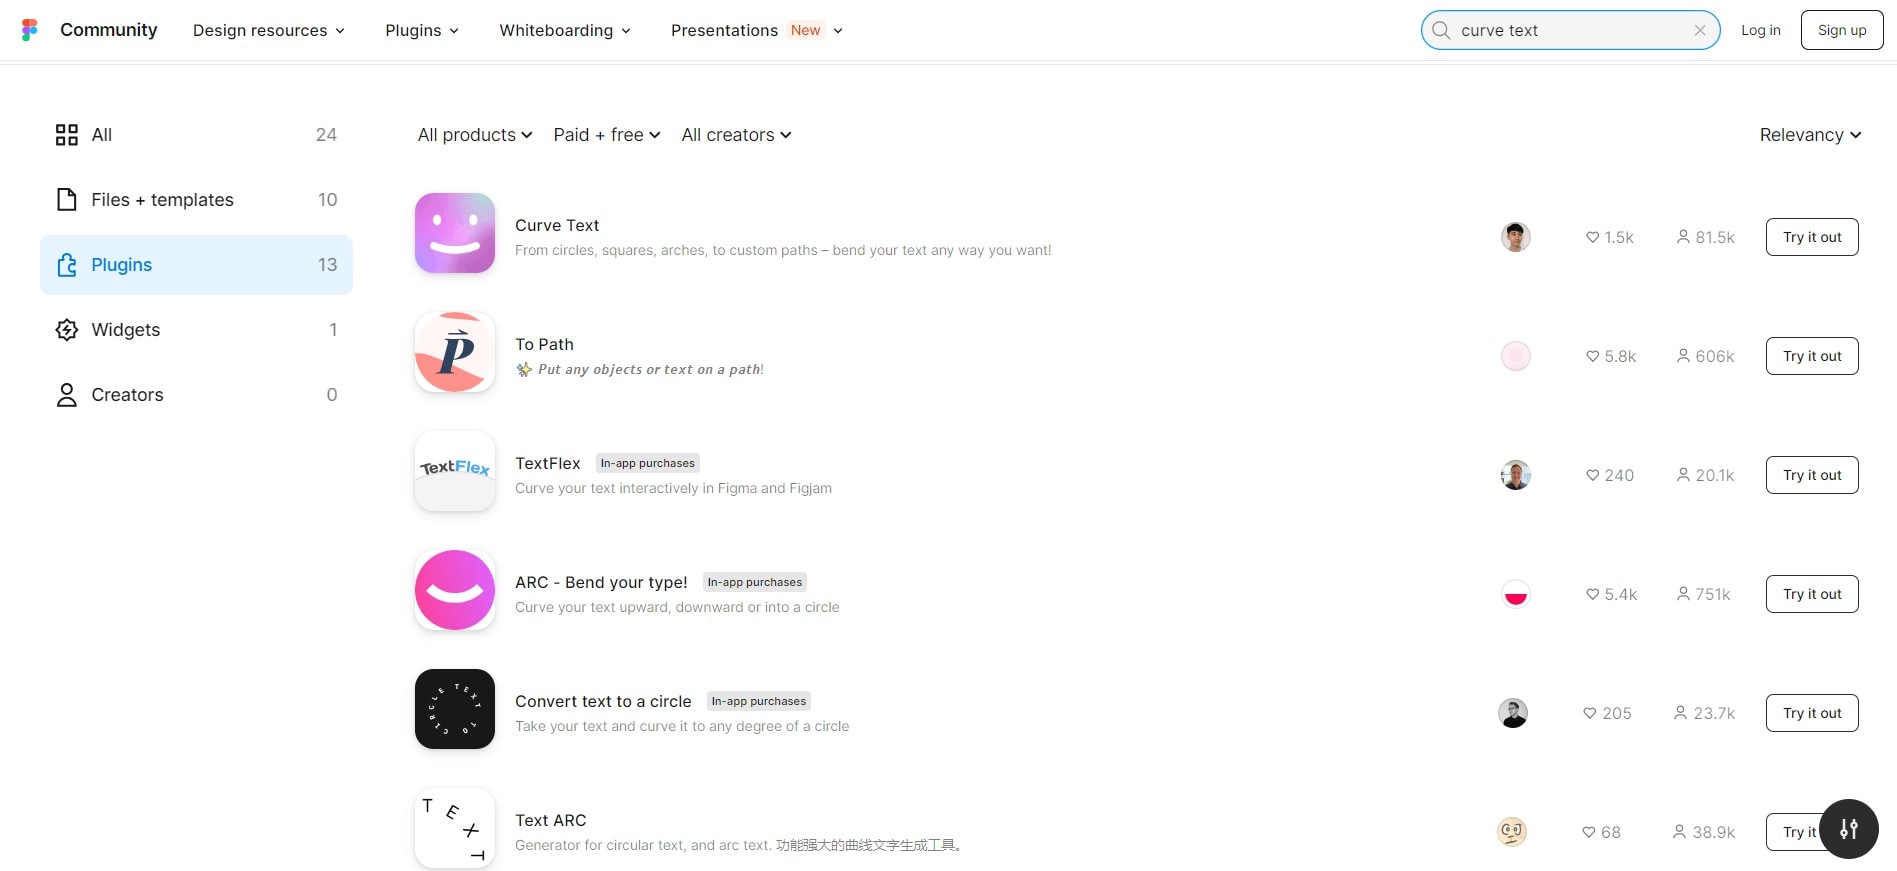
One of these ways is by using the text tool and adjusting the curvature of the text manually. On the other hand, you can use a plugin to place Figma text on paths. Some of the top plugins to curve your text include:
- Arc plugin
- To Path
- Wave & Curve
- Curve Text
- Convert Text to a Circle
- Circular Text
At times, using these plugins might incur some extra cost. But you can rest assured that each of them makes creating Figma text curves easy.
Part 2. How to Curve Text in Figma
Figma offers various methods to curve text, from plugins to applying paths. In this section, we will explore each of these methods so you can effectively curve text in Figma using whichever one you choose:
Using the Arc Plugin
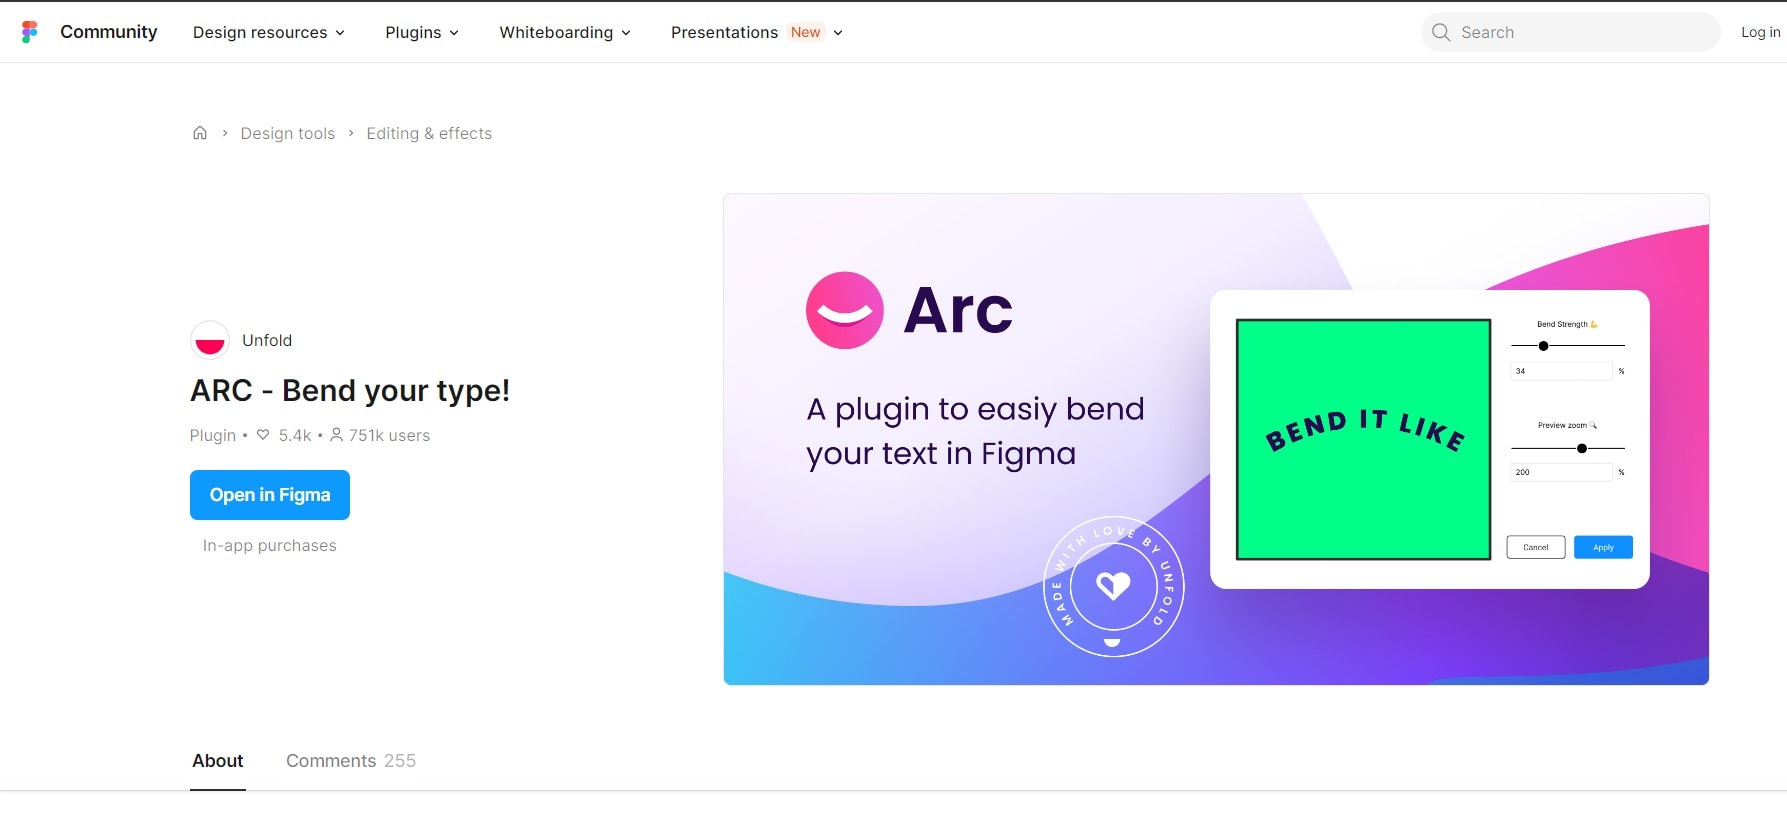
The Arc plugin is one of the best ways to curve text in Figma with ease. This plugin uses a visual interface that gives you complete control over the position and curvature of generated text. Here’s how to use the Arc plugin to create Figma curve text:
- Step 1: Add a new text box to your design by clicking the Text button. You can type in your preferred text at this point.
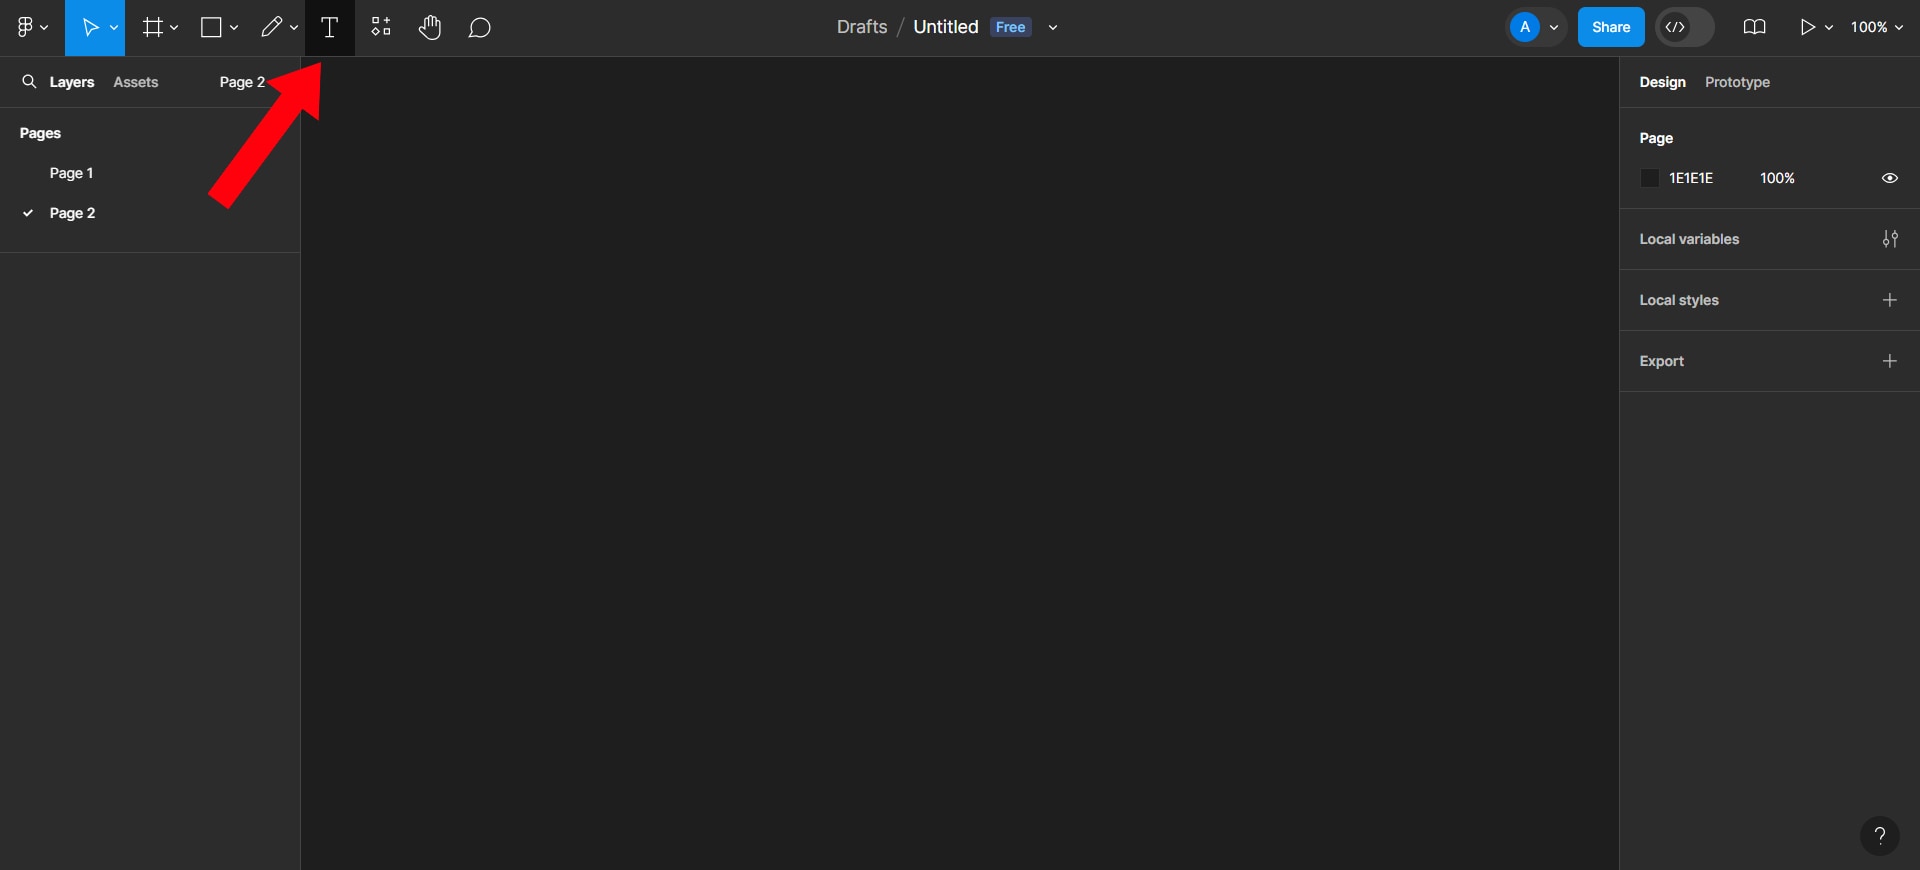
- Step 2: With your text still selected, go to Resources and select Plugins. Suppose you’re using the older version of Figma; the Resources button is located at the top panel of your screen. For the new UI it’s located at the bottom of the screen.
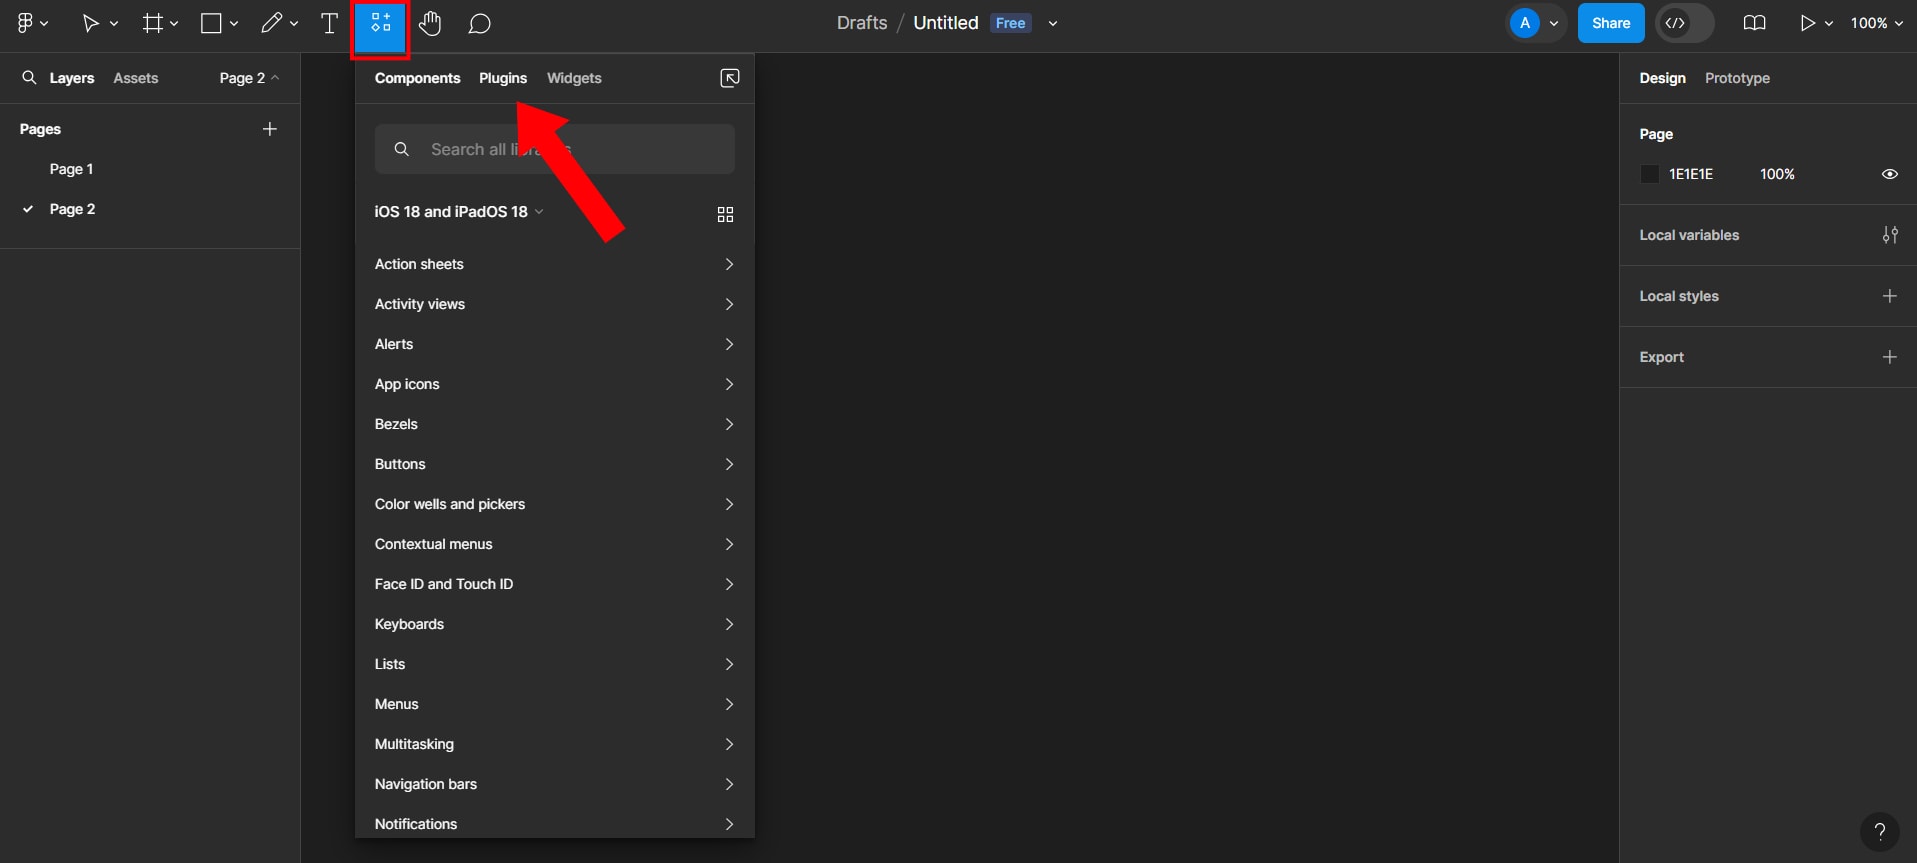
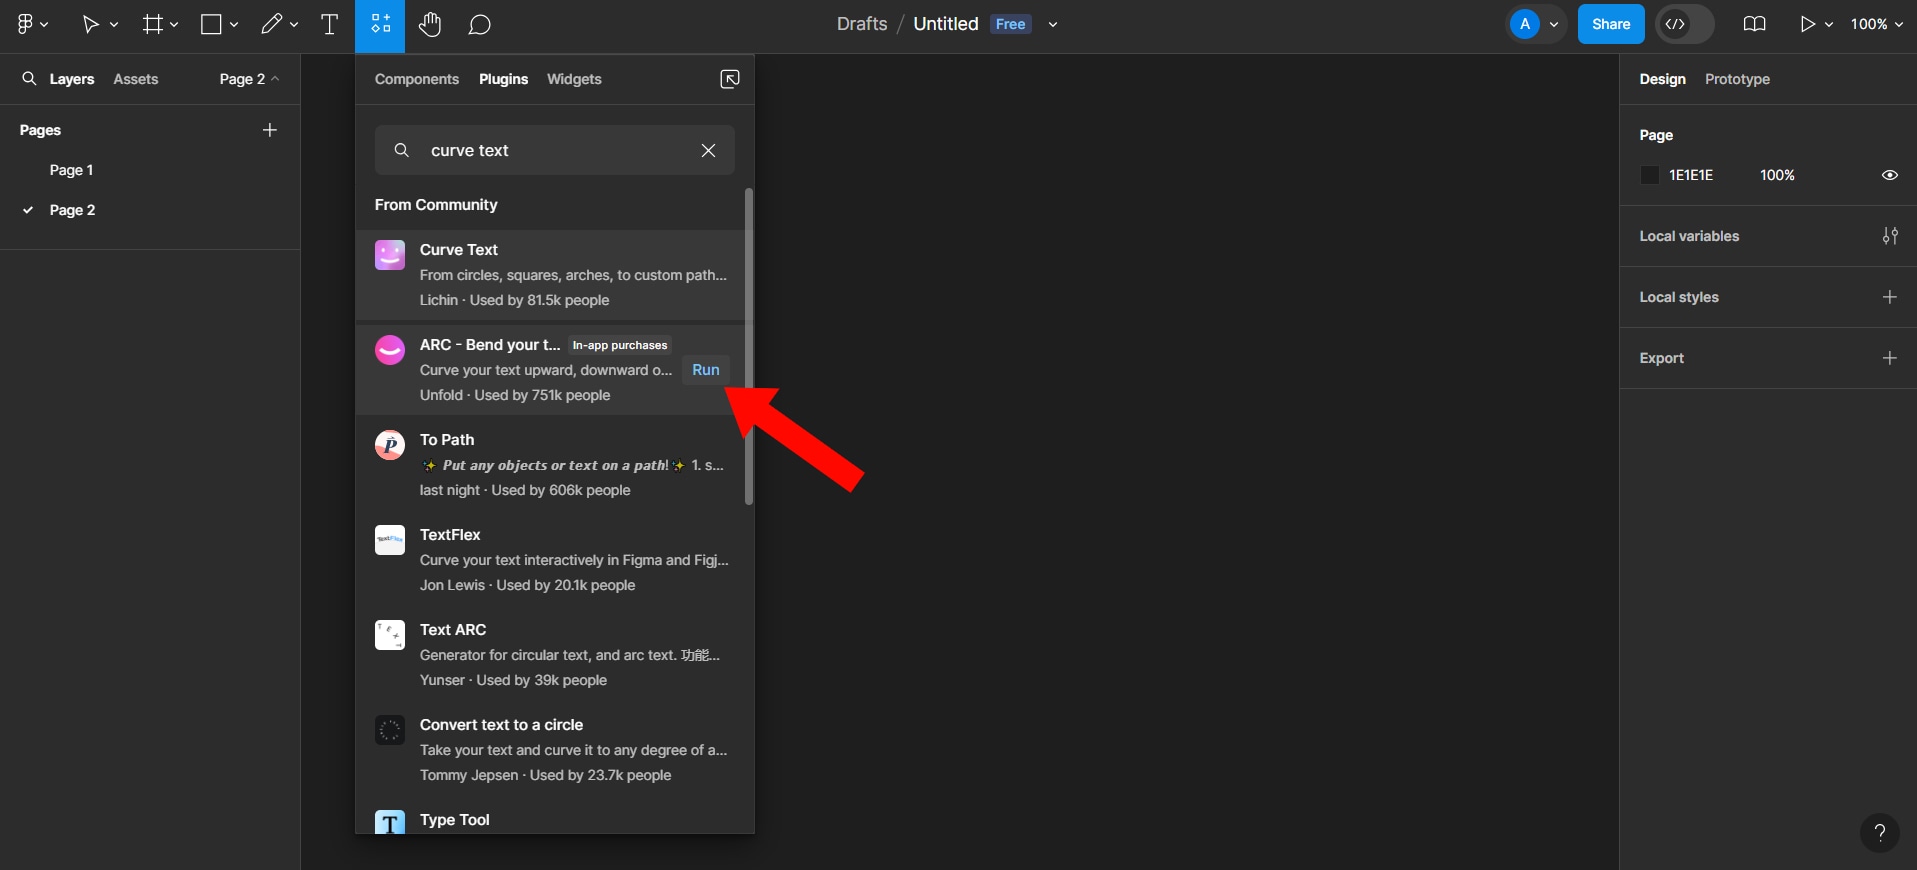
- Step 3: Search for the Arc plugin by entering Curve Text in the search bar. Click Run to apply it.
- Step 4: Preview and adjust your text to your taste, then click Apply. Before applying the curve, you can adjust its strength and size. It’s that easy!

Now, while the Arc plugin is an effective solution to curve text in Figma, it has a couple of limitations. For example, you might encounter a bug while using the plugin, which could cause hiccups in your editing. To fix this, you can apply a different plugin or run Arc again.
Using the Circular Text Plugin
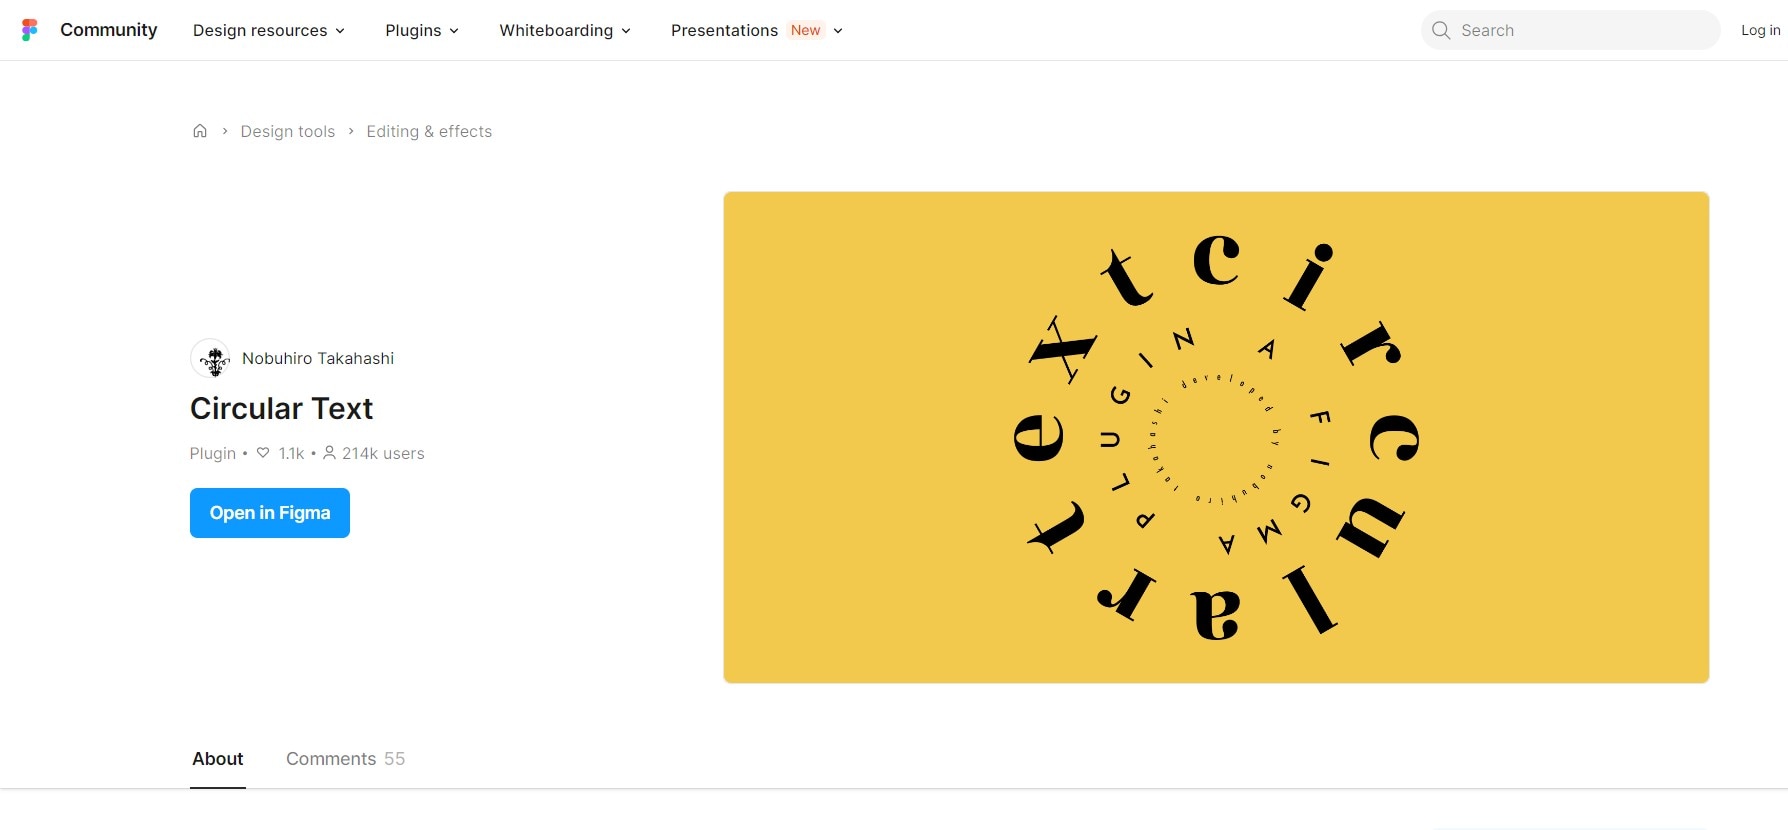
Though it is similar in use, the Circular Text plugin is greatly different from the Arc plugin. With the Circular Text plugin, you can align your text directly to a circular path. Here’s how to use the Circular Text plugin to create a Figma text curve:
- Step 1: From your design, go to Resources and select Plugins
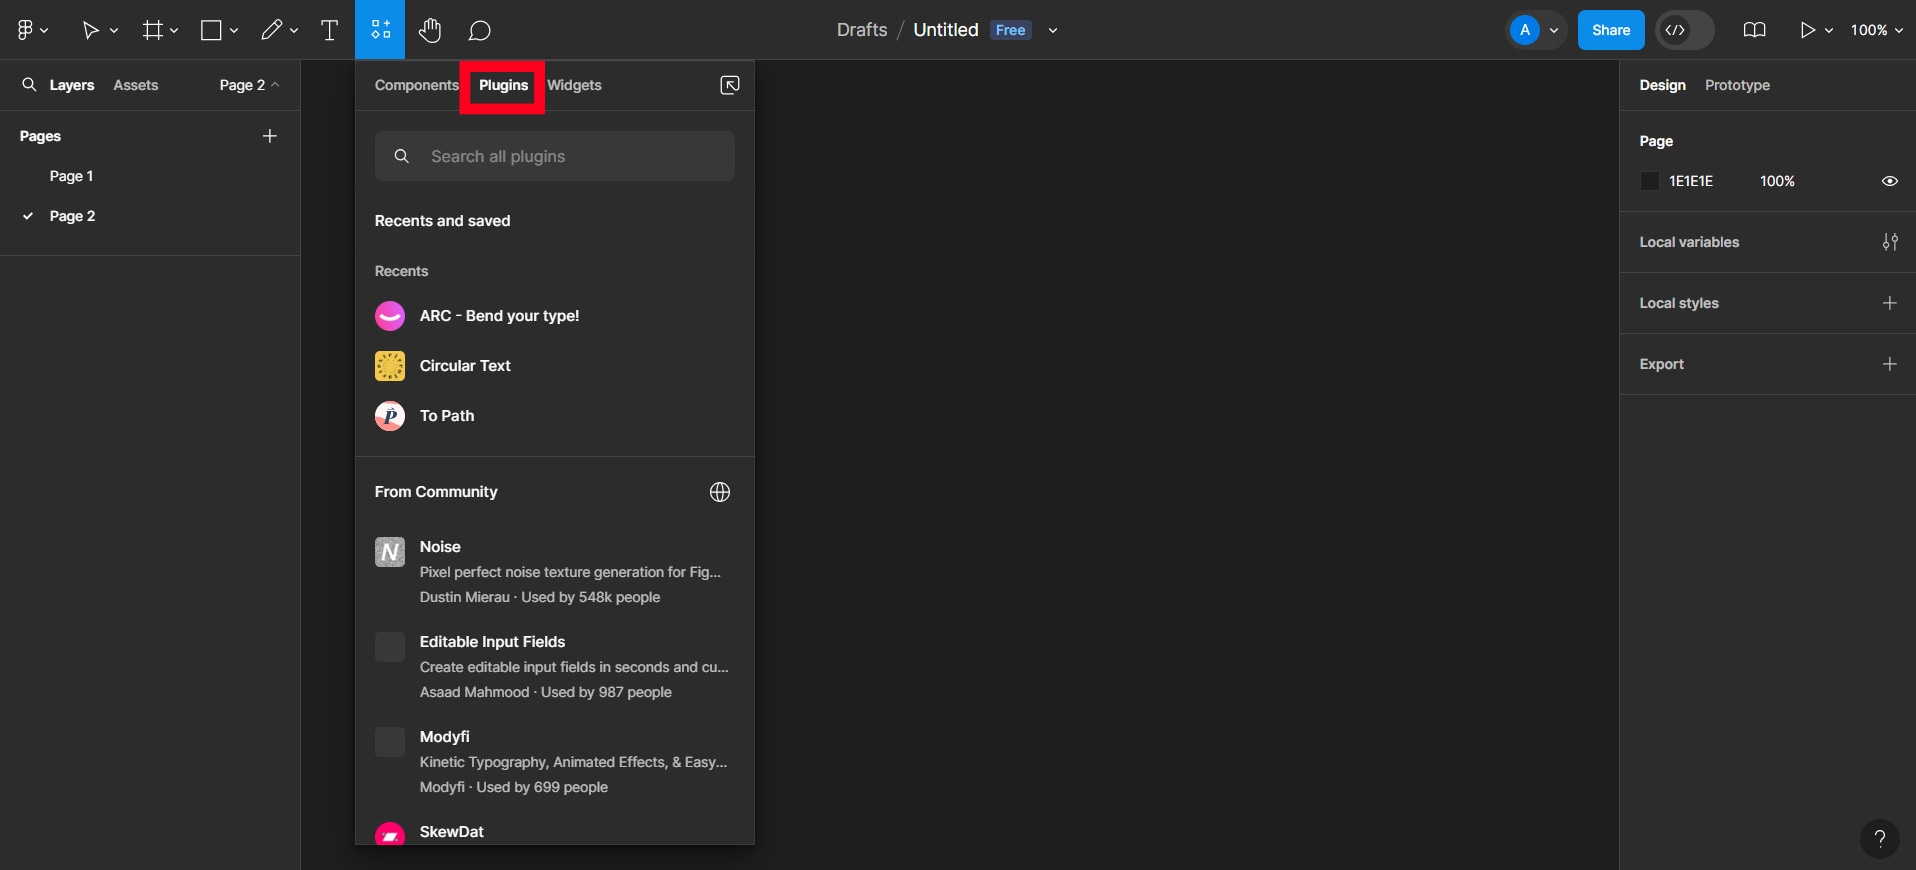
- Step 2: Type Circular Text in the plugin search bar and run the Circular Text plugin.
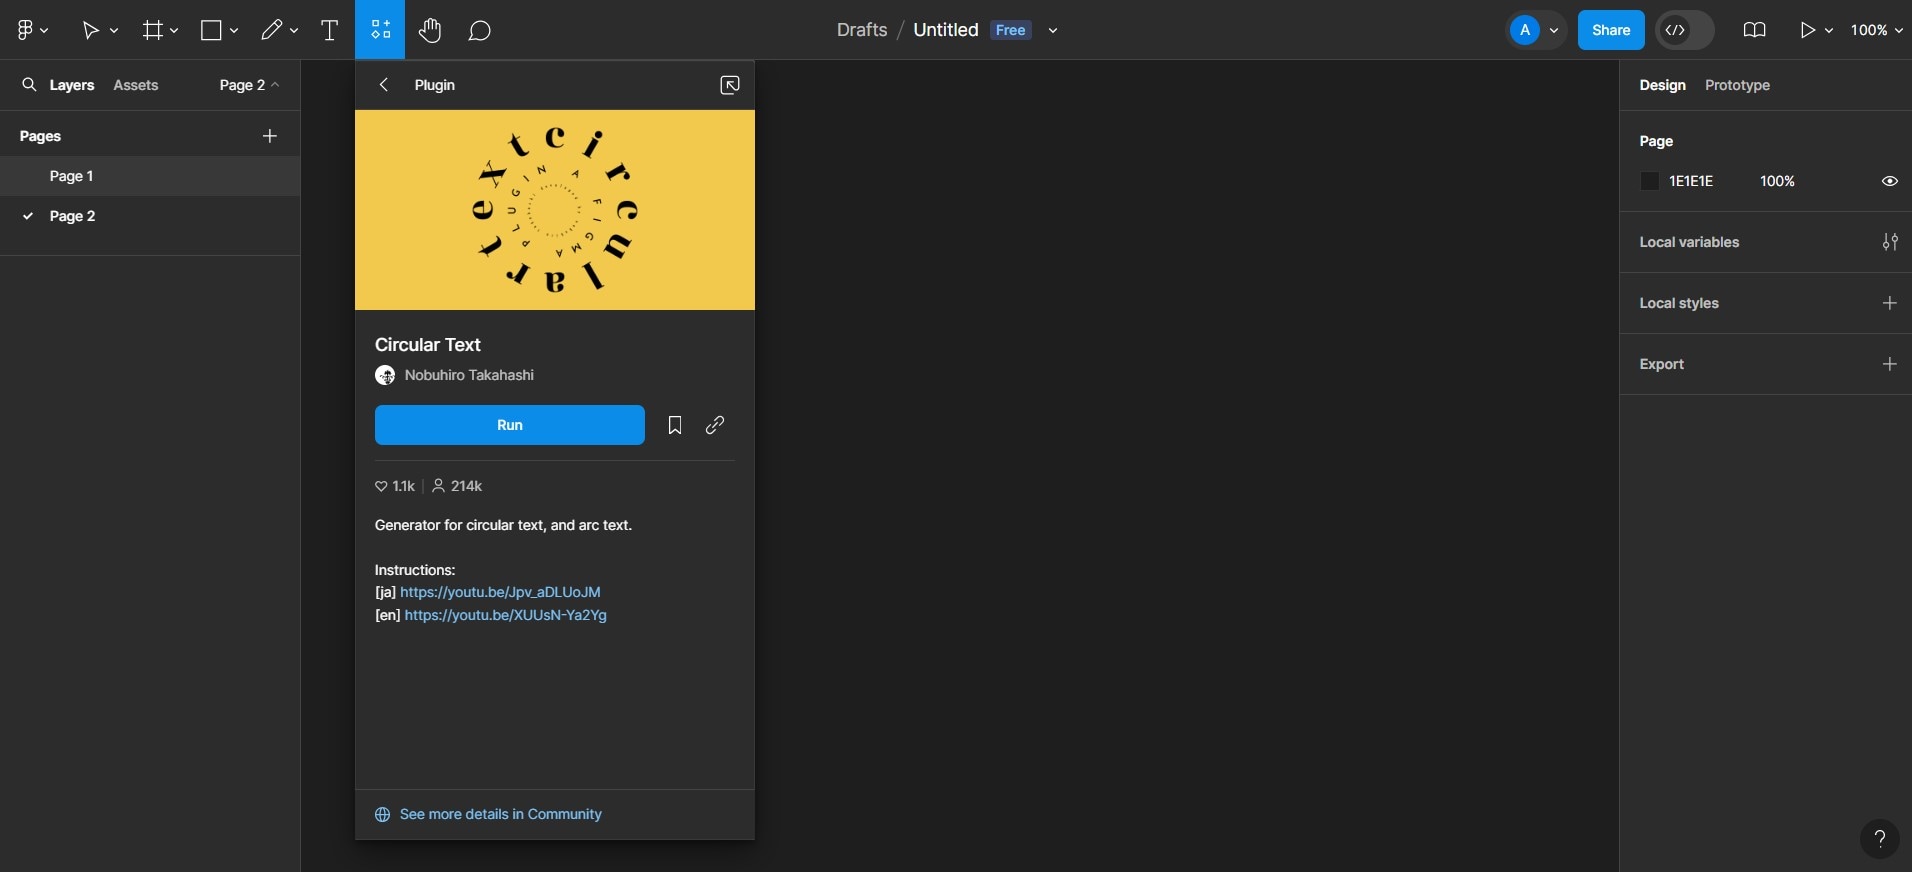
- Step 3: Type in your text and click Generate. This forms a circular text on path in Figma.
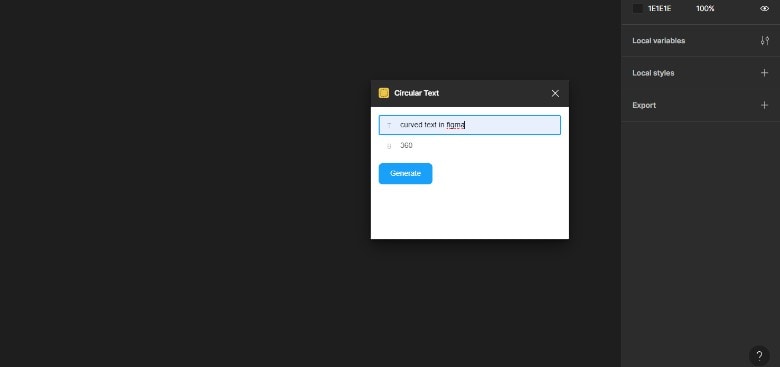
- Step 4: Preview your circular text design.
Using the Text Toolbar Manually
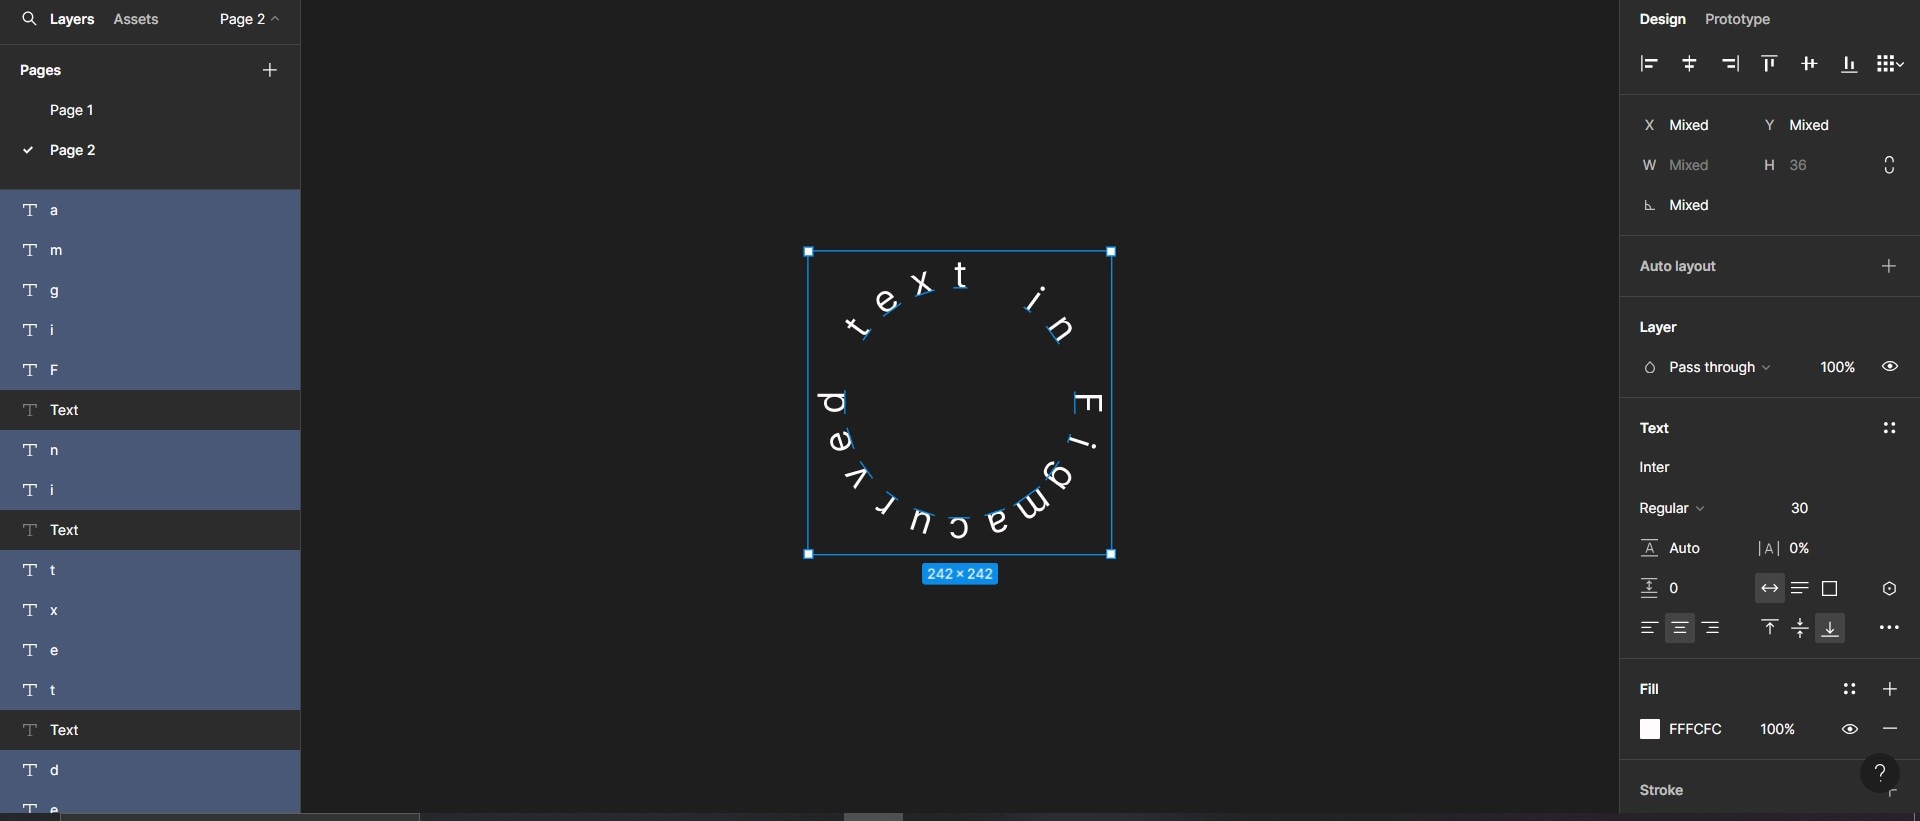
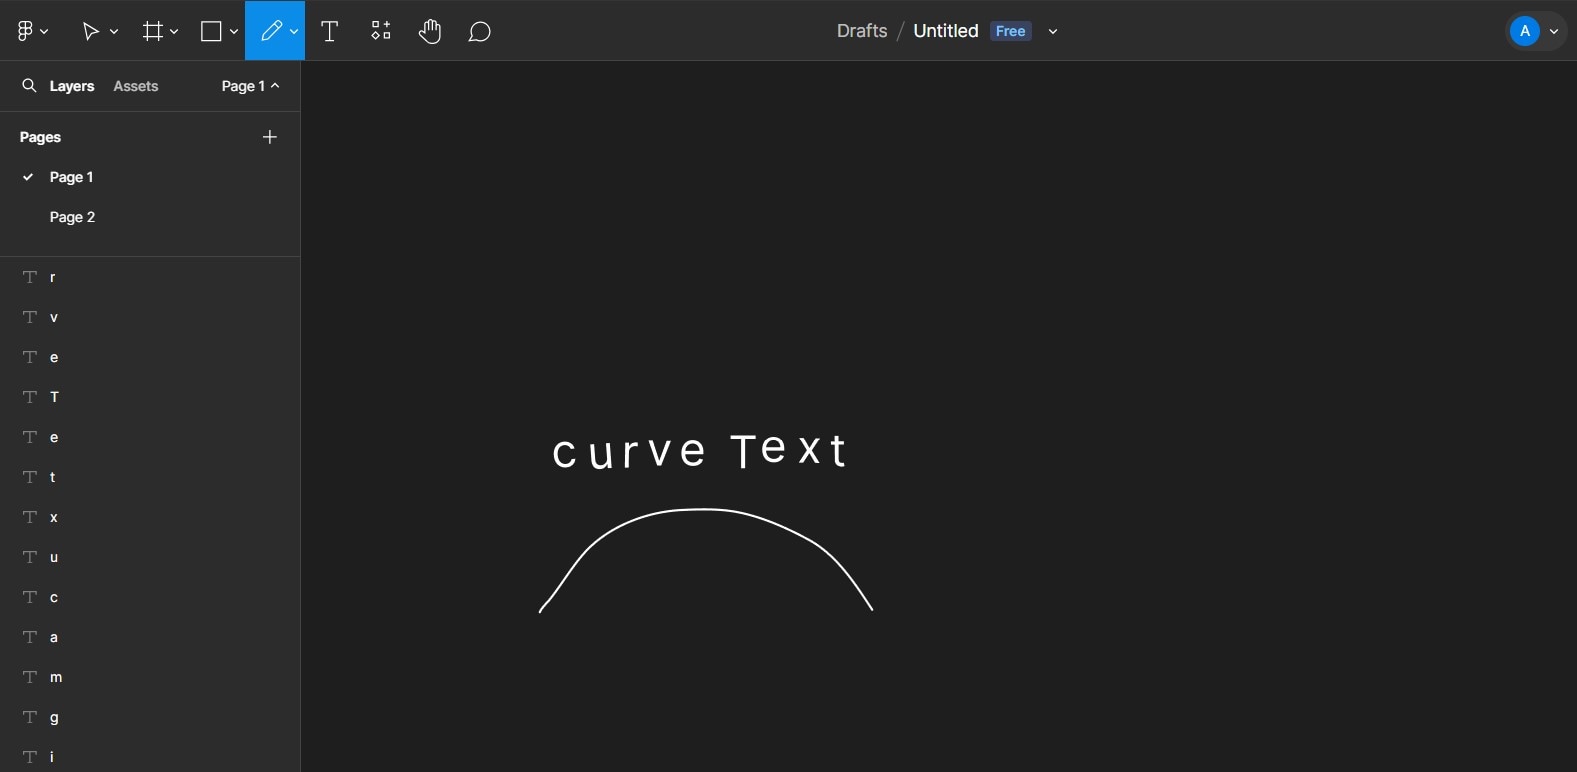
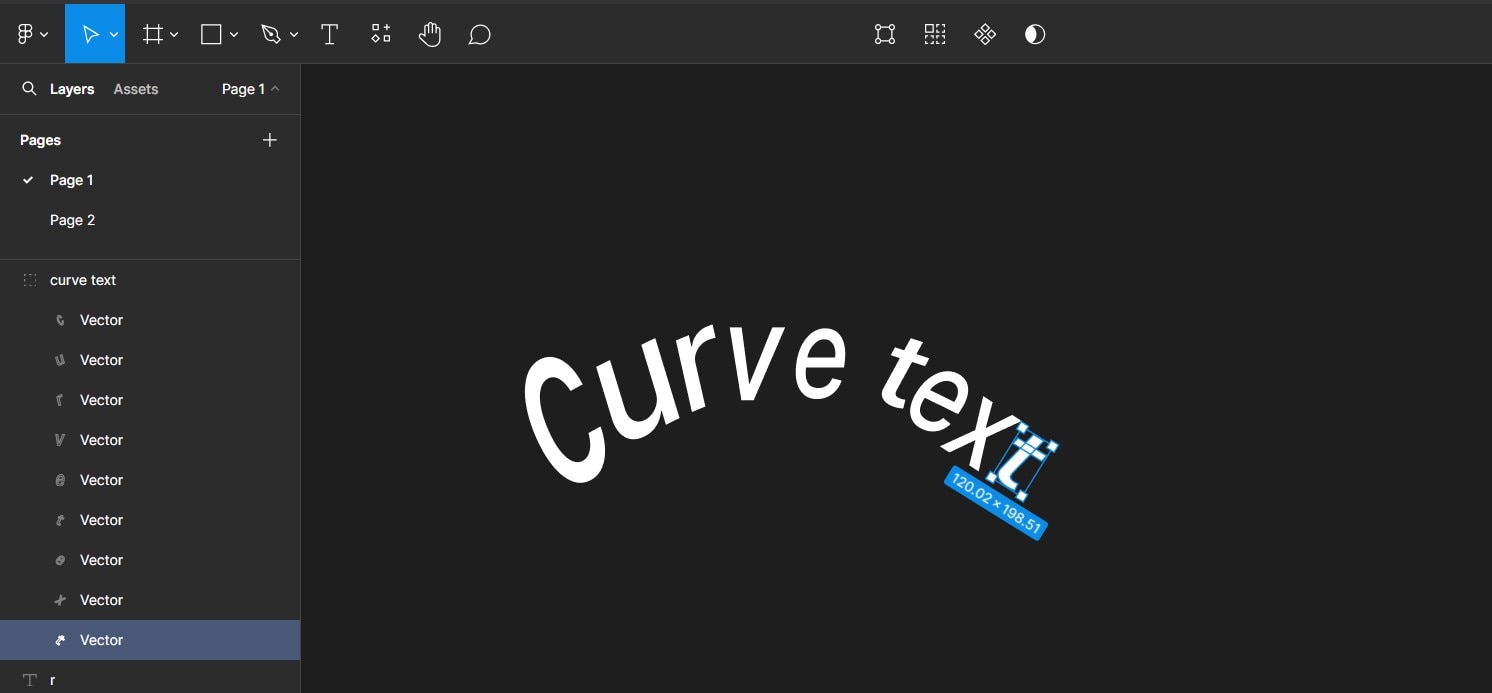
Though this isn’t the quickest option, you can manually create circular text with Figma. To do this, you need to individually type out each letter and rotate them to form a curve. You can draw a curve to help you place your Figma text on the path. Here’s how:
- Step 1: Open a Figma design and add a text box by clicking Text.
- Step 2: Enter the first letter of your preferred text.
- Step 3: Create more text boxes containing the remaining letters on the word or phrase you want.
- Step 4: Using the Pencil button on the navigation panel at the top of your screen, create a curved path. This path should be in the direction you want your text to curve, but it doesn’t have to be perfect since it's a guide.
- Step 5: Align each letter according to the path you’ve created. You might need to rotate some letters to follow the path and create a curve.
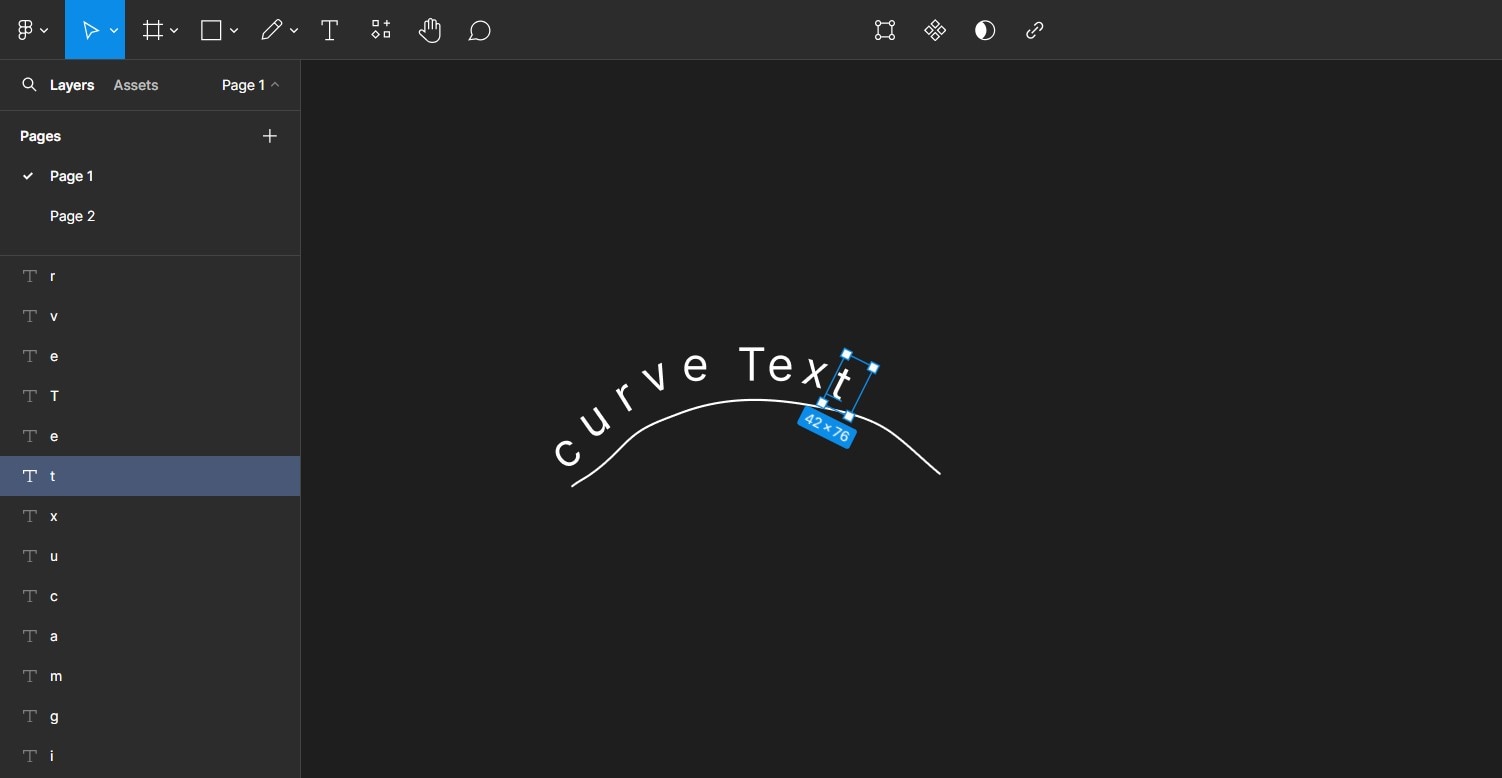
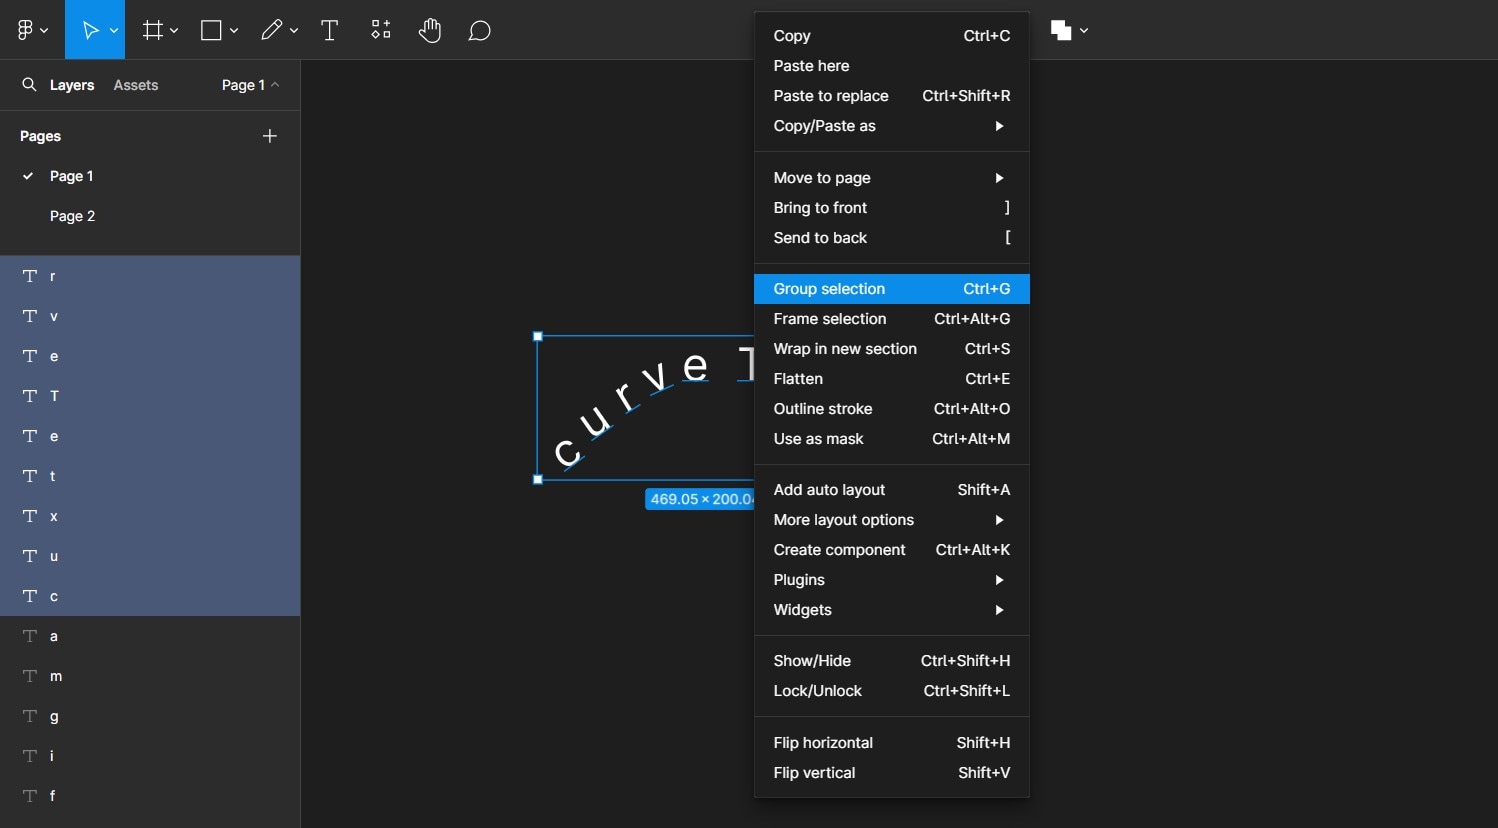
- Step 6: Remove the path created by selecting the curved line and clicking Backspace on your keyboard. Then, group the text that’s left by selecting all the letters and right-clicking. Then select Group. Preview and share your design.
Using the Transform Option
Figma also allows you to edit individual letters in the text and warp them. Here’s how to curve your text using the transform function:
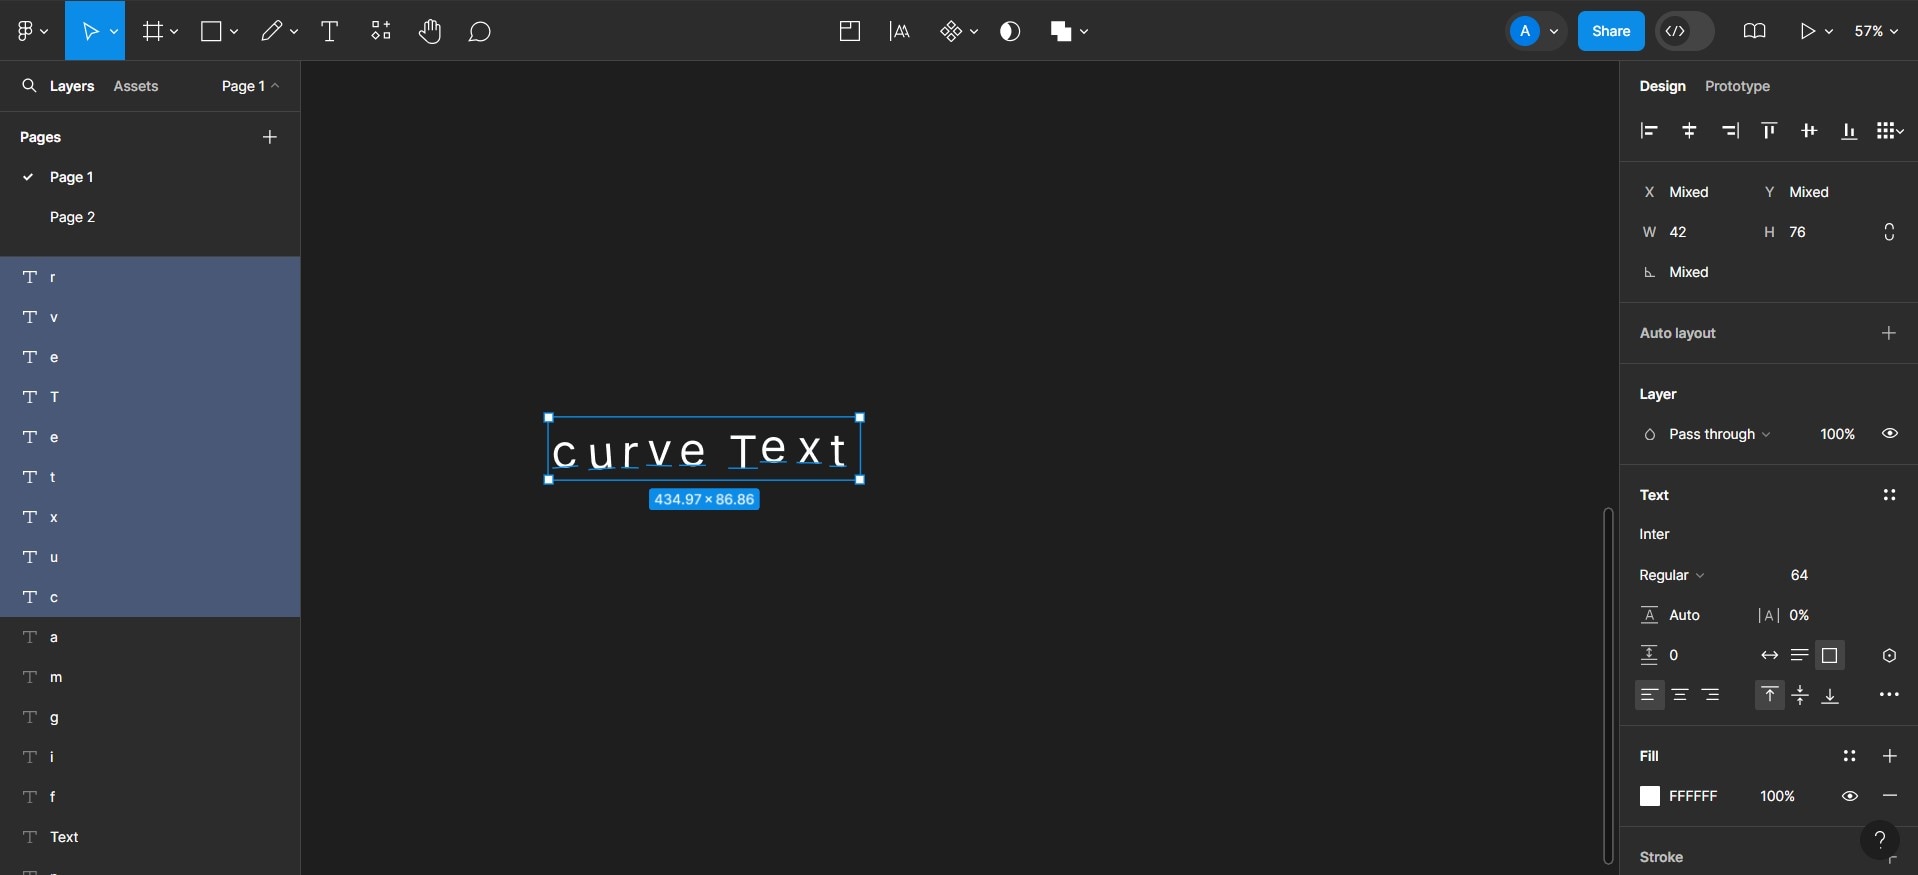
Step 1: Add the text you want to curve using the Text button

Step 2: From your keyboard, tap on Ctrl + Alt + o. If you’re using a Mac, click on Ctrl + Shift + o. Then hit Enter. This makes nodes appear on each of the letters in your text.
Step 3: Using the nodes, adjust each letter so it curves in the desired direction. When you’re done, save the design.
You’ve got it!
Pro Tip:
Be sure to explore the different ways to curve your text in Figma to find the one that works for you. However, if you’re looking to create your text curve quickly, the best option is to use a plugin like Arc or Circular Text.
Part 3: Some Additional Tips for Creating Figma Curved Text
Adding Figma text to paths can boost the appeal of your designs. Plus, with numerous plugins available for creating these text curves, there are endless ways to make your designs stand out. But before you get to making the magic happen, there are a few things you should know. With that in mind, here are five quick tips for creating curved Figma text designs:
- Fonts: Selecting the perfect font is vital because some fonts give a better finish than others. For example, stylized fonts might exaggerate the text curves, making them less preferred than plain fonts. One of the best fonts for this is Anton. However, feel free to experiment with your design and find which works best for you.
- Spacing: When curving text, it's easy for letters or words to get clustered, making it difficult to read. As such, it's important to adjust the letter spacing, ensuring that the space isn’t too little or too much. This enhances the readability and clarity of your text.
- Adjust curve settings from the plugin: While you can edit the curved text from Figma’s editor, these changes can distort your test. This means that the curve might not have the right angle, thus reducing its quality. So, it’s best to adjust the curvature from the plugin setting rather than manually editing letters.
- Preview your design: Previewing your design before sharing it makes it easy to identify any errors and rectify them immediately. This makes your work look better, more professional, and aesthetically pleasing,
Part 4. Common Problems with Curving Text in Figma

Creating curved text in Figma has its demerits, some of which can greatly affect your experience with the platform. Below are some common issues with curving text in Figma that you should know about:
- You need to pay to access some of Figma’s plugins
- It can take some time to load resources and plugins for your design
- Some plugins have bugs that prevent them from running smoothly
- Learning how to operate the platform can be tricky, especially for beginners
Bonus: Create Curved Text for Your Videos
While Figma supports videos, specialized video editors are a better option for creating curved text in videos. These video editors tailor all their features and tools to ensure the user can edit their videos directly on the platform in addition to creating curved text.


With this in mind, if you’re searching for an effective video editor to curve your text, Wondershare Filmora is the solution for you. This platform uses advanced AI technology to make the editing process an excellent one for users. In addition to its dynamic features, Filmora has a text-curving function that allows you to bend any text with a few clicks. Below are the ways you can curve your text in Filmora.
How to Create Curved Texts in Filmora Using Presets
Filmora uses various preset styles for editing and animating your text. Here's how to use this feature to curve your text:
Step 1: Download Filmora by clicking the button below. Then, click on New Project to begin.
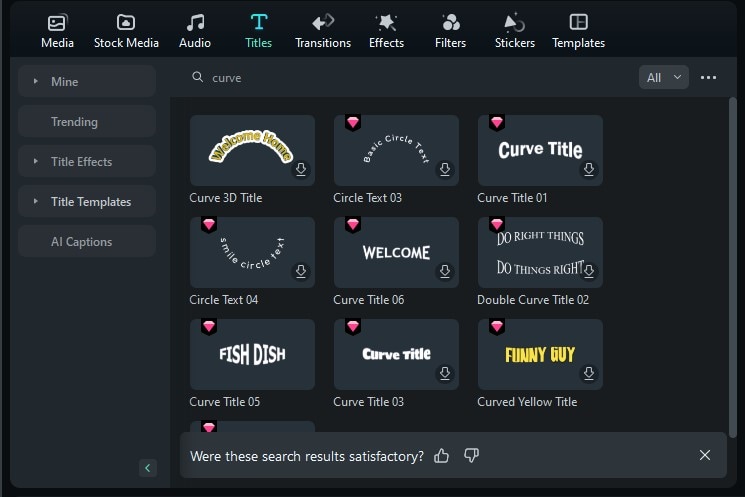
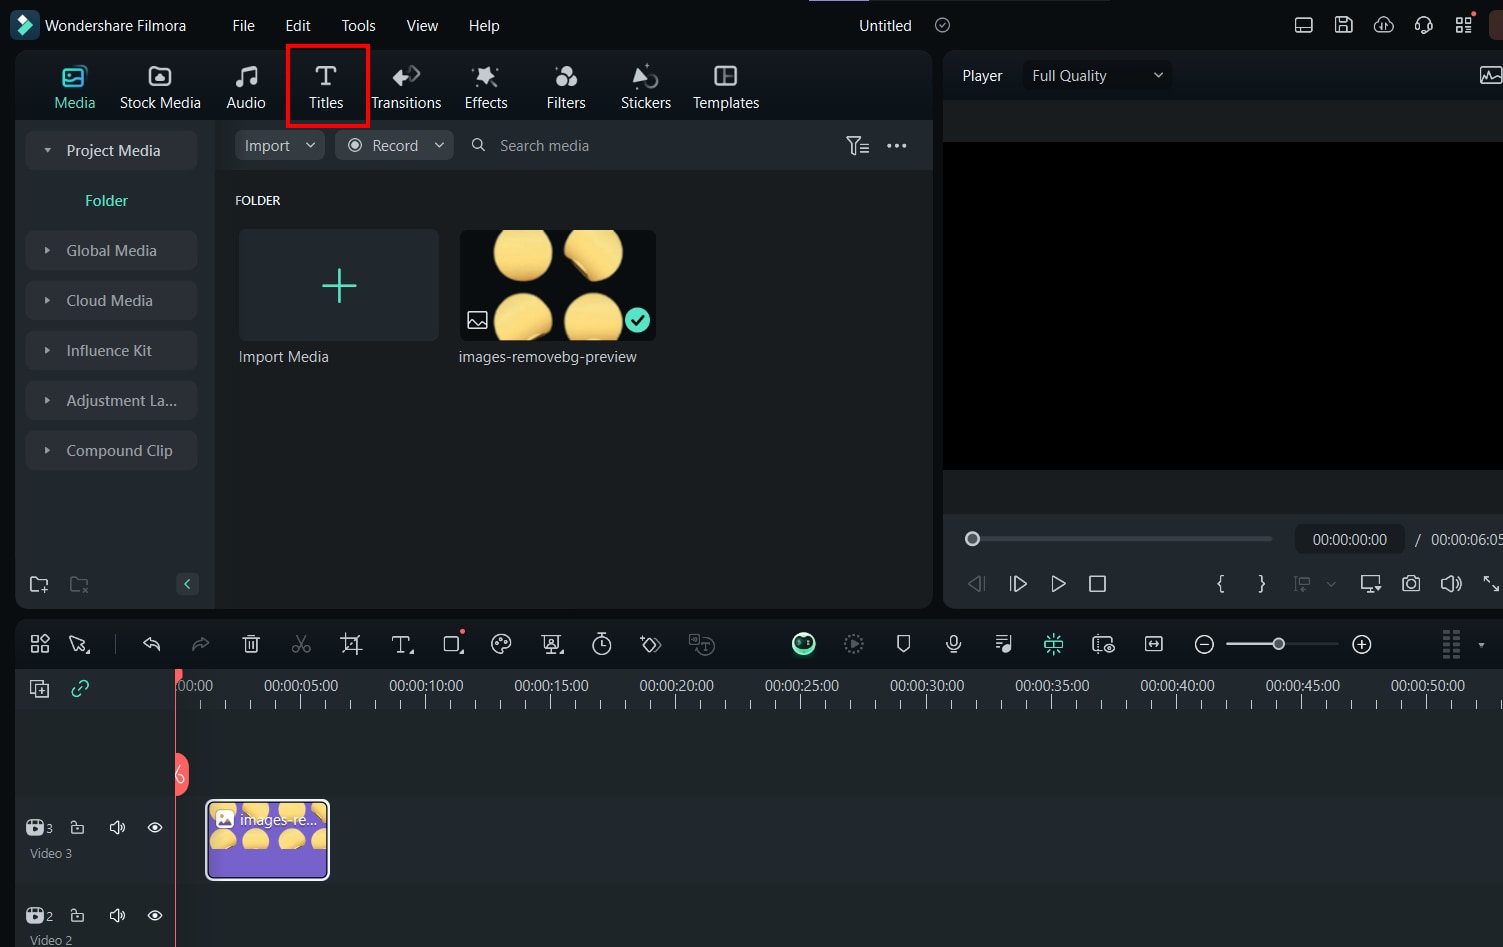
Step 2: Upload your video to the editing suite and select Titles on the top panel.
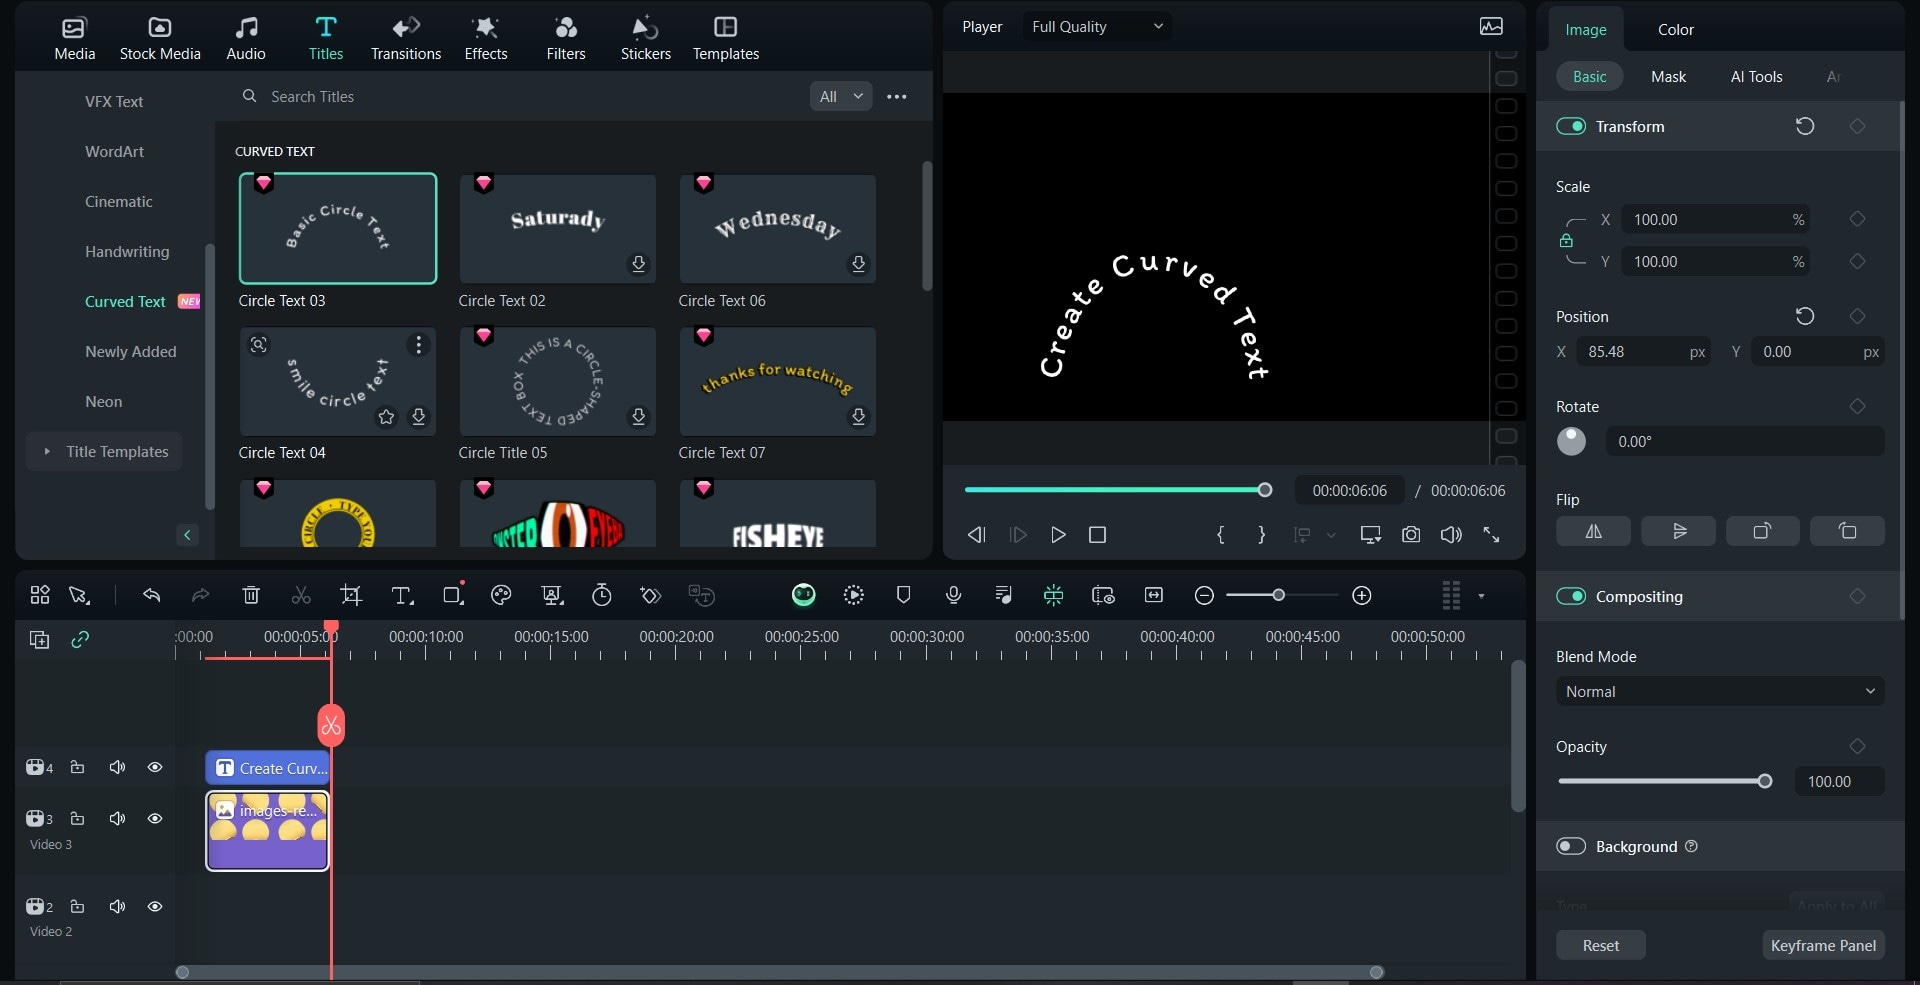
Step 3: Scroll to the bottom of the left panel that pops us, and from Title Effects, click on Curve Text.
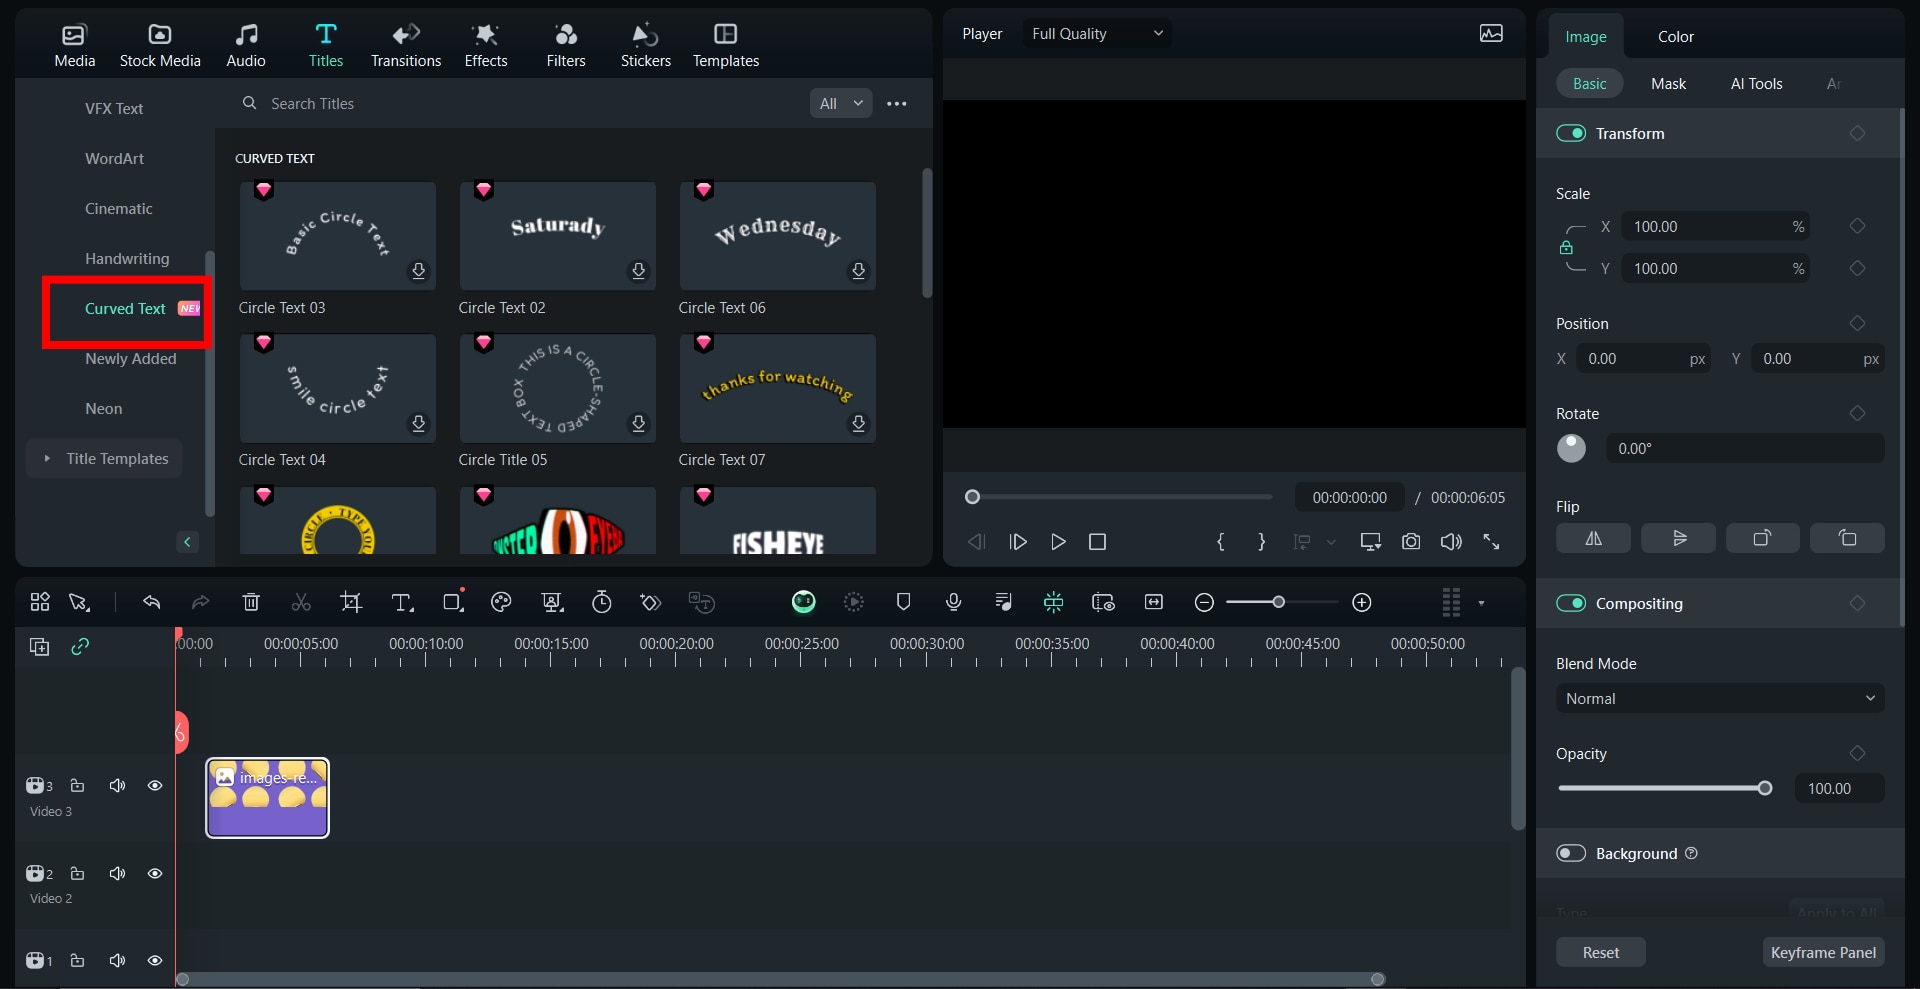
Step 4: Select the type of curve you want from the available presets. When the preset downloads, add it to your media and edit it. Then, save and export the final video.
How to Create Curved Text in Filmora Manually
Aside from using curved text presets, you can also curve texts manually in Filmora. Here’s how to do it:
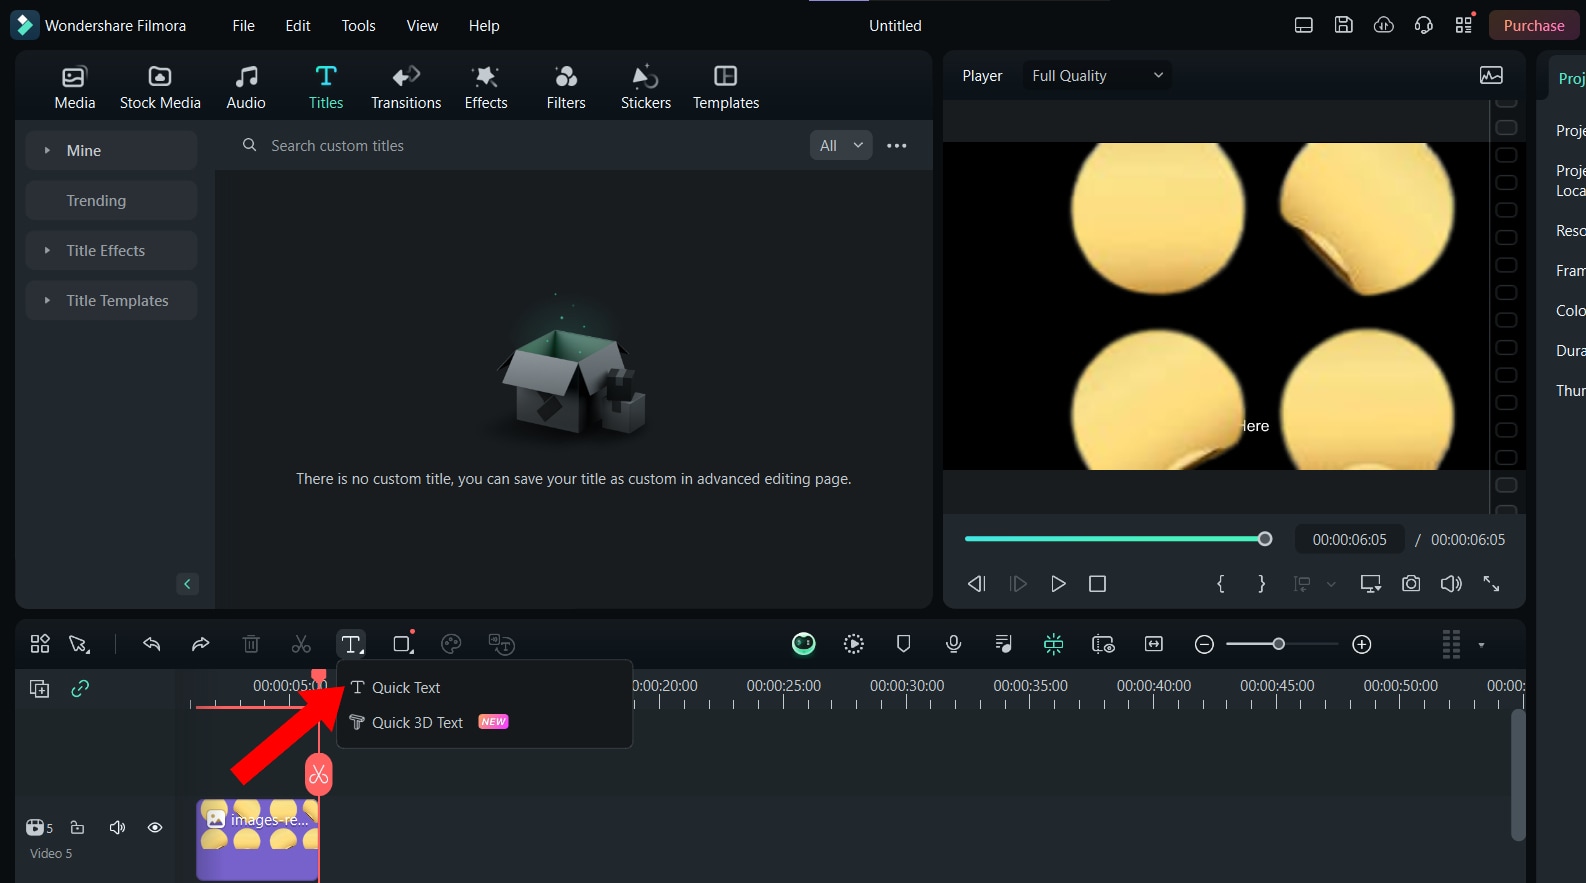
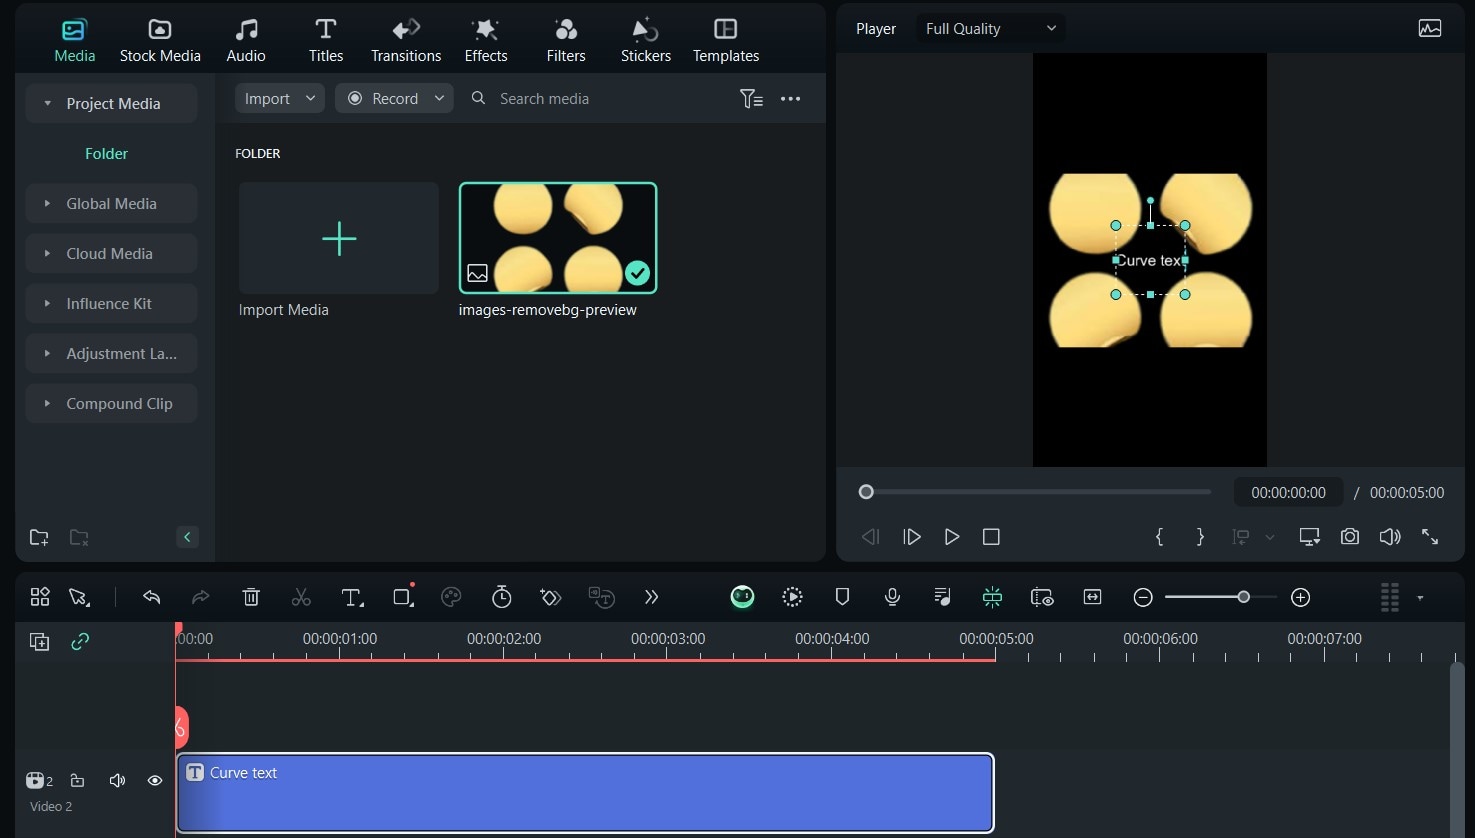
Step 1: Download Filmora from the official website and launch it on your device. Then, upload your media and click on Text. Select Quick Text from the menu. This adds a text box to your video.
Step 2: Edit the text box as you prefer and move it to align the text with your design.
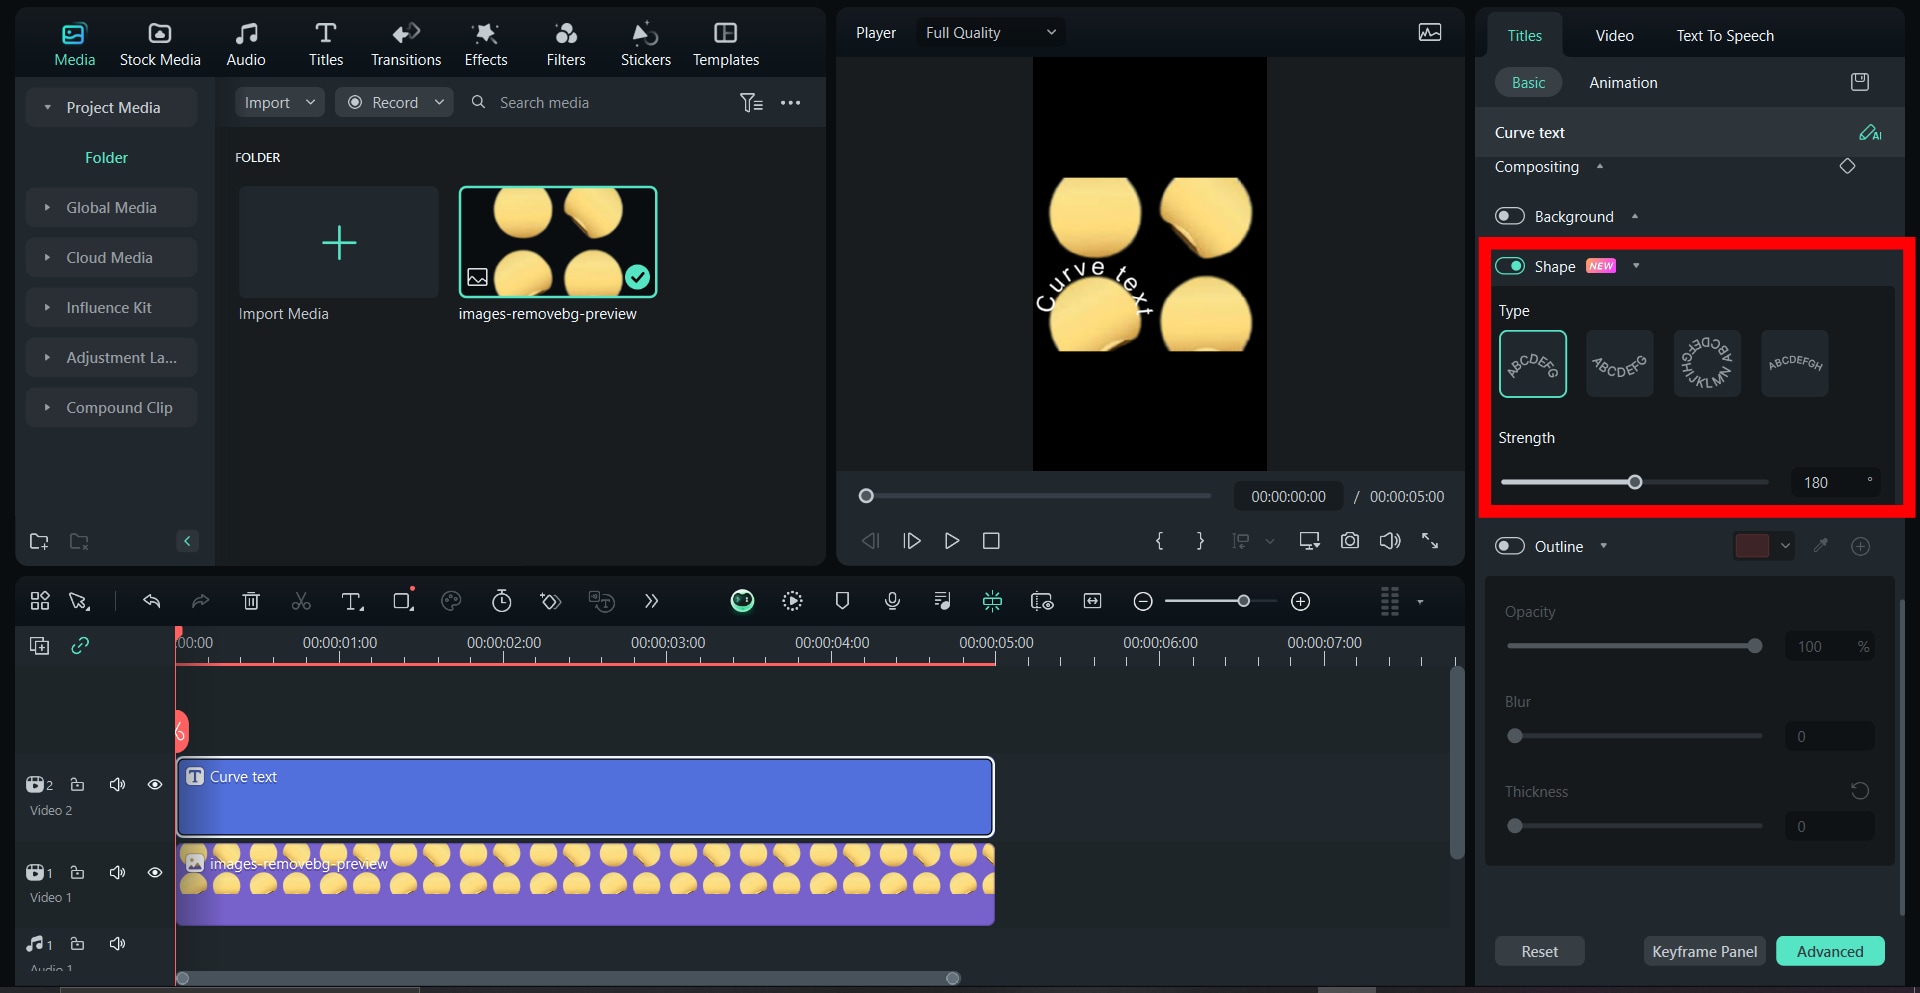
Step 3: Edit the properties of your custom text under Basic from the Titles menu of your rise-hand panel. To curve your text, click Shape and select any curve you want. Then, adjust the strength of the curve with the glider.
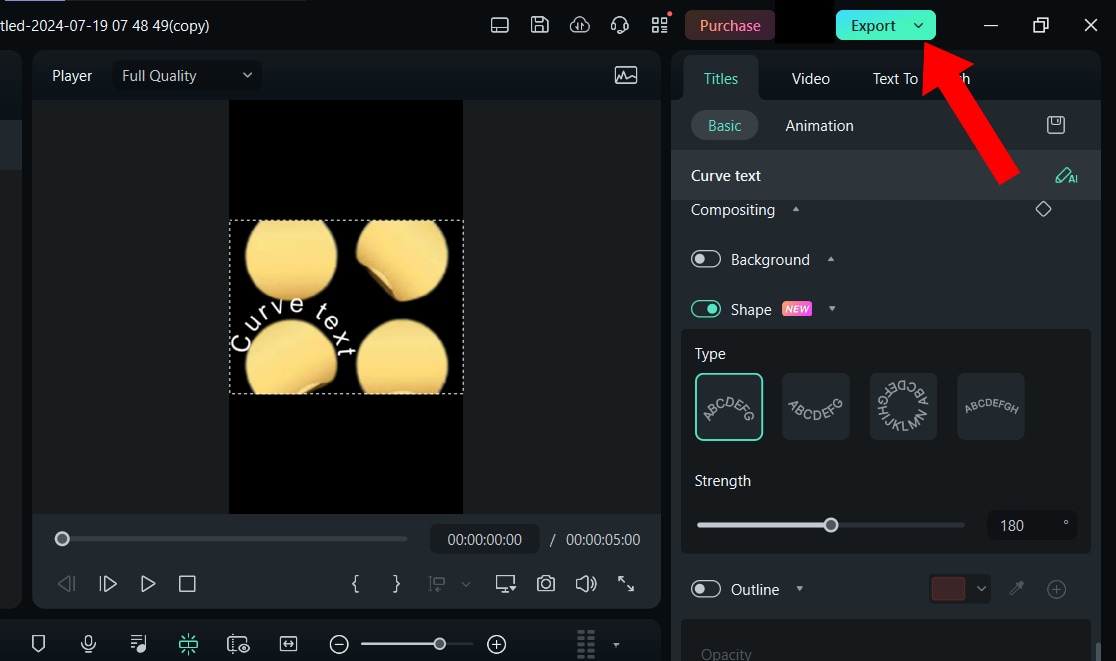
Step 4: Filmora for Mac allows you to save your customized text effects from the Title Inspector and Text Editing Panel. Once you’re all set, edit your video and click on Export to save it.
Conclusion
Plugins make it easy to place Figma text on a path and curve them. The best part is that there are various plugins for this purpose. You just have to pick one that suits your needs. However, if you’re trying to create curved text in videos, a video editor with text-curving capabilities, like Filmora, might be a better option.
Filmora gives you access to curved text presets with various designs tailored to any purpose or goal. From fun text curves to more professional ones, our platform has everything you need to make the perfect curved text. Download Filmora now to get started!
