
Pro editing, made effortless.
Filmora Video Editor
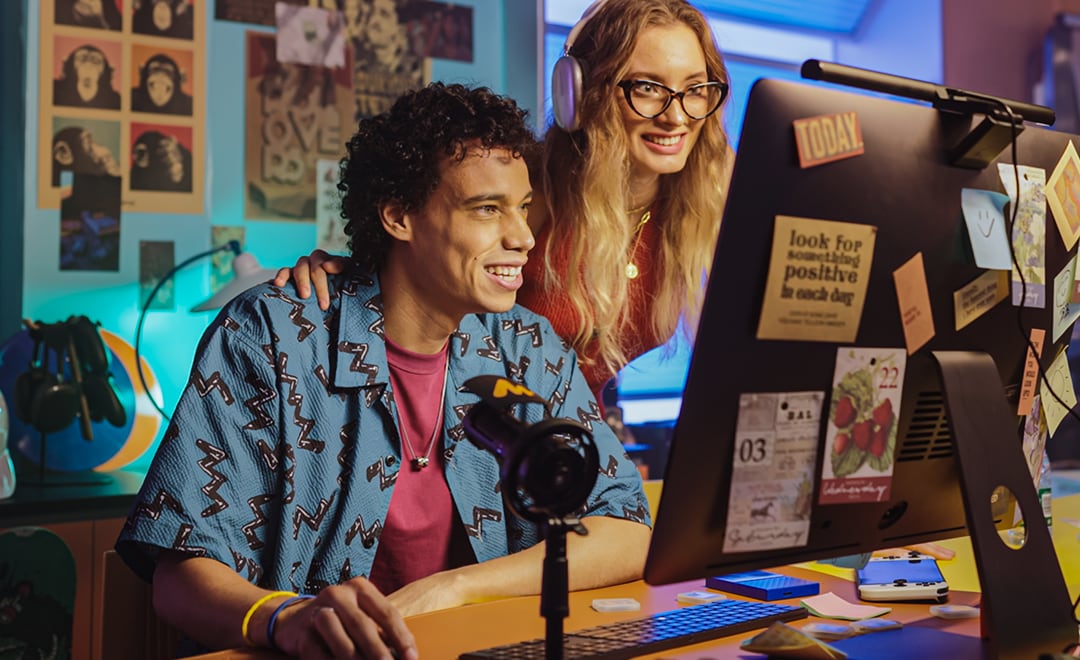
Create with Filmora — An AI video editor that's powerful enough for professionals, light enough for your everyday laptop, and intuitive enough for your very first edit. From Reels to short films — Filmora makes every idea easier to finish.


Trusted by creators worldwide — from Mumbai to New York
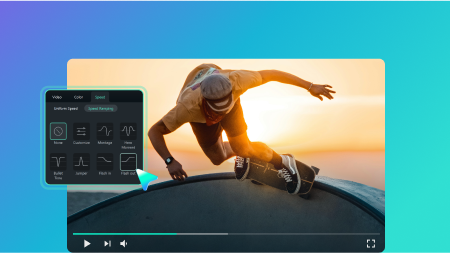
Use AI to Boost Your Productivity
Want to get high-quality results in just a few clicks? Filmora Video Editor brings all the powerful AI tools you need to edit smarter and faster.
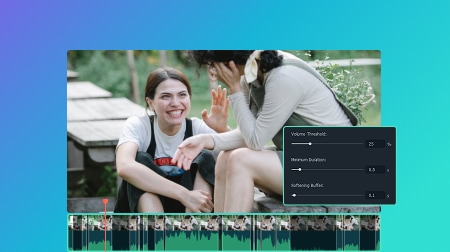
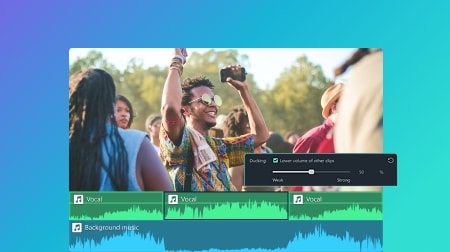
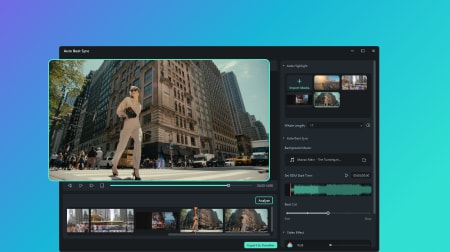
AI Vocal Remover

AI Vocal Remover
Separate vocals and background music in one click for cleaner, more flexible sound editing.
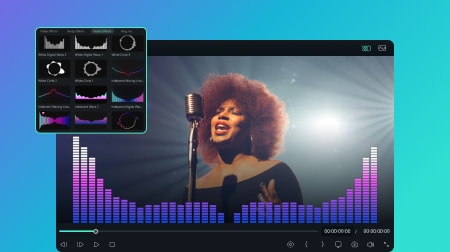
AI Video Enhancer

AI Video Enhancer
Improve video quality with AI — sharpen details, balance colors, and improve overall clarity instantly.
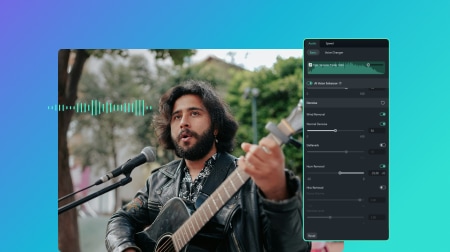
Text To Speech
Text To Speech
Turn written text into lifelike voiceovers in minutes with multiple tones and languages to choose from.
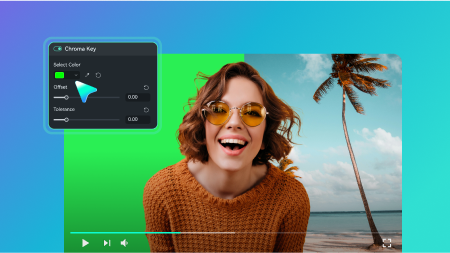
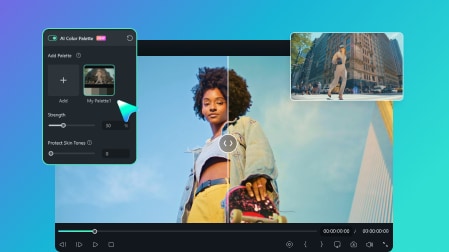
AI Smart Cutout

AI Smart Cutout
Remove backgrounds or isolate subjects automatically with frame-accurate precision — no green screen needed.
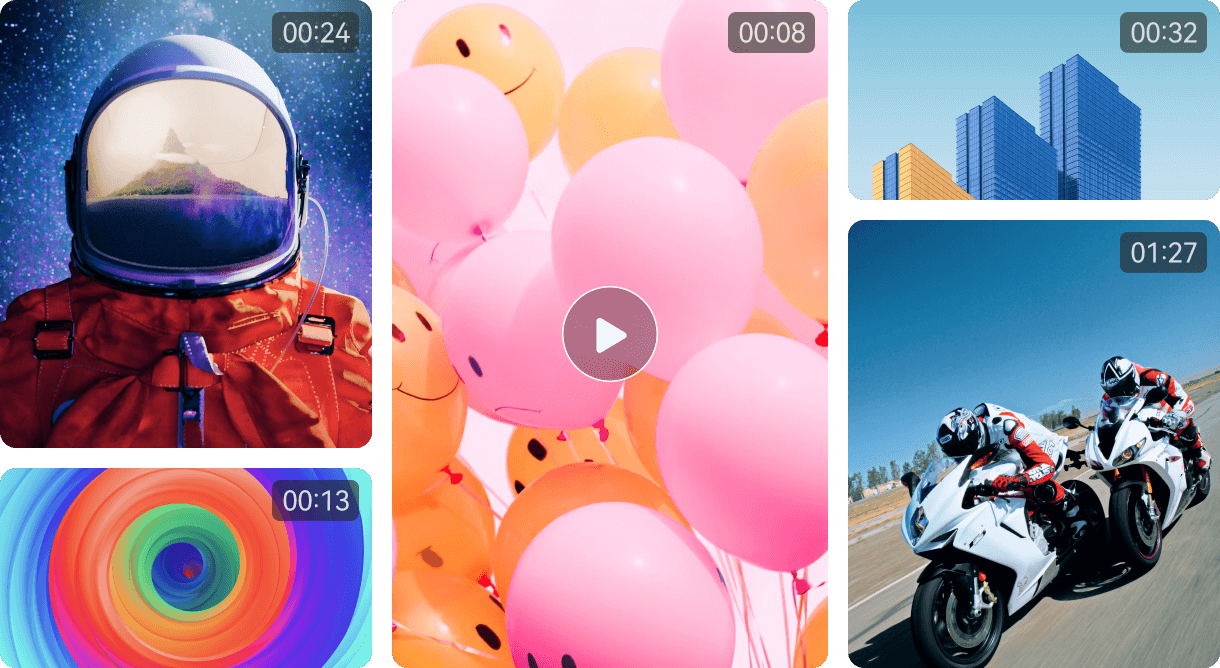
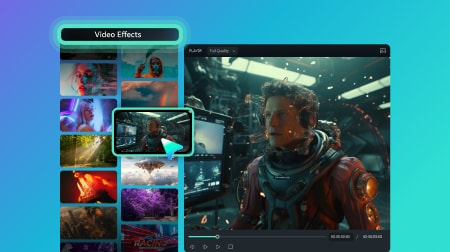
Enrich Your Video Content With Creative Assets
Create standout videos for any platform with 2.9M+ creative assets, from effects to ready-made templates.


10K+ Ready-to-use Video Templates
Customize pre-designed templates directly on your timeline — edit, replace, and publish faster.
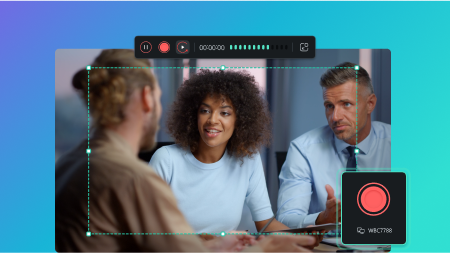
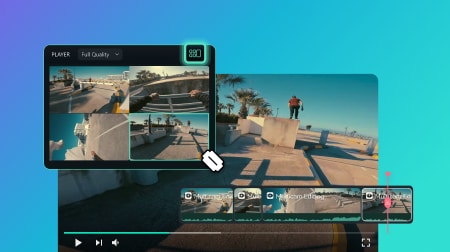
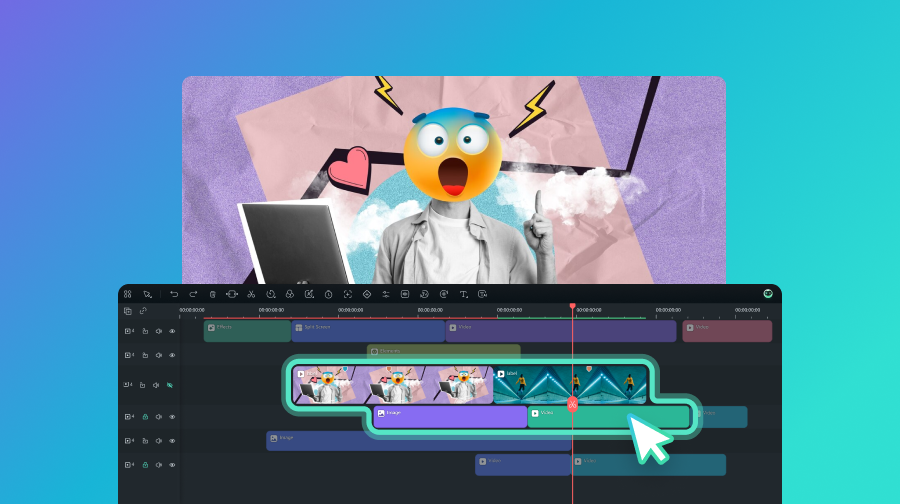
Easy to Edit a Video in Filmora Video Editor
-
Upload Media
Launch our video editing software and start a new project. Import your media files or use built-in resources to begin editing.
-
Edit Your Videos
Cut, crop and trim your videos. Drag and drop elements, texts, audio and more into the timeline to create your videos.
-
Review and Export
Preview your videos and finalize changes, then export the finished files or share them on social media.
All the Video Editing Features You Need


See What Our Users Have to Say
-

Blake Ridder
Director, Filmmaker, Cinematographer" Filmora has made my filmmaking journey smoother — and more rewarding. " -

Grace Blanco
Vlogger, Uni Student, Hombody, Coffee Lover" Wondershare Filmora has definitely enhanced my creativity while making my video-making process more efficient. " -

Dencel Ulson
Vlogger, Nursing Student, Freelancer, Dog Lover" I became a content creator but also became a freelancer with the use of Filmora. I gained clients and they loved what I did. " -

Jon Davis
Part-time YouTuber, Family Man, Introvert, Employee" I have been able to build my YouTube channel to over 10,000 subscribers as well as a blog, and even my own courses. " -

Clive Zon
Photographer, Part-time YouTuber, Freelancer" With Filmora, I have achieved my personal goal to promote my business, create art and to express myself through content creation. "
Blake Ridder
Director, Filmmaker, Cinematographer
" Filmora hasn't just made my
filmmaking journey smoother, it's also been financially rewarding. "
Grace Blanco
Vlogger, Uni Student, Hombody, Coffee Lover
" Wondershare Filmora has definitely
enhanced my creativity while making my video-making process more
efficient. "
Dencel Ulson
Vlogger, Nursing Student, Freelancer, Dog Lover
" I became a content creator but also
became a freelancer with the use of Filmora Video Editor. I gained clients and
they loved what I did. "
Jon Davis
Part-time YouTuber, Family Man, Introvert, Employee
" I have been able to build my YouTube
channel to over 10,000 subscribers as well as a blog, and even my
own courses. "
Clive Zon
Photographer, Part-time YouTuber, Freelancer
" With Filmora, I have achieved my
personal goal to promote my business, create art and to express
myself through content creation. "


Have Any Questions?
Why should I choose Filmora Video Editor?
Filmora makes professional-level video editing simple — even if it's your first time. You get a clean drag-and-drop timeline, 2.9M+ built-in effects, templates and stock media, AI tools that handle the time-consuming parts (captions, background removal, audio cleanup), and a mobile app to keep editing on the go. It's used by creators in 150+ countries, from first-time YouTubers to professional filmmakers.
Which languages does Filmora support?
Filmora is available in 25+ interface languages, and supports subtitles in 45 languages — covering major global markets like English, Spanish, French, German, Portuguese, Japanese, Mandarin, Arabic, and Russian, as well as Hindi, Marathi, Bengali, Telugu, and Tamil for Indian creators. Subtitle accuracy may vary by language, so we recommend reviewing the output before publishing.
Which operating systems are supported by the Filmora video editing software?
Filmora supports Windows, macOS, Android, iOS, and iPadOS. The mobile apps share the same core editing experience as the desktop version, so you can switch between devices without re-learning the tool.
What are the system requirements for Filmora on Windows PC?
Filmora for Windows supports Windows 11 and below and requires:
CPU: Intel i5 or better, 2GHz+. (Intel 6th Gen or newer recommended)
RAM: 8 RAM (16GB required for HD and 4K videos)
GPU: Intel HD Graphics 5000 or later; NVIDIA GeForce GTX 1050 Ti or later; AMD Radeon RX R5 or later. Please keep your graphics driver updated.
Disk:10GB free hard-disk space (SSD recommended for editing HD and 4K videos). Check full tech specs on: https://filmora.wondershare.com/tech-spec.html.
What import and export video file formats are supported by Filmora?
Supported import formats: MP4, MOV, TS, WebM, MPEG-2, 3GP, MTS, FLV, MKV, WMV, and AVI.
Supported export formats: MP4, MPEG2, WebM, 3GP, TS, FLV, MKV, WMV, AVI, and MOV.
Supported export formats: MP4, MPEG2, WebM, 3GP, TS, FLV, MKV, WMV, AVI, and MOV.
Get Started with Filmora Today
Bring your ideas to life with powerful, easy-to-use video editing software powered by AI.
