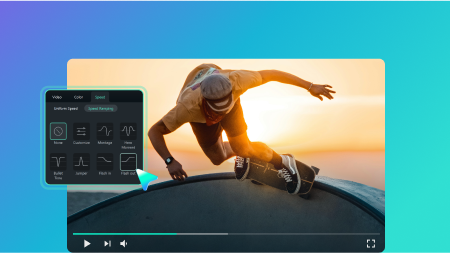
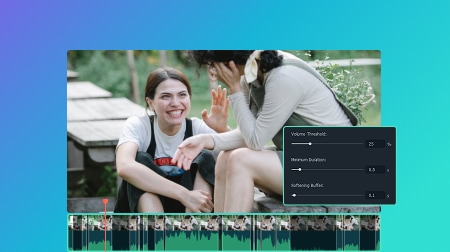
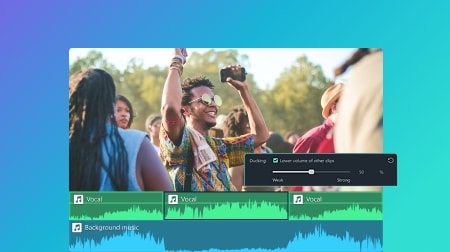
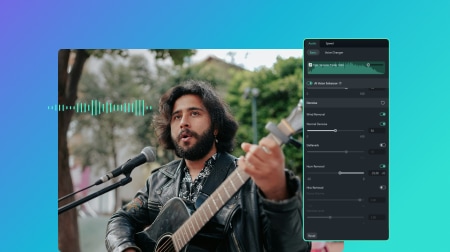
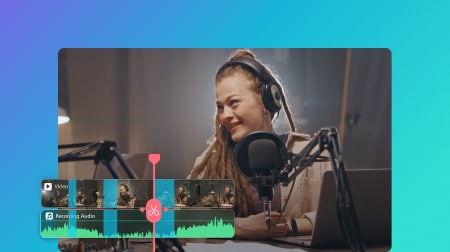
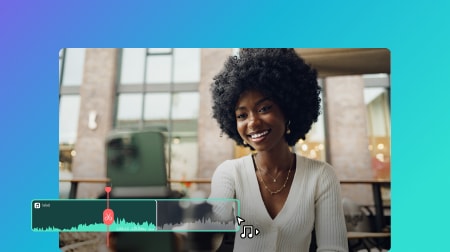
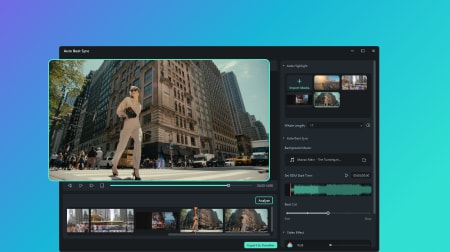
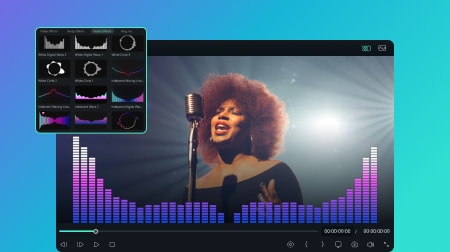
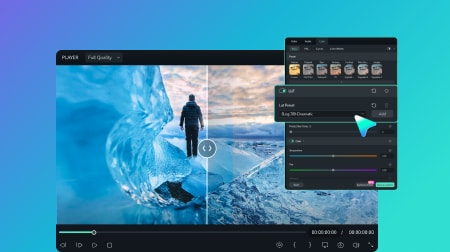
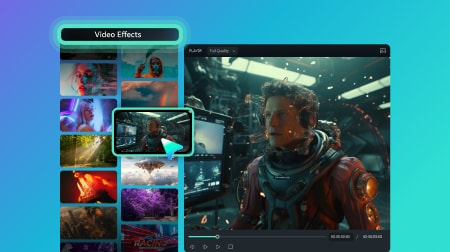
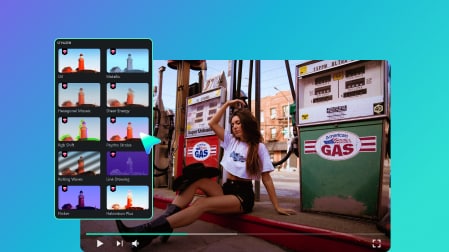
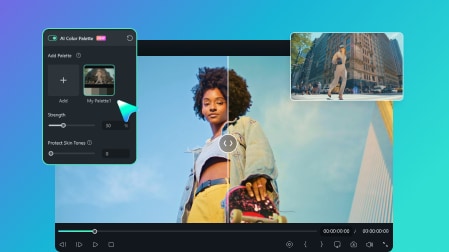
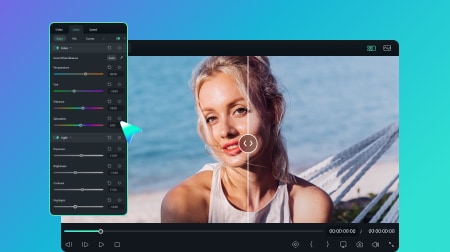
Use AI to Boost Your Productivity
Want to get high-quality results in just a few clicks? Filmora Video Editor brings all the powerful AI tools you need to edit smarter and faster.
Enrich Your Video Content With Creative Assets
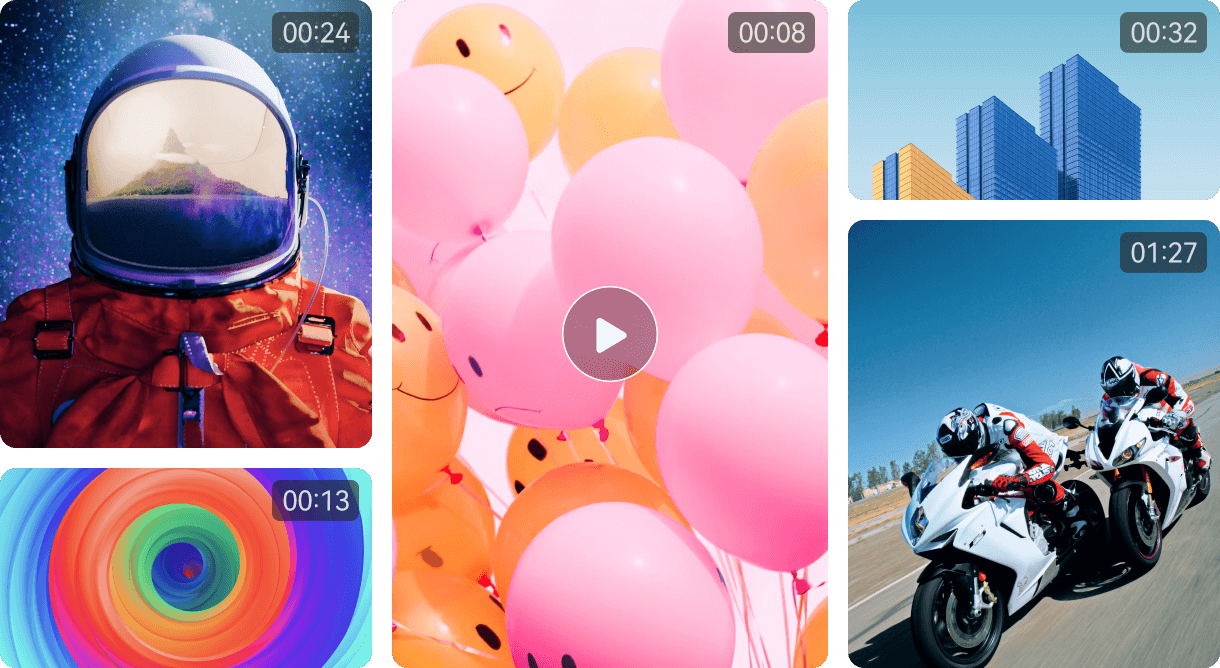
Create standout videos for any platform with 2.9M+ creative assets, from effects to ready-made templates.
10K+ Ready-to-use Video Templates
Customize pre-designed templates directly on your timeline — edit, replace, and publish faster.
Easy to Edit a Video in Filmora Video Editor
-
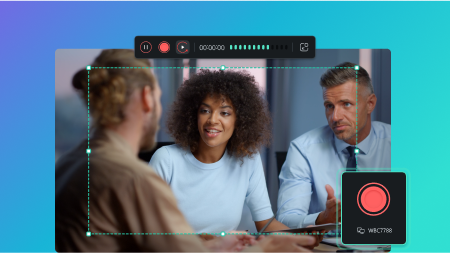
Upload Media
Launch our video editing software and start a new project. Import your media files or use built-in resources to begin editing. -
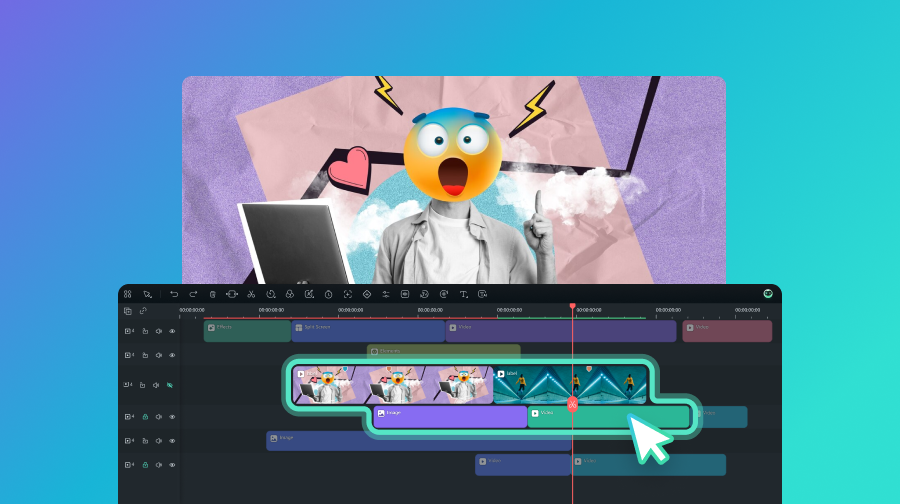
Edit Your Videos
Cut, crop and trim your videos. Drag and drop elements, texts, audio and more into the timeline to create your videos. -
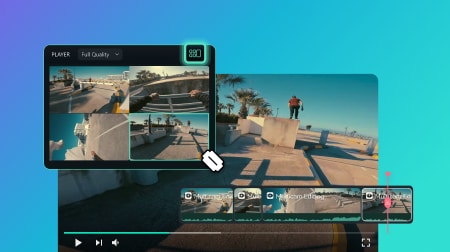
Review and Export
Preview your videos and finalize changes, then export the finished files or share them on social media.
All the Video Editing Features You Need
See What Our Users Have to Say
-

Blake Ridder
Director, Filmmaker, Cinematographer" Filmora has made my filmmaking journey smoother — and more rewarding. " -

Grace Blanco
Vlogger, Uni Student, Hombody, Coffee Lover" Wondershare Filmora has definitely enhanced my creativity while making my video-making process more efficient. " -

Dencel Ulson
Vlogger, Nursing Student, Freelancer, Dog Lover" I became a content creator but also became a freelancer with the use of Filmora. I gained clients and they loved what I did. " -

Jon Davis
Part-time YouTuber, Family Man, Introvert, Employee" I have been able to build my YouTube channel to over 10,000 subscribers as well as a blog, and even my own courses. " -

Clive Zon
Photographer, Part-time YouTuber, Freelancer" With Filmora, I have achieved my personal goal to promote my business, create art and to express myself through content creation. "
Have Any Questions?
Why should I choose Filmora Video Editor?
Millions of creators chose Filmora as their video editor. Not only is Filmora simple to use, but we also offer over 15 million built-in stock media assets and an assortment of professional level video effects to elevate your content. Additionally, Filmora has a comprehensive suite of features aimed at professionals and enthusiasts alike. Custom templates, AI-powered automation and one click drag and drop editing offer users effortless video editing solutions and help them create stunning video content.
Which operating systems are supported by the Filmora video editing software?
Filmora supports Windows, macOS, Android, iOS, and iPadOS operating systems. The video editing tool works and looks the same as desktop software and as a mobile app.
What are the system requirements for Filmora on Windows PC?
Filmora for Windows supports Windows 11 and below and requires:
CPU: Intel i5 or better, 2GHz+. (Intel 6th Gen or newer recommended)
RAM: 8 RAM (16GB required for HD and 4K videos)
GPU: Intel HD Graphics 5000 or later; NVIDIA GeForce GTX 1050 Ti or later; AMD Radeon RX R5 or later. Please keep your graphics driver updated.
Disk:10GB free hard-disk space (SSD recommended for editing HD and 4K videos). Check full tech specs on: https://filmora.wondershare.com/tech-spec.html.
What import and export video file formats are supported by Filmora?
Supported import formats: MP4, MOV, TS, WebM, MPEG-2, 3GP, MTS, FLV, MKV, WMV, and AVI.
Supported export formats: MP4, MPEG2, WebM, 3GP, TS, FLV, MKV, WMV, AVI, and MOV.
Supported export formats: MP4, MPEG2, WebM, 3GP, TS, FLV, MKV, WMV, AVI, and MOV.
Get Started with Filmora Today
Bring your ideas to life with powerful, easy-to-use video editing software powered by AI.


