

 TL;DR:
Canva Video Editor is an accessible, template-driven cloud tool ideal for beginners creating short social media posts, but creators requiring offline performance, multi-track timelines, or motion tracking should transition to a dedicated desktop alternative like Wondershare Filmora.
● Canva is recommended for users needing quick turnaround on basic ads or school projects using built-in templates, though free users are capped at 1080p exports and heavy projects often cause preview lag in the browser.
● Wondershare Filmora is best suited for YouTubers and small businesses scaling up, providing offline GPU-accelerated 4K editing, a professional multi-track timeline, keyframe animation, and planar tracking.
● For fine-tuned creative control, Canva relies on one-click presets and basic volume sliders, whereas Filmora provides advanced customization including color scopes, AI audio denoise, and auto reframe for optimizing vertical formats.
Ask AI for a summary
 ChatGPT
 Perplexity
 Gemini
 Claude
 Grok
Grok
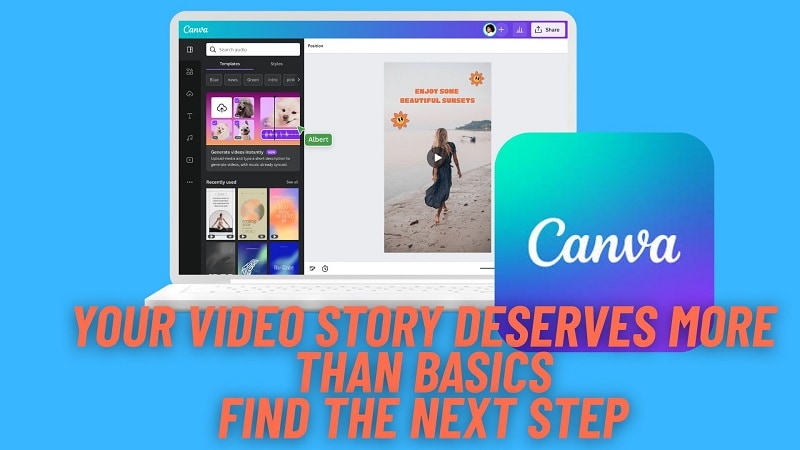
Canva isn’t just for graphics anymore. For years, it has been the tool people turned to for posters, slides, and social designs. Now it has stepped boldly into video with the Canva video editor. Beginners love it for templates, drag-and-drop editing, and the chance to make clips without stress. It feels like creative freedom in your hands.
Yet many soon wonder: "Can a design-first tool carry the weight of real video projects, from YouTube to marketing campaigns?" This review looks deeper at Canva video editing tools, where it falls short, and whether you should consider a more advanced alternative.
Part 1: What is the Canva Video Editor? The 1-Minute Explainer
Launched first as a design tool, Canva has since grown into a platform that now supports video. The Canva video editor works the same as their graphic design tools, with ease of use and drag-and-drop editing. This facilitates novices coming up with professional-looking videos without being overwhelmed by a typical editor.
As it is a cloud-based tool, the Canva online video editor works on any device that connects to the internet. It is made for quick, easy projects such as social posts, school videos, or brand content.
Moreover, the Canva video maker features AI tools that can help you save time. You can focus on what matters and make high-quality content without being restrained by complex editing steps.
Where to Access and Use Canva Video Editor:
You’re not tied to one device with the Canva video editor.
- Open it in your browser with the Canva online video editor for quick projects.
- Download the app on Windows or Mac if you prefer working on a bigger screen.
- Install it on iOS or Android to edit on the go and post straight to social media.
Common use cases
The Canva video editor is compatible with a wide range of projects
- Social media posts: Templates and features such as auto captions or animations let you create content for TikTok, Instagram, or YouTube that’s short and sweet.

- Marketing and advertising: Companies can craft fast promos or product demos by mixing templates, stock footage, and their brand kit without having anything go off-brand.

- Projects and presentations: Students can produce slick intro videos or transitions, even recording voiceovers to explain ideas with greater clarity.

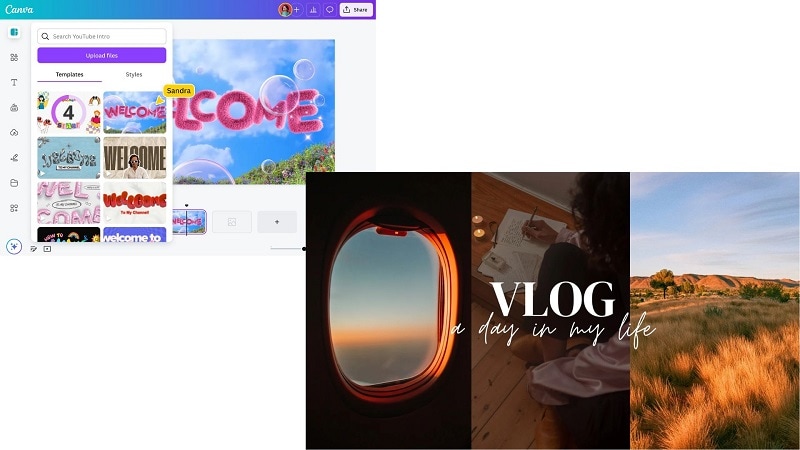
- YouTube intros and vlogs: From simple channel intros to longer clips, the Canva video editing tool helps new creators produce videos that look professional without advanced skills.
Part 2: Canva Video Editing Highlights
What makes the Canva video editor so special is that it brings convenience to their users with its huge collection of designs and features that cover almost every need.
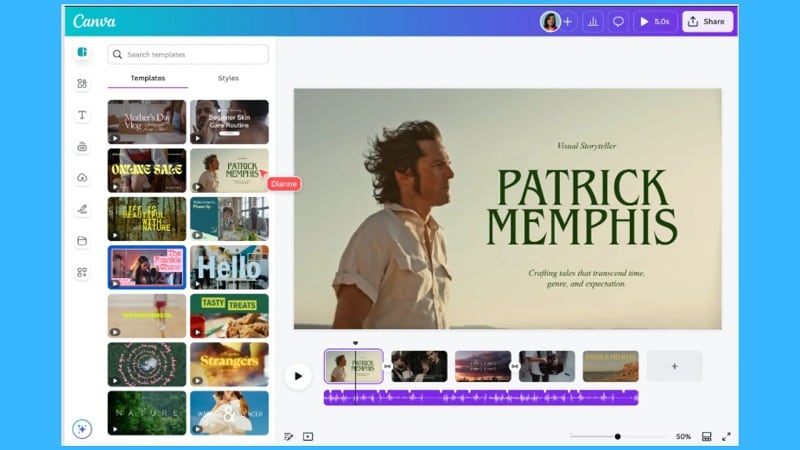
1. Templates and media library
Canva comes with thousands of video templates, stock clips, pictures, fonts, and icons to make content that looks professionally produced.
2. Editing video with ease
Trim, crop, split, resize, and edit media’s playback speed with simple drag-and-drop functionality. The editor also includes a timeline that lets you layer and arrange clips, add effects, and manage audio with precision.
3. AI-powered assistance
Functions such as auto-captioning, audio enhancement, and beat sync are powered by AI to simplify the editing process. You can also head to the Magic Media to generate images, videos, or graphics from the prompt you give.
4. In-app recording
Screen capture, webcam recording, and voiceovers can all be done without ever leaving the platform. You can use it to create tutorials, presentations, or reaction videos in one place.

5. Collaboration tools
Teams can edit and share feedback in real time on the Canva online editor, keeping projects going through real-time sharing.
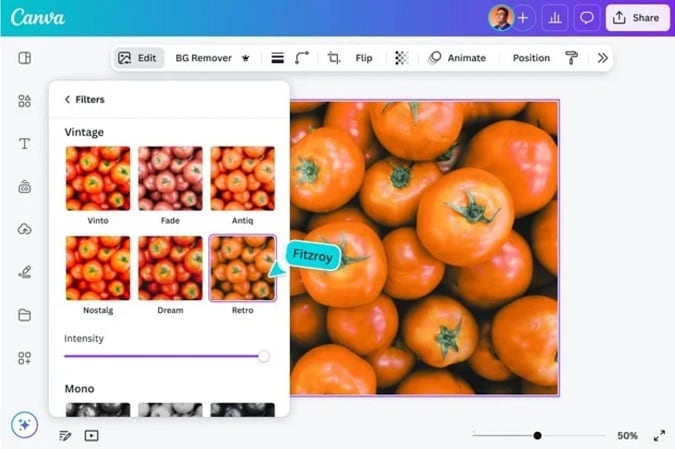
6. Effects and animations
Add transitions, effects, stickers, and animations to bring entertaining content to your videos. Enhance your look with one-click filters that are easy to customize.
7. Audio
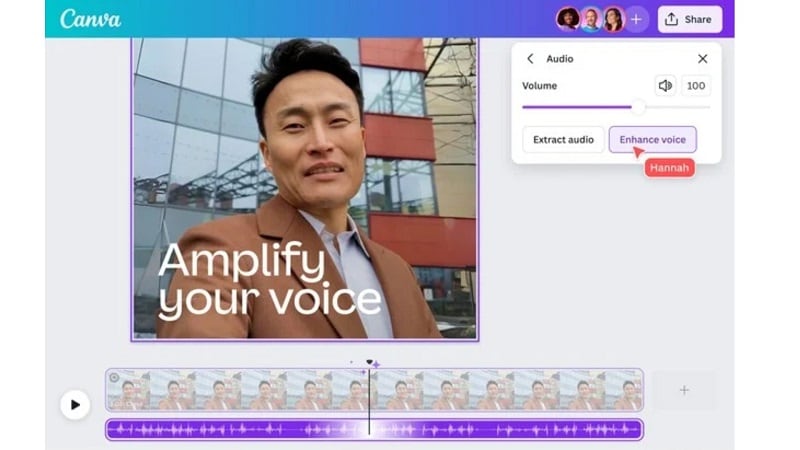
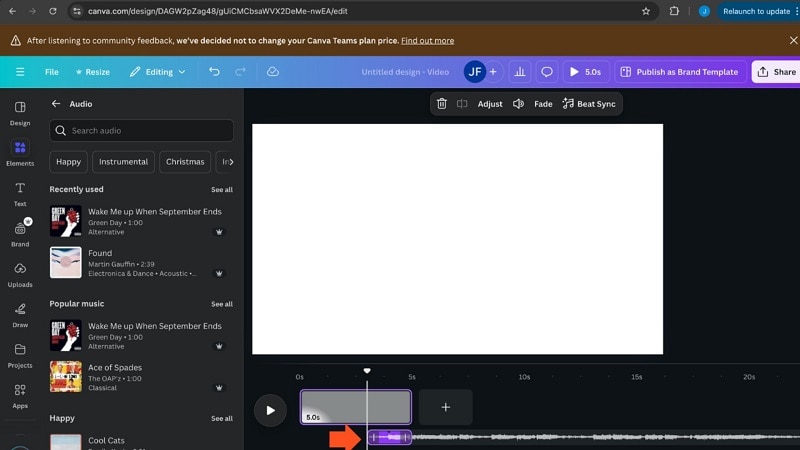
Pop in background music or sound effects from Canva’s library. You can also control the volume and add fade-in/out effects to keep your clips in good sound order.
Part 3: How to Use Canva for Video Editing
The Canva video editor is a good, easy platform for people who are new to creating videos. But in case you need a quick guide to get started, you can follow the steps below.
Step 1: Create Your Canva Account and Start a New Project
Sign up to Canva or log in if you already have one. From the dashboard, pick a layout that fits your goal: social post, school videos, YouTube intro, or any other. Then, you can begin with a blank canvas or get started quickly using a video template.
Free templates are available, while Pro assets are marked with a crown.
Step 2: Explore the Interface
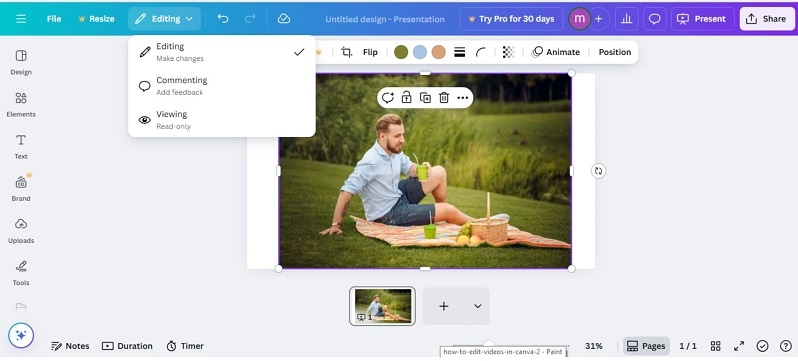
- Top bar: project-wide settings.
- Timeline at the bottom: manage and arrange clips.
- Sidebar: upload files, add templates, or select design elements. This design mirrors Canva’s familiar style, making video editing Canva projects easy to understand.
Step 3: Add Footage, With Option to Upload or Record
Import your own footage or record directly in Canva using the webcam and screen recorder. For added efficiency, Canva also supports batch importing, so you can bring in multiple files at once.
Step 4: Edit Your Clips
- Trim and cut: clip or divide the clips on a timeline.
- Re-order your footage: drag and drop to reorder.
- Overlay visuals: Layer on additional clips or graphics for a sense of depth.
- Text: type text or subtitles with more than a hundred fonts to choose.
- Transitions: cut through fades, dissolves, and zooms to avoid backstory.
Step 5: Add Audio
Upload background tracks, or select from Canva’s library of built-in music. Tweak volume and apply fade in/out, and balance the audio so listeners aren’t blasted off their chairs. For Pro, AI audio tools remove background noise and enhance clarity.
Step 6: Add Effects and Final Touches
Boost the engagement with filters, animations, or stickers. Speed up or slow down videos to create any speed effects. Be certain that transitions, text, and overlays do feel to support your video’s main message.
Step 7: Export Your Video
Click Share > Download to export. Free users can save in 1080p; Canva Pro users get access to higher resolutions and custom export options. You can send directly to YouTube, TikTok, or save for later.
Part 4: Canva Video Editor Review: Pros You’ll Enjoy, Cons to Consider (Overall Summary)
You’ve seen how the Canva video editor works. But how good is it in real use? Let’s weigh its real strengths and weaknesses before judging it fully.
Part 5: User Experience & Performance
Real users often praise the Canva video editor for how easy it is to start using. On sites like Capterra, many say they save time because all editing, stock media, and design tools are in one place.
But “easy” doesn’t always mean “fast” or “powerful.” TechRadar found that heavy or long video projects slow Canva down, especially in browser mode. Even on desktop or mobile, when many transitions or large video files are used, previews lag.
What stands out:
User interface simplicity is a major win. Even non-designers feel confident editing with Canva. Templates and stock assets are excellent for quick turnaround. Collaboration and cloud saving add reliability.
What users often struggle with:
Performance on big projects, lag in previews, and limited control over some effects or audio. Also, free users face restrictions like export resolution and file size limits.
Ratings (out of 5):
| Category | Rating (out of 5) | Notes |
| Ease of Use | ★★★★☆ | Very beginner-friendly; layout is intuitive |
| Editing Features | ★★★☆☆ | Covers basics well but lacks advanced effects like motion tracking. |
| Video Quality | ★★★★☆ | HD exports are sharp; 4K possible on Pro but slower to render |
| Music & Sound | ★★★☆☆ | Solid stock library; AI audio enhancer helps, but limited controls |
| Filters & Effects | ★★★★☆ | Many templates and effects; customization can feel restricted |
| Export Speed | ★★★☆☆ | Quick for short videos; longer files take noticeably more time |
Part 6: When Your Projects Grow: The Advanced Alternative to Canva for Video Editing
The Canva video editor is excellent for short, branded clips, but it was never designed to replace a professional editor. It’s part of a larger design platform, which means its video tools focus on accessibility, not depth. This works well for quick ads, social media posts, or classroom projects. But when creators aim for higher quality, Canva’s limits become clear.
Key Limitations Stand Out:
- Depth of editing: Canva does trimming, text overlaying, and basic transitions, but not “pro” layer features like motion tracking, chroma key, or detailed transition/animation controls
- Audio tools: While Canva offers basic volume adjustment and AI audio cleanup, it can’t compete with editors that provide multi-track mixing, denoise, or beat detection.
- Performance: Browser editing slows with longer projects, and 4K export is often restricted or unstable
- Creative control: Animations and effects are one-click presets. You cannot fine-tune timing, easing, or advanced color grading.
These gaps matter when projects grow. YouTubers, teachers, and small businesses will eventually need more. They require professional-grade effects, smoother operation, and pro-level exports to stand out. Canva is a good starting point. But for long-term creative growth, you will need to move to a more powerful editor.
Why Filmora Becomes the Upgrade Creators Need
For projects that require more than Canva can provide, many creators rely on Wondershare Filmora. It has a smooth desktop experience and an ideal mobile app, which makes it flexible when you need to edit at home, in the office, or on the go.
Filmora also gives you a professional editing suite, with a versatile multitrack timeline for advanced editing and overlays and effects that come via AI tools to simplify your life.
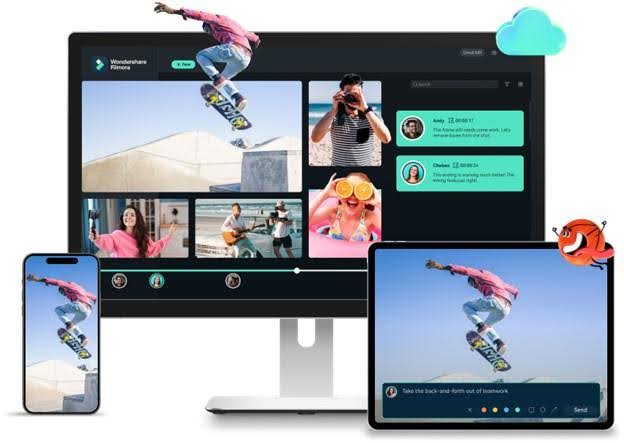
Unlike Canva’s web-based editor, it works offline for faster performance and includes cloud storage for seamless sharing. Filmora stands out as it is easy to use for a beginner but provides advanced features that could keep their creative ambitions up with time.
Key Features That Set Filmora Apart
- AI-Powered Editing: Automate complex tasks with features like text-to-video, AI translation, and text-based editing. These make things easier and save time.
- Multi-Camera Editing: Edit your footage from different angles, choose the best shots, and view the sequence with just a click for polished results.
- Auto Reframe: Rapidly switch clips from landscape to portrait (or vice versa). Filmora holds the subject in focus, perfect for Shorts, TikToks, and Reels.
- Planar Tracking: Attach graphics, text, or ads to flat surfaces so they move naturally with the scene, with no need for heavy manual work.
- Advanced Compression: Reduce file sizes without losing quality. Exports are still sharp, but are easier to share and store.
- One-Click Visual Upgrade: Boost quality in seconds with AI tools like color palette, video denoise, and AI enhancer.
- Keyframe Animation: Add smooth, custom motion effects with flexible keyframe controls, giving edits a professional finish.
- Extensive Effects Library: Access thousands of templates, filters, and visual effects that go beyond what canva video creator currently provides.
Feature Comparison: Canva vs. Filmora
To highlight why Filmora stands out as an advanced alternative, here’s how its features compare against the Canva video editor.
| Feature | Canva Video Editor | Filmora |
| Timeline | Simplified, scene-based | Professional, multi-track timeline |
| Advanced Effects | Basic filters & animations | Motion Tracking, Keyframing, Green Screen, etc. |
| Audio Editing | Basic volume control | AI Audio Denoise, Equalizer, Beat Sync |
| Color Grading | Basic filters | Professional Color Scopes, HSL, 3D LUTs |
| AI Features | Basic AI tools | AI Smart Cutout, Text-Based Editing, AI Music |
| Performance | Browser-dependent, struggles with 4K | GPU-accelerated for smooth 4K+ editing |
| Best For | Quick graphic-based social videos | High-quality YouTube videos & creative projects |
Conclusion
The Canva video editor makes video creation simple and accessible. Its templates, stock media, and drag-and-drop design help beginners publish quickly. For social posts, ads, or classroom projects, it does the job well. But the more you scale up your projects, the tougher it is to overlook their restrictions on editing depth, audio control, and performance.
