

 TL;DR:
To add shapes to a video, use Premiere Pro's built-in Shape Tools for advanced manual animation, or choose Wondershare Filmora if you need a beginner-friendly alternative with drag-and-drop shape presets.
● In Premiere Pro, you draw shapes directly on the Program Monitor and animate them using position keyframes in the Effect Controls Panel, which is best for professional editors requiring complete manual control over UI transitions and motion callouts.
● Filmora simplifies shape creation for beginners by allowing you to insert customized shapes via the Titles panel's Advanced Settings or by dropping pre-animated assets directly from the Stickers library.
● While Premiere Pro relies heavily on manual keyframing and setup, Filmora includes automated Motion Tracking to attach shapes to moving targets and AI Smart Masking for instant object recognition without the complexity of After Effects.
Ask AI for a summary
 ChatGPT
 Perplexity
 Gemini
 Claude
 Grok
Grok
Every great video needs something to grab the viewer's attention right away. Shapes do just that. You can use it to highlight key moments, create flow, and guide the audience's focus. Think about the most entertaining online content you engage with today, where bold titles and dynamic call-outs help information leap out.
To add shapes to your video, you can do it in a video editing program like Premiere Pro. So today, we'll show you precisely how to add a shape in Premiere Pro while creating engaging effects that get people talking.

🟥Part 1. How to Add a Shape in Premiere Pro
To start learning how to add a shape in Premiere, Adobe Premiere Pro provides built-in shape tools such as Rectangle, Ellipse, and Polygon, along with the Pen Tool for custom shapes. These are perfect for UI highlights, lower thirds, video progress bars, subtitles backgrounds, and callout animations.
How to Add Shapes in Premiere Pro
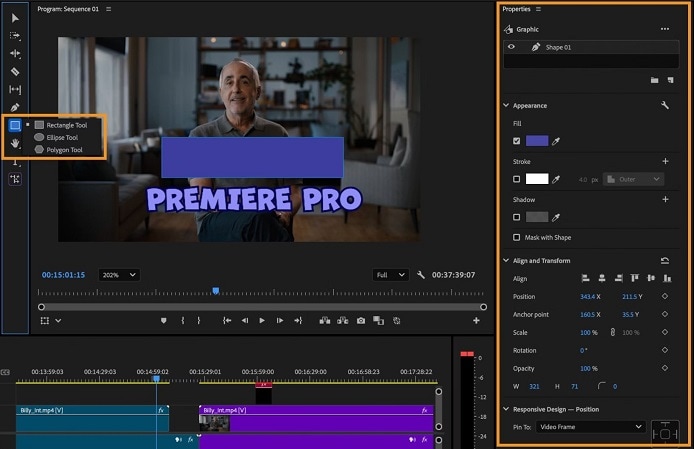
- Fill: Choose any color to fill your shape.
- Stroke: Add outer, inner, or center strokes, or layer multiple strokes.
- Shadow: Apply shadows or multiple shadows for added depth.
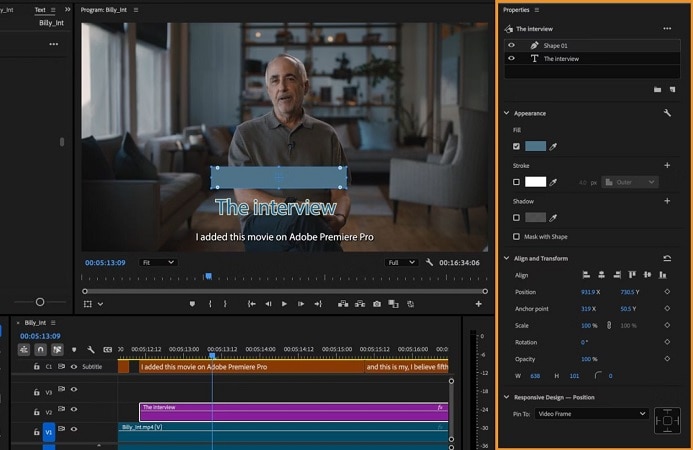
Advanced Shape Editing in Premiere Pro
Once your shape is placed, you can turn it into motion graphics with animation keyframes. If you want to learn shape animation Premiere Pro, here's how:
Step 1. Select Shape and click effects
Click on the shape layer in the timeline to select it. Go to the Effect Controls Panel and make adjustments.
Step 2. Animate the Shape
- Choose the Rectangle Tool and make a shape on the preview. Make sure the playhead is at the beginning of the clip.
- Click the stopwatch next to Position in the Effect Controls Panel to activate animation.
- Move the timeline slider one second ahead, then drag the shape in the preview screen to the desired location.
Repeat this step by advancing the timeline and adjusting the shape's position to create smooth movement.
👉 This method is ideal for:
- Motion callouts
- UI panel transitions
- Arrow & pointer animations
- Video progress bars
- Line-growth & waveform effects
⭐Part 2. Simplify Your Design with Smarter Shape Editing Tool
Premiere Pro is a great piece of editing software, but the app is costly and complicated, which means it's not very suitable for beginners. If you're in need of a friendly and cost-effective video editor, then Wondershare Filmorais the right thing for you.
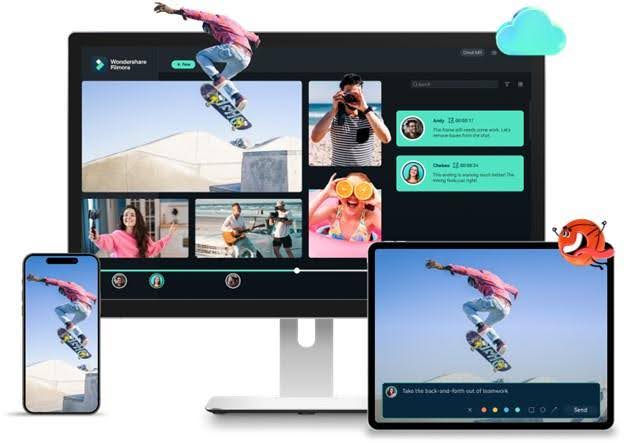
With Filmora, shape editing becomes simple and creative. Here's what you can do:
- Add Basic Shapes Easily: Incorporate simple shapes like arrows, speech bubbles, rectangles, circles, and more to highlight key moments or guide viewers' attention.
- Use Pre-Animated Shapes: Access the Stickers library to apply ready-made, animated shapes that instantly enrich your visuals.
- Enhance with Editing Tools: Customize shapes with colors, borders, animations, and other advanced editing features to make your video stand out.
Let's check out how you can add shapes with Filmora for an easier editing experience.
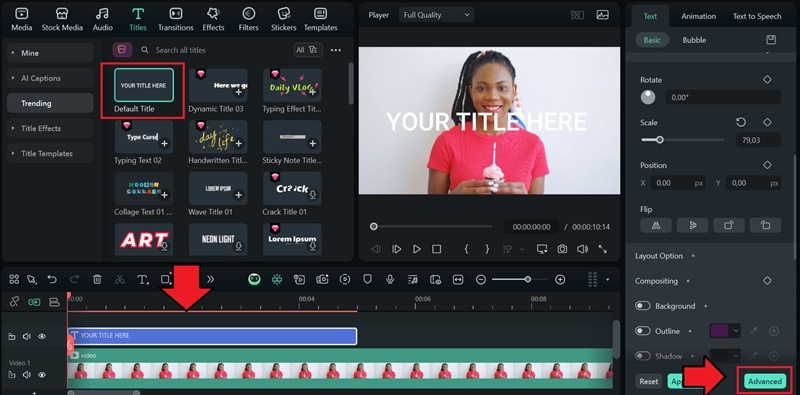
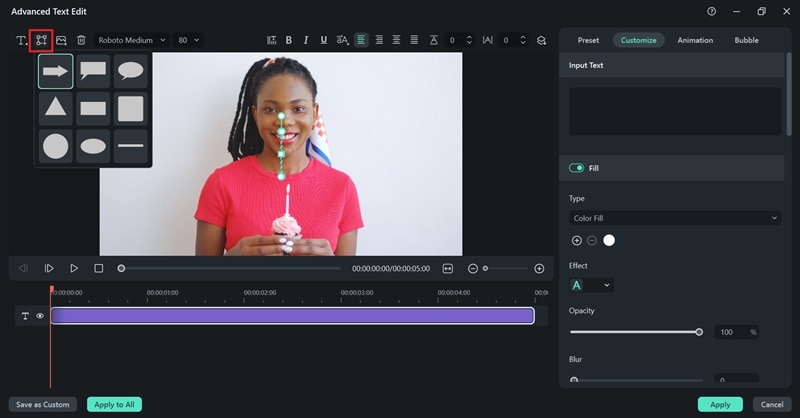
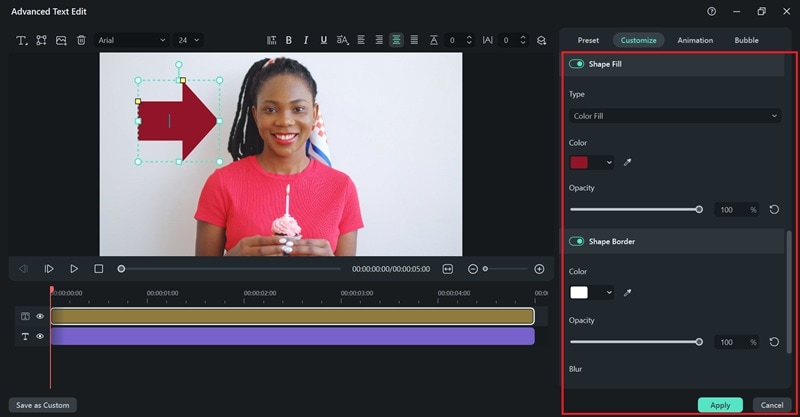
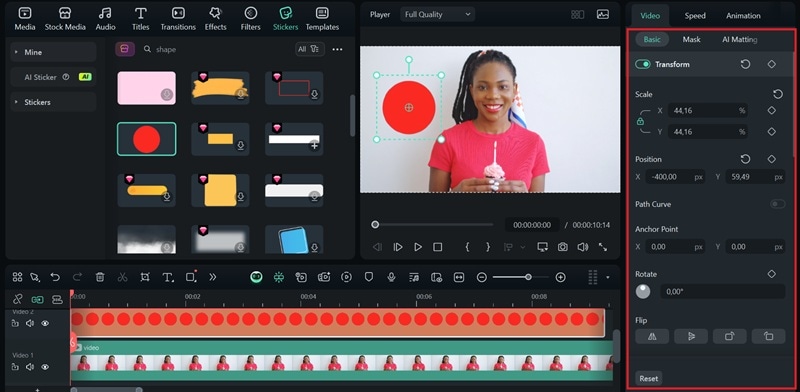
Method 1: How to Add Shapes in Filmora
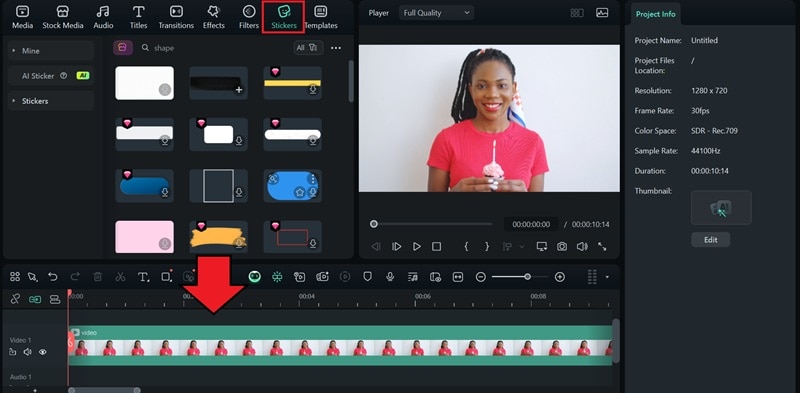
Method 2: How to Add Shapes Quickly Using Ready-Made Assets
Aside from creating shapes manually, Filmora's Stickers library includes many arrows, frames, callouts, icons, and other creative elements that can instantly enhance your video.
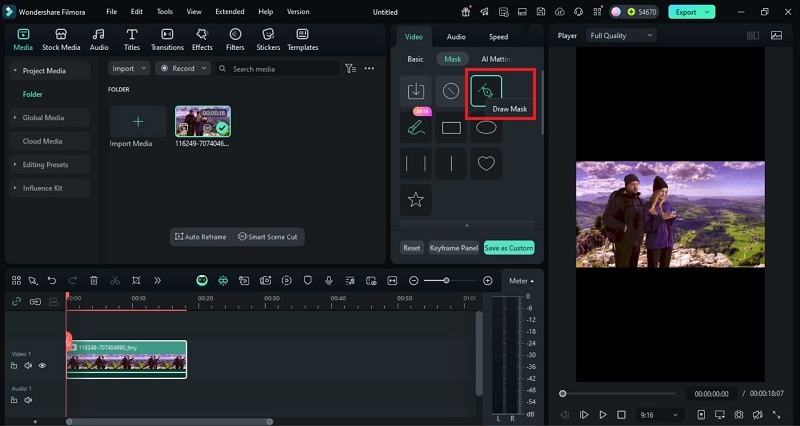
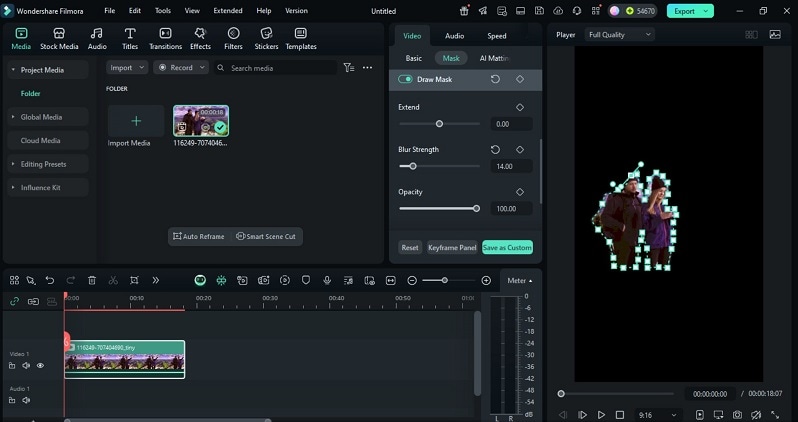
Method 3: How to Add Custom Shapes Using Shape Mask
You can also create precise custom shapes in Filmora using the Draw Mask tool. This feature lets you design shape layers that fit perfectly around objects in your video.
✨ NEW: Use Pen Tool for Custom Paths & Motion Animation
For even more creative flexibility, Filmora's Pen Tool allows you to draw free-form shapes, curved lines, and custom animation paths directly on the preview window.
What the Pen Tool Enables:
- Draw Any Shape or Line Freely: Add anchor points and use Bezier curves to create smooth, natural curves or sharp angles.
- Animate Along a Path: Apply keyframes so elements like icons, shapes, and text follow a motion path—great for route maps, markers, and highlight animations.
- Create Line-Growth Effects: Draw a custom line and animate its reveal using Trim Path-style animation, ideal for progress bars, waveform growth, or ECG heartbeat line effects.
- Perfect for Tutorials & UI-Style Motion Graphics: No plugins required, beginner-friendly interface.
➡ This makes Filmora a strong choice for designers who want high-quality motion graphics without the complexity of After Effects.
Enhance Shapes with Smart Editing Tools
After mastering ready-made shapes and customizing them with the Draw Mask, the next step is to elevate your video's impact. Smart editing tools in Filmora let you go beyond static shapes, turning them into dynamic, interactive elements.
AI Smart Masking
- Auto Recognition: Automatically detects objects or subjects and creates precise masks.
- Quick Selection: Use Smart Brush or Select Subject to make selections faster.
- Fine Adjustment: Modify opacity, feather, blur, or invert for better control.
- Professional Result: Save time while achieving a clean, polished look.
Motion Tracking with Shapes
- Attach Elements: Link shapes, text, or callouts to any moving object.
- Auto Tracking: Once tracked, the attached elements follow the target automatically.
- Ideal Use Cases: Perfect for emphasizing products, players, or key details in your videos.
Part 3. Premiere Pro vs Filmora: Shape Tools Comparison
| Feature | Premiere Pro | Filmora |
| Preset Shapes | Basic shapes (Rectangle, Ellipse, Polygon) with manual setup | Drag-and-drop shapes (Rectangle, Circle, Callouts, etc.) |
| Customization | Advanced control (fill, stroke, opacity, gradients) | Basic customization (color, opacity, borders, effects) |
| Mask Tools | Pen Tool for custom masks, keyframing available | Draw Mask for custom shapes with keyframing |
| Effects & Motion | Full control over motion, keyframing, and advanced effects | Pre-set motion effects, simple keyframing, and transitions |
| Ease of Use | Complex interface, best for professionals | Simple, intuitive interface, ideal for beginners |
Summary:
- Adobe Premiere Pro is a perfect choice for professional editors who want to have complete command over shapes, masks, effects, motion, and many such advanced features that are not provided by simple editors.
- Filmora is perfect for beginners, content creators, and educators. It offers ultra-intuitive shape editing in just a few clicks. With just the basic steps of drag-and-drop presets, basic masks, and motion tools that make faster yet authentic-looking videos.
Conclusion
Shapes are also important elements in creating good and professional-looking videos. Knowing how to add shapes in Premiere Pro has a lot of ways to help an editor control a viewer's eye and where their attention can move with the extra help from some shape graphics.
For those seeking efficiency without sacrificing creativity, Filmora offers a streamlined, intuitive way to add and animate shapes quickly, making complex editing accessible and ensuring every video looks professional and captivating.
FAQs About Shapes and Text in Premiere Pro
-
How do I feather a shape in Premiere Pro?
To feather a shape in Premiere Pro, select the shape layer and go to the Effect Controls panel. Increase the Mask Feather slider to soften the edges and create a smooth transition. If you want an even softer blend, apply Gaussian Blur from the Effects panel. This technique is especially useful when adding rectangles or callouts to highlight areas cleanly without harsh borders. -
How do you add a text layer in Premiere Pro?
To add text in Premiere Pro, open the Essential Graphics panel and select New Layer → Text. Then type directly on the Program Monitor. You can style titles, subtitles, and lower-thirds or combine text with shapes like rectangles and lines to create modern UI-style graphics. If you want faster results, you can use animated .mogrt templates for instant professional looks. -
Can I use Filmora to practice shape and text animation before using Premiere Pro?
Yes — Filmora is a great way to practice shape editing and text animation before working in Premiere Pro. You can easily add shapes like rectangles, circles, callouts, and arrows, animate them with keyframes, and combine them with titles. Filmora also includes motion tracking, Draw Mask, and Pen Tool path animation, making it beginner-friendly for learning concepts that apply directly when switching to more advanced workflows in Premiere Pro.
