

What is a Highlight Video Maker? A highlight video maker is a video editing tool designed to extract and compile the most impactful moments from longer footage—such as sports games, events, or travel vlogs—into a concise, high-energy sequence often used for social media or portfolios.
A highlight video captures the most exciting moments and brings them together into one engaging story. It is popular in sports, social media, and event recaps because it keeps viewers focused and entertained. Athletes and teams use highlight reel makers to showcase skills, while creators use them to share memorable clips online.
Thanks to new AI highlight video makers, the editing process is now easier, with automatic scene detection and quick trimming tools. You can create a highlight video on desktop, mobile, or right in your browser, depending on your style and workflow.
Highlight video makers simplify the process of turning raw sports or event footage into engaging stories using AI-driven scene detection and creative templates across desktop and mobile platforms.
In this list, we explore the best apps for making highlight videos in 2026, including simple free tools, creative online editors, and a standout option for clean results.

Key Takeaways:
- Filmora is the top all-around choice for AI-assisted highlight generation on desktop and mobile.
- Web-based tools like Kapwing and InVideo are ideal for quick social media resizing and collaboration.
- Professional results can be achieved with mobile apps like Splice and KineMaster for on-the-go editing.
How We Test
- We focused on tools that are easy to use, flexible, and reliable.
- Each tool was tested for clip trimming, speed control, transitions, text overlays, and export quality.
- We also evaluated AI features such as automatic scene detection and highlight generation.
- Finally, we checked how well each tool fits different devices and workflows, including desktop editing, mobile editing on the go, and online editing in a browser.
Our Top 3 Picks


| Tool | Platform(s) | AI/Smart Tools | Free Version | Best Use Case |
| Filmora | Windows, Mac, iOS, Android | AI Scene Detection, Auto Cut, AI Music | Yes, basic features | Sports highlights, polished reels, event recap videos |
| Kapwing | Web | Auto subtitles, smart resizing | Yes, limited exports | Quick online editing or collaborative projects |
| InVideo | Web | AI templates, script-to-video | Yes, limited exports | Social-ready highlight reels created fast |
| FlexClip | Web | Basic smart templates | Yes, resolution limits | Short sports clips and simple highlight edits |
| Flixier | Web | Smart trimming, brand kit | Yes, with constraints | Fast browser-based editing and team use |
| Veed.io | Web | Auto subtitles, translators | Yes, basic features | Reels needing captioning and platform resizing |
| Adobe Premiere Rush | Windows, Mac, iOS, Android | Auto audio leveling, presets | Yes, limited exports | Mobile-first editing with cleaner transitions |
| Lightworks | Windows, Mac, Linux | Smart trimming tools | Yes | Advanced editing with precision cuts |
| Canva | Web, Windows, Mac, Mobile | Template suggestions | Yes, basic features | Event highlights, slideshow-style reels |
| Clipchamp | Windows, Web, iOS | Auto captions, stock library | Yes | Windows users wanting a simple timeline editor |
| Magisto | iOS, Android, Web | Fully automated highlight generation | Free trial | Users who want the app to edit for them |
| Splice | iOS, Android | Speed effects, quick trims | No | On-the-go highlight editing on mobile |
| Shotcut | Windows, Mac, Linux | Manual filters and transitions | Yes, open source | Users needing free desktop flexibility |
| KineMaster | iOS, Android | Layer-based editing | Yes, watermark applies | Mobile editors need more control |
| Kdenlive | Windows, Mac, Linux | Multi-track pro workflow | Yes, open source | Free alternative for pro-style editing |
|
Show more
Show less
|
||||
Part 1. Top 15 Highlight Video Makers in 2026
There are many highlight video makers available today, each offering different strengths. Some focus on fast, template-based editing, while others provide more control for creative effects and detailed timing.
In this section, we take a closer look at each highlight video maker, what it offers, and which type of creator it suits best. This will help you choose the tool that matches your editing style, device, and level of experience.
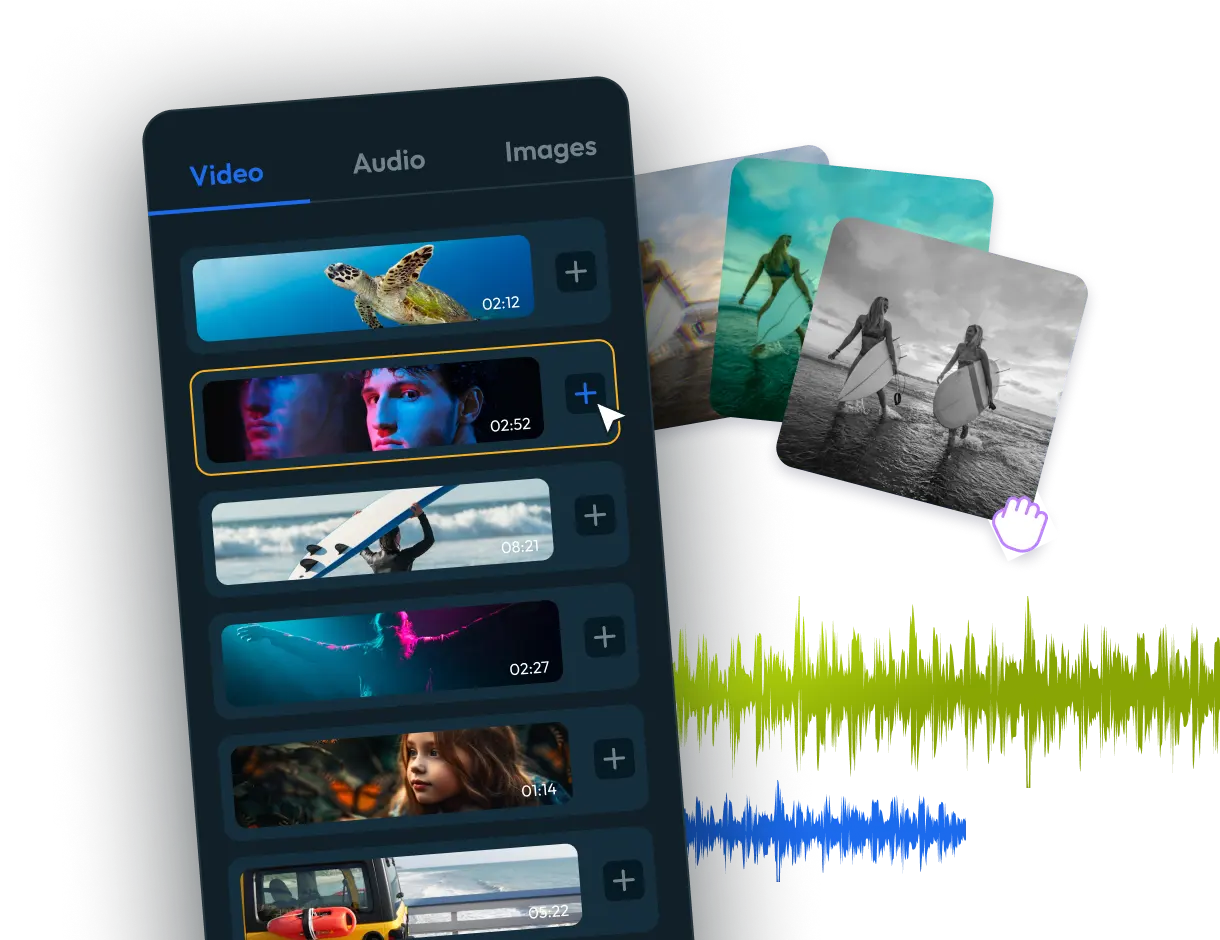
1. Wondershare Filmora

Filmora is a versatile highlight video creator designed for users who want polished results without needing advanced editing experience. It offers a clean timeline interface and useful AI tools that help identify key action moments in longer clips, which is especially helpful for sports highlight videos. This tool works smoothly across desktop and mobile, making it a flexible option whether you are editing on your computer or on the go.
- AI Scene Detection to quickly locate key action moments
- Auto Highlight Maker to generate highlight sequences faster
- Speed Ramping and Motion Effects for dramatic sports play edits
- AI Music and Sound Effects that match the energy of the footage
- Export presets for YouTube, Instagram, TikTok, and more
- Windows
- macOS
- iOS
- Android
- The timeline is beginner-friendly, but still supports precision edits
- AI-powered cutting reduces the time spent reviewing long footage
- Built-in effects and transitions are polished and ready to use
- Runs efficiently on mid-range laptops without needing high-end hardware
- Free version exports videos with a visible watermark
- Some advanced effect packs require additional purchase if you want specific styles
Free version available, with options for subscription or one-time (perpetual) license.
Creators who want fast, smooth editing with high-quality results
Filmora makes it easy to turn raw clips into a smooth and engaging highlight reel. Its mix of AI assistance and creative controls fits well for sports, event recaps, and social media edits. You can work quickly without sacrificing visual quality, which is why it leads this list as the best all-around option.
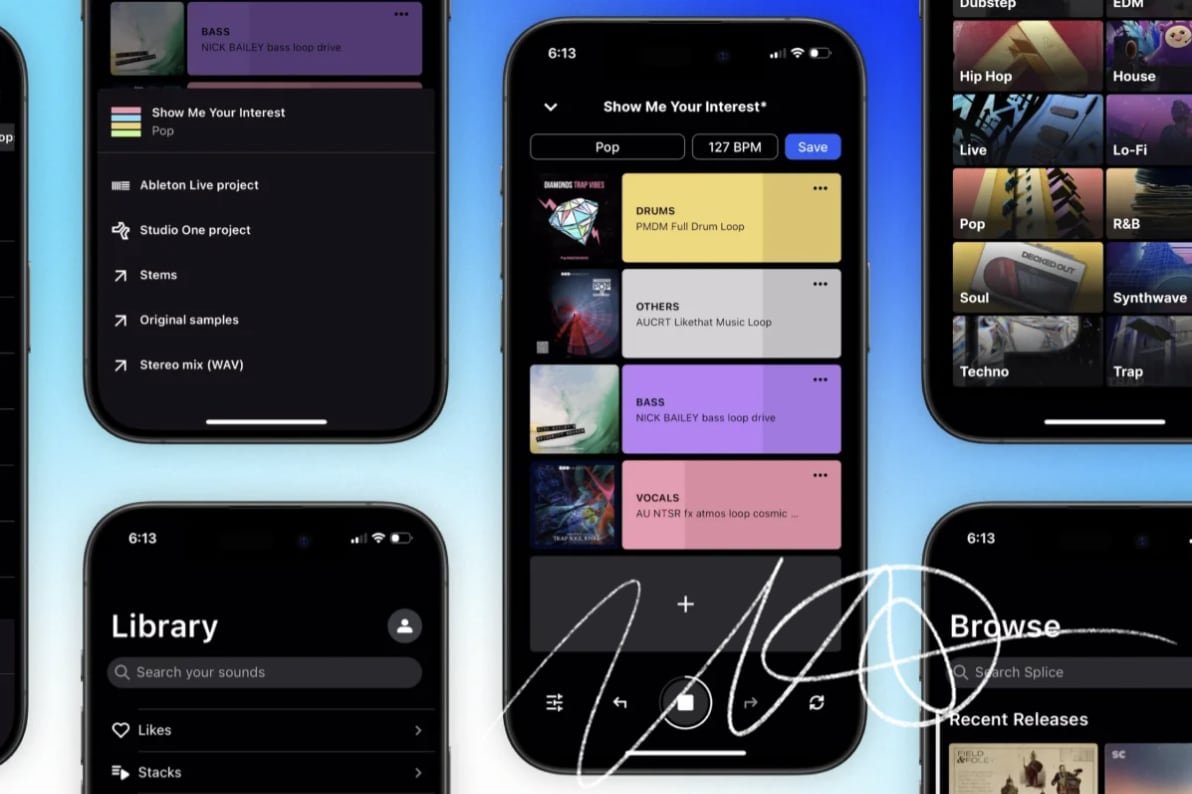
2. Kapwing
Kapwing is an online highlight video maker that you can use directly in your browser. So, it is a convenient choice if you want to edit without installing software. It supports trimming, text overlays, auto subtitles, and smart resizing to quickly adapt your video to platforms like TikTok, YouTube, and Instagram. Because everything is cloud-based, you can start a project on one device and continue on another, which is useful for group or team editing.
- Auto subtitle and translation tools
- Easy format switching for vertical or horizontal videos
- Collaborative workspace for teams or coaches
- Web
- No installation required, works entirely online
- Fast workflow for short highlight reels or social clips
- Collaboration and commenting features are built in
- Free exports include watermark and lower resolution
- Performance can vary depending on internet connection
- Less control than desktop editors for detailed timing or effects
Free version available; full version starts at $16/month
Quick highlight edits and social-ready videos created from any device
Kapwing makes it easy to edit and share highlight videos from anywhere. If your goal is speed and convenience, especially for social platforms, it does the job well.
3. InVideo
InVideo is a highlight video creator that focuses on speed, using templates to help you build polished videos with minimal manual editing. It is especially useful if you want to turn multiple clips into a social-ready highlight reel quickly. You can browse presets designed for sports, events, and vertical reels, then customize text, transitions, and music. InVideo also includes AI-assisted tools for script-to-video, auto captions, and scene suggestions.
- Large template library for sports, reels, and promo-style edits
- Access to stock footage, stickers, and animated text
- AI tools for faster assembly and clip organization
- Web
- Very fast to create polished highlight videos
- Templates make layout and pacing easier for beginners
- Works entirely online, no installation required
- Free plan exports include watermark
- Less flexibility for detailed timing or manual clip control
- Some premium templates and stock assets require upgraded plan
Free version available; full version starts at $28/month
Users who want highlight videos ready for social platforms without starting from scratch
InVideo is ideal if you want highlight videos that look well-designed without spending a lot of time editing. It prioritizes speed and simplicity. So, it is a strong choice for creators focused on quick content production.
4. FlexClip
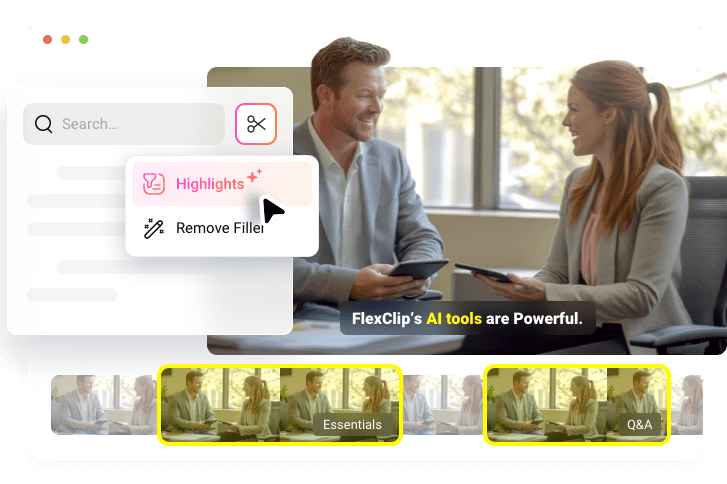
FlexClip is a video highlight generator designed for quick, simple edits with an easy drag-and-drop interface. It works entirely in the browser. So, you can upload your clips, trim out the key moments, and add text or music without downloading software. FlexClip also offers templates for sports intros, countdowns, and recap slides, making it suitable for short hype-style videos.
- Ready-made templates for intros, recaps, and highlight cards
- Built-in stock videos, music, and stickers
- Simple trimming and text overlay tools
- Web
- Very easy to use, no learning curve
- Good for short vertical highlight clips
- Works online on any device
- Free plan limits exports to 720p and includes watermark
- Not ideal for detailed editing or longer timelines
- Fewer advanced motion or speed effects compared to other editors
Free version available; full version starts at $11.99/month
Beginner users who want to create short, fun highlight videos quickly
FlexClip is a great option if you want to create quick highlight videos without complex editing. It’s straightforward, friendly for beginners, and ideal for short social media clips.
5. Flixier
Flixier is a browser-based highlight video maker that focuses on speed and accessibility. Because the editing and rendering are powered by the cloud, your device doesn’t need strong hardware to handle multiple clips. This makes Flixier especially helpful for users working on school laptops or office computers. The timeline is straightforward, and adding text, overlays, and music feels smooth. Teams can also share projects and maintain consistent branding easily.
- Cloud rendering for quick exports
- Simple timeline editing for multiple clips
- Brand Kit and project sharing for teams
- Web
- Runs smoothly even on low-spec computers
- Fast export times compared to most browser editors
- Easy collaboration for coaches, clubs, or content teams
- Free version exports include watermark
- Requires a stable internet connection
- Fewer cinematic motion effects than desktop editors like Filmora
Free version available; full version starts at $14/month
Users who want fast editing and reliable performance without high-end hardware
Flixier is a practical choice if you want fast editing in the browser without worrying about hardware limitations. It helps you create clean highlight videos quickly and consistently.
6. Veed.io

Veed.io is a web-based highlight video maker known for its strong auto-subtitle and captioning tools, making it easy to add readable captions in seconds. The editor is drag-and-drop and works directly in your browser, so trimming clips, adding text overlays, and exporting in different aspect ratios feels quick and straightforward.
- Auto subtitles and multiple language translation
- Easy resizing for vertical or horizontal formats
- Clean interface suited for short-form content
- Web
- Auto-subtitle feature is highly accurate for most audio
- Simple layout makes editing easy for beginners
- Perfect for social media content where text overlays matter
- Free plan exports include watermark
- Some advanced effects and fonts require a paid plan
- Performance depends on internet stability since it runs online
Free version available; full version starts at $9/month
Creators who want highlight videos optimized for social platforms with accurate subtitles
Veed.io is a great choice when your highlight reels need captions or are meant for social platforms. It simplifies the editing process and ensures your videos look platform-ready with minimal effort.
7. Adobe Premiere Rush
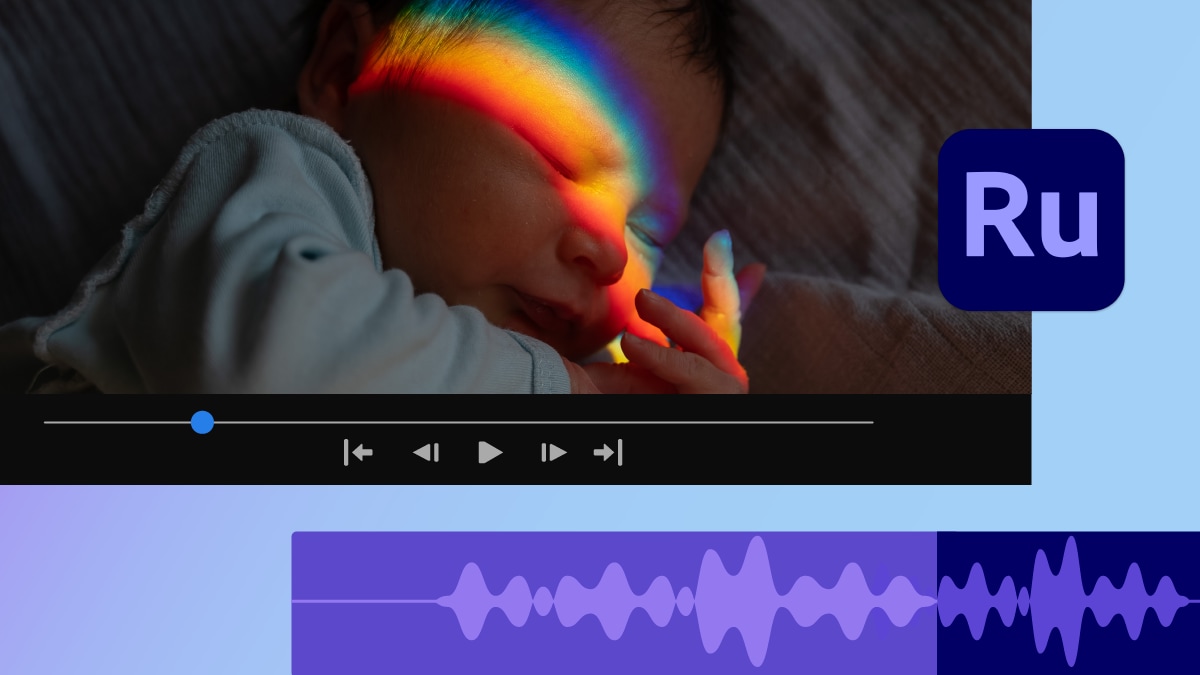
Adobe Premiere Rush is a simplified version of Adobe Premiere Pro, created for quick editing on both desktop and mobile. It works well as a highlight video editor for sports clips, event recaps, and social media reels. The interface is clean with easy trim controls, speed adjustments, and drag-and-drop transitions.
Because projects sync across devices, you can start editing a highlight reel on your phone right after a game and finish it later on your computer.
- Multi-device syncing for seamless editing
- Built-in transitions and motion graphics
- Easy speed adjustment for slow-motion sports replays
- Windows
- macOS
- iOS
- Android
- Works smoothly on both desktop and mobile
- Simple timeline tools are beginner-friendly
- Speed controls are great for sports highlight replays
- Cloud syncing makes it easy to switch devices mid-project
- Free plan limits exports
- Fewer advanced effects compared to Premiere Pro
- Some motion graphics templates require a Creative Cloud subscription
Free version available; full package with Adobe subscription
Creators who want a sports highlight video maker they can use anywhere
Adobe Premiere Rush is a strong option if you want a highlight reel maker that fits into an active workflow. It’s especially handy for athletes, coaches, and creators who record on their phone and want to edit on the go without losing quality.
8. Lightworks

Lightworks has a professional-style timeline that allows precise cutting, which is useful for building longer sports highlight videos, full-season recap videos, or athlete showcase reels. While the interface has a learning curve, it rewards patience with smooth editing performance and clear control over transitions and clip flow.
- Multi-track editing for complex highlight sequences
- Good for longer match recaps or full tournament highlight films
- Professional trimming and timeline tools
- Windows
- macOS
- Linux
- Offers precise control for editing complex highlight timelines
- Free version is functional enough for basic highlight reels
- Works well on most desktops without heavy system requirements
- Interface is less beginner-friendly than simpler highlight reel makers
- Some export formats and advanced features are locked behind paid plans
- Not ideal for quick or template-based editing
Free version available; full version starts at $13.99/month
Users who want a highlight video editor with more precision and manual control
Lightworks is a strong choice if you prefer hands-on editing and want full creative control over your highlight film maker workflow. It’s especially good for editors building longer, more cinematic highlight reels rather than short social clips.
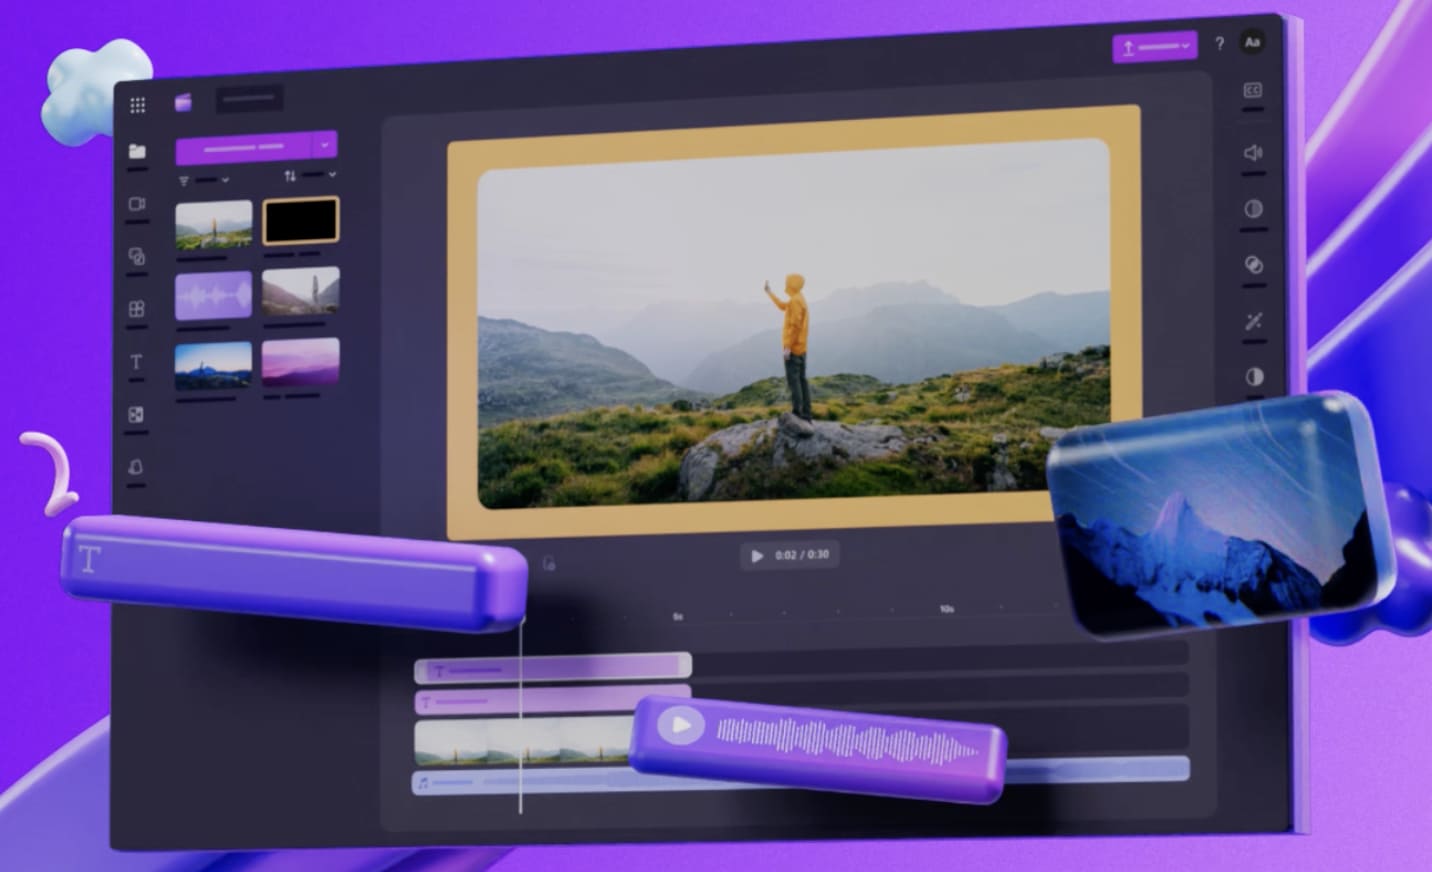
9. Canva

Canva is a great option if your highlight reel needs clean visuals, titles, and graphic elements. While Canva is known for design templates, its video editor makes it easy to create highlight videos with stylish text, team colors, scorecards, and intro graphics. It works well for sports highlight videos, school team montages, event recaps, and social media posts where visual branding matters as much as the clips themselves.
- Drag-and-drop templates for titles, lower-thirds, and scoreboard overlays
- Large library of fonts, colors, stickers, and dynamic text
- Good for vertical highlight reels for TikTok and Instagram
- Web
- Windows
- macOS
- iOS
- Android
- Wide variety of stylish templates for sports title cards and intros
- Beginner-friendly editing interface
- Easy to keep team branding consistent across multiple highlight videos
- Limited advanced video controls such as speed ramping or motion effects
- Free plan has restricted premium assets
- Not ideal for fine-tuning multi-clip timing in intense sports highlight edits
Free version available; full version starts at $15/month
Users who want highlight videos with strong visual design and easy text formatting
Canva Video is a strong choice when your highlight reel needs clear visuals, clean titles, and consistent branding. It helps your highlight reel maker workflow look polished without requiring deep editing skills.
10. Clipchamp
Clipchamp is a simple and accessible highlight video maker that comes built-in on many Windows 11 devices. It offers drag-and-drop editing, trimming, split tools, text overlays, and basic transitions. It’s a good option for quick sports highlight video edits when you need to cut together short clips and share them fast. The interface is straightforward, so beginners can create highlight reels without learning complex editing controls.
- Works smoothly on most Windows laptops
- Easy trimming and text overlays
- Built-in stock music and sound effects
- Windows
- Web
- iOS
- Already integrated into many Windows systems
- Very simple interface for straightforward highlight editing
- Exports at 1080p even on the free plan
- Premium stock footage and effects require a paid upgrade
- Limited creative effects compared to Filmora or professional editors
- Not ideal for detailed timing or motion-based sports highlights
Free version available; full version with Microsoft 365 package
Windows users who want a lightweight highlight video editor for fast results
Clipchamp is a convenient highlight reel maker for quick edits, especially if you are on Windows and want something easy to start with. It’s great for simple sports clips, event reels, or school highlight videos made without extra setup.
11. Magisto
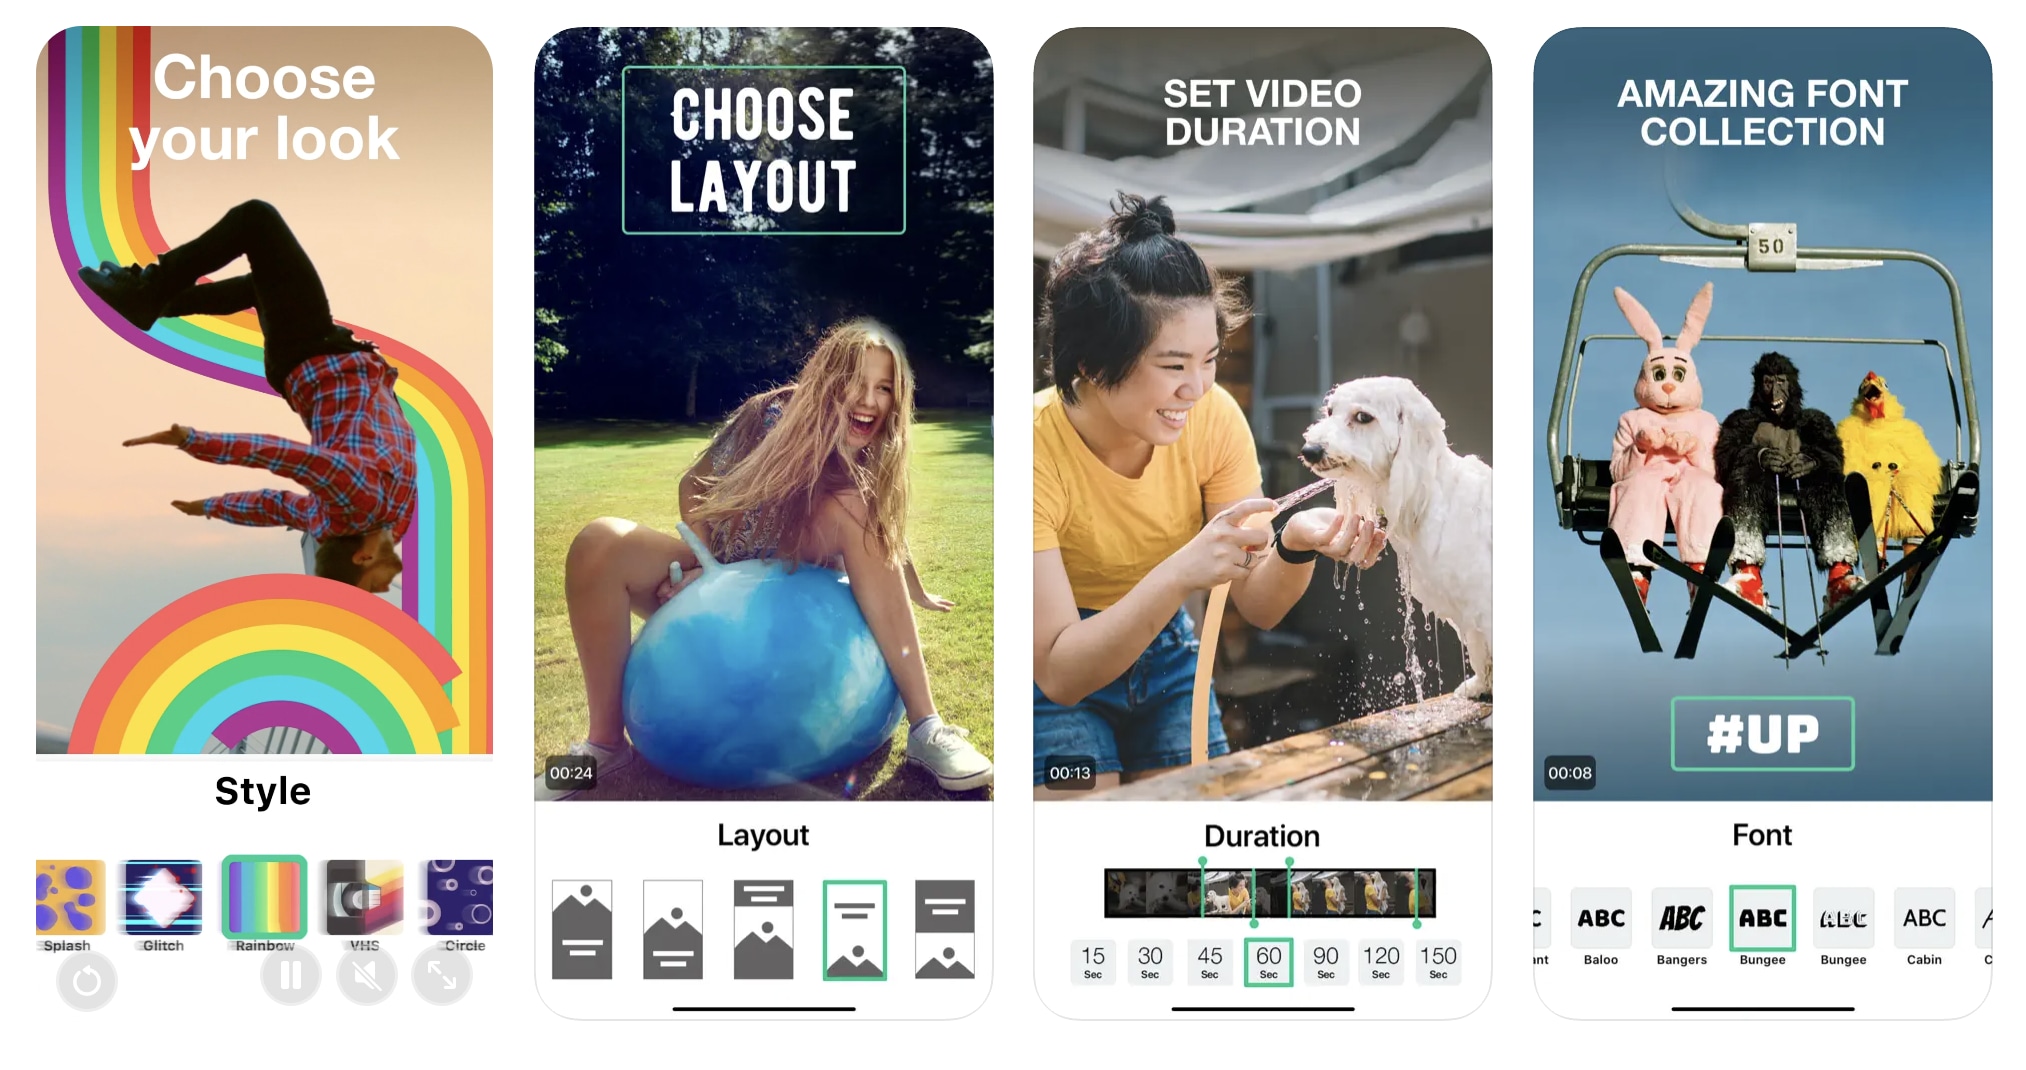
Magisto is an AI highlight video maker that automatically analyzes your clips, selects key moments, and arranges them into a finished highlight reel. This makes it helpful for users who want a sports highlight video maker that requires almost no manual editing. You simply upload your footage, choose an editing style, pick music, and Magisto assembles the video for you.
- AI detects motion and emotional moments
- Automatic editing styles and transitions
- Good for short social highlight videos
- Web
- iOS
- Android
- Automatically creates highlight reels with very little effort
- Easy for beginners who don’t want manual editing
- Works well for short personal or casual sports highlights
- Limited control over clip arrangement and timing
- Free version is for trial only
- Not suitable for detailed or competitive sports highlight editing
Subscription starts at $4.99/month
Users who want highlight videos created quickly with minimal effort
Magisto is the right choice if you want a highlight reel maker that does most of the work for you. It’s ideal for simple, fast, shareable highlight videos without needing to learn editing skills.
12. Splice
Splice is a mobile-friendly highlight video maker app designed for users who prefer editing directly on their phones. It offers smooth trimming, clean speed adjustments, music syncing, and simple text overlays. The interface is touch-friendly, so trimming and arranging clips feels natural, even on a small screen.
- Easy slow-motion and speed ramping for dramatic plays
- Built-in music syncing for hype-style reels
- Touch-friendly timeline editing
- iOS
- Android
- Mobile editing feels smooth and intuitive
- Great for quick highlight clips immediately after a game
- Speed control tools work well for action sports footage
- Full features require subscription, no true free plan
- Not ideal for longer or multi-layer highlight edits
- Project organization can feel limited for ongoing highlight series
Subscription starts at around $4.99/month
Users who want fast, polished sports highlights edited on mobile
Splice is a strong pick for athletes, coaches, or creators who record and share from their phones. It makes it easy to produce engaging highlight reels quickly, without needing a computer or advanced editing skills.
13. Shotcut
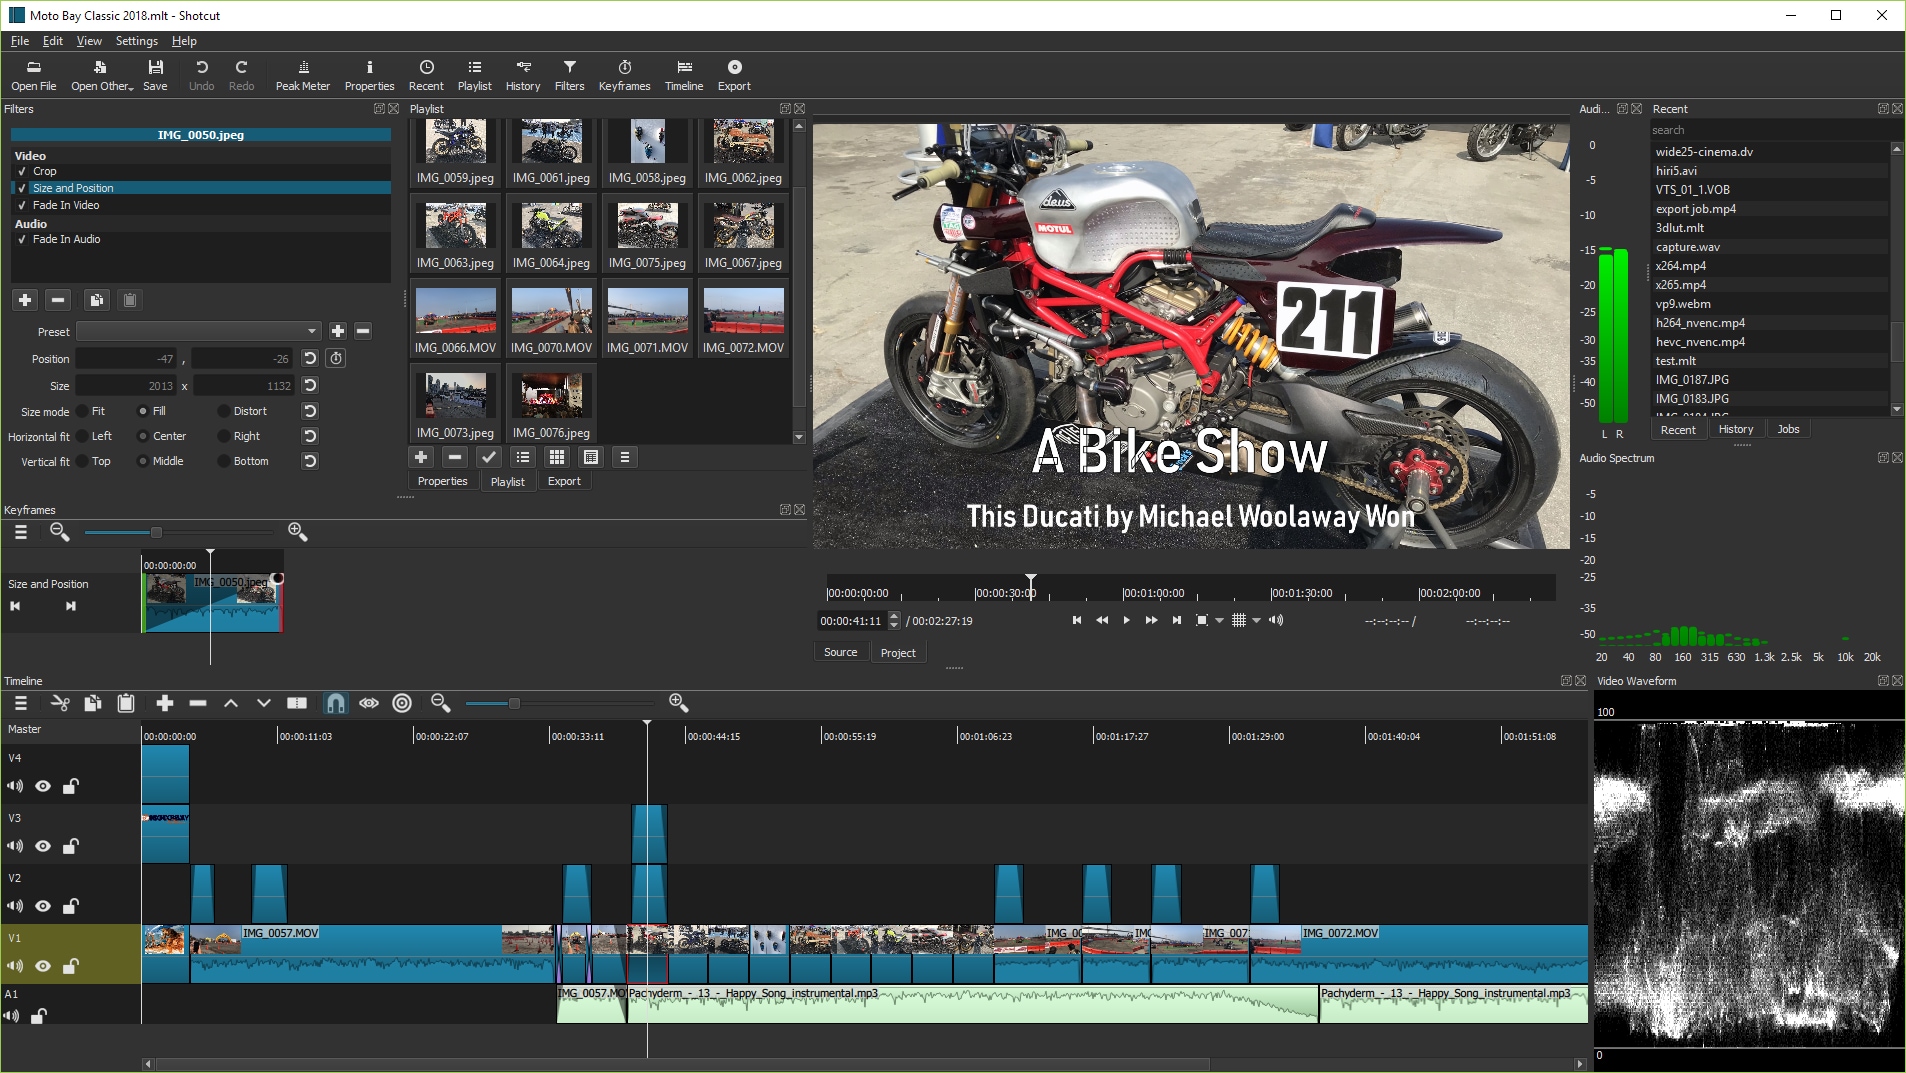
Shotcut provides a traditional video editing layout with timeline controls, trimming, layers, filters, and speed adjustments. While it does not include templates or AI highlight detection, it offers plenty of manual control for users who want to create sports highlight videos without paying for software. Shotcut is especially good for longer highlight reels where you need to fine-tune pacing and clip timing.
- Multi-track timeline for detailed editing
- Speed controls for replay or slow-motion highlights
- Works offline and does not require a powerful computer
- Windows
- macOS
- Linux
- Completely free with no hidden fees or export watermarks
- Flexible timeline editing for detailed highlight assembly
- Runs on older or lower-spec computers reliably
- No AI scene detection or auto highlight features
- Interface may feel less modern than newer web-based editors
- Requires more manual work compared to template-driven tools
Free, no subscriptions or watermarks
Users who want full editing capability without cost
Shotcut is a great option if you want the best free highlight video maker that still gives you full control over your editing. It’s ideal for users who don’t mind a bit of manual work in exchange for cost-free flexibility.
14. KineMaster
KineMaster is a mobile highlight video maker app that offers more advanced editing options than most phone-based editors. It supports multiple video layers, chroma key, precise trimming, and speed control. If you need more editing depth while still working on a phone or tablet, KineMaster is one of the strongest choices.
- Multi-layer editing for text, graphics, and video clips
- Speed adjustments for replays and slow-motion breakdowns
- Built-in visual effects and transitions
- iOS
- Android
- Advanced editing controls suitable for detailed sports highlight videos
- Supports multiple layers for text, logos, and overlays
- Smooth performance on most recent phones and tablets
- Free version includes KineMaster watermark on exports
- Interface can feel busy for complete beginners
- Best features locked behind subscription
Free download available; subscription starts at around $7.99/month
Users who want more control over highlight editing on mobile devices
KineMaster is ideal if you want a sports highlight video maker app with more control than basic mobile editors. It balances mobility and functionality, useful for creating sports highlight videos with overlays like player names, scoreboard graphics, or team logos.
15. Kdenlive
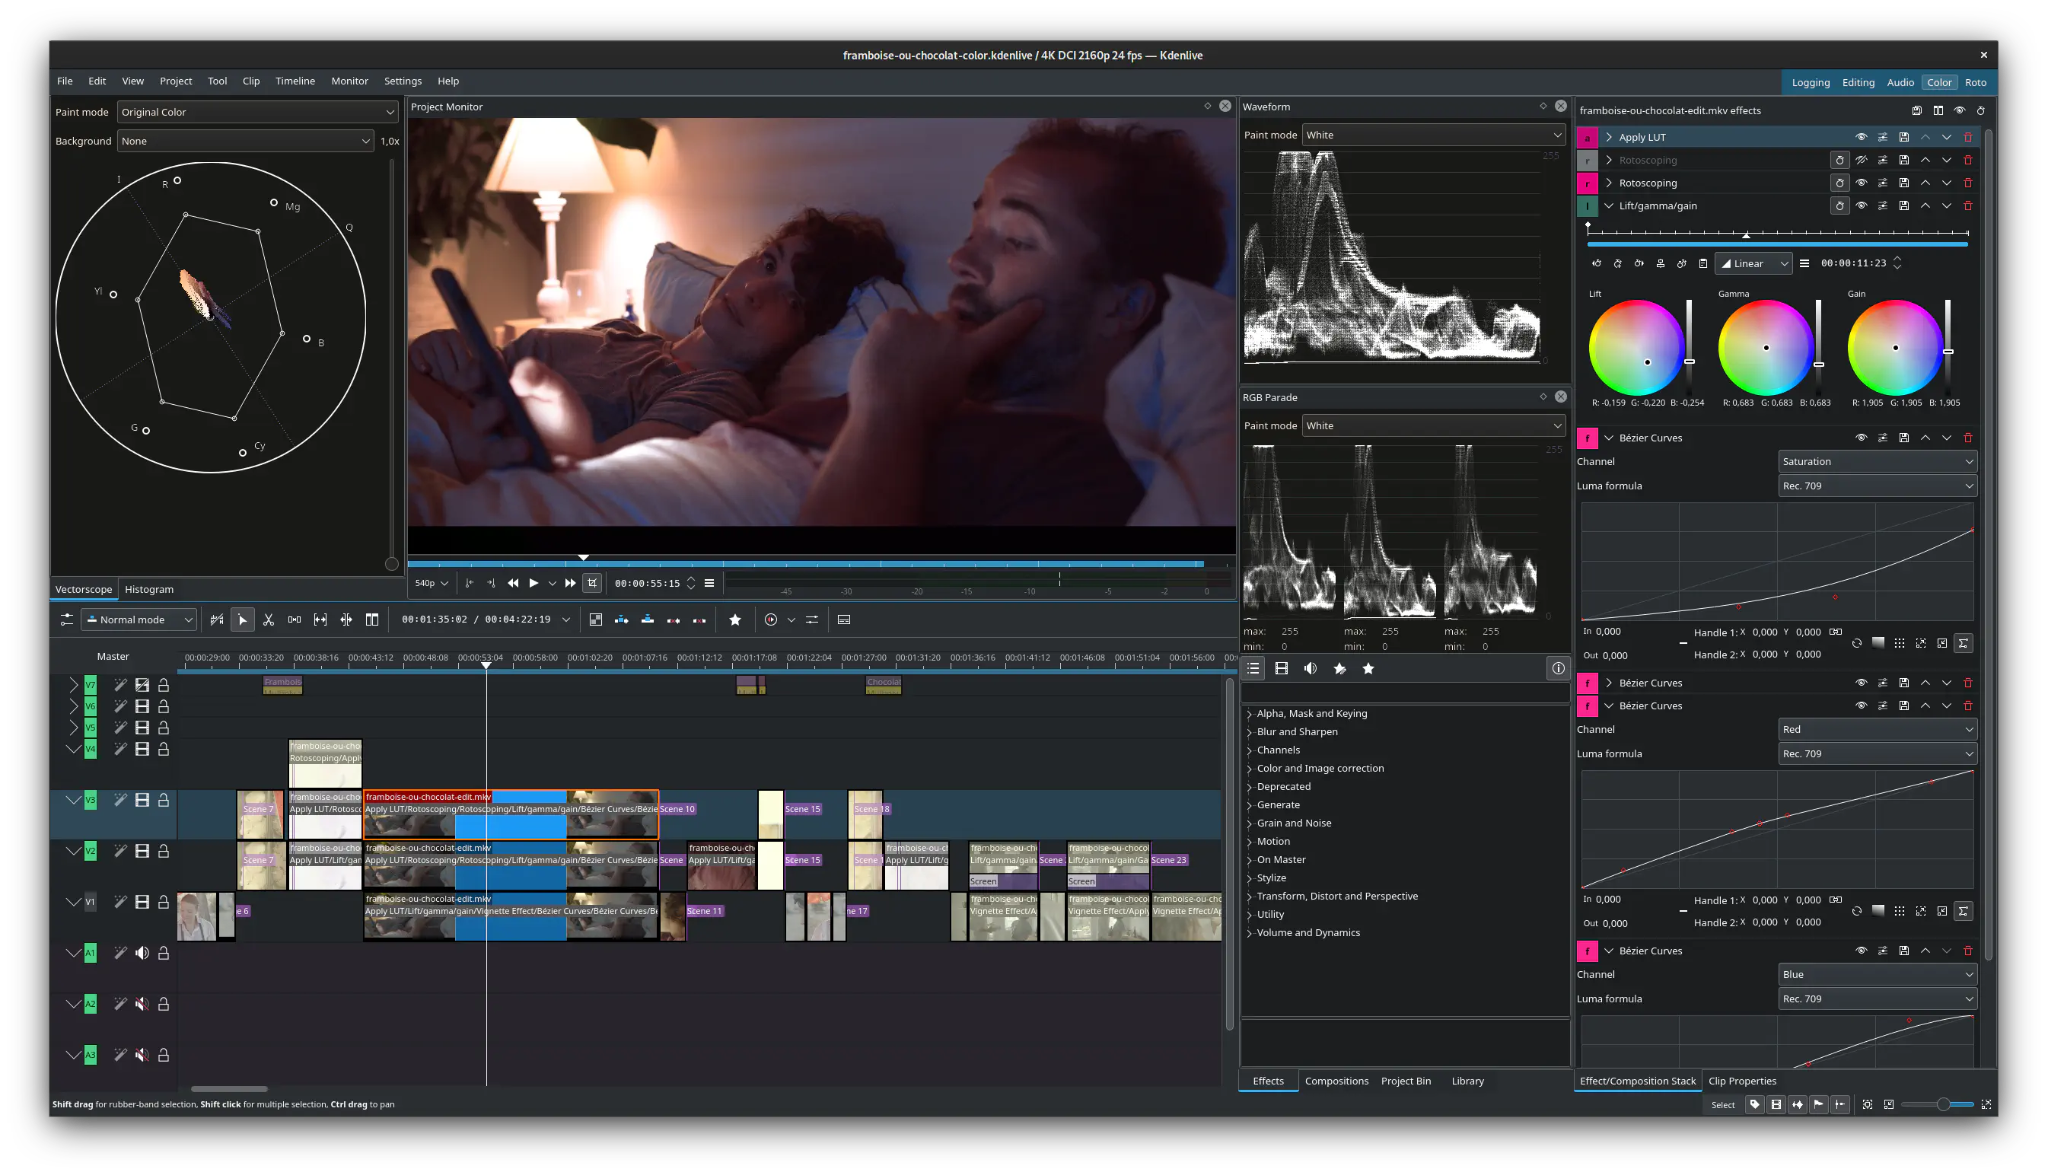
Kdenlive is a open-source free highlight video maker with a professional-style multi-track editing timeline. It gives you full control over clip arrangement, transitions, color adjustment, and audio mixing. While it does not include AI highlight tools or ready-made templates, it’s powerful for creating longer sports highlight videos, season recap films, recruitment tapes, and cinematic highlight reels. If you enjoy fine-tuning details and building your edit with precision, Kdenlive offers the flexibility to do so at no cost.
- Multi-track timeline with precision trimming
- Transition and audio mixing tools similar to pro software
- Frequent community updates and plugin support
- Windows
- macOS
- Linux
- Completely free with no hidden upgrades
- High level of control for complex highlight projects
- Works well for longer highlight reels, reels with commentary, or scouting tapes
- No built-in AI highlight detection or auto editing
- Interface feels more technical than casual-friendly apps
- Learning curve is steeper for first-time users
Free, open-source, no subscriptions or watermarks
Editors who want pro-level control without paying for software
Kdenlive is a strong option if you prefer full creative control and want to build highlight reels with precision. It’s especially suited for highlight film makers who prioritize craft and are comfortable with a more detailed editing workflow.
Part 2. What to Look for in a Highlight Video Maker
Choosing the right highlight video maker depends on how you like to edit and where you plan to share your video. If your goal is quick sports highlight clips for social media, you might prefer a simple online editor or a mobile app. If you want more polished highlight reels, especially for player portfolios or season recaps, a desktop editor with more control will suit you better.
Here are a few things to keep in mind:
- Look for an editor that feels easy to navigate, especially when trimming and arranging clips.
- AI features like auto-scene detection can help when you’re working with long sports recordings.
- If your highlight reel needs style, check for transitions, text overlays, team colors, and speed ramping.
- For game highlights, strong music syncing makes a big difference in how energetic the final video feels.
- Make sure the editor can export in the formats and resolutions you need for YouTube, Instagram, TikTok, or team sharing platforms.
Conclusion
The right highlight video maker makes it easy to turn great moments into a story worth sharing. Some tools focus on fast, simple editing, while others give you deeper control for cinematic sports highlight videos or full-length recap films. If you want a smooth editing experience with helpful AI tools and strong creative options, Filmora is a standout choice in 2026. It helps you work quickly without losing quality, making it a solid fit for athletes, coaches, content creators, and anyone who wants their highlight reel to look sharp and engaging.
