
 100% Security Verified | No Subscription Required | No Malware


 ChatGPT
 Perplexity
 Gemini
 Claude
 Grok
Grok

If you want to make your content more engaging and convey the needed message, you may want to merge multiple YouTube videos and reach the desired results.
It can help you boost your online visibility and reach the target audience, but you may experience obstacles on the way. For instance, the built-in YouTube Studio option doesn't provide such features, ultimately leading to the need for a third-party app.
If you're currently searching for such solutions, you've come to the right place. We'll present the ultimate tool for combining YouTube videos using the power of AI. Wondershare Filmora provides you with everything you need for an easy and efficient start, so you can check out the guide below for more details and learn how to master your skills.
In this article
What You Need to Know Before Merging Videos for YouTube
Merging YouTube videos will surely impact your online visibility and performance. However, it's one of the most complex processes, and you should be careful while trying to reach the desired results. Thus, we've prepared a couple of tips you can follow to increase your productivity and get the most out of your journey.
- Define your goals– You shouldn't blindly combine videos and expect them to work. Instead, you must consider the message you want to convey and act accordingly.
- Editing – Your content won't be engaging unless you edit it and make the videos work well together. Thus, you need a professional solution that will support all of your requests and help you with engagement.
- Enhancements– These elements will help you create smoother transitions and convey the message clearly. Thus, don't be afraid of stickers, effects, textual elements, and more during the editing process.
- Testing– Before you post the final product to your YouTube channel, you should play the video multiple times to detect any mistakes and fix the issues accordingly.
How to Combine Multiple YouTube Videos into One
As mentioned above, YouTube Studio doesn't provide a merging option for your YouTube videos, which is why you should select an easy-to-use third-party solution for your needs. For instance, one of the most efficient tools on the market is Wondershare Filmora since it provides AI and automated features that will cut production time.
The best part is that you can get the final YouTube product in minutes with this tool, regardless of your previous editing experience or skills. You can automatically edit the clips using auto enhance, smart cutout, color enhance, and other features, which will save you a lot of time and nerves in the process.
Below, we'll present a step-by-step guide to merging and editing YouTube videos with Filmora to help you navigate the experience and become a professional.


Organize Your Videos with Magnetic Timeline
Magnetic Timeline is a specialized Filmora feature that allows you to organize and merge the needed YouTube clips. All you have to do is drag and drop your clips into the timeline, and they will automatically "snap" into place, allowing you to get the ultimate merging experience.
You can completely customize your journey, and here's a step-by-step guide on how to enable and use this feature:
- Step 1: Open the Filmora platform on your desktop and click the New Project option from the main menu.

- Step 2: Once you enter the workstation, import your clips and drag them to the timeline.

- Step 3: Click the Magnetic Timeline icon to enable the feature, as presented in the image below.

You can add more tracks, trim the videos, paste new clips, and much more if needed. This will allow you to get customized results and increase your productivity.
Add Transitions for a Smoother Experience
Now that you've merged your YouTube clips, it's time to create a smooth viewing experience and increase engagement. Luckily, Wondershare Filmora provides hundreds of customizable transitions you can use on your journey to create professional content. We'll teach you how to access and use the available transitions in the guide below:
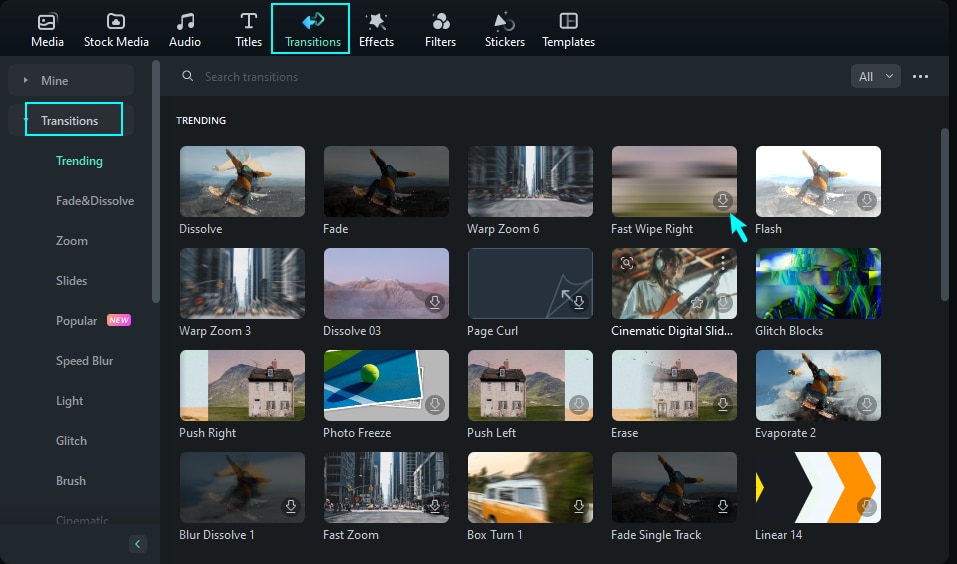
- Step 1: Click on the Transitions tab from the top bar, as presented in the image below.
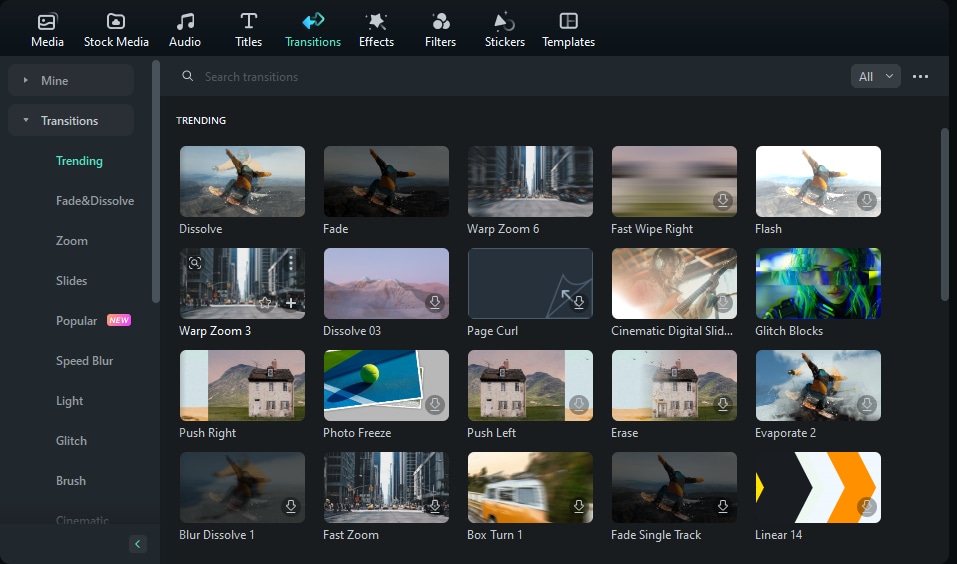
- Step 2: Preview the available options and tap the Download icon next to the one that fits your needs.
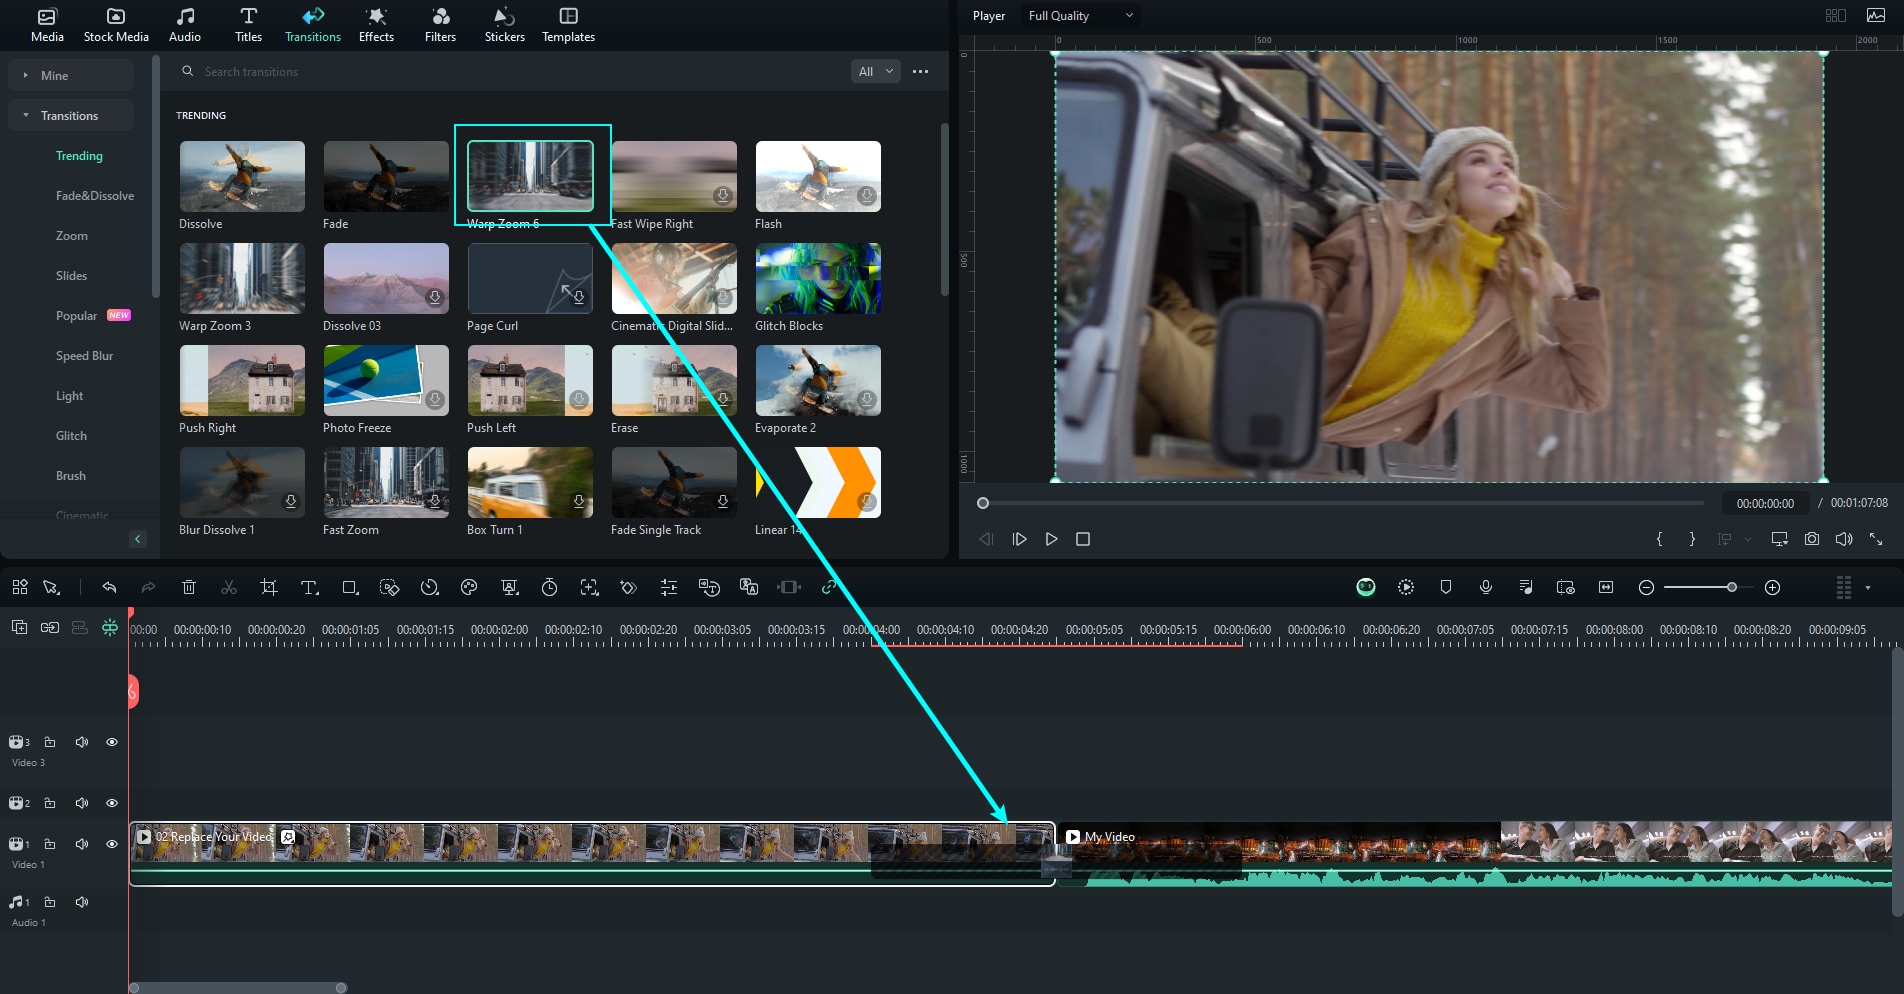
- Step 3: Drag the transition to the timeline to start the process.
- Step 4: Double-tap on the transition from the timeline to adjust your preferences. You can choose the duration and the transition mode from this window.
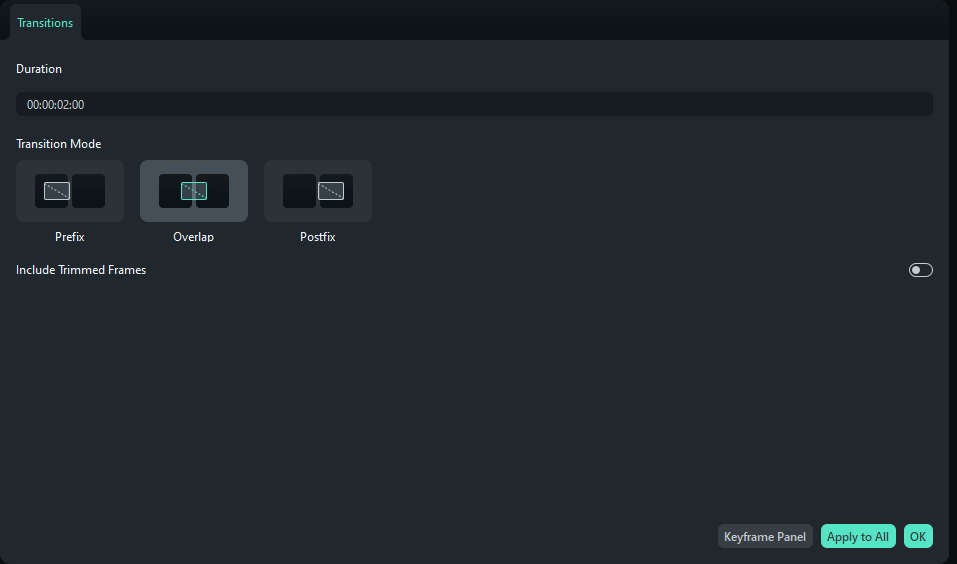
Once you complete these steps, your videos will surely appear smoother and easier to watch.
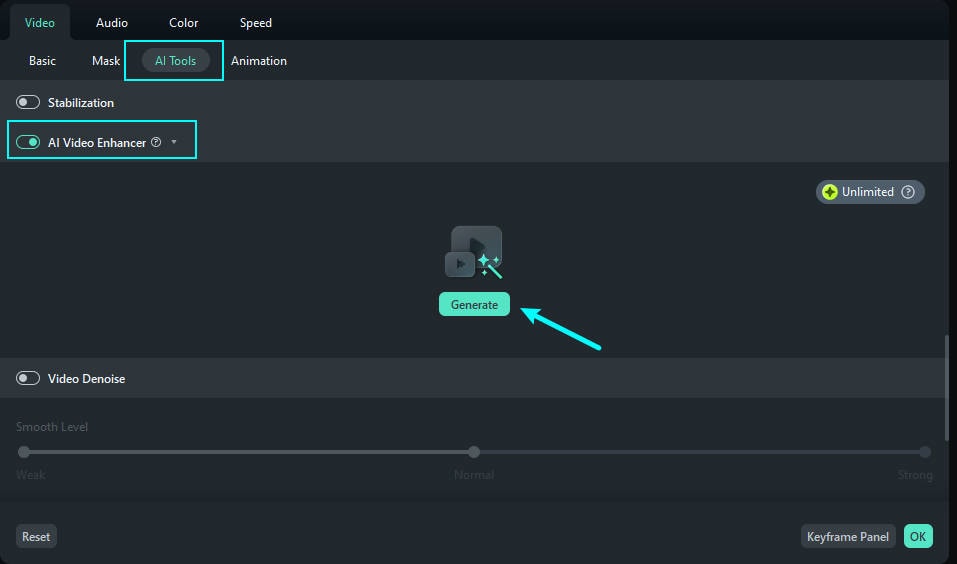
Improve the Quality of Your Video With AI Video Enhancer
Wondershare Filmora provides an advanced AI feature that can improve the quality of your clips, leaving you with professional results. This is crucial for your YouTube experience since you can provide your viewers with the best watching journey and increase your subscriber count.
Make sure not to miss this step since it'll surely boost your results. You can check out the guide below to learn how to access this advanced Filmora feature:
- Step 1: Double-click on your video from the timeline.
- Step 2: Then, navigate to Video>AI Tools from the editing bar.
- Step 3: Slide the AI Video Enhancer option and tap Generate, as presented in the image below.
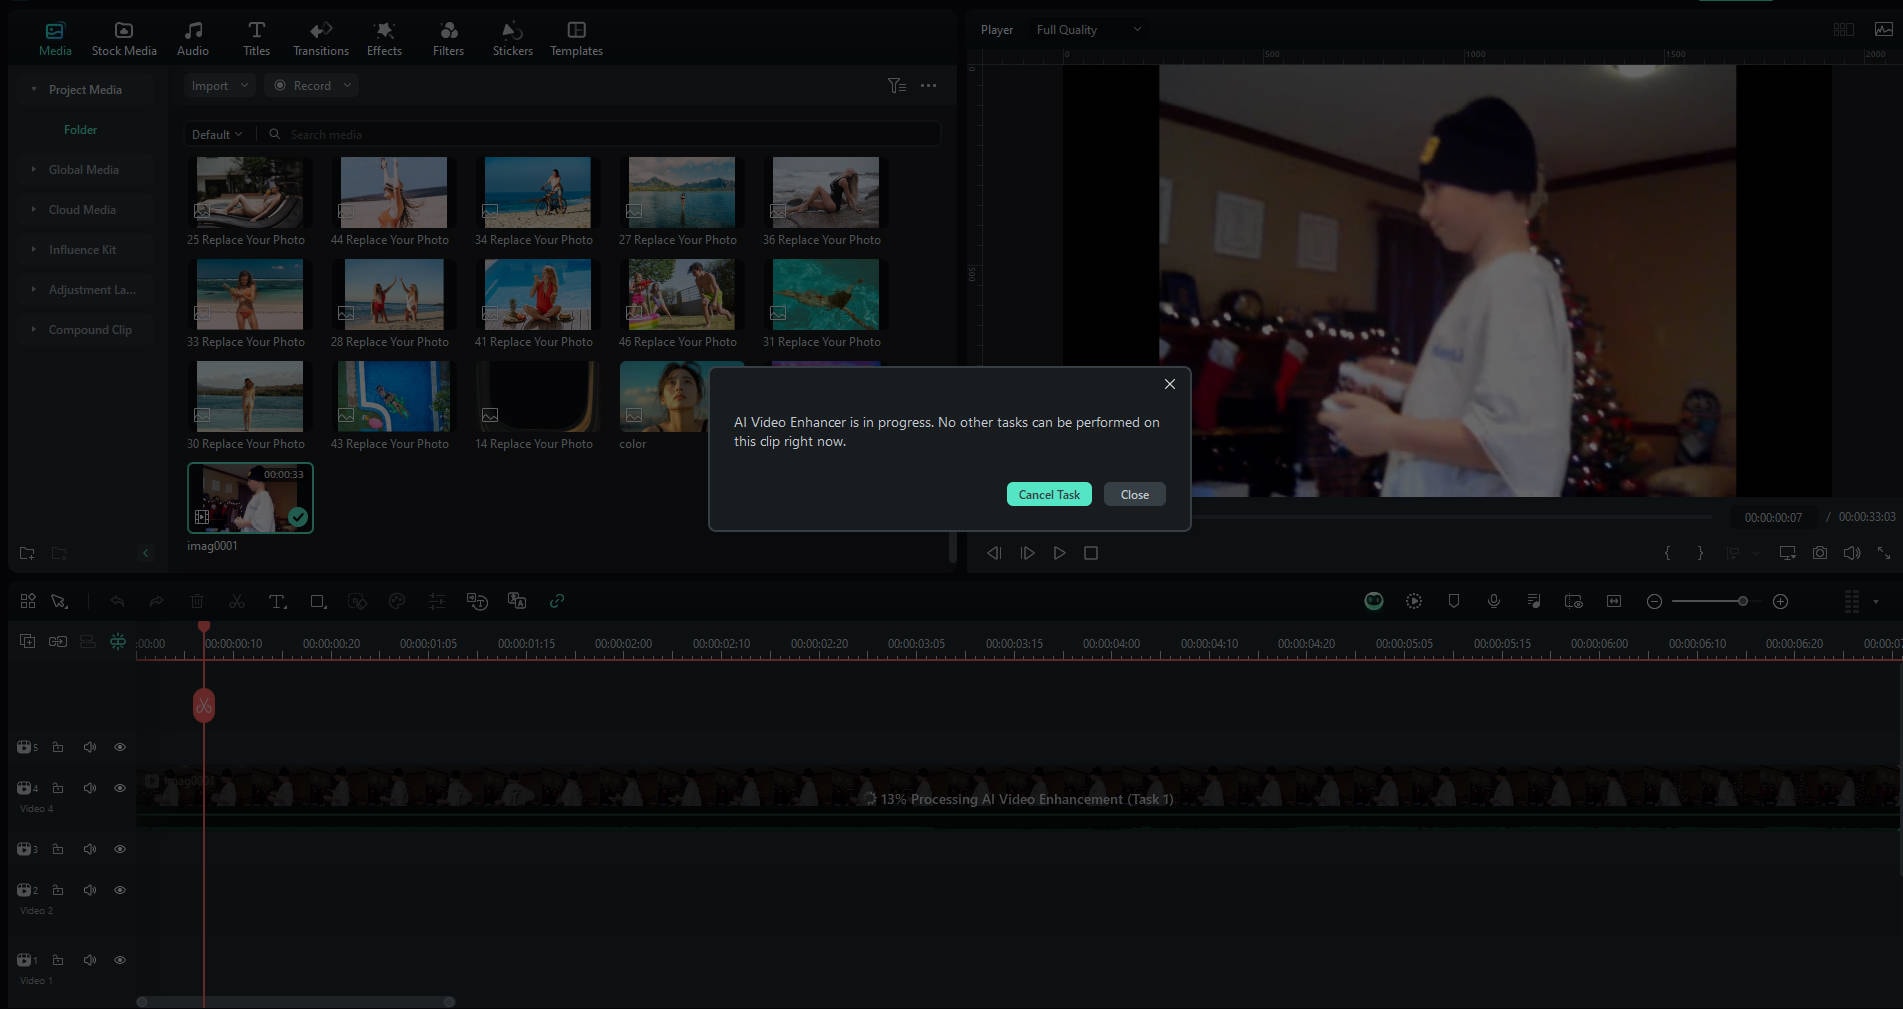
- Step 4: Wait for the program to process your video.
- Step 5: Tap the play button to preview the changes.

And just like that, you'll create a professional video in minutes, with no skills needed.
Match the Colors Using AI Color Palette
Last but not least, you should make sure the colors in your videos match for the ultimate watching experience. Since you're using two or more clips, it's essential to take care of the colors for smooth video transitions and create professional content accordingly.
Luckily, Wondershare Filmora provides an automatic color match feature you can enable in a single click. Your videos will instantly become more synchronized, and you can learn how to access this feature in the guide below:
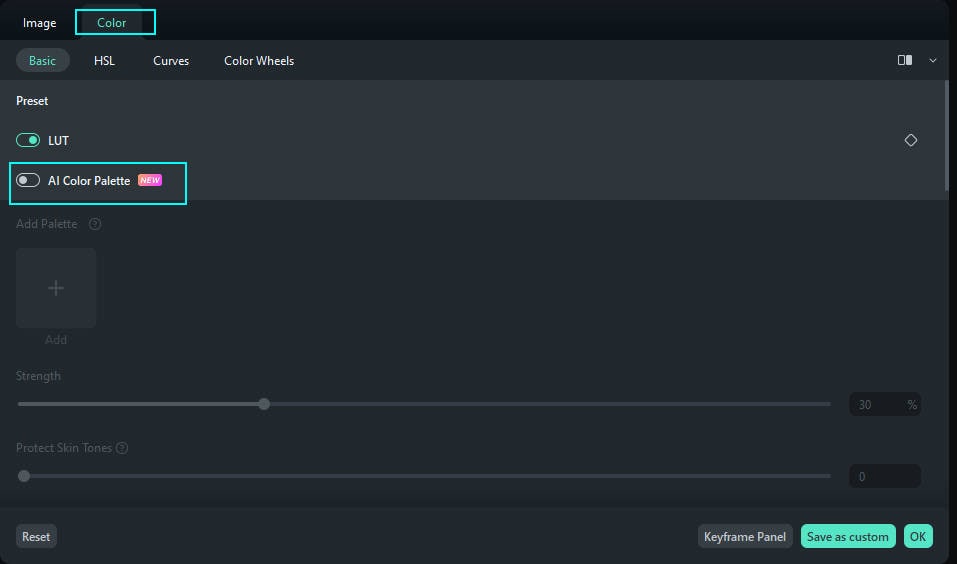
- Step 1: Double-click on your creation from the timeline.
- Step 2: Next, head to Color > Basic.
- Step 3: Slide the AI Color Palette option.
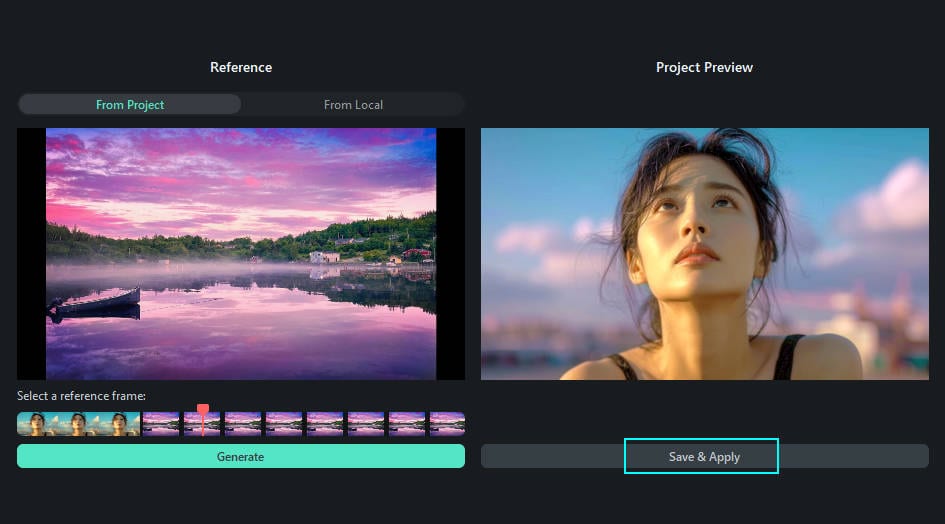
- Step 4: Choose the reference from your video, as presented in the image below.
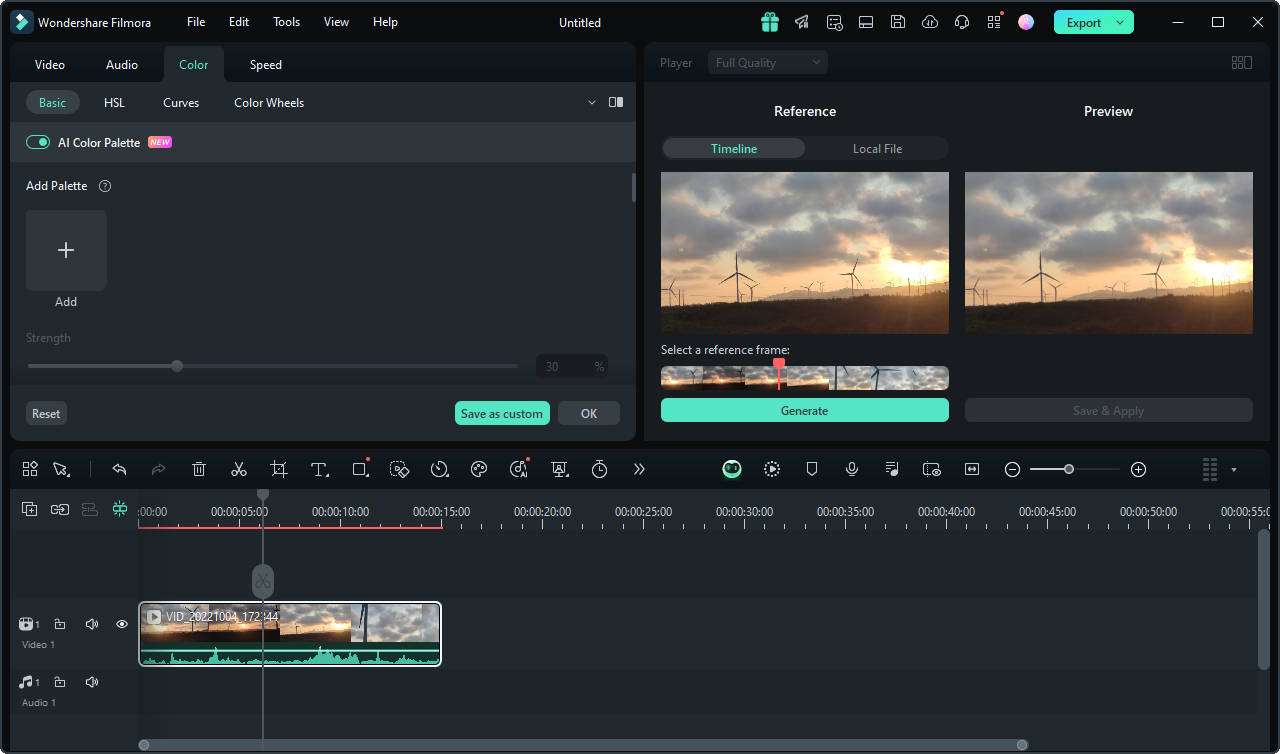
- Step 5: Next, preview and adjust the color to get the ultimate results.

- Step 6: You can also enable the Protect Skin Tones option to ensure the faces stay the same.
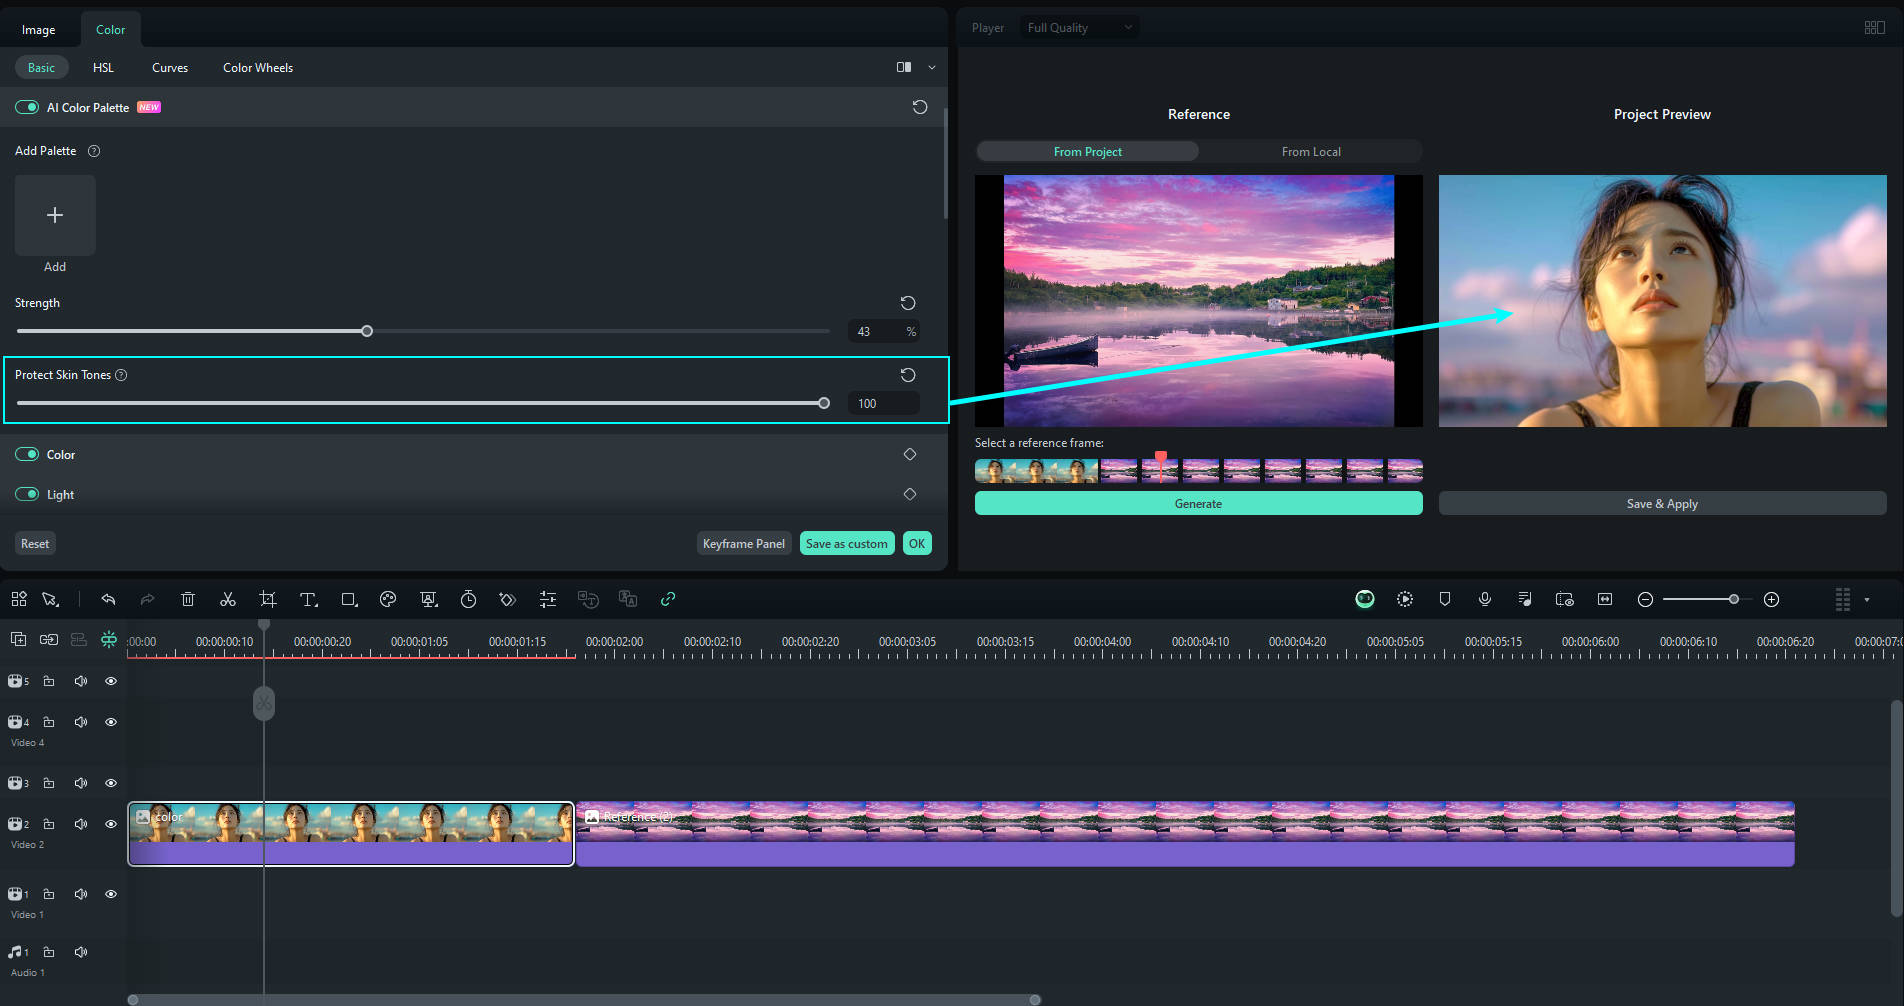
- Step 7: Click the Save and Apply option after customizing everything.
After completing these steps, your videos will be ready for YouTube.
Conclusion
Combining two or more clips for your YouTube videos can be a pain in the neck, especially since the built-in YouTube Studio doesn't provide such features.
If you're looking for ways to enhance your experience, try the ultimate video editing solution called Wondershare Filmora. This tool comes with AI and advanced features to help you elevate the experience and get the most out of your journey.
The best part is that you don't need special skills to reach the desired results. All you need is a desktop device, and you're ready to go. We've discussed how to merge clips, add transitions, match the colors, and enhance the quality of your videos so you can navigate the journey more easily and maximize your efficiency.
