
 100% Security Verified | No Subscription Required | No Malware

YouTube Live is popular for events, gaming, and educational content. But many streams are not available for replay. This makes recording YouTube live streams essential for later viewing, sharing highlights, or saving key moments.
Today, we're going to show you some super handy tools and tricks to help you record YouTube live streams without any hassle. We'll walk you through setting everything up and share some tips to enhance your recording.
In this article
Part 1. The Best Way to Record YouTube Live Stream on PC/Mac
Using a PC or Mac is the best option for recording high-quality live YouTube streams. Computers offer more storage, better performance, and advanced recording options than mobile devices. With the right software, you can capture live YouTube streams smoothly without lag or quality loss.
We recommend you use the Wondershare Filmora's Screen Recorder feature. This tool records YouTube live streams easily and efficiently. Here are some benefits of using Filmora Screen Recorder:
- Customizable Recording: Adjust the recording area, frame rate, and resolution.
- No Lag, High-Resolution Recording: Ensures smooth YouTube streaming record without quality drops.
- AI Video Enhancer: Upscales low-resolution videos and removes noise for a clearer result.
How to Record YouTube Live Stream Using Filmora Screen Recorder
 secure download

01of 05Download & Install Filmora
Go to the Filmora official website and download the latest version. Based on your device, select the appropriate version for Windows or macOS. After downloading, run the installer and follow the on-screen instructions to complete the installation. Once installed, launch Filmora to start recording.
secure download
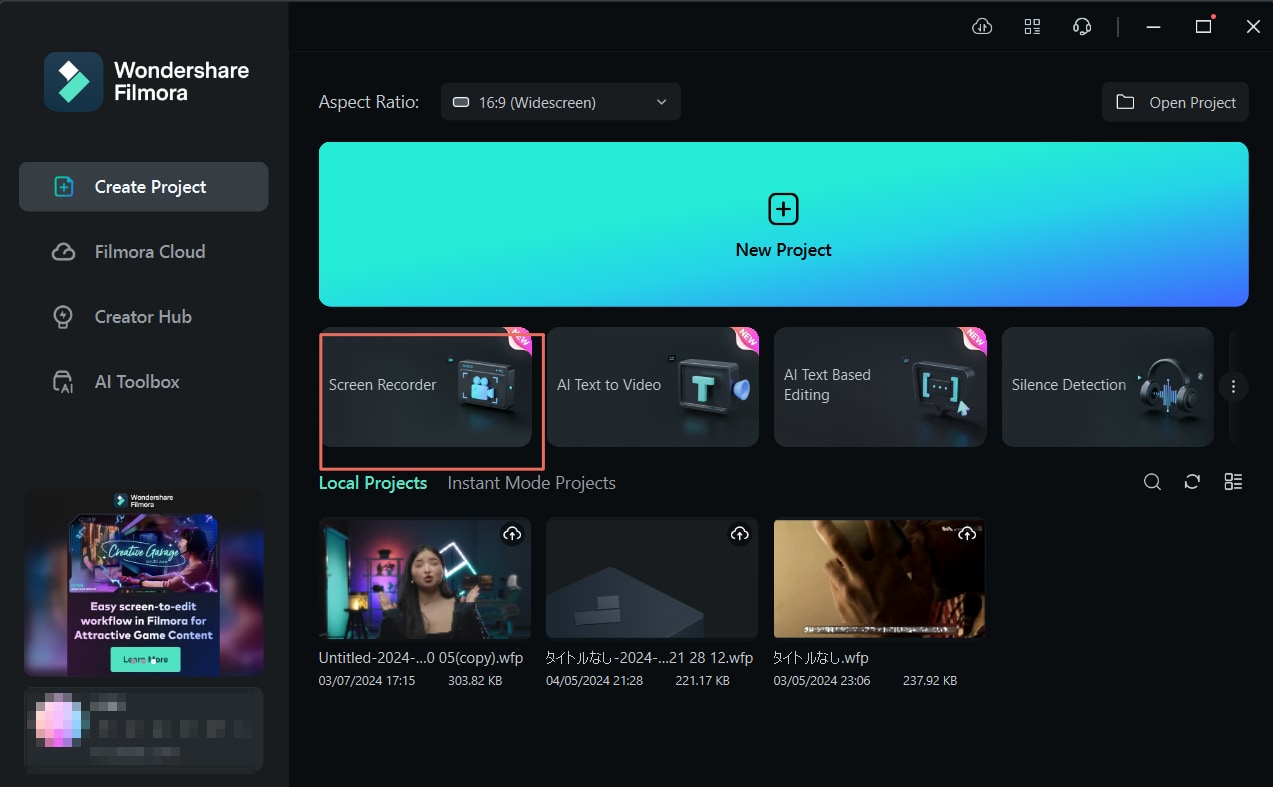
02of 05Open Filmora & Select Screen Recorder
On the main interface, click on the "Screen Recorder" menu. This feature lets you capture live YouTube streams with customizable settings for better quality.
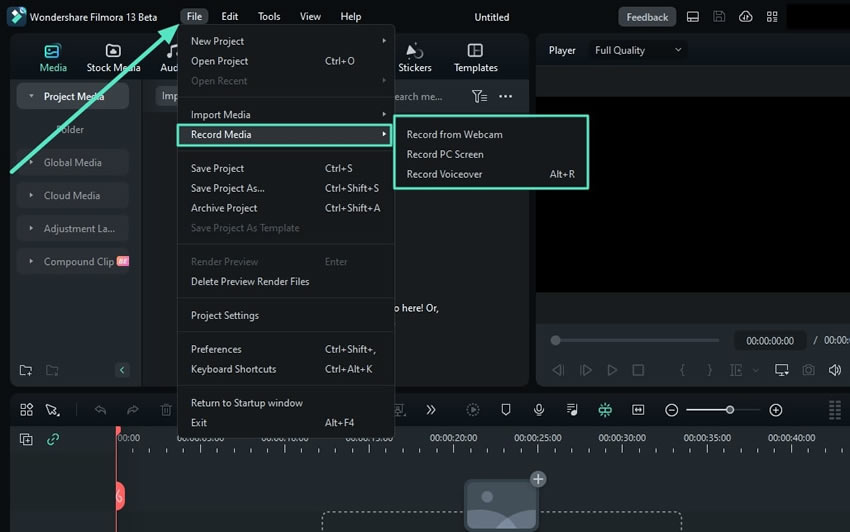
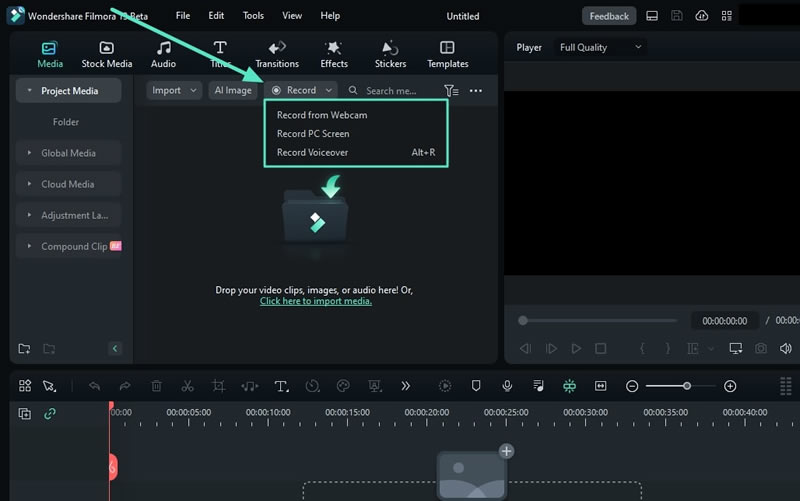
You can also access the feature through "File" > "Record Media" or "Record" on the "Search Media" bar.
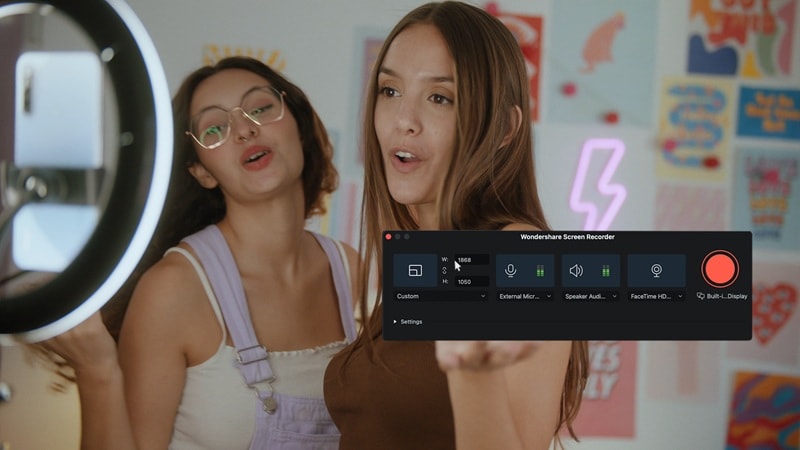
03of 05Customize Recording Area & Frame Rate
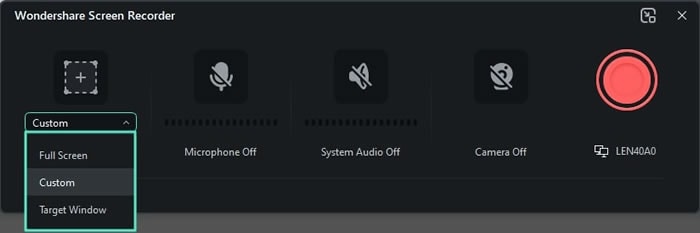
Before you start recording, set your preferred recording area:
- Full screen: Records the entire display.
- Custom area: Select a specific region to record only the YouTube stream window.
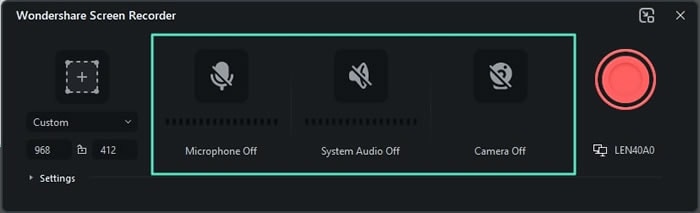
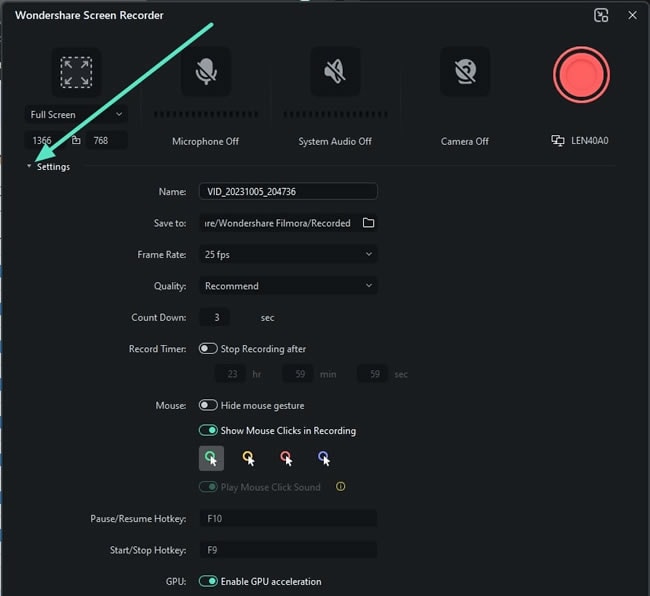
Adjust the frame rate to 30 FPS or 60 FPS for smooth playback. You can also enable the Microphone to capture their voice during the recording session and choose to turn the System Audio or Camera on or off as needed.
To customize the recording further, expand the Settings option in the bottom left corner of the recording window and adjust additional preferences.
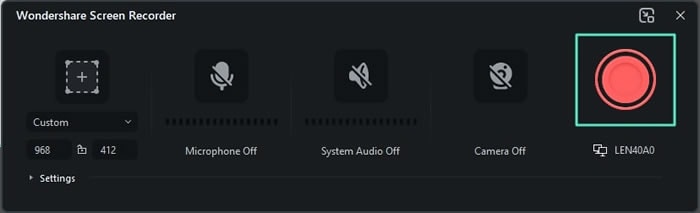
04of 05Start Recording a Live YouTube Stream
Once your settings are configured, click the record button. Then, switch to the YouTube live stream you want to capture. Filmora will record the stream in real-time, ensuring no missed moments.
If you need to pause or stop the recording, use the hotkeys or click the stop button in the control panel.
05of 05Save & Enhance the Video
After stopping the recording, Filmora automatically saves the video to your selected folder. To improve the quality, use the AI Video Enhancer:
- Upscale resolution for sharper playback.
- Reduce background noise for better sound clarity.
- Adjust brightness and contrast to enhance clarity and achieve a polished, professional appearance.
We will elaborate on the AI Video Enhancer steps in the later section.
- Superb video stabilization with low distortion.
- Vast video/audio effects and creative assets.
- Powerful AI for effortless content creation.
- Intuitive, professional yet beginner-friendly.
- Works on Mac, Windows, iOS, and Android.

Part 2. How to Record Live YouTube Stream Online Free (No Download Required)
If you prefer not to install software, online screen recorders provide a quick way to capture live YouTube streams directly from your browser. These tools are convenient for users who need a simple recording option without taking up storage space. However, while they work well for basic screen recording, they often lack advanced features found in dedicated software.
Below are two common web-based screen recording tools used for recording YouTube live streams.
1. HeyGen Screen Recorder
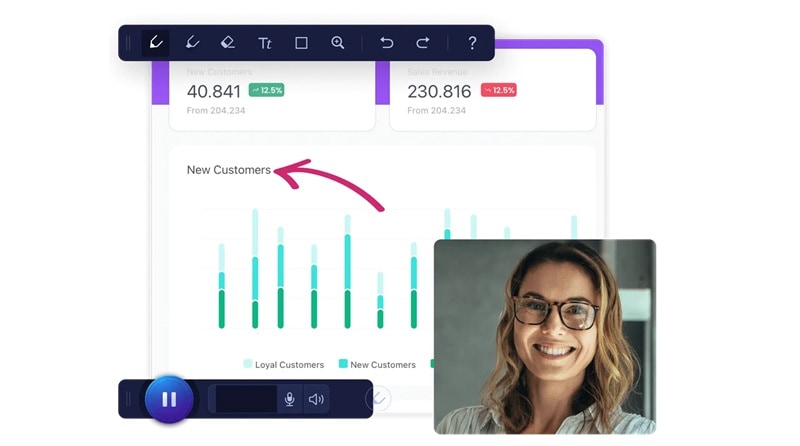
HeyGen Screen Recorder is an online tool that allows users to record their screen through a web browser. It offers options to capture full screen, application windows, or browser tabs, which makes it useful for recording YouTube live streams. Additionally, it supports webcam recording, allowing users to add a personal video overlay if needed.
Features:
- Works entirely online without requiring installation.
- Allows users to record either the full screen or a specific browser tab.
- Supports webcam integration for additional recording options.
Limitations:
- Does not offer advanced settings for resolution, frame rate, or audio quality.
- May have restrictions on recording length depending on browser limitations.
- No built-in video enhancement features.
2. Online Screen Recorder
Online Screen Recorder is a web-based tool designed for screen and audio recording. It enables users to capture YouTube live streams without downloading software. The tool supports basic video capture with system audio. It is suitable for simple recording tasks.
Features:
- Works in a web browser with no installation required.
- Can record system audio along with the screen.
- Offers direct file downloads after recording.
Limitations:
- Video quality depends on browser performance, which may result in frame drops or lower resolution.
- Lacks advanced customization options for recording settings.
- Does not include post-recording enhancement tools such as noise reduction or resolution upscaling.
Both HeyGen and Online Screen Recorder have their strengths for recording YouTube live streams online. That said, while they offer a quick and easy way to capture videos, they often lack the advanced features of dedicated recording software.
Some common drawbacks include:
- Lower video quality: Many online recorders compress videos, reducing clarity.
- Limited customization: Users cannot manually adjust resolution, frame rate, or bit rate for better quality.
- Potential recording interruptions: Browser-based tools depend on internet stability, which may affect recording performance.
Part 3: Mobile Screen Recorders for Capturing Live YouTube Streams on Phone
Most Android and iPhone devices have built-in screen recorders that allow users to capture live YouTube streams without installing additional apps. These recorders are easy to use and work directly from the phone's settings. However, they have limitations in terms of video quality, frame rate, and customization.
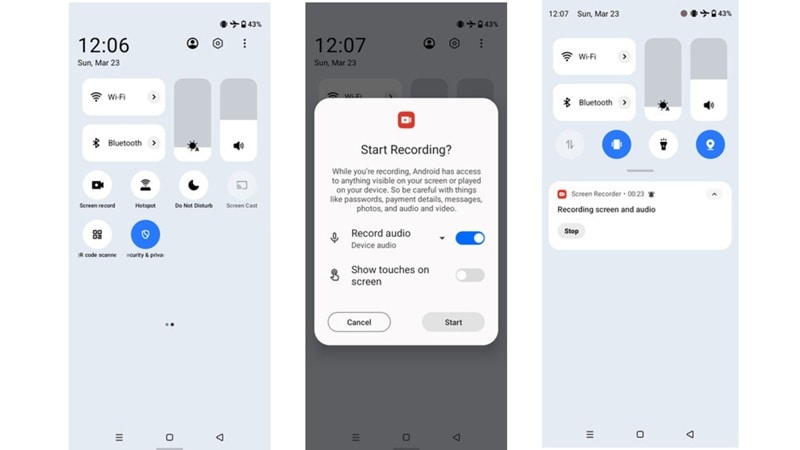
Recording a YouTube Live Stream on Android: Step-by-Step
Most modern Android devices have a built-in screen recorder. Follow these steps to record a YouTube livestream:
- Pull down from the top of the screen to access the Quick Settings
- Look for the Screen Recorder If it's not visible, tap Edit (pencil icon) and add it.
- Tap the Screen Recorder to start recording. Enable system audio if your device supports it.
- Open YouTube Live and start streaming. The recorder will capture the video and audio.
- Tap Stop when the recording is complete. The video will be saved to the Gallery or Files app.
Recording a YouTube Live Stream on iPhone: Step-by-Step
secure download
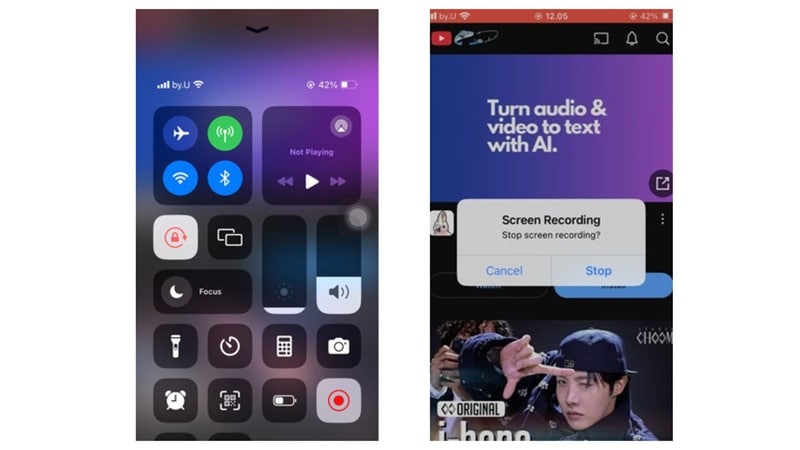
Apple provides a built-in screen recorder on iPhones with iOS 11 and later. Here's how to use it:
- Go to Settings > Control Center and add Screen Recording if it's not already there.
- Open Control Center (swipe down from the top-right on iPhone X and newer, swipe up on older models).
- Tap the Screen Recording button. A 3-second countdown will appear.
- Open the YouTube livestream you want to capture.
- Enable microphone audio if you want to include external sounds.
When done, tap the red status bar at the top and select Stop Recording. The video will be saved in the Photos app.
Limitations of Mobile Screen Recorders
While Android and iPhone built-in screen recorders are convenient, they have several drawbacks:
- Basic Recording Features: No advanced settings for customizing resolution, bitrate, or frame rate.
- Limited Audio Control: Some devices do not allow system audio recording, capturing only external sounds.
- Lower Quality & FPS: Most built-in recorders limit video resolution to 1080p and frame rates to 30 FPS.
- No Editing Tools: Users must use a separate app to trim, enhance, or stabilize the recorded video.
Part 4: Enhance Recorded YouTube Live Stream Video with AI Tools
Recording a YouTube live stream is just the first step. The raw recording may lack sharpness, have low brightness, or contain background noise. In that case, a little enhancement can make a big difference in visual clarity, audio quality, and overall presentation.
Filmora's AI Video Enhancer takes care of this with ease. It boosts resolution, reduces noise, and stabilizes shaky footage. Blurry recordings get sharper, dark videos become brighter, and everything looks smoother with just a few clicks.
How to Enhance a Recorded YouTube Live Stream with Filmora AI Video Enhancer
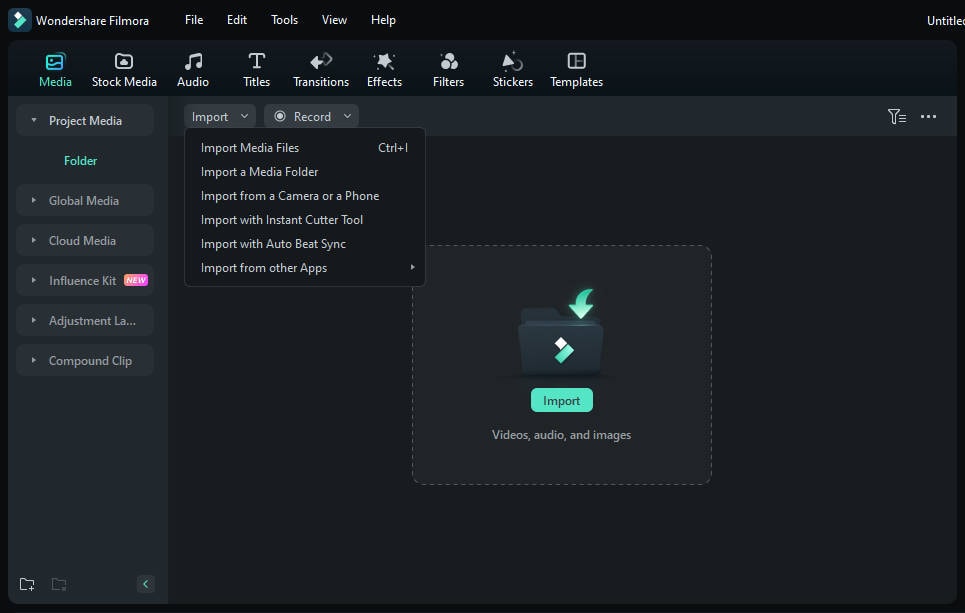
01of 05Import the Recorded Video
Open Filmora and navigate to the Import Media option. Select the YouTube live stream recording from your saved files and add it to your project. The uploaded video will be displayed in the media library for easy access.
secure download
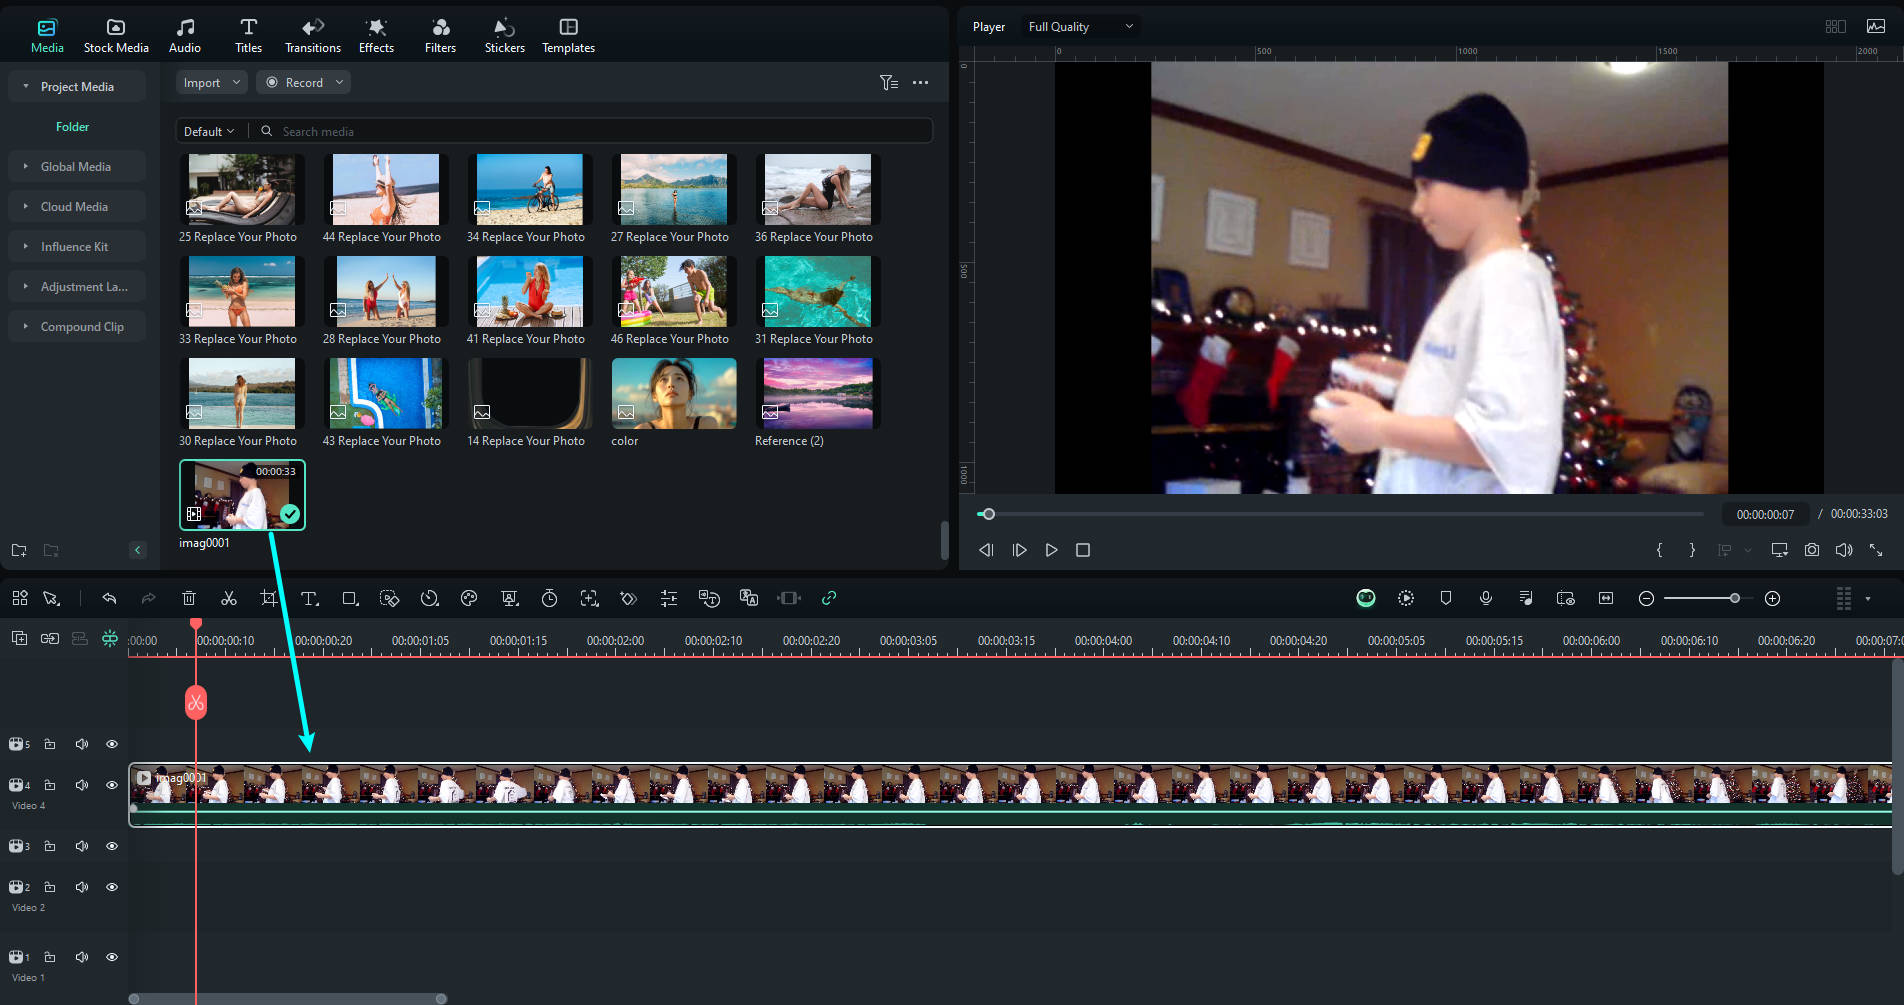
02of 05Add the Video to the Timeline
Drag the imported video from the media library and drop it into the editing timeline. If needed, trim unnecessary parts to adjust the video length. If multiple clips were recorded, arrange them in the correct order to ensure smooth playback.
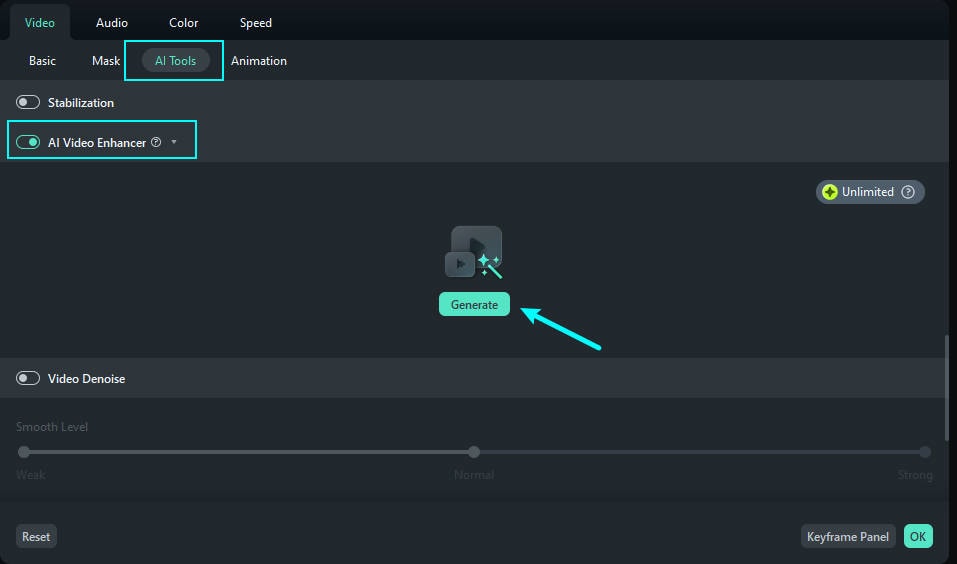
03of 05Apply AI Video Enhancer
Double-click the video clip in the timeline to access the editing panel. Then, navigate to Video > AI Tools and click the button next to AI Video Enhancer to activate the feature. Once enabled, click Generate to allow Filmora to analyze and enhance the resolution.
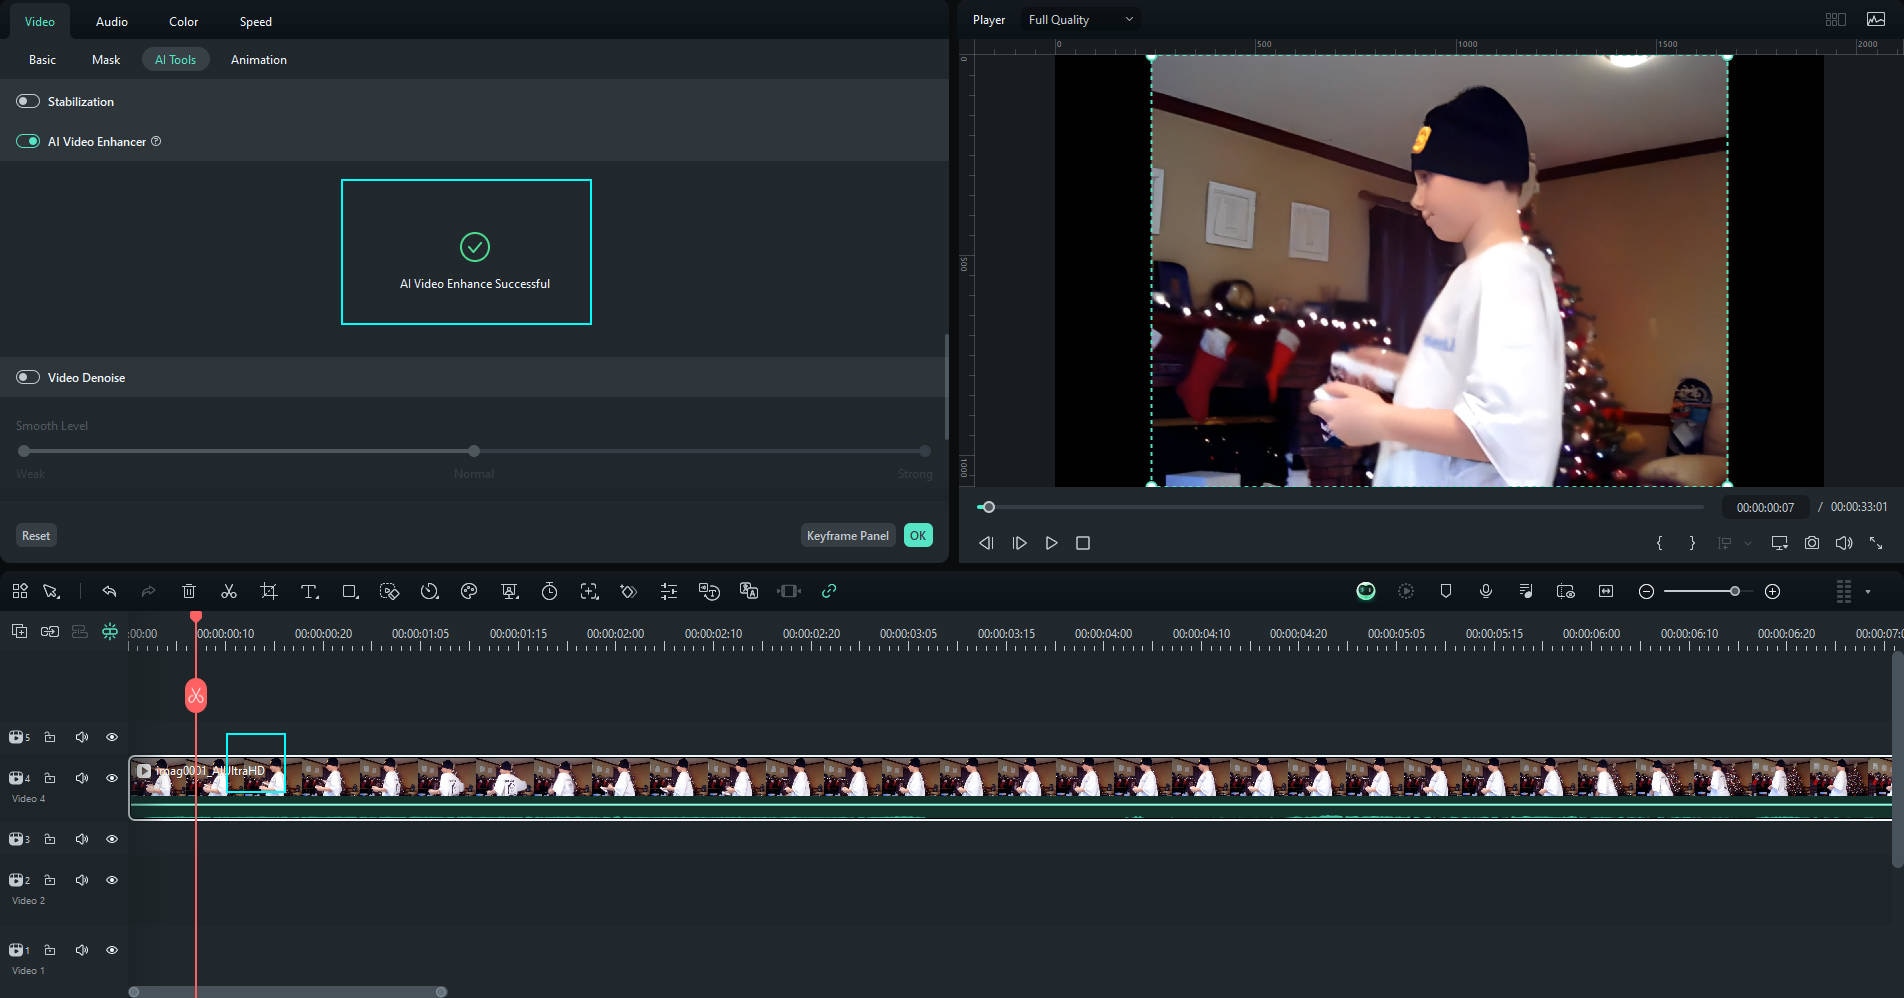
04of 05Preview and Fine-Tune the Video
Play the video in preview mode to check the enhancements. If needed, make further adjustments to brightness, contrast, and sharpness for a more refined look. You can also enhance audio clarity by applying noise reduction or volume adjustments. Fine-tuning ensures the final output looks and sounds polished.
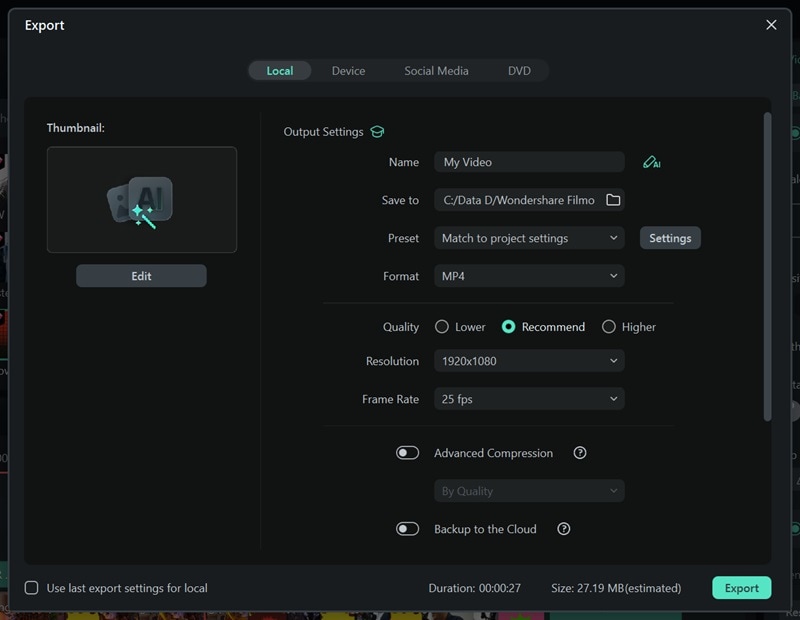
05of 05Export the Enhanced Video
When you're happy with the enhancements, click Export to save your final video. Pick your preferred resolution and choose a file format like MP4, MOV, or AVI. You can also adjust settings like bitrate and frame rate for the best quality. Once exported, your improved video will be ready to watch or share.
Conclusion
Recording a YouTube livestream ensures you never miss important content. While online screen recorders and built-in mobile recorders offer quick solutions, they have limitations in quality and customization. Filmora Screen Recorder provides the best experience with smooth, high-resolution recording and AI-powered enhancements. With AI Video Enhancer, you can effortlessly improve clarity, reduce noise, and upscale resolution. Try Filmora to capture and enhance your YouTube live streams with ease.
secure download
