Key Steps of This Video Tutorial To Follow
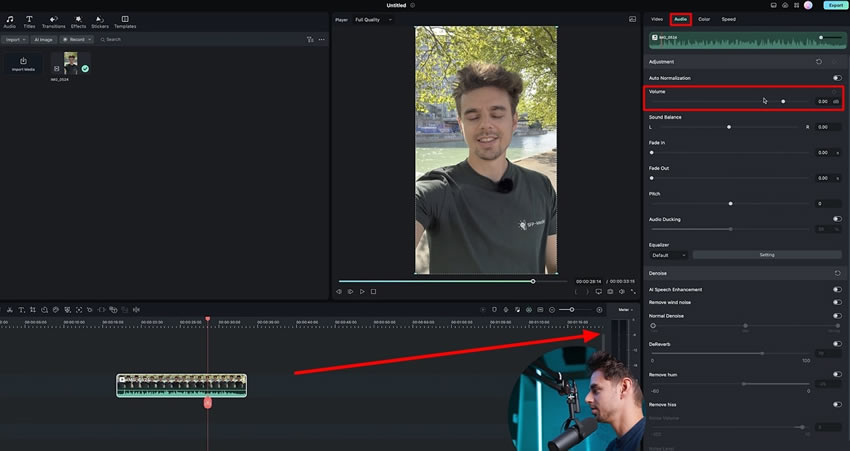
Initiate the audio-enhancing process by selecting the "+" icon after opening Filmora. Now, you can import your recorded video into the media panel from the import button. Select this video and drag it on the timeline track.

As you drop the video on the timeline, double-click the video, and “Settings” will appear. You'll see the "Audio" tab at the top of this window. Enter this tab and look for the “Audio Indicator” icon on the extreme right corner of the timeline toolbar. Check the audio bars here by playing the video. If the bars are too high or too low, you can adjust the overall “Volume” from the “Adjustment” section in the right panel.

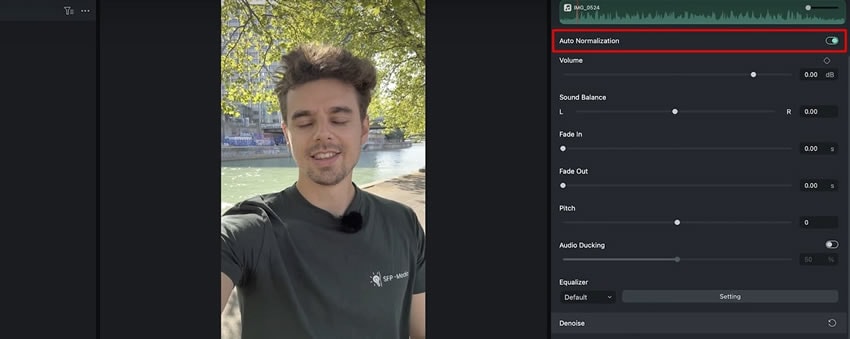
It is also recommended to turn on the "Auto Normalization" button as it automatically normalizes the "Sound Balance," "Fade In," and "Fade Out."

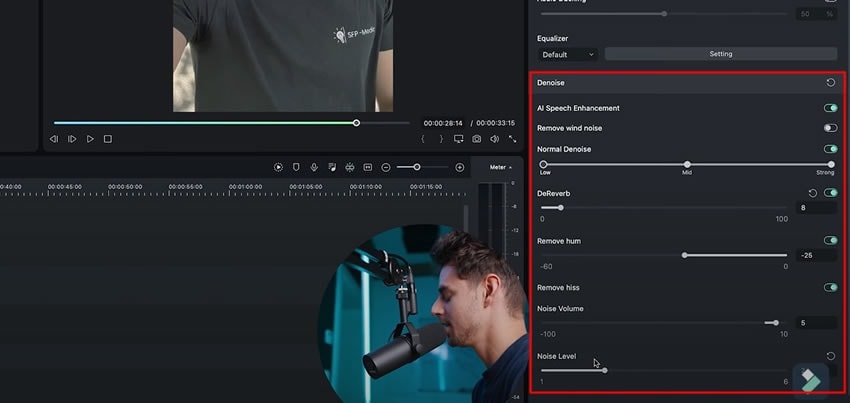
From the “Denoise” section, enable the “AI Speech Enhancement" button. You can also customize the "Normal Denoise" and "DeReverb" by moving the sliders. Furthermore, you can also adjust the "Remove Hum" and "Remove Hiss" sliders depending on your audio requirement. Here you can also set the "Noise Level" as well to improve the overall quality.

Filmora has done wonders in the field of content creation. Whether you face any problem with video editing or audio editing, it is the best solution. This guide has explained the simplest ways to enhance the audio quality of the videos. Filmora also provides some automatic adjustments to make the editing process simpler and easiest.
Julian's Other Filmora Master Lessons


