


 100% Security Verified | No Subscription Required | No Malware


 ChatGPT
 Perplexity
 Gemini
 Claude
 Grok
Grok
OBS Studio is one of the most loved open-source recording programs available. It'll provide you with all the basic opportunities to help you capture your favorite moments and create content. However, some users may want to record the OBS screen and webcam separately to have better control over the editing process.
Can OBS Record Screen and Webcam Separately?
Yes, you can record your screen and webcam separately using OBS Studio, but the feature may be hidden. Many people weren't aware that you can set as many scenes as you would like and record them separately. That applies to camera and screen recording as well. Keep reading to learn how to record camera separately in OBS.
Table of Content
Part 1. How To Record Screen and Webcam Separately in OBS
As mentioned above, you can set multiple scenes and record your webcam and screen separately in OBS Studio. The process may seem overwhelming initially, but if you follow the guide below, you'll navigate the experience easily and make your visual goals come to life.
- Open OBS Studio on your device.
- Click on the first Scene under the Scene option.

- Once you add a scene, head to Sources and click the + button. Select Video Capture Device from the drop-down menu.

- Set your camera preferences in the next window.

- Next, click + under Scenes and name your scene according to your preferences.

- Click the + under Source and choose Display Capture from the menu.

- Customize the settings according to your preferences.

- Click the Start Recording button.

As you can see, setting up the elements may take a few minutes, but you'll be able to capture your favorite moments easily after following the guide.
This method is essential for streamers who need to know how to record gameplay and facecam separately in OBS, allowing them to resize and reposition their facecam freely in post-production.
Part 2. Pros and Cons of Using OBS to Record Camera and Screen Separately
Recording with OBS Studio has its advantages and disadvantages. You need to choose the appropriate method according to these elements to ensure the smoothest screen and camera recording experience.
If the disadvantages outweigh the advantages, you may want to search for another tool to make your visions come to life. Let's check out the pros and cons of using OBS to record screens and cameras separately.
Part 3. A Simpler Way to Record Screen and Webcam Separately: Filmora
Since OBS Studio may be harder to set up and navigate, we've researched the market to discover a better OBS alternative to meet your needs. Wondershare Filmora stood out from the crowd for numerous reasons, such as flexible recording quality and numerous advanced features you can use post-production. Unlike the complex scene setup in OBS, Filmora lets you record your screen and camera separately with a single click, a perfect solution for creating reaction videos or tutorials.
Moreover, Wondershare Filmora completely allows you to customize the recording experience in just a few seconds. You'll be ready to use the tool as soon as you download it, which OBS Studio lacks.
Additionally, basic and AI-powered editing solutions can make your videos look even more professional. For instance, you can use Smart Cutout to separate the camera from the background and make your visions come to life.
Download the tool to your desktop, and follow the guide below to start recording and editing.
Record your screen and webcam, then create pro-level videos easily and quickly with AI tools, stylish templates, effects, music, and other creative assets.

How To Record Screen and Webcam Separately in Filmora
Using the OBS alternative to record the screen and webcam separately is simple. All you have to do is follow these steps to enable the features and start the experience:
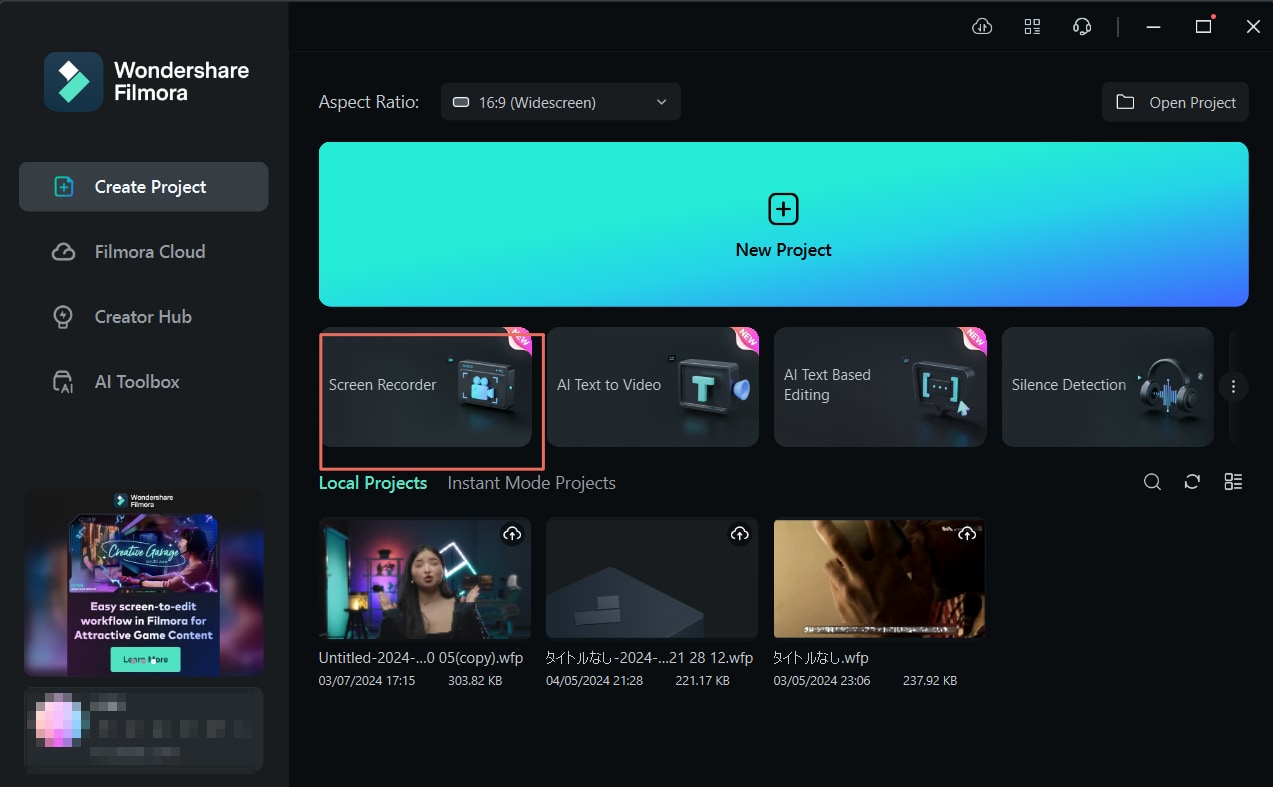
- Open Wondershare Filmora on your desktop and click on the Screen Recorder option from the main menu.
- Next, set the recording preferences from the pop-up window, such as the aspect ratio, microphone, and more.
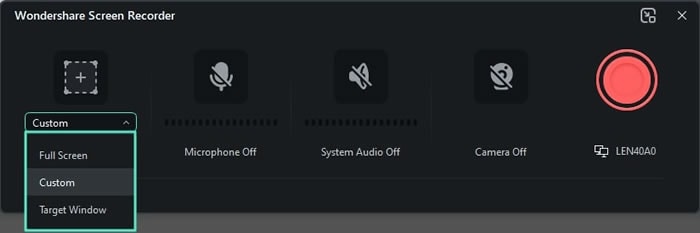
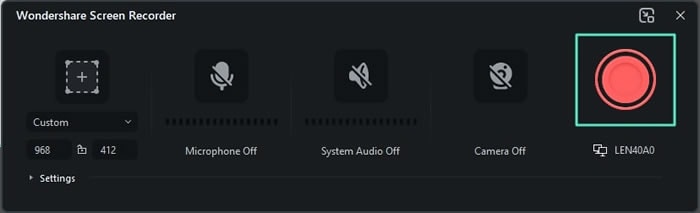
- Click the Camera Off option to enable it, and ensure to toggle the Camera Screen Splitting bar. It will allow you to record separate screen and camera tracks.

- Click the REC button to start the recording process.
As you can see, it'll only take a few seconds to master the tool and start your high-quality recording experience.
How To Edit the Recorded Screen and Webcam in Filmora
As previously mentioned, Wondershare Filmora provides an extensive library of editing features you can access to support your experience. Reaction videos are among the most popular types of screen and webcam content. The video tutorial below will guide you through using various recording and editing features to create professional-quality screen and camera content.
OBS vs. Filmora: Which is Better for Separate Recordings?
| Feature | OBS Studio | Wondershare Filmora |
| Setup Difficulty | Complex (requires scene/source setup, potential plugins) | Easy (one-click toggle) |
| Separate Video Files | Requires advanced setup or plugins | Automatic (saves screen and webcam as separate files) |
| Built-in Editor | None | Yes (full-featured editor included) |
| Ideal User | Technical users, live streamers | Gamers, content creators, beginners, educators |
| Cost | Free | Paid (with free trial) |
Conclusion
In conclusion, you now have the method to record your screen and webcam separately in OBS. As we've shown, while possible, the process can be cumbersome, especially when you need reliable separate tracks for editing your gameplay and facecam footage. The key takeaway is that knowing how to record your camera and screen separately in OBS often requires technical steps and workarounds.
For a more direct and efficient solution, Wondershare Filmora stands out. It's specifically designed to solve this problem, allowing you to record your screen and camera on separate tracks with a simple one-click setting. Forget about managing multiple scenes; with Filmora, you get an all-in-one tool that seamlessly combines high-quality recording with a powerful editor, empowering you to create professional content faster.
