


 100% Security Verified | No Subscription Required | No Malware

When it comes to delivering value, a video surpasses an image by a million. Many research studies have also shown that a video message brings more value to your customers than communicating with them with photos or text-based information. This is the reason why teachers, students, professionals, and business owners often record screens or videos for various purposes.
Do you want to record a tutorial video to educate customers about your product or service? Searching for how to screen capture on Windows? This is the perfect read. It helps you learn to record screens on Windows computers using built-in and third-party tools. In addition, this article recommends a valuable video editor to transform your screen recordings into amazing videos.
In this article
Part 1. How Do I Screen Capture on Windows 10 Using the Built-In Feature?
Before heading toward third-party tools for screen recording, why not benefit from the Windows built-in utilities? This section explains how you can capture screens on your Windows computers using the built-in feature - Xbox Game Bar.
Step 1:Open any app or content you want to record.
Step 2:Press the Windows + Alt + R keys to start the screen recording process. A widget will appear on the screen's upper-right corner to display the recording time, as shown below.

Step 3:Keep recording as long as you want. Once done, tap on the Stop button from the recording widget. Alternatively, you can press the Windows + Alt + R keys again.
Step 4:You will see an alert saying, “Game Clip Recorded.” Tap on the alert to preview your recorded screen. You can also explore the Captures folder to find the MP4 file of the screen recording.
This is how the Xbox Game Bar allows you to capture screens on Windows in no time. Let’s look at what the next method carries.
Part 2. How Do I Record My Screen on Windows 11 Using Snagit?
Do you have a system with Windows 11 installed on it? Looking forward to recording the screen for promotional activities or any other purpose? If so, Snagit will be your helping hand.
This tool is very easy to use and offers a wide range of potential features, from basic editing and trimming to complex-level editing that enables you to create eye-catching videos with screenshots.
Informal and short video messages or recordings are a great way to attract your audience’s attention. This is why most people focus on this technique. Interestingly, you don’t need much time to create such screen recordings. Here is how you can record the screen on Windows 11 with Snagit.
Step 1:Launch Snagit on your computer.
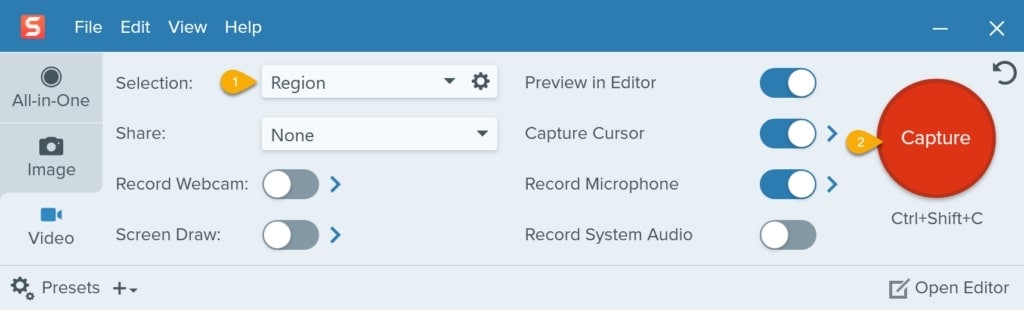
Step 2:Go to the Start menu and choose the video tab. Don’t forget to choose the Region from the dropdown menu. It will help the tool understand whether you want to capture the entire screen or a specific part of it.
Step 3:Now, click on the Capture button.
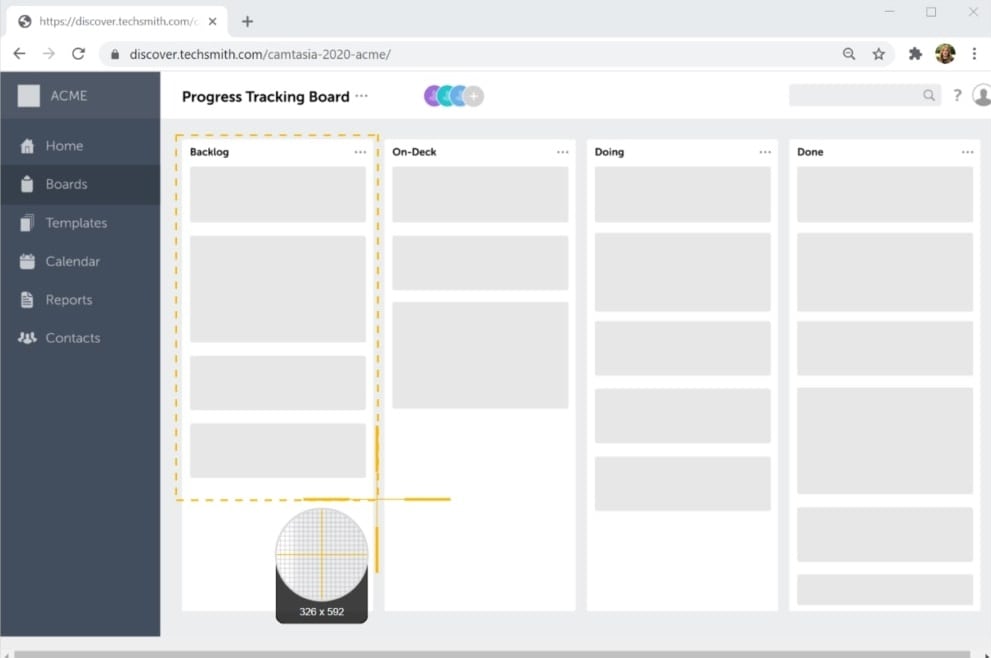
Step 4:Select the desired area of the screen with crosshairs. You will see that the selection will snap the opened window automatically. If you want to do it manually, simply click and drag crosshairs as needed, as shown below.
Step 5:It is time to record the sound with video. If you want to record your computer’s audio, don’t forget to enable Record System Audio. To record sound from the external microphone, make sure you enable the Record Microphone option, as shown below.
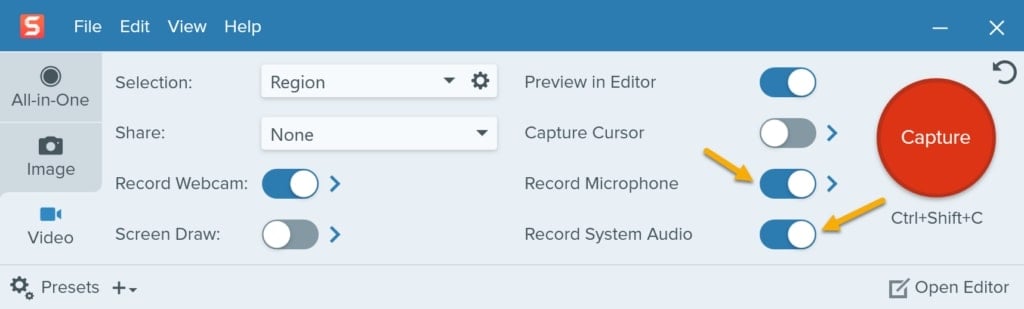
You can also record a webcam with a screen to show your face in the recording. It is, in fact, the most effective way to add extra value to your videos.
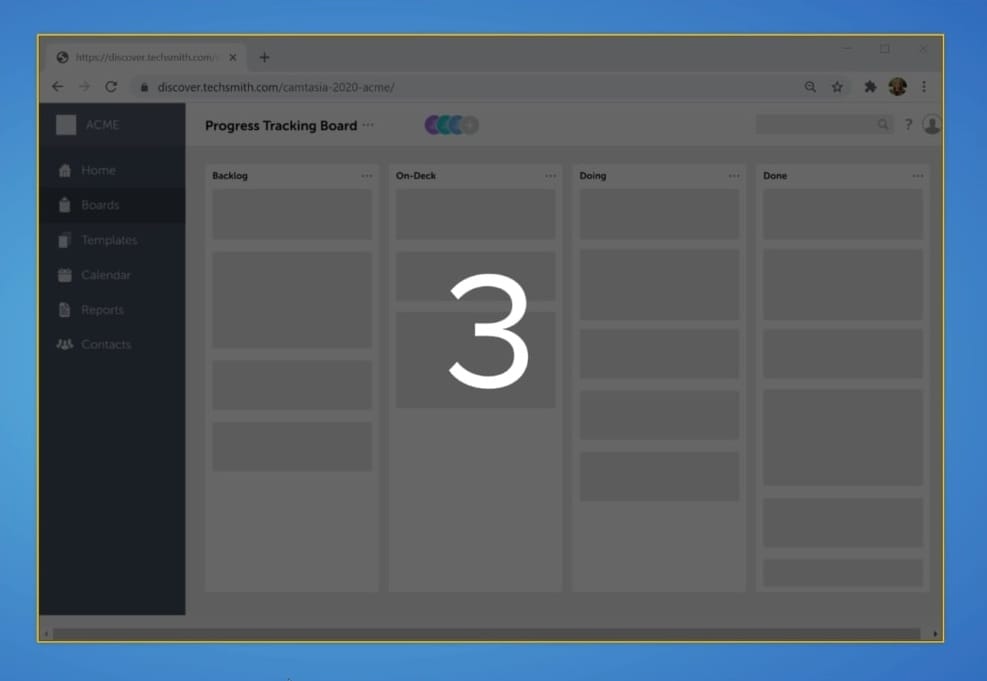
Step 6:Now, tap on Record. After the three-second countdown finishes, the tool will start recording everything inside the selected area.
Step 7:Wait until the tool records everything you need. Once done, hit the Stop button.

Step 8:As soon as you stop capturing your screen, an editor will appear in the new window. Here, you can edit, trim, or share your recorded screen. The editor allows you to remove unwanted portions from the recorded section.

The Combine Videos feature of Snagit enables you to merge different video clips to create a long video.
Step 9:Go to the File menu and tap on Save As to save the final video. All you need to do is choose the desired location and hit the Save button. A link to your video will be copied to the clipboard automatically. Later, you can share it with anyone you want.
Part 3. How Do You Screen Record on Windows with a Third-Party Tool?
Do you usually prefer a third-party app for different tasks? Looking for such a utility for screen recording, too? Camtasia will help you get over the line. This wonderful screen-capturing software allows you to create recordings like a pro. The steps you should follow are given below.
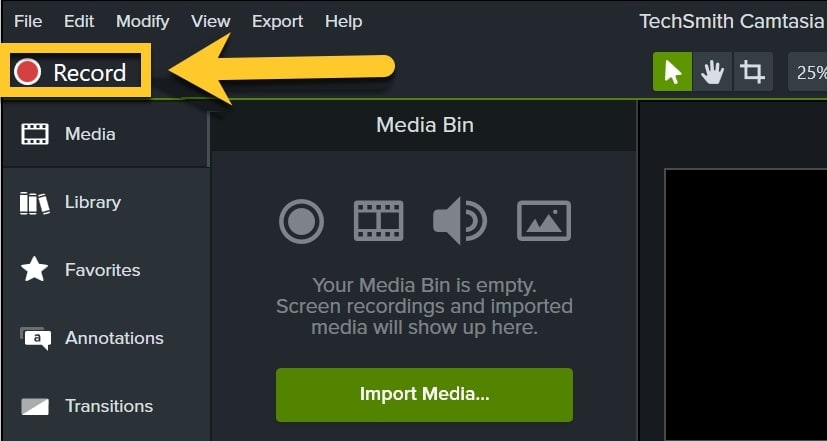
Step 1:Download Camtasia and launch it on your system.
Step 2:After launching, tap on the Record button.
Step 3:A new window will let you adjust the settings, keeping your requirements in mind. You can turn on an off mic and camera. You can also record the system audio.

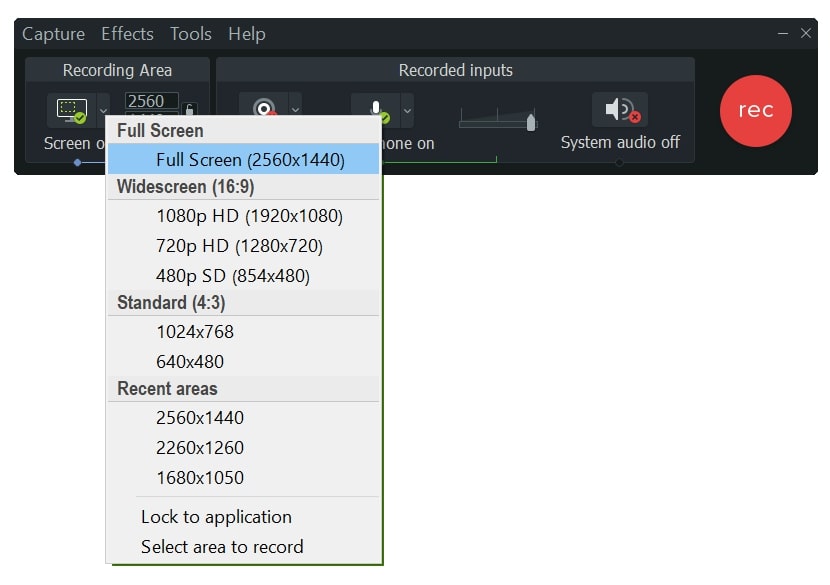
Step 4:You can choose the area you want to capture. Camtasia enables you to record either a specific part of the screen or a whole of it. If you don’t know which option to choose from the dropdown menu, you can simply tap on Select area to record. Then, you can manually choose the desired area.
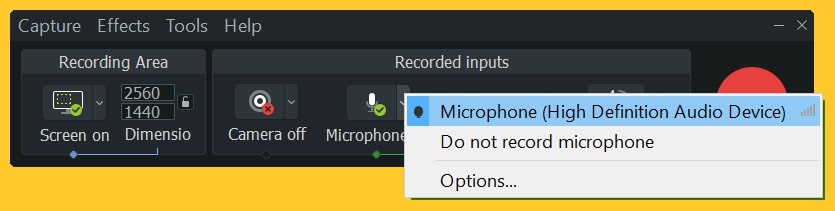
Step 5:It is time to select the mic you want to record or choose the system audio.
Step 6:You will see a countdown before the recording starts. Wait until it is completed. Then, you can hit the Stop button to end the screen recording.
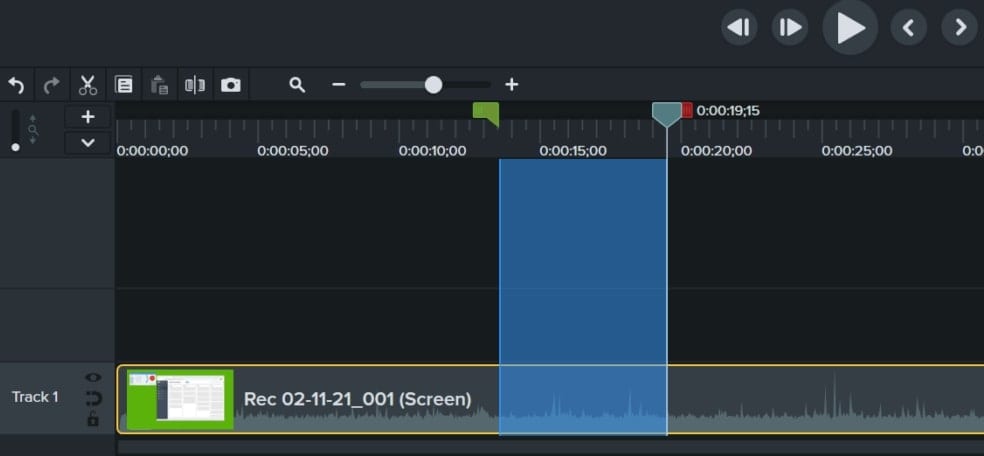
Step 7:Camtasia allows you to edit videos from basic to professional level. You can easily trim, edit, or merge videos. Adding your company’s information and logo is super easy with this tool.
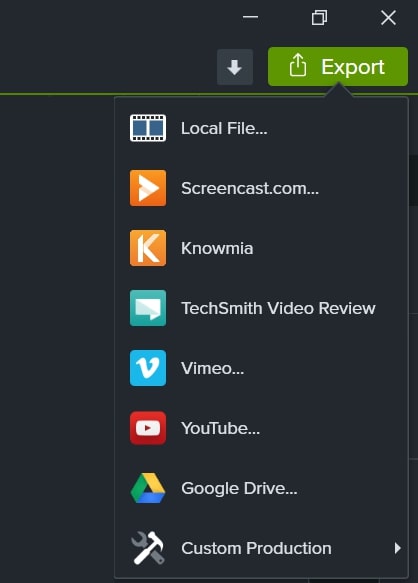
Step 8:Once you edit the video, you can save it to your system and share it online on different platforms, such as YouTube, Google Drive, Vimeo, and more.
Other Third-Party Screen Recording Apps You Can Use on Windows
A list of other leading screen recording tools for Windows 10, 11, and earlier versions is attached below.
- Movavi Screen Capture Studio
- Wondershare UniCoverter
- EaseUs RecExperts
- ScreenPal
- CamStudio
- Loom
Part 4. Transform Your Recorded Screens into Professional Videos
Even if you have used professional screen recording software for Windows to capture the screen, it may still need some improvements. This is where editing the recorded videos or screens lends you a helping hand.
Now, the possible question that may come to your mind is: How do you select a video editor to edit videos like never before? Well, all you need to do is look at the features it offers, price, customer service, user reviews, and other similar parameters. Don’t be concerned if you are not good at it.
If you need a professional video editing tool to edit your screen recordings to wow your target audience, look no further than Filmora Video Editor. It is free to download for new users and runs perfectly on all devices, including Windows, Mac, Android, and iOS. A range of pre-built video templates lets you edit screen recordings instantly.

In addition, royalty-free stock media and creative resource packs add more fun to your video editing experience, making it memorable. Filmora comes with many AI-powered functionalities, such as AI smart masking, AI smart cutout, AI copywriting, AI translation, AI music generator, AI thumbnail creator, AI text-to-video, AI text-based editing, AI copilot editing, and much more.
Simply put, Filmora has everything a professional video editing tool must have to stand out. This is why millions of people worldwide have joined the Filmora community.
Easy-to-use Screen Recording Tool for Everyone

Summing It Up
How do I screen capture on Windows? Online forums are full of such questions. If you have the same query, reading through the discussion above will be worth it, as it lists different ways to record screens on Windows 10 and 11. It has talked about both built-in features and third-party tools.
Most of the time, screen recordings need some edits to fine-tune them. This is where a video editor becomes a handy tool, but not all editors are worth using. If you need a smart video editing utility you can count on, try Filmora - a wonderful video editor designed to expand your creativity. It offers a free trial and works on all popular devices: iOS, Android, Mac, and Windows.
FAQs
-
Does Windows offer any free screen recorders?
Yes, Windows 10 and 11 come with a free, built-in screen recorder - Xbox Game Bar. -
How long can I screen record with Xbox Game Bar?
The recording limit of this built-in Windows tool is between 30 minutes and 4 hours. -
Can screen recordings on Windows be detected?
Yes, some sites can detect screen recordings if you are using a plugin or a browser extension to capture your screen. Otherwise, these recordings can’t be detected.
