
 100% Security Verified | No Subscription Required | No Malware


 ChatGPT
 Perplexity
 Gemini
 Claude
 Grok
Grok
Are you new to Premiere Pro and don't know what the track select tool is or how to use it? Have you tried to move one clip, only to have everything else slip out of sync? You try to make space for a new intro, slide a single clip to the right, and boom! The music drifts, the titles misalign, the B-roll simply floats away. But don't worry. There's a solution.
The Track Select Tool in Premiere Pro solves that exact headache. It lets you grab everything forward (or backward) from a point on the timeline on one track or across many and move it together. Let's learn more about it, and stick around until the end for an easier alternative.
In this article
What Is the Track Select Tool?
The Track Select Tool is a helpful timeline tool in Adobe Premiere Pro that selects every clip to the right (forward) or to the left (backward) of where you click. From there, you can drag the whole block of clips as one piece. The point of this feature is to use it for big moves, and not simple, tiny trims. You can use it to shift a section rather than to nudge a frame.
As mentioned, there are two modes, each with its own specific keyboard shortcut.
The Track Select Forward Tool (keyboard: A) selects everything after your click.
The Track Select Backward Tool (keyboard: Shift + A) selects everything before your click.
Top Instances Where the Track Select Tool is Useful
Use the Track Select feature to reorganize clips without manually selecting dozens of clips. Here are some of the more common cases.
- Insert a new scene, a voiceover, or a sponsor read and move everything forward in one go to make space.
- Move music, B-roll footage, and transition effects together in the timeline and keep everything aligned as it was before.
- Use it to rebuild pacing in a rough cut. Pull an entire section several frames earlier or later to improve your story flow.
- Avoid audio and video desync issues by selecting all elements in the timeline and moving them together.
- Clear some space in the timeline to experiment. Sweep a block out of the way, try something, then drop it back.
Pro tip: Add markers (M) at key story beats, such as your hook, act breaks, or CTA, and use the Track Select feature to align all your clips from marker to marker.
How to Use the Track Select Tool in Premiere Pro (Step-by-Step)?
Let's learn how to use the Premiere Pro Track Select Forward tool.
- Download and install Premiere Pro on your PC or laptop.
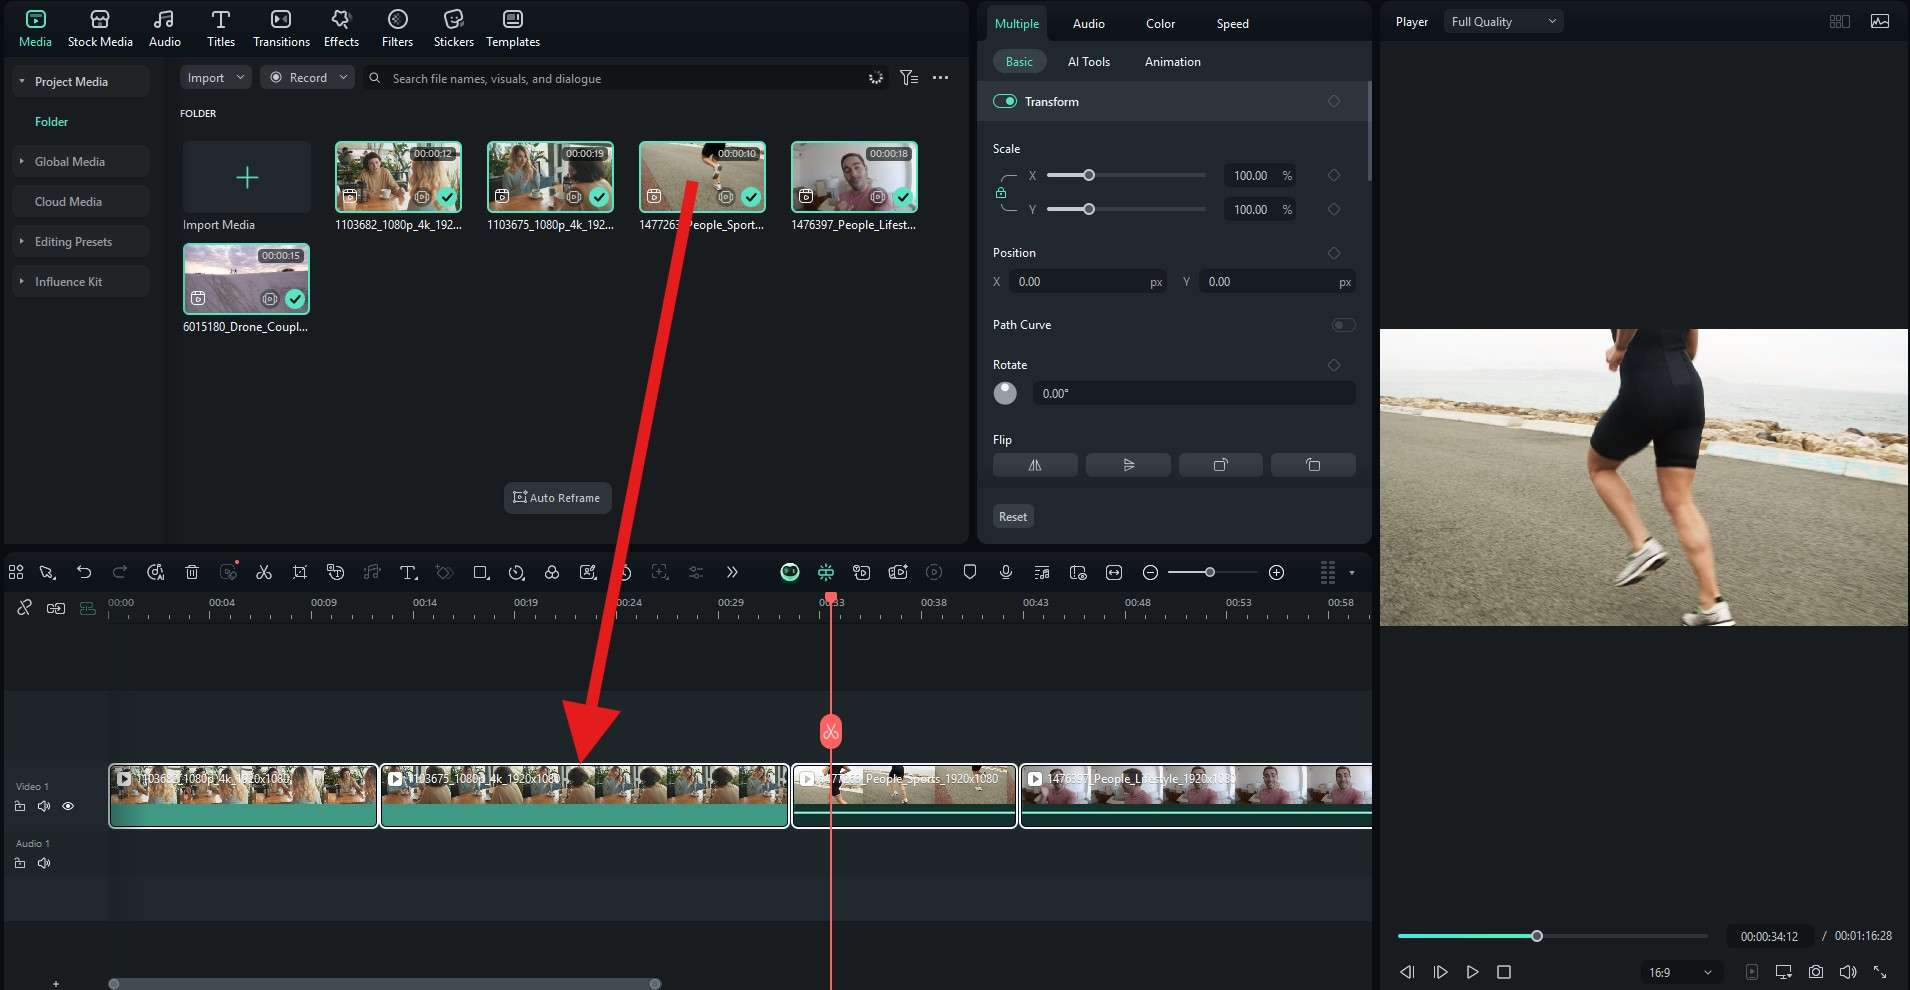
- Open Premiere Pro, create a new project, import and arrange the videos in the timeline, move the playhead to a particular moment, and activate the Track Select Forward Tool (A) at the upper-left corner of the timeline interface.
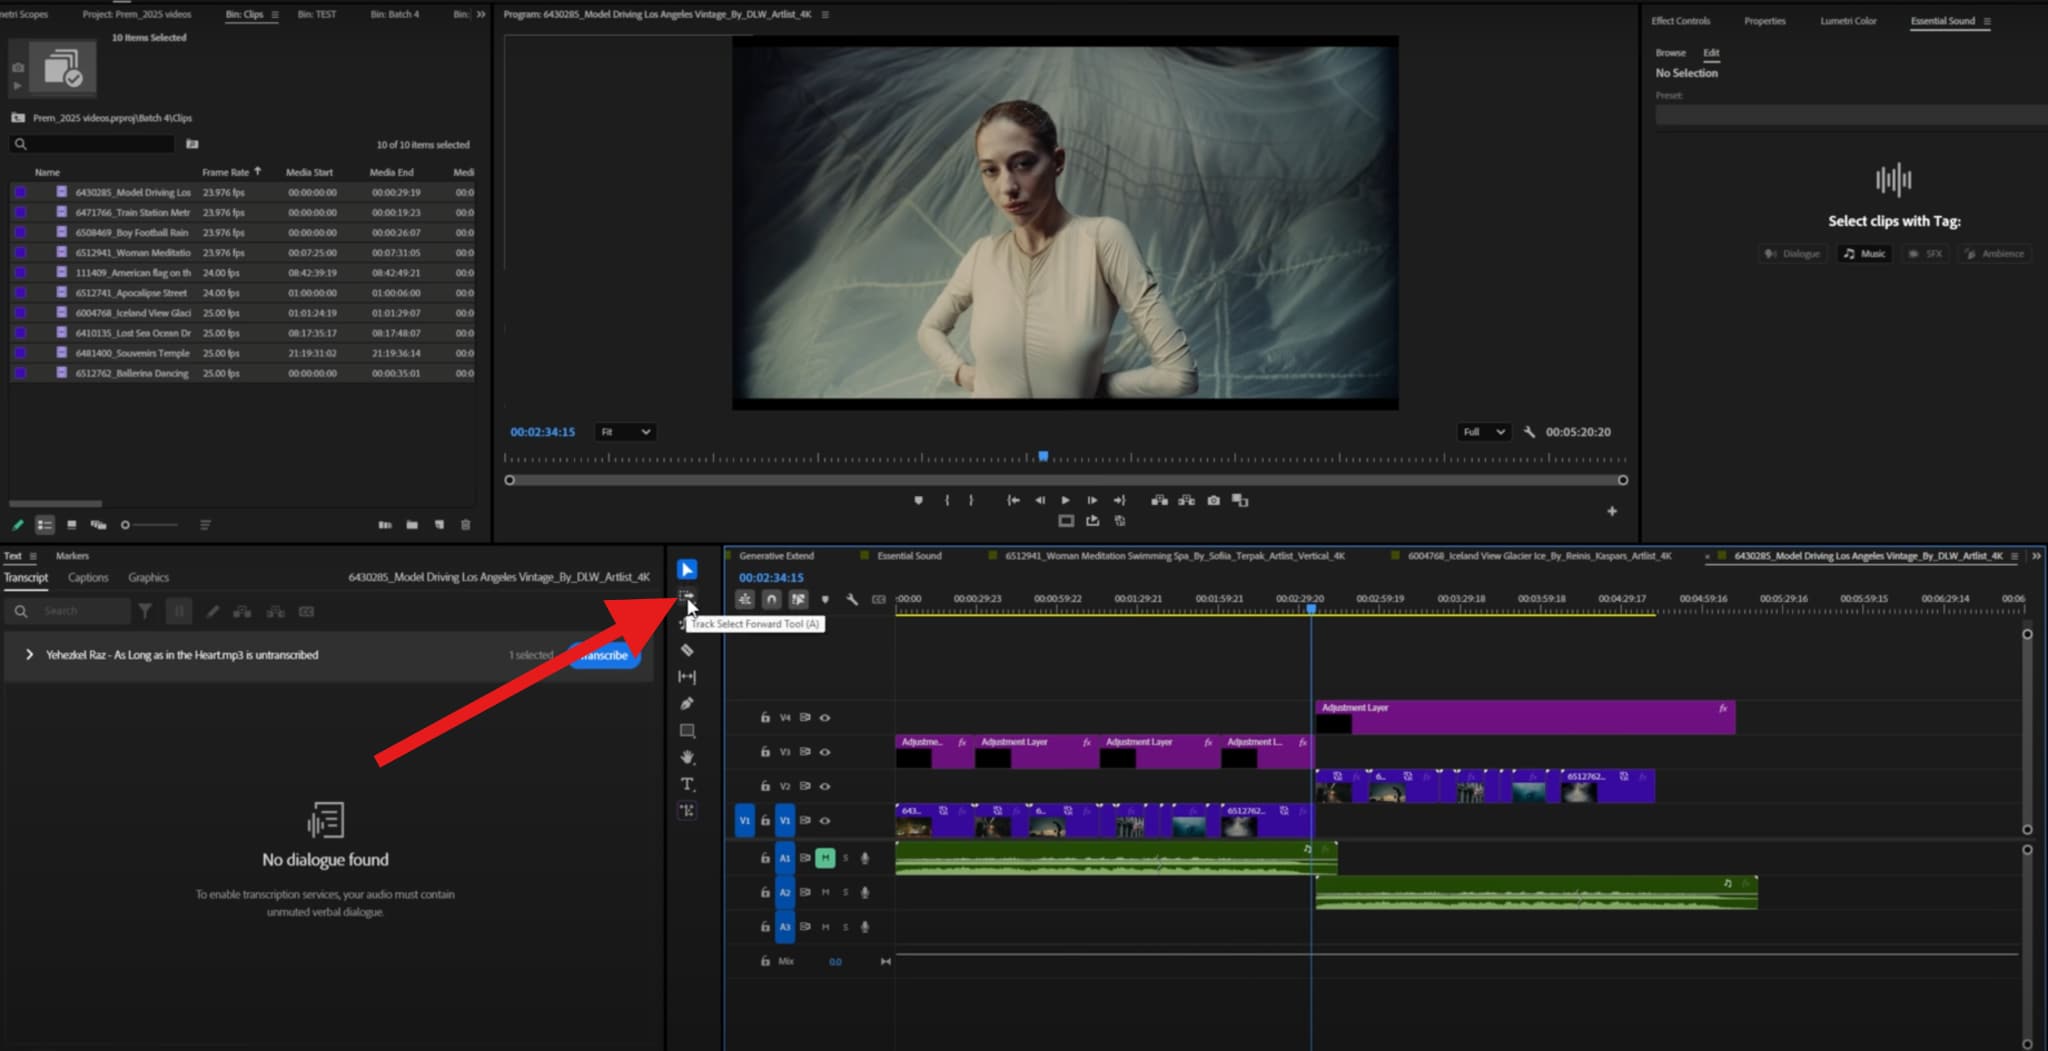
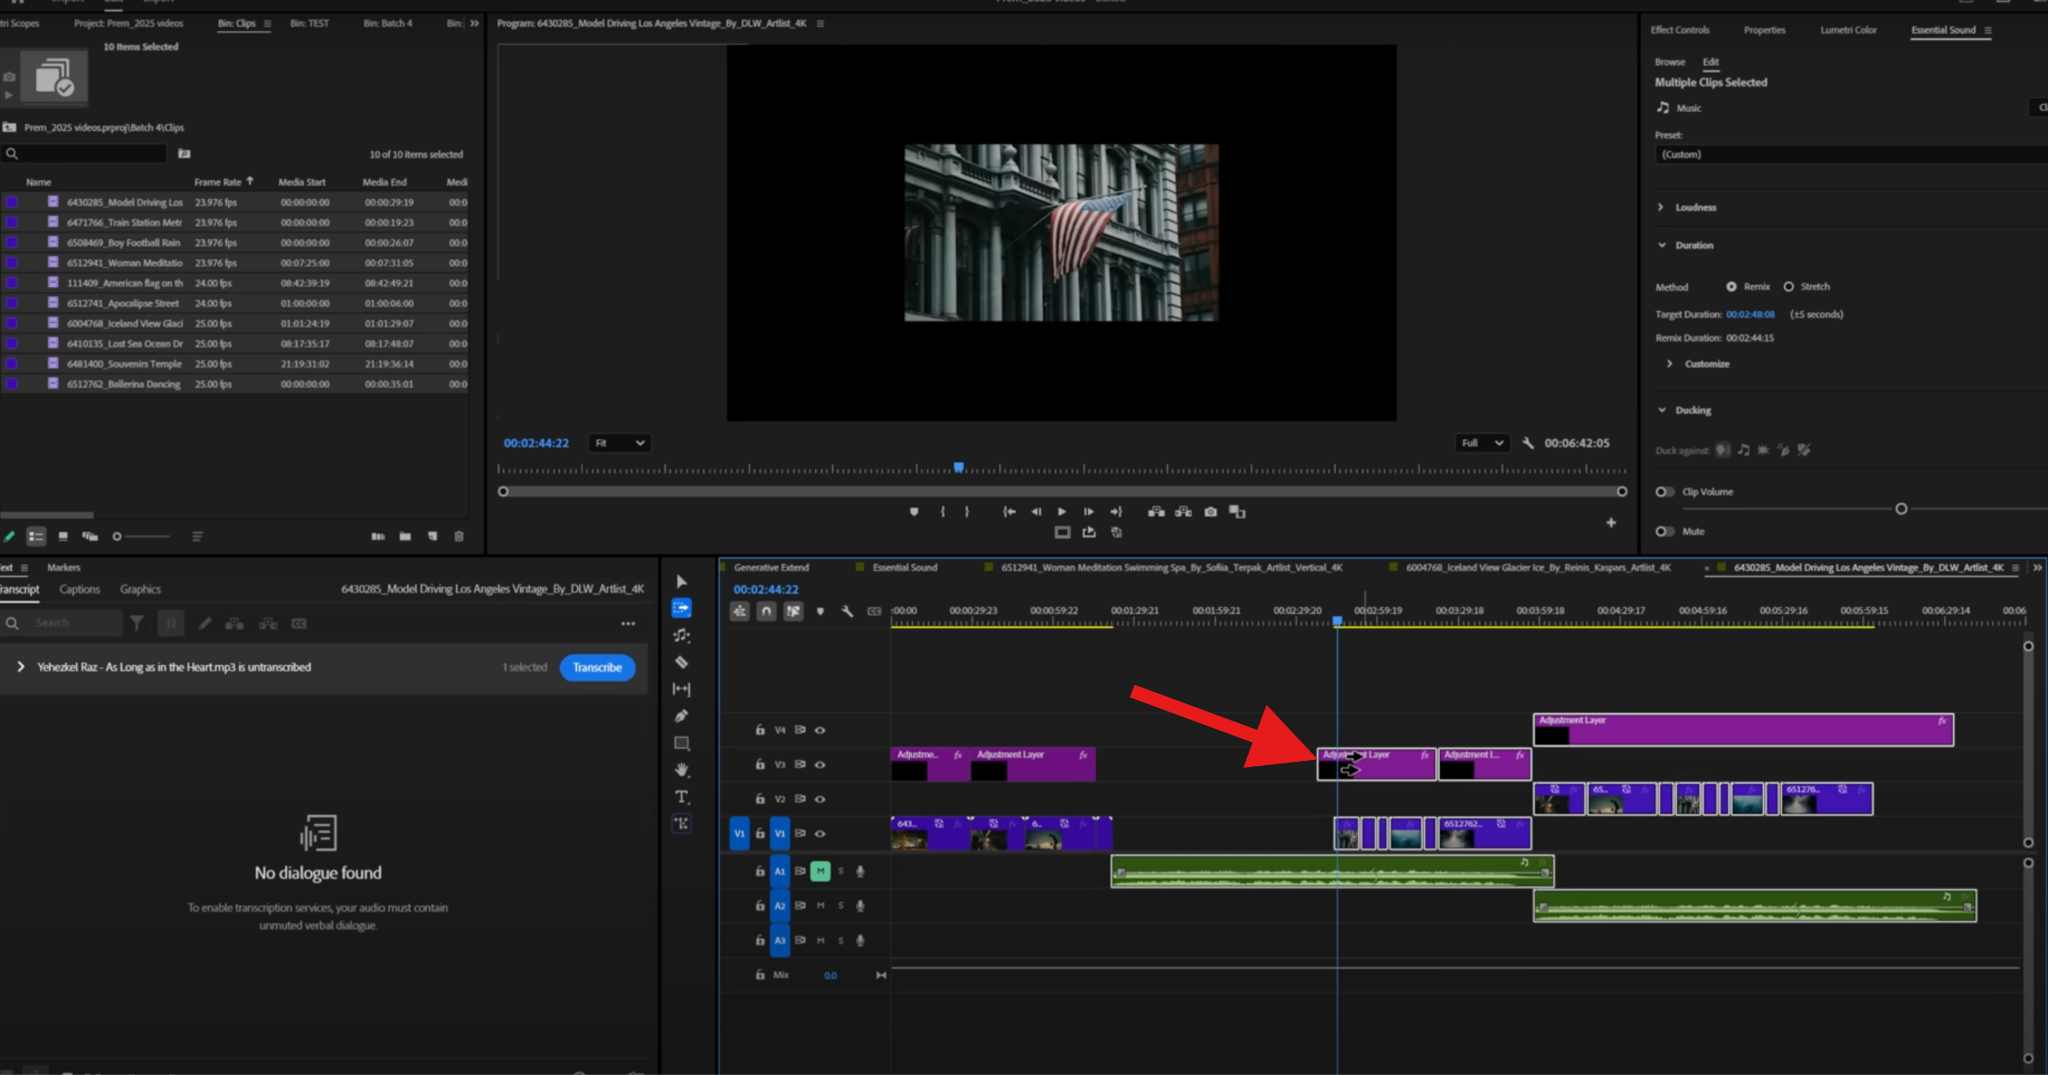
- The cursor will turn into two arrows pointing forward. Click on any clip in the timeline, and Premiere Pro will select it and all the clips that are in front of it. You can then move them forward and backward at will.
- If you want to use the Track Select Backward tool, simply right-click on the Track Select Forward button and select it. You can also use Shift+A for Windows or Cmd+A for Mac devices. Here's how it looks.
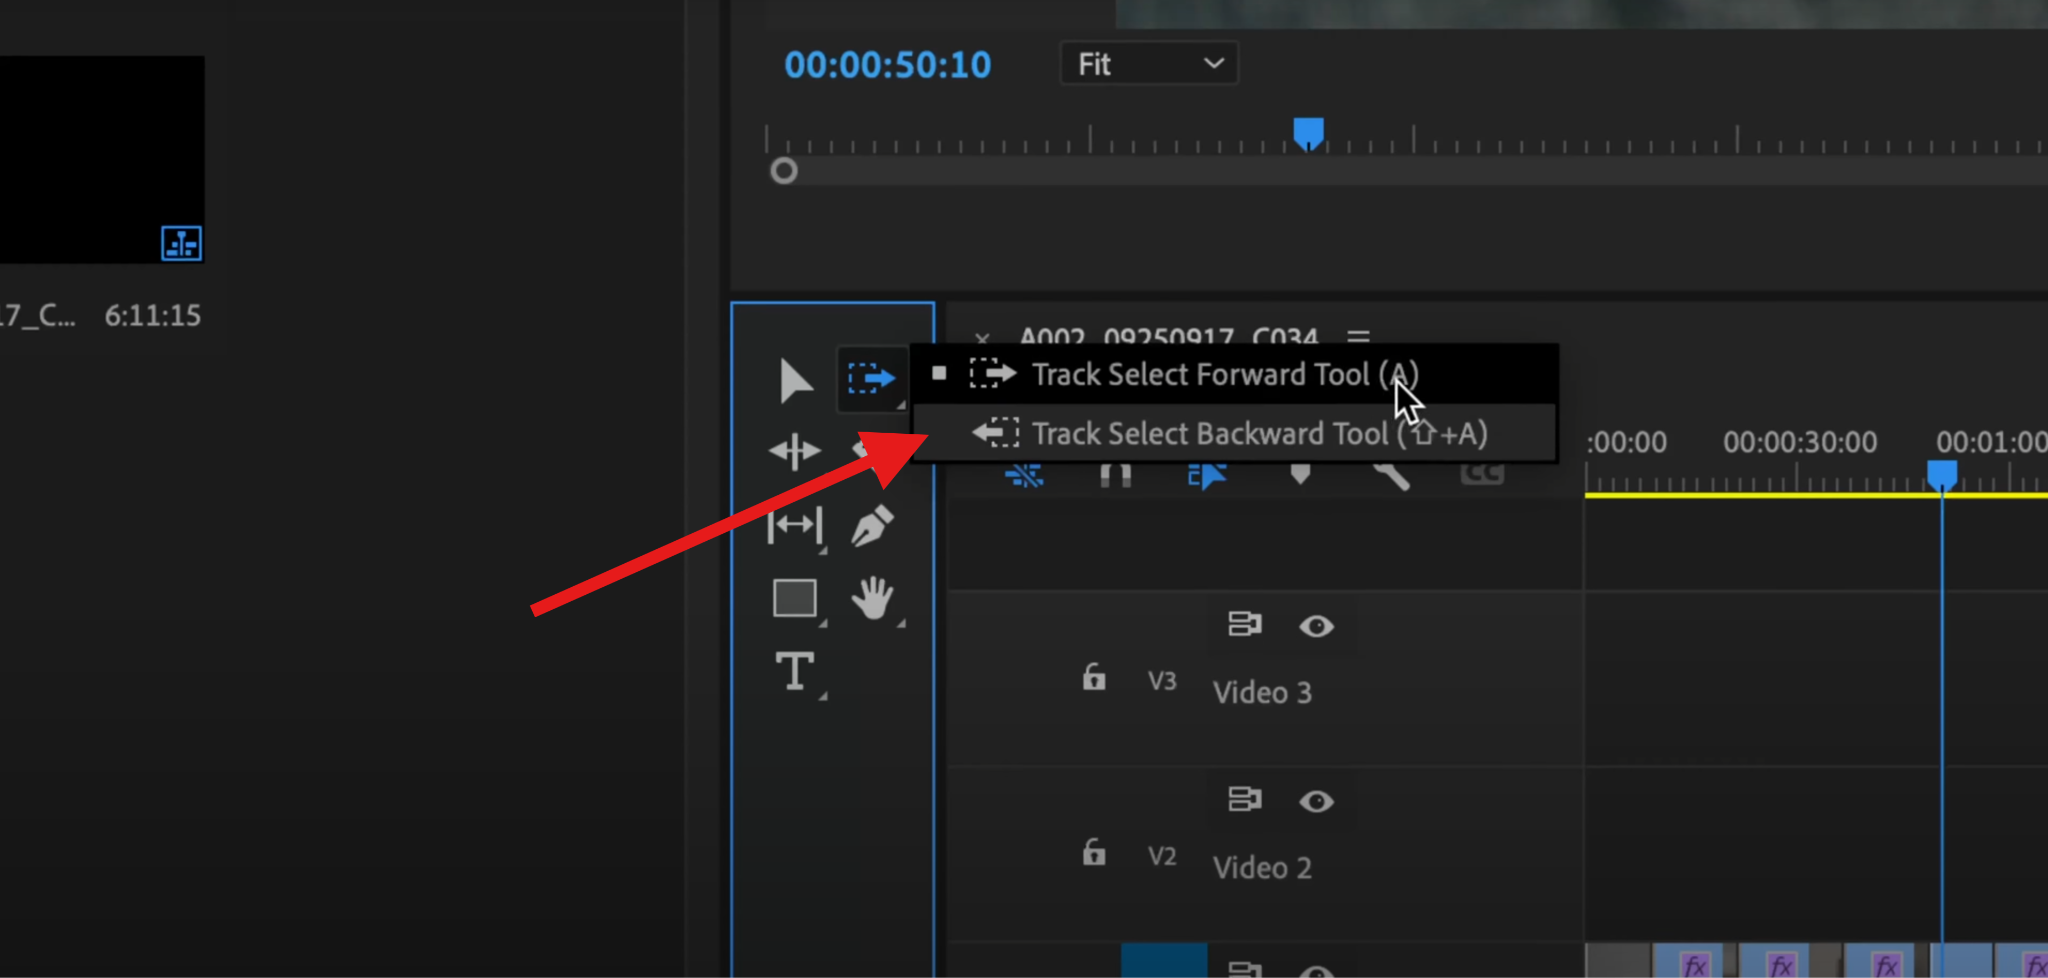
It works the same way as the Track Select Forward tool.
Learn other video editing techniques for Premiere Pro like J-cut and L-cut, the Premiere Pro razor tool, three-point editing, and more.
Track Select Tool vs. Other Tools in Premiere
Sometimes the Track Select feature might not be the right choice for your specific editing scenario. Here's a quick table that shows the difference between several basic tools in Premiere Pro and when they should be used. Check it out!
| Tool | What It Does | When to Use |
| Track Select Tool | Selects and moves all clips forward/backward | Moving large timeline chunks |
| Selection Tool | Selects one clip at a time | Micro-edits and placement |
| Ripple Edit Tool | Adjusts clip timing and closes gaps | Tight edits on one track |
| Rolling Edit Tool | Adjusts the cut point between two clips | Fine-tuning transitions |
Generally speaking, you can use the Track Select Tool when you want to make big moves, but you should use something else for precise, surgical edits.
Filmora: A Cleaner, Simpler Timeline Alternative
Learning how to use the Track Select Tool in Premiere Pro is not that difficult; However, to combine all video editing features and edit smoothly may require a learning curve for new users. If you want to continue editing videos in Premiere Pro, like, for example, using the AI Denoise feature, adding texts, filters, effects, or anything else, it requires jumping between panels, which can be confusing.
Luckily, there is a far easier alternative, and it's called Wondershare Filmora. With this powerful video editing tool, you can select all tracks at once. No need to hold Shift or click each track individually. You can also enjoy many advantages over the overly complex Premiere Pro.
 secure download

- Filmora has a non-linear magnetic timeline, which eliminates all accidental gaps in your editing workflow.
- The split and ripple features are far more straightforward.
- You can link audio and video so that they stay together while you move blocks.
- Common video editing tasks, like titles, filters, effects, speed ramping, color grading, audio denoising, auto synching, and much more, are all available in one easy panel.
Filmora is a far more user-friendly solution. You can use the track select tool and other editing features in the same panel without switching back and forth.
How to Use the Select Forward and Backward Tool in Filmora (Step-by-Step)?
Let's take a look at Filmora in action. Follow the steps below to learn how the select forward and backward tool works in Filmora.
- Download and install Filmora on your Windows or Mac device.
secure download
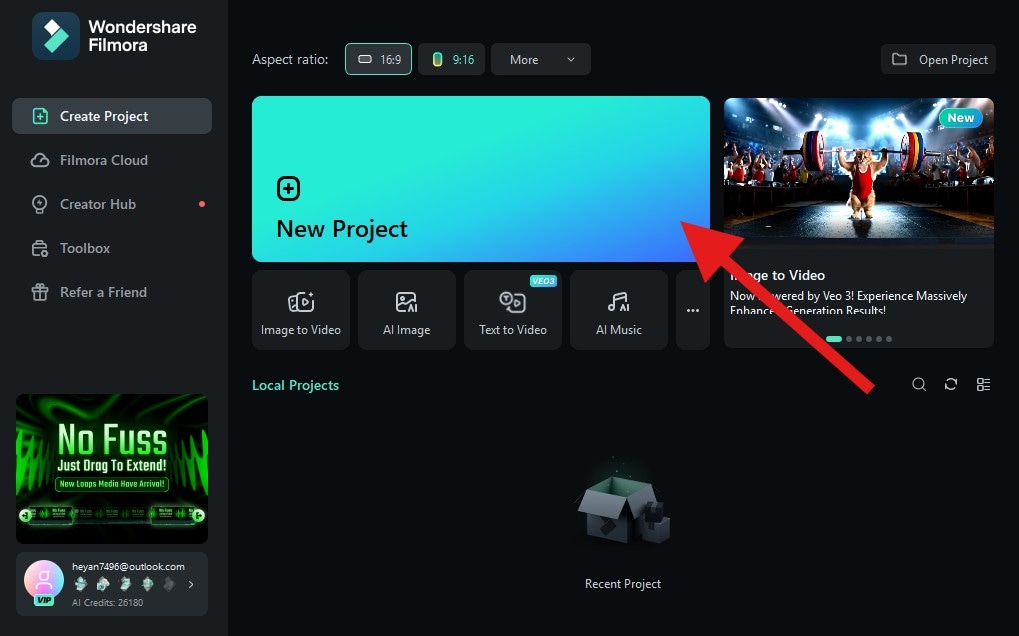
- Open Filmora and create a New Project.
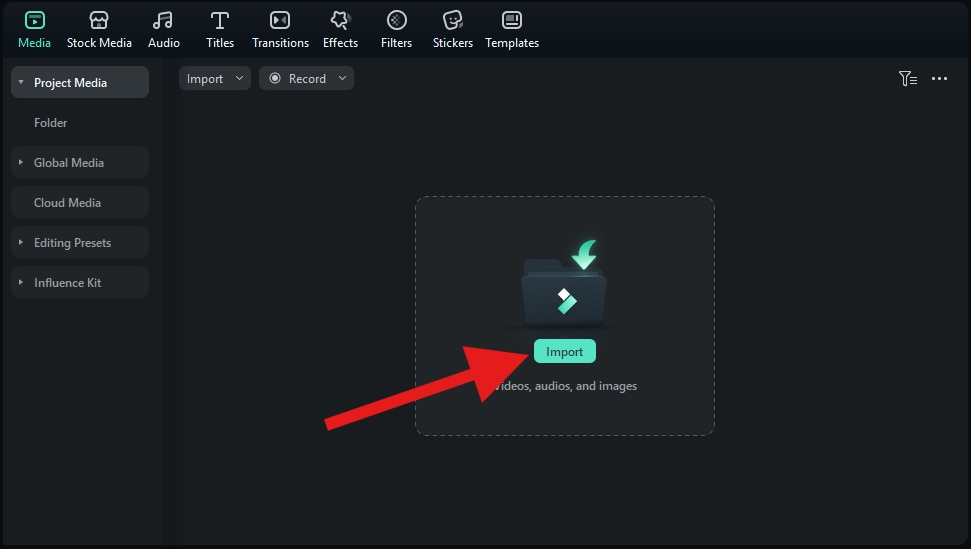
- Click on Import and add videos, images, and audio to the timeline.
- You can now drag your content to the video editing timeline and arrange it the way you want, add effects, filters, titles, anything you want.
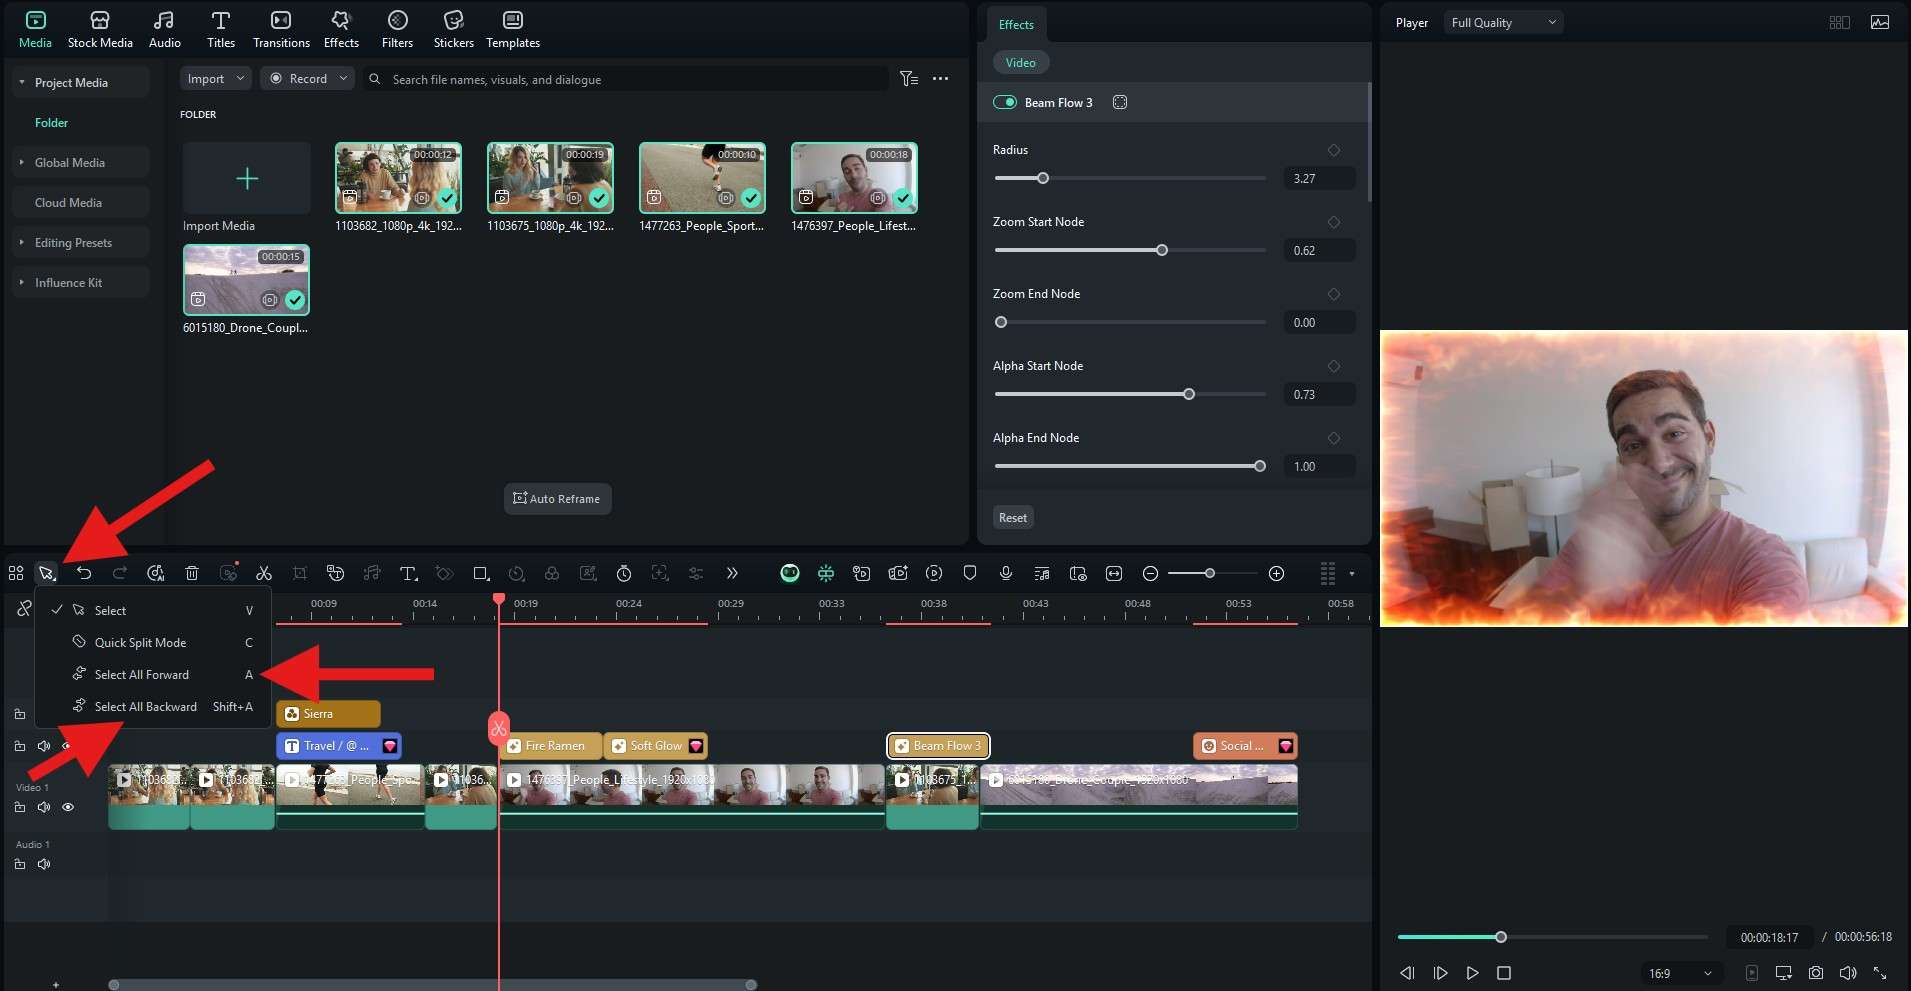
- Position the playhead where you want and click on the Arrow icon in the timeline interface. Then, click on Select All Forward (keyboard shortcut: A) if you want to select everything to the right of the playhead, and Select All Backward (keyboard shortcut: Shift+A) if you want to go in the opposite direction.
Final Thoughts
The Track Select Tool is the right choice when you need to move large sections without breaking audio and video sync. There is a mode to select everything forward and backward, which makes it ideal for restructuring rough cuts, inserting new segments, and shifting music with A-roll and titles intact. However, if you prefer a cleaner, more forgiving workflow for everyday content, Filmora can feel faster because the timeline itself helps you keep things together.
Download Filmora today and see why users are praising it for making video editing easy and joyful.
secure download 