
 100% Security Verified | No Subscription Required | No Malware


 ChatGPT
 Perplexity
 Gemini
 Claude
 Grok
Grok
Imagine you are new to video editing and want to apply color corrections across multiple clips without altering each one individually. You might try to alter each clip multiple times to apply the results. However, using an adjustment layer simplifies this process by letting you apply effects uniformly, saving time and ensuring consistency.
With video editors like Premiere Pro, you can apply effects and other elements to the video without affecting the original video. In this article, we will discuss everything you need to know about adjustment layers in Premiere Pro. By the end, you will learn how to add and use the adjustment layer in this video editor, along with its alternative.
In this article
Part 1. What is an Adjustment Layer in Premiere Pro?
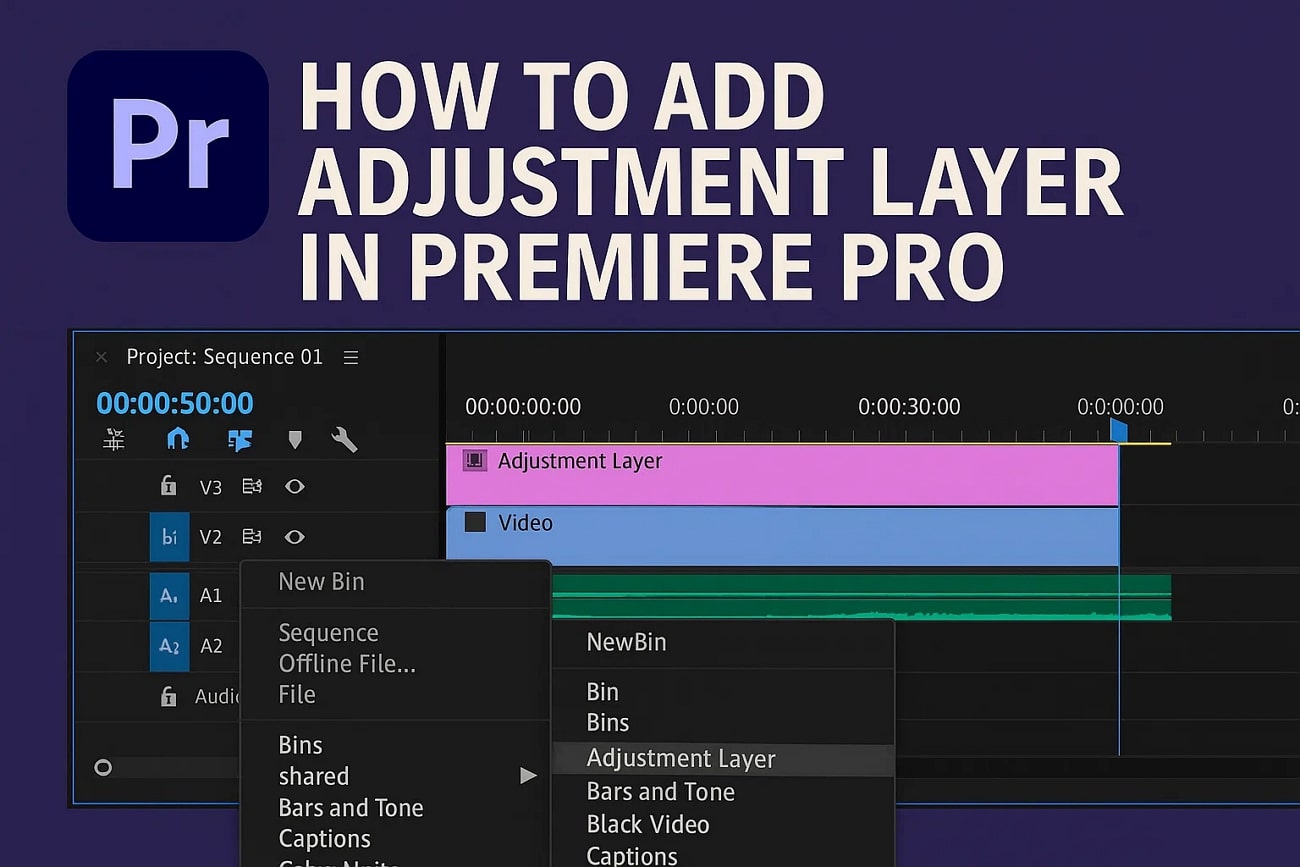
An adjustment layer in Adobe Premiere Pro is a transparent video layer that sits above your footage on the timeline. This allows you to apply effects and corrections uniformly across multiple clips beneath it. Unlike applying effects to individual clips, the adjustment layer lets you edit several clips simultaneously, streamlining your workflow. By using adjustment layers, you avoid the repetitive task of dragging and dropping effects on multiple clips.
Part 2. How to Add an Adjustment Layer in Premiere Pro?
If you are new to this tool, you might wonder how to apply adjustment layers to your videos using this utility. To learn how to add an adjustment layer in Premiere Pro to your video, read the steps provided next:
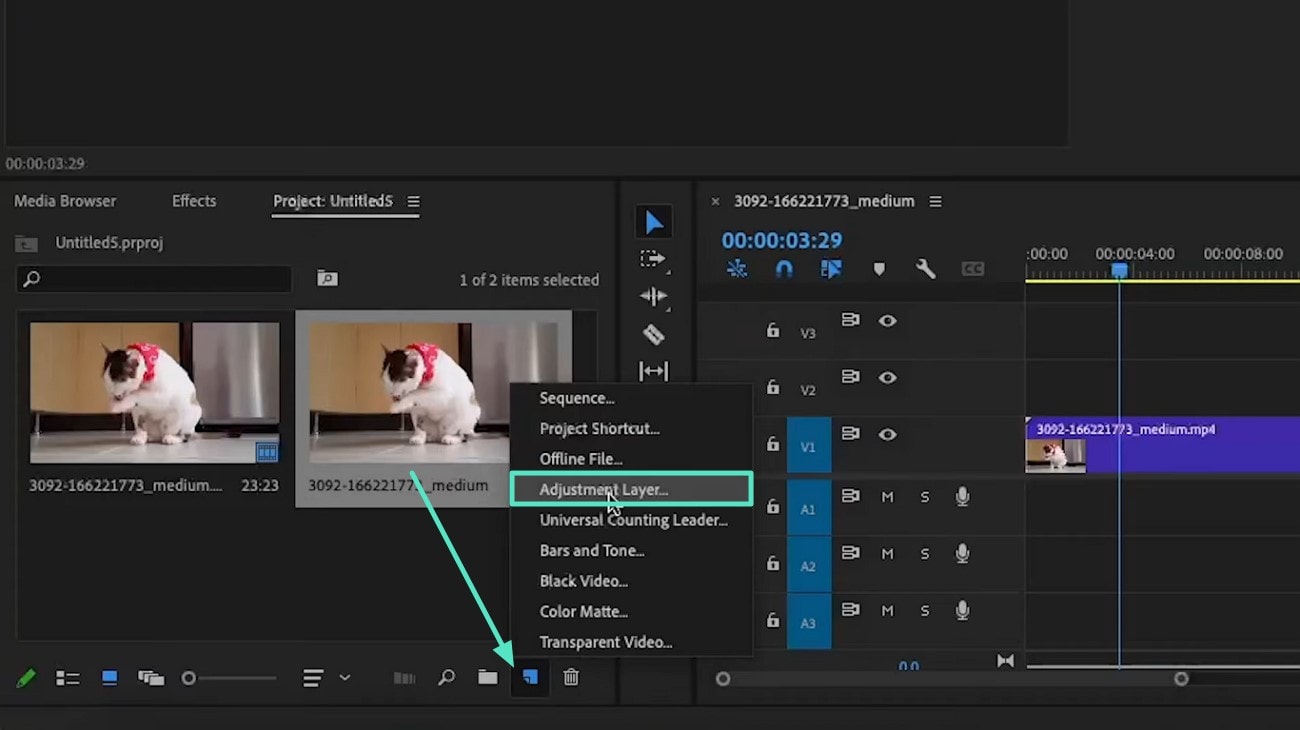
Step 1. After adding the video to the tool's interface, head to the left side and press the "Add Box" option. Now, locate the "Adjustment Layer" option from the list and click on it.
Step 2. Drag the adjustment layer from the project window to the editing timeline to apply it to the video.
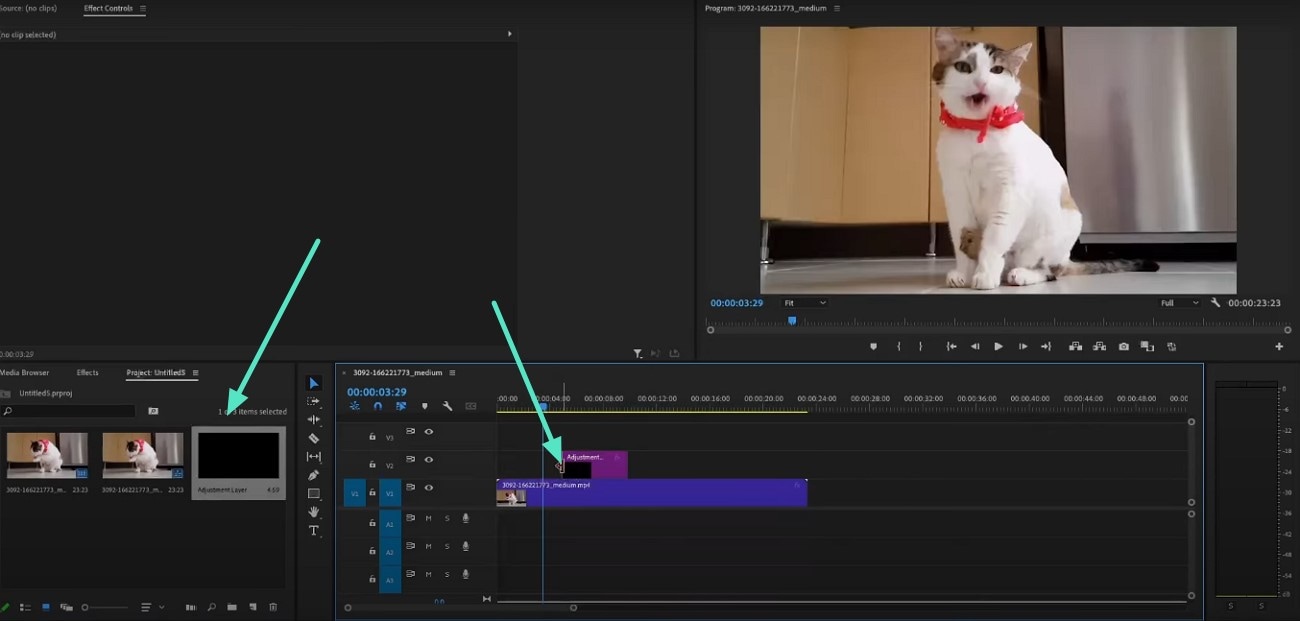
Step 3. Next, stretch and drag the layer according to your preferences to further modify the layer according to your preferences.

Part 3. 3 Ways to Use Adjustment Layer in Premiere Pro
With a clear understanding of what an adjustment layer is and how it functions in Premiere Pro, it's time to explore practical applications. Adjustment layers offer versatile ways to enhance your editing workflow, whether you want to apply effects broadly. Mentioned below are the top three ways to use the adjustment layer in Premiere Pro:
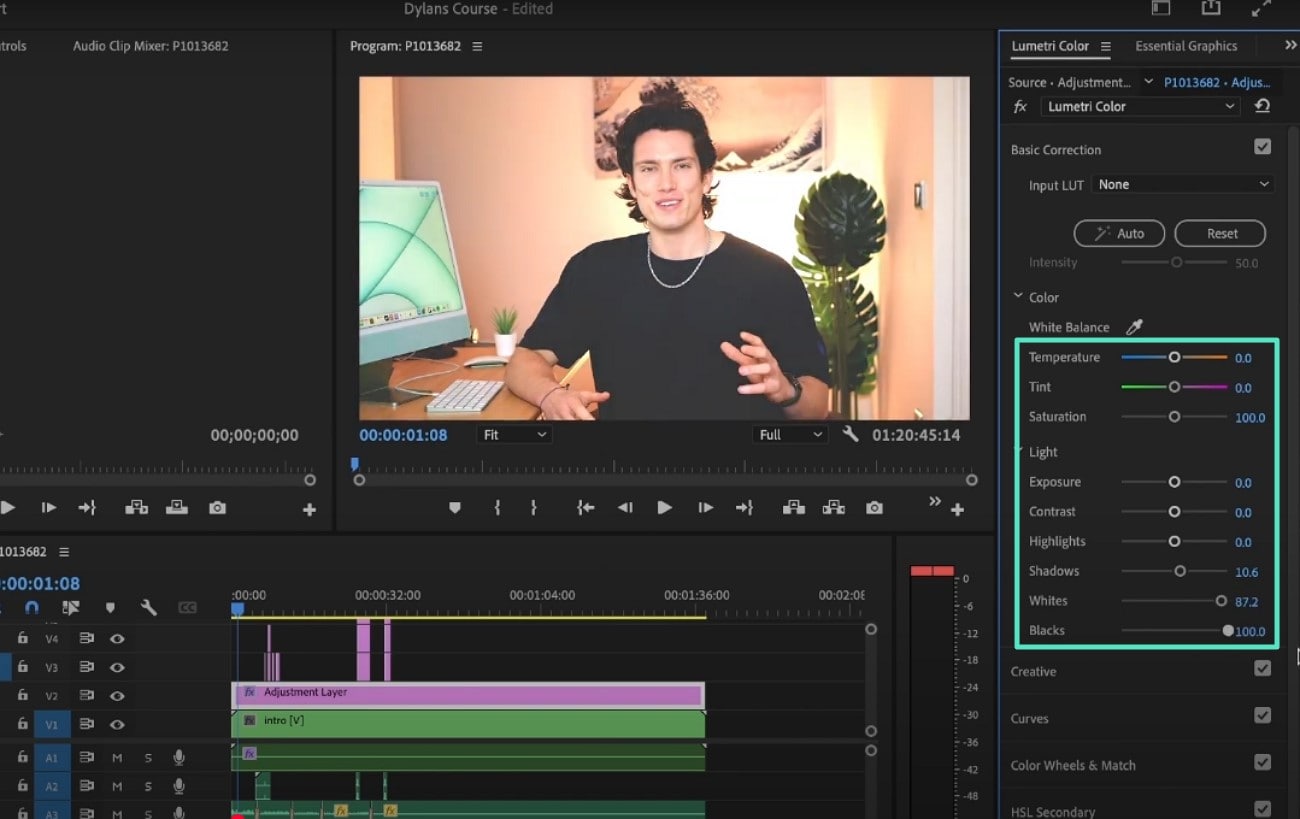
Method 1. For Color Grading
One of the most popular uses of adjustment layers in Premiere Pro is for color grading. Instead of applying color correction effects to each clip individually, you can add an adjustment layer above your timeline and apply your desired color grading effects there. Read the steps mentioned below to learn how to use the Premiere Pro adjustment layer for color grading:
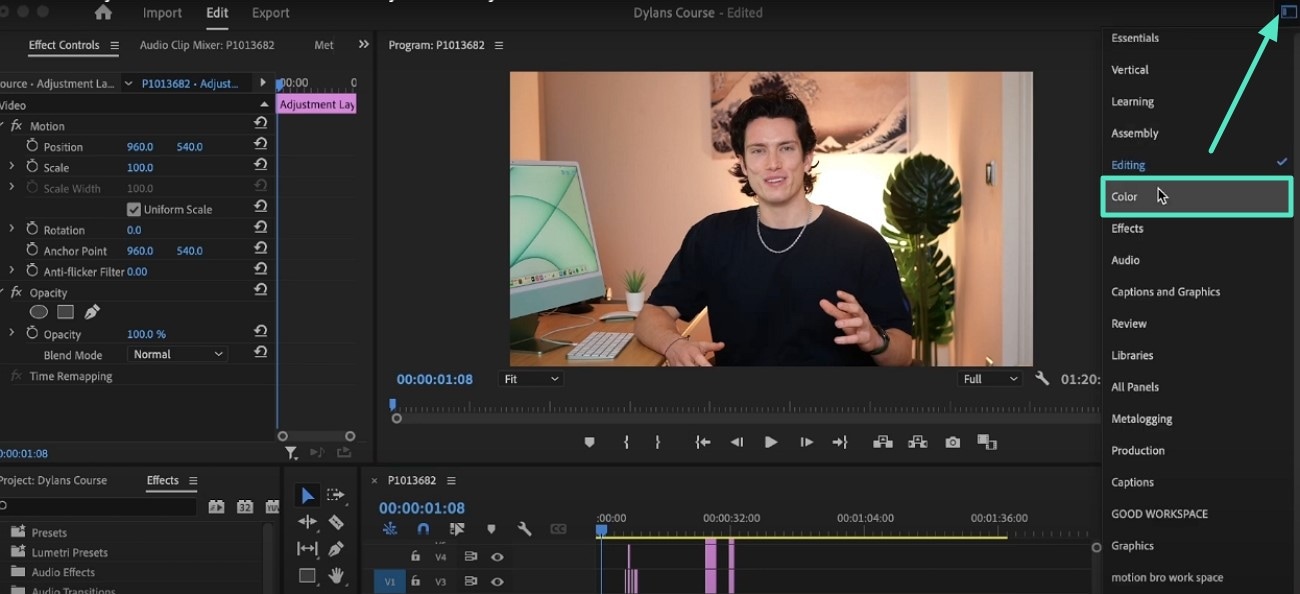
Step 1. Once you have imported the video, head to the right side of the interface and press the ‘Options" icon. Now, locate the "Color" option from the list and click on it.
Step 2. The color correction options will be enabled on the right side. Drag the respective sliders and preview the color changes within the preview window.
Step 3. Next, select the monochromatic effects and change the colors of the video by adjusting the color wheel. Once satisfied, export the video to your device using the export button.

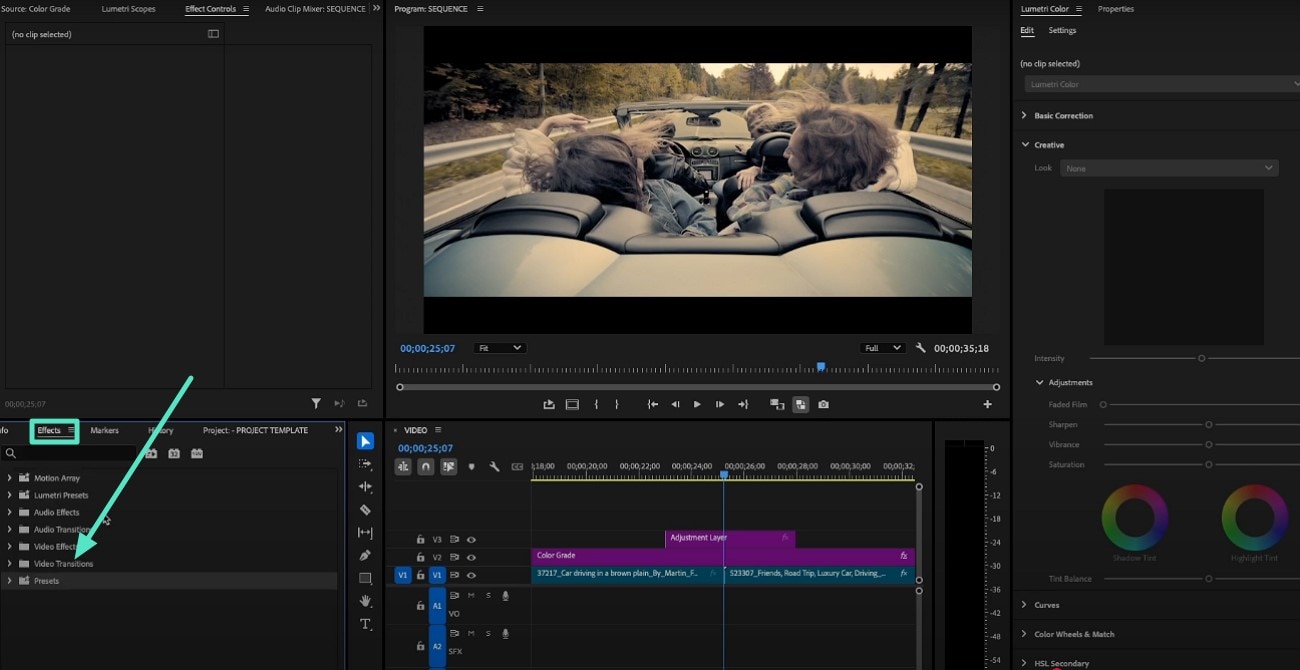
Method 2. For Video Transition
Adjustment layers can also be used to apply video transitions across multiple clips seamlessly. By placing an adjustment layer over the cuts where you want smooth transitions, you can add effects such as cross-dissolves or fades. To learn how to use an adjustment layer in Premiere Pro for a video transition, read the steps mentioned next:
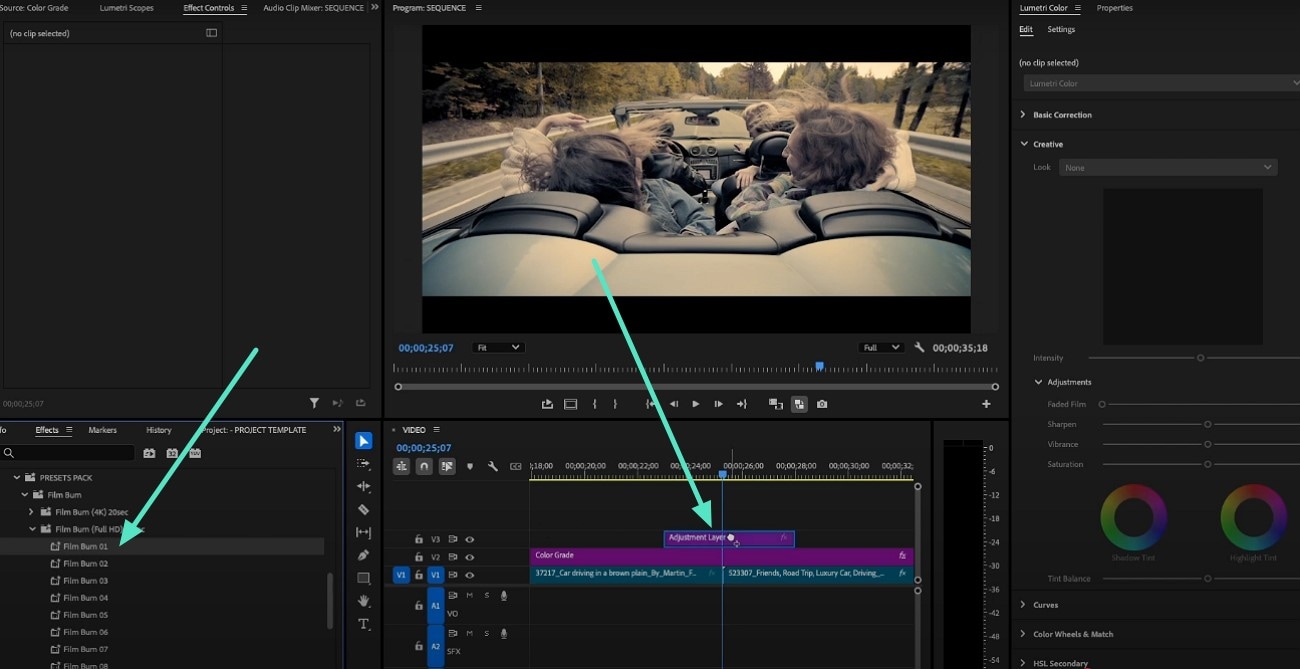
Step 1. Once the video is imported, drag and apply the adjustment layer to the timeline on the video, and head to the "Effects" section on the left. Press the "Video Transition" option and expand it to proceed forward.
Step 2. Choose the transition effect from the effects option and drag it to the adjustment layer to successfully apply it.
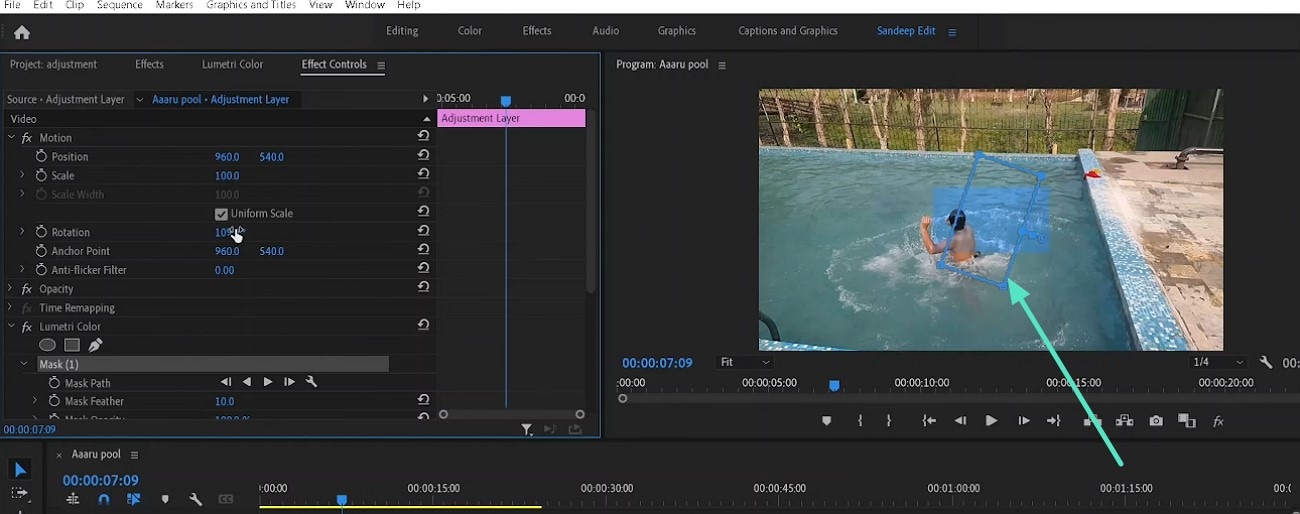
Method 3. For Masking
Adjustment layers in Premiere Pro are powerful tools for applying masking effects to specific areas of your footage. By creating masks on an adjustment layer, you can isolate sections of the video to apply effects selectively. Follow the steps mentioned below to learn how to apply masking on an adjustment layer in Premiere Pro:
Step 1. After creating an adjustment layer on the video, go to the left side of the interface and expand the "Mask" option. Now, draw on the video within the preview window according to your requirement.

Step 2. Once the mask has been created, adjust, reposition, and apply effects to it as per your choice. When you are satisfied with the results, save the video to your device successfully.
Part 4. Add Adjustment Layers to Videos The Easy Way
Even though Premiere Pro lets you add and use adjustment layers to video, the tool is not ideal for beginners, as it has a complicated interface. Moreover, most of the users look for a more budget-friendly option that does the task effortlessly. One such tool is Wondershare Filmora, which provides the utility of adding adjustment layers with minimal effort.
This AI-powered tool uses advanced technology to let users create adjustment layers in Premiere effortlessly and then apply other enhancements. The task has been simplified with the intuitive interface offered by the tool that lets you apply assets simply by dragging and dropping.
Comprehensive Guide To Add Adjustment Layers To Video With Filmora
As discussed, Filmora is one of the most user-friendly tools that let users create and use adjustment layers effortlessly. To learn how to apply and use an adjustment layer on video using Filmora, read the steps mentioned below:
- Step 1. Start By Creating a Project. Begin by launching Filmora and then pressing the "New Project" tab. Next, drag the video to the editing timeline to begin the adjustment layer creation process.

- Step 2. Select the Adjustment Layer Option. In the editing interface, head to the top menu bar and click on the "Media" option. Next, expand the "Adjustment Layer" section from the left and apply it to the timeline by pressing the "+" icon.
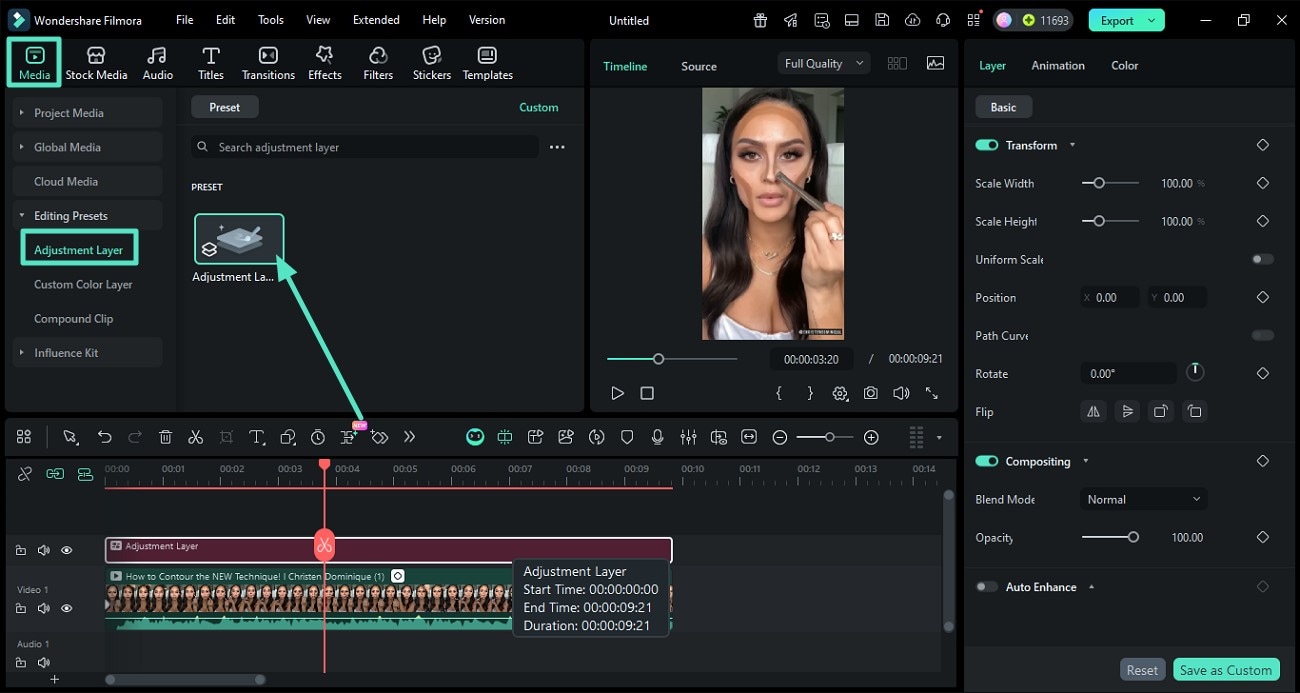
- Step 3. Modify the Applied Layer. Now, head to the right panel and make changes to the video that you want to apply to the video, such as creating a mask. This will apply the changes to the layer without modifying the original video. Once you are done with the modification, head to the top–right corner of the interface and press the "Export" button to save results.

 secure download

Conclusion
To sum it up, this article discussed methods on how to add an adjustment layer in Premiere Pro effortlessly. The article also suggested that Filmora is one of the best alternatives that users can use to easily apply adjustment layers to their videos. This all-in-one multimedia tool lets users make changes to the visuals without disrupting the original footage.
secure download
