- Windows Movie Maker Editing Tips
- 3.1 How to add voice over to video with WMM
- 3.2 How to add/edit music with WMM
- 3.3 How to add transitions in WMM
- 3.4 How to add text in WMM
- 3.5 How to add subtitle to video in WMM
- 3.6 How to make PIP video with WMM
- 3.7 How to make green screen video with WMM
- 3.8 How to do color correction in WMM
- 3.9 How to make time-lapse and slow-mo video in WMM
- 3.10 How to add watermark to video with WMM
- 3.11 How to zoom in/out videos with WMM
- 3.12 How to blur faces/objects with WMM
How to Watermark Your Video Using Windows Movie Maker
Oct 28, 2025• Proven solutions
The truth is that adding watermark to your video is one of the things that you can do in order to firmly enhance its appearance or protect your work from pirate. In this particular article, we are going to show you how to add a basic watermark which is structured upon text. Furthermore, we will also show you how to add image or log using the software of Windows Movie Maker.
An Easier Way to Watermark Your Videos - Wondershare Filmora
Learn more details aobut how to add watermark to videos
How to Watermark Video Using Windows Movie Maker
Part 1: Adding a text watermark
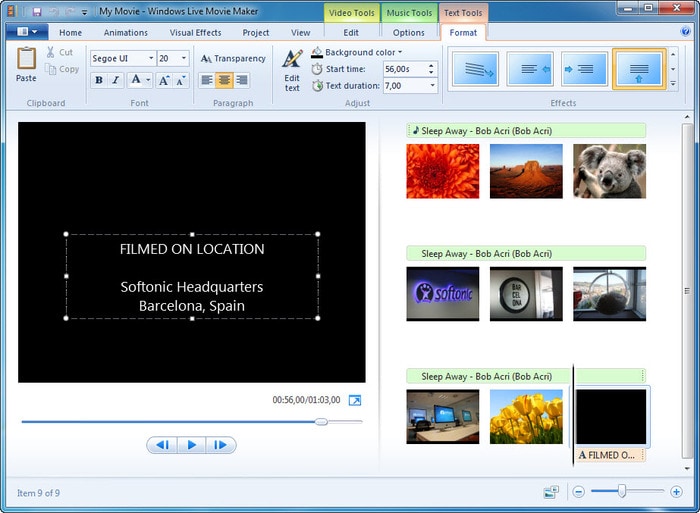
If you want to go ahead and add a simple text as a watermark and not a logo, you can easily get started with one of the built-in Titles which are available.
Step 1: Import video to timeline
The first thing you would have to do is start the software and go to Videos under the left Import sidebar. Then you want to properly drag the video on to the timeline and click on the Title and credits button under the Edit section.
Step 2: Type in text
Then click on Title on the selected clip. Once you are through, you will get a window to type in your username or whatever other text that you want to appear as the watermark there. Click on the animation button and go for the Subtitle so that you can overlay it.

Step 3: Change size and color
The software is particularly comprehensive, and you can easily position the watermark wherever you find suitable. You can also change both the size and the color as you find fit.
Related article: How to add subtitles to video in Windows Movie Maker>>
Part2: Adding an image watermark or logo
It's more difficult to add image watermark to your video with Windows Movie Maker, you have to use a plugin and it asks Windows XP or Vista, so it seems pretty hard to add image watermark with Windows Movie Make.
Fortunately for you, there is a really easier way for you to add image watermark/logo to you video. All you have to do is download Wondershare Filmora. This particular software is going to allow you to easily do all of the above in just a few quick steps. Below are the steps that to add an image watermark wiht Filmora. Check this video to learn more.
Step 1: Import video
If you have download it, open it. Click IMPORT > Imoprt Media Files. Or you can just drag video file to Filmora.

Step 2: Add image watermark
Click ELEMENTS in the toolbar. Just choose a image that you like, and then drag it to timeline. You will find there is a image in the preview window. You can reposition and resize it in the preview window.

Step 3: Export video
After you are happy with the result, click Export. You can choose different exporting devices and formats. Or directly uploading it to YouTube is also availale.

Conclusion
After reading this article, we are sure you will know how to make text watermark by Windows Movie Maker with a few steps. About image watermark, Filmora is the best solution. Check the video below to learn more.
Windows Movie Maker has speed adjustment tools that allow users to easily speed up, or slow down their footage as they like.
by Liza Brown Jan 06, 2026 11:35 AM


