- Windows Movie Maker
How to Do Color Correction in Windows Movie Maker
Jul 14, 2025• Proven solutions
Now, as unfortunate as it may be, the latest version of the Windows Movie Maker from 2010 doesn't allow the user to customize the color, contrast or the tone but only the brightness. That's why you want to install Windows Movie Maker 6.0 as well as certain custom effects. In this particular article, we will show you how to correct the colors in Windows Movie Maker 6.0 with plugins and add-ons.
Related articles:
1. Color correction and color grading in video creation >>
2. How to use color correction in iMovie >>
A Better and More Advanced Way to Correct to Color in the Video
Now, there is an easy alternative to all of this. All you need to do is go for the Wondershare Filmora Software.

- More than 100 types of overlays
- More than 150 sorts of filters
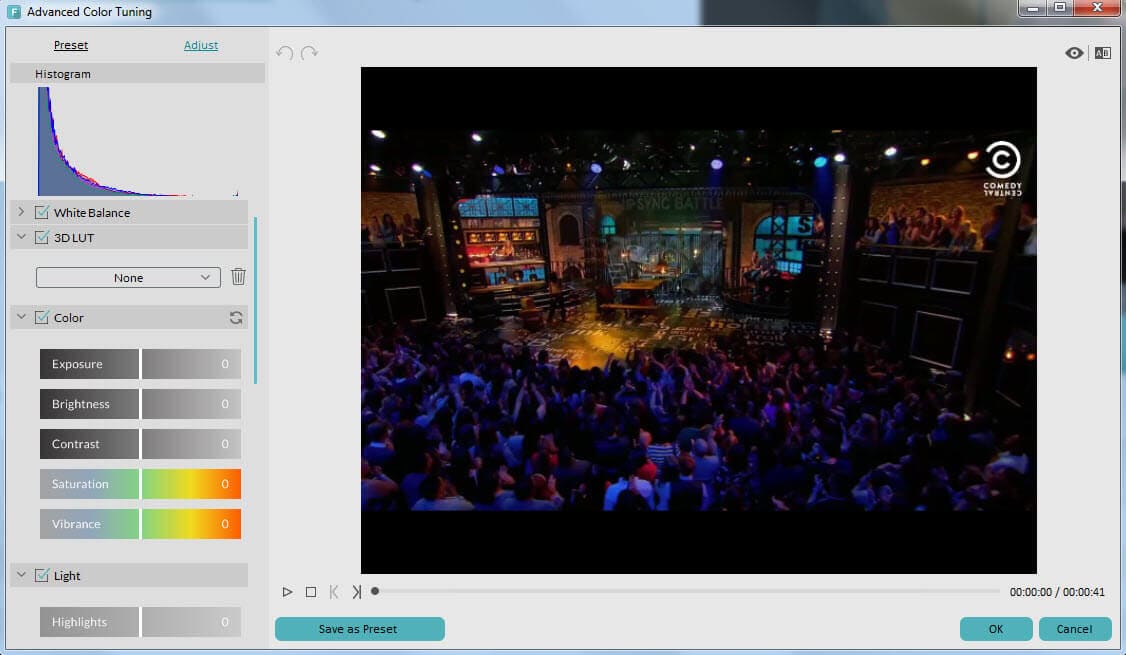
- Advanced color tuning tools not only allows you to adjust the brightness, contrast, saturation, tint, but also to add 3D LUT, Vignette effects, white balance etc. , give your video a Hollywood feeling.
How to do Color Correction in Windows Movie Maker
Tools you need:
Windows Movie Maker 6.0
The first thing that you need is to download the Windows Movie Maker version 6.0. In fact, there isn't any color correction option in the version 6, but only version 6 allows you to add color correction plugins or add-ons from third part.
SceneFixer Effects Wizard from Pixelan
Furthermore, you will also need a tool which is called Scene Fixer Effects Wizard from Pixelan.
This last tool is going to add intuitive brightness and contrast controls as well as particularly advanced color correction options. This is without a doubt a long needed addition to Windows Movie Maker which is going to save you quite a lot of time. It increases the versatility of the software dramatically and enables it to handle a wide range of different projects. You can set the RGB amounts for each channel and then adjust the saturation in order to correct the color of the clip.
Detailed steps:
Step 1: Install the Scene Fixer
Once you are through with the download, simply double-click the file and complete the installation by carefully following the given instructions.
Step 2: Open your WMM 6.0
Step 3: Color Correction
Now, there are a few things that you need to do in order to correct the color. First, you need to click on the button saying Reference Clip and load a still-image of the background video or a photo that you are going to use with the effect. This is going to help you decide on a color, brightness and contrast changes on your entire scene. Once you are through with this, you can add or subtract color as per the RGB control channel. Click the saturation button if you want to properly alter the overall intensity of the color of the clip.
After that, you want to make sure that you click on the brightness and contrast buttons to check these out as well. There is a popup that's going to appear in order to provide you with the necessary numeric values.
If you want to apply a correction only to a part of the image or the video you can click the Area buttons in order to triangulate the area and applies different color changes to it if you want. Furthermore, you can also create more than just one custom effect using this software, and all you would need to do is select another Bin through the Bin Button and repeat what we already said. Once you are through with the editing and you've achieved whatever it is that you want to do, you need to go ahead and click on the button which says “click here to export” and send the video to the Windows Movie Maker and keep on using it. There is absolutely nothing complicated when it comes to it, and the entire thing is incredibly comprehensive.
Get to know more about Wondershare Filmora
This free video voice over software will help you add voice over to video with ease.
by Liza Brown Oct 28, 2025 10:29 AM


