

 TL;DR:
To successfully digitize and upgrade VHS tapes to HD, you must record the physical tape in real time through a video capture device and subsequently reconstruct the low-resolution footage using diffusion-based AI.
● Record the initial video close to the original VHS signal resolution to avoid skipped frames, selecting the AVI format to retain maximum original detail for AI upscaling or MP4 for everyday viewing.
● Upscale the digitized file to 1080p or 4K using the Topaz Starlight model within Filmora, which utilizes diffusion AI to rebuild missing edges and clean up noise instead of simply stretching pixels.
● Save the first digital capture separately as a master file to prevent gradual quality degradation caused by repeated re-encoding, and retain the physical tapes as a last-resort backup.
Ask AI for a summary
 ChatGPT
 Perplexity
 Gemini
 Claude
 Grok
Grok
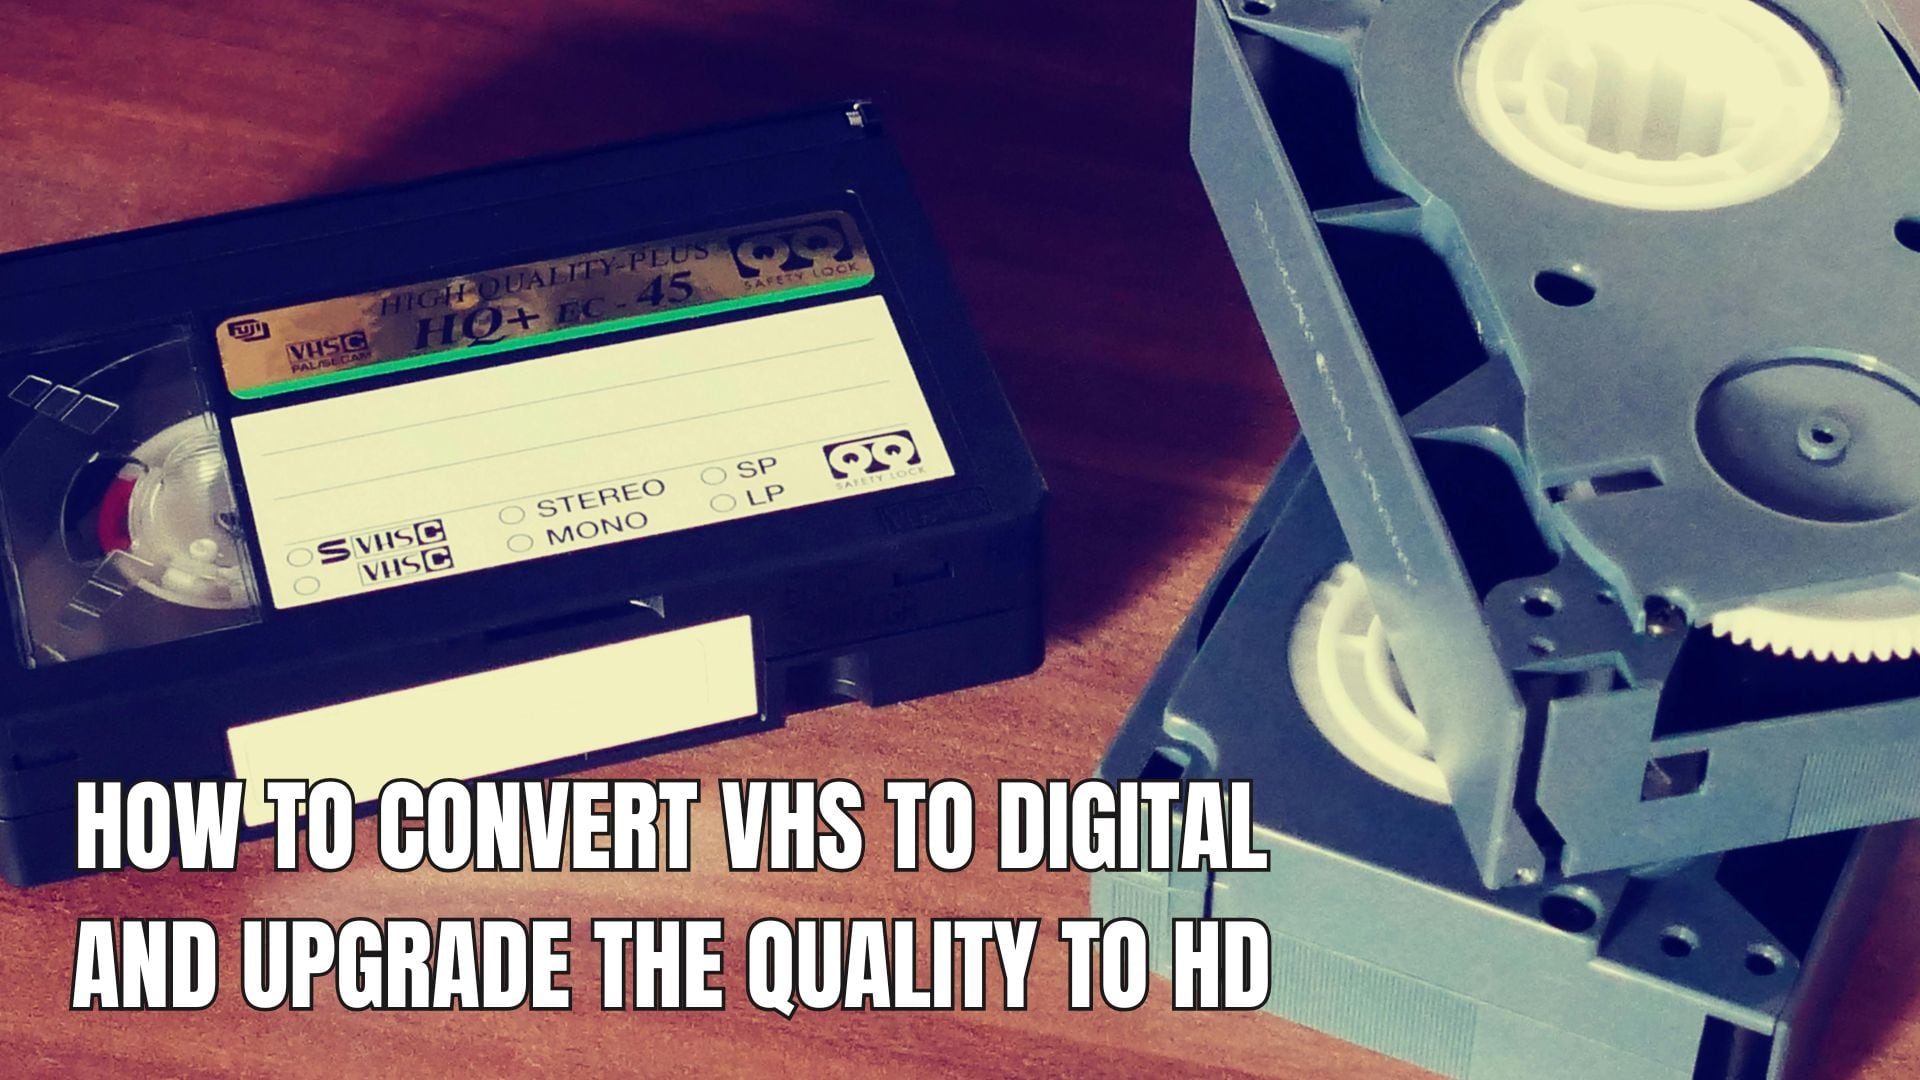
Old VHS tapes are hard to play and easy to lose. Players are disappearing, and the tapes keep degrading. That is why many people are learning how to convert VHS to a digital format or digitize VHS tapes before the footage is gone.
However, VHS was never meant for HD screens. When you watch it today, the video looks soft, noisy, and low resolution. That is why many people go a step further and look for a VHS upscaler to move VHS to HD or even upscale VHS to 1080p with AI. And if you have the right tool and knowledge, this transition will feel natural. So, let's dive into it!
Part 1. Equipment You Need to Transfer VHS to a Computer
Converting VHS to digital is tricky, but not impossible. Before proceeding with the actual transfer steps, it is essential to understand the basic setup, prepare the necessary equipment, and know what to expect so that the process runs smoothly and your tapes remain safe.
Since VHS tapes are fragile, it is easy to run into playback errors, dropped frames, or audio issues without proper preparation. Make sure you have these things ready before you start:
1. A VHS Player
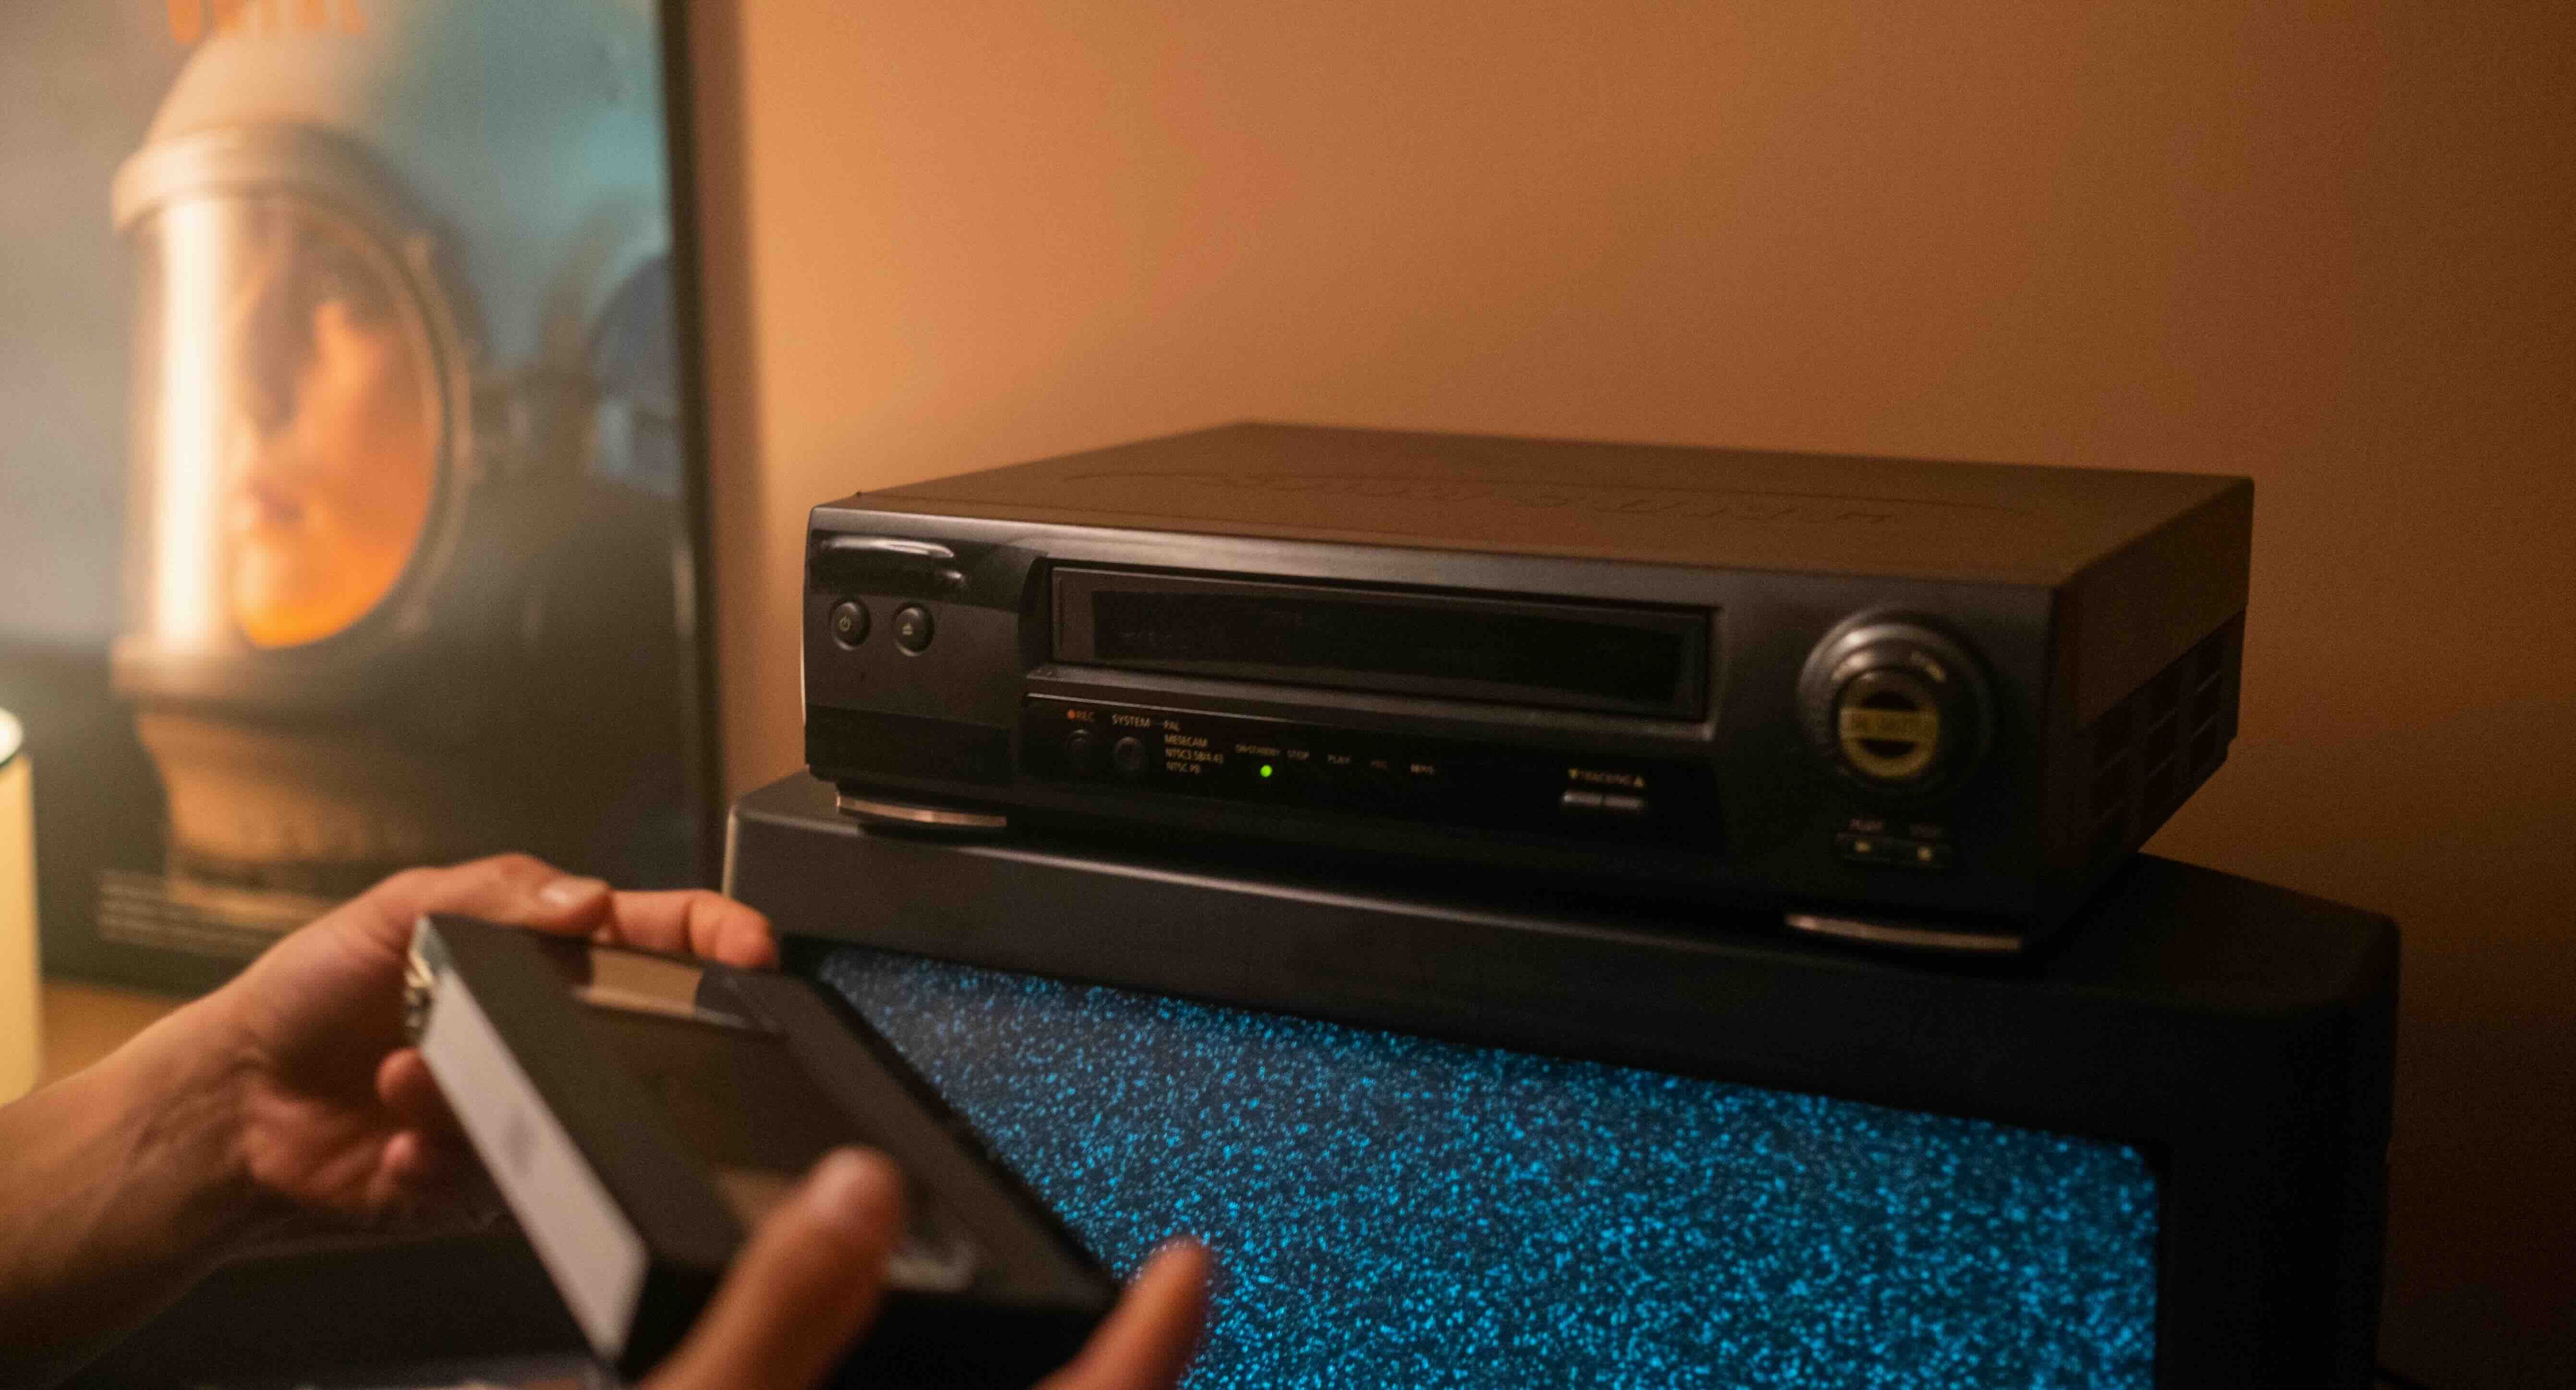
A working VHS player is essential because it physically plays the tape during the digitization process. But remember, the condition of the player matters. A poorly maintained VHS player can cause tracking problems, distorted images, or unstable audio. If possible, test your VHS player with a tape first to ensure smooth playback.
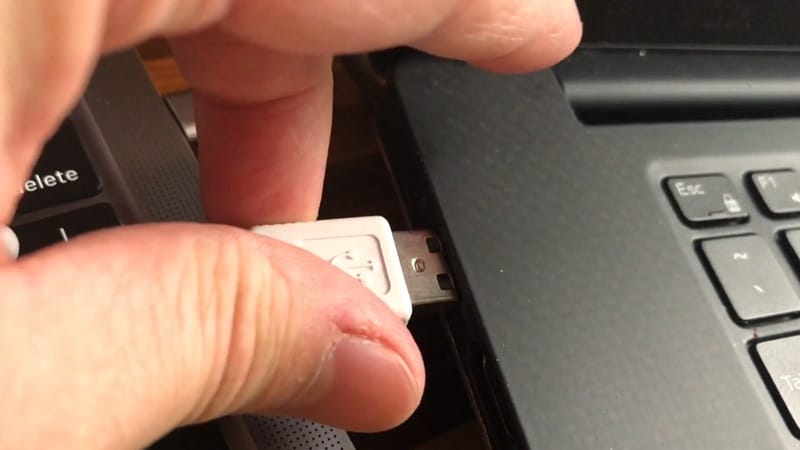
2. A Video Capture Device
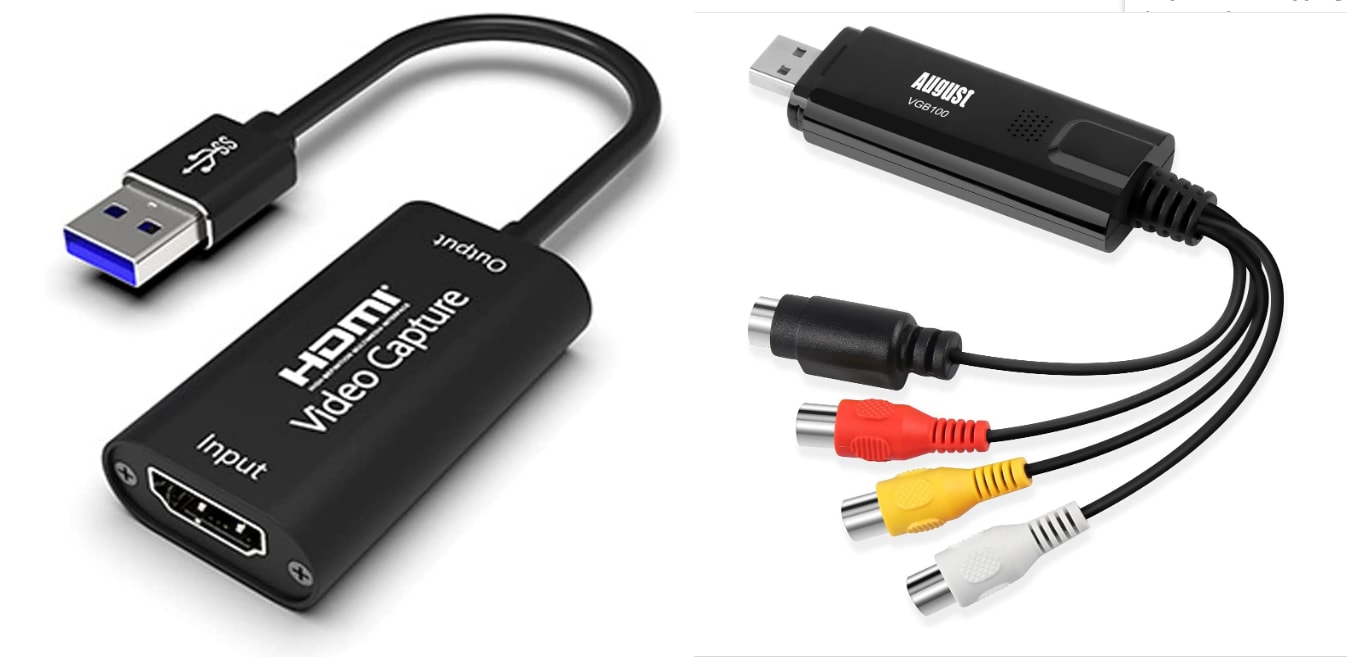
A video capture device acts as a bridge between your VHS player and your computer. It converts the analog signal from the tape into a digital format that your computer can understand. Most modern capture devices connect via USB and support common video formats.
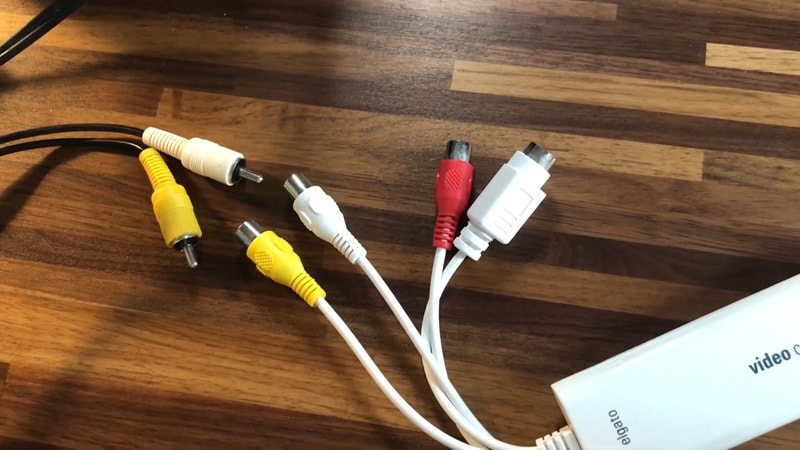
3. Cables and Adapters
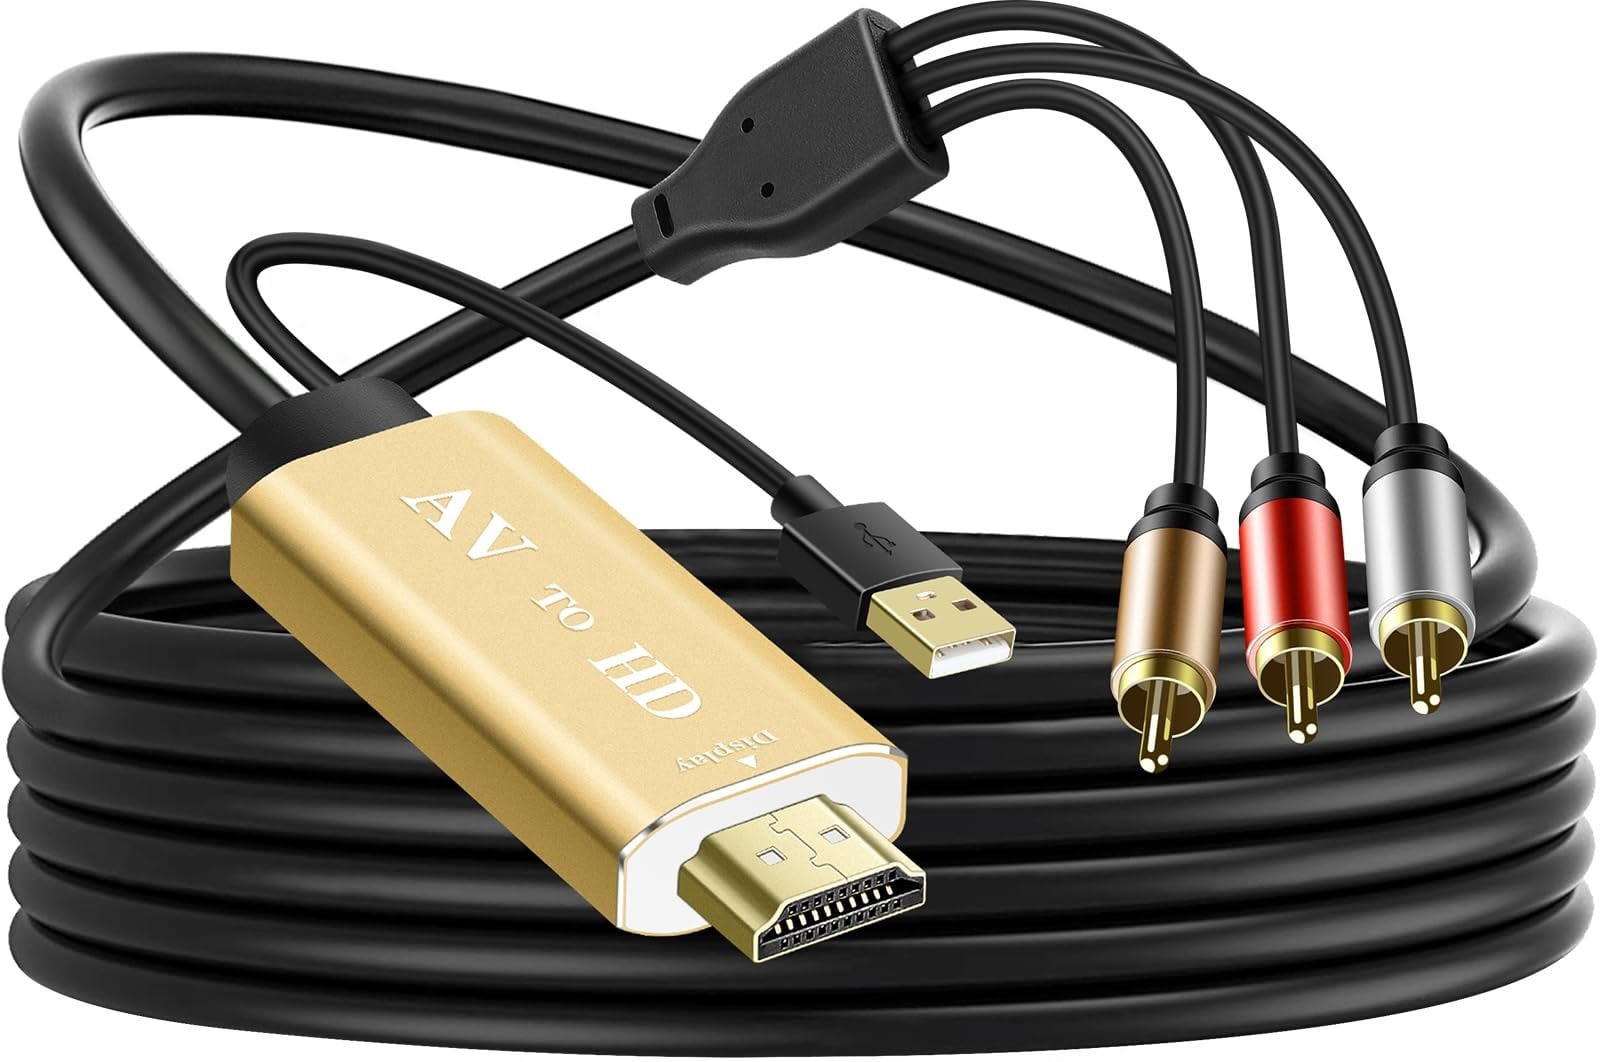
You need the right cable to connect your VHS player to the capture device. Most setups use composite RCA cables (red, white, and yellow), although some may require adapters depending on your hardware.
4. A Computer with Storage

Digitizing VHS video tapes creates large files, especially if you plan to upscale later. Ensure your computer has sufficient free storage or an external hard drive to avoid interruptions during the recording.
5. Video Capture Software
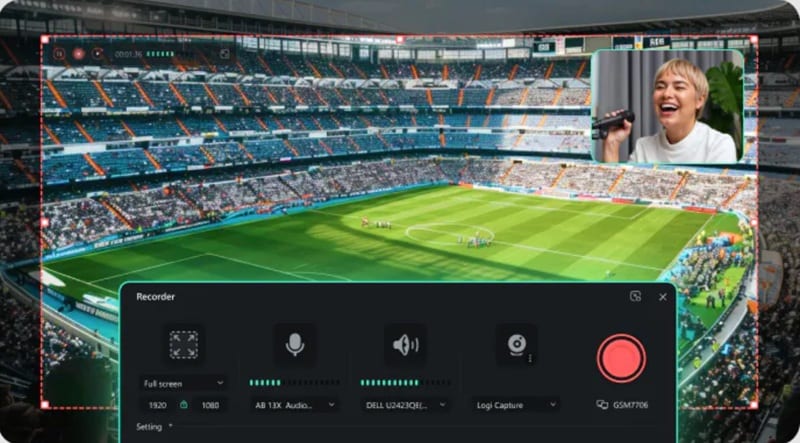
Video capture software displays the signal from your VHS player through a capture device and records it as a digital file. This software helps you monitor the audio and video in real time and ensure that the VHS-to-digital conversion process is done correctly.
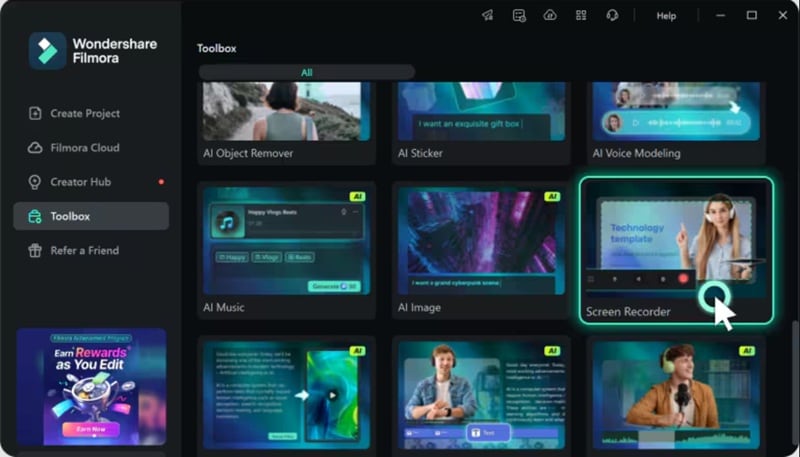
Note: For this step, you can use Wondershare Filmora's Screen Recorder as a simple capture-and-edit solution, especially if your capture device already outputs video to your system.
Part 2. How to Convert VHS Tapes to Digital (DVD)
With all equipment prepared, you are ready to start the actual conversion process. Converting VHS tapes to digital works in real time, meaning the tape must be played fully while your computer records it.
Take these things step-by-step, so that you can avoid errors and ensure your VHS tapes are transferred well and safely.
The steps to convert VHS tapes to digital can be broken down as follows:
- Connect Your Equipment.
- Transfer the VHS to a Computer.
There is a full walkthrough by Kyler Steele on YouTube that covers this in detail. For a quicker overview, the steps below cover the basics.
Step 1: Connect Your Equipment
1. Connect the VHS player
Plug the yellow, red, and white cables from the VHS player into the capture device. If your player uses SCART, add a SCART to the RCA adapter first.
2. Plug the capture device into your computer
Connect the capture device to your computer using USB. Install the software if prompted.
3. Open the capture software
Open Filmora and select Screen Recorder from the Toolbox panel. Put in the tape, press play, and make sure you see and hear the video before recording.
Step 2: Transfer the VHS to Your Computer
1. Start the capture
Select the area you want to record. Then, click the big red button to Start Recording and press Play on the VHS player.

2. Stop and save
Let it run and make sure the video and audio stay smooth. Click the red button again to Stop Recording when you are done. It will be added to the timeline.
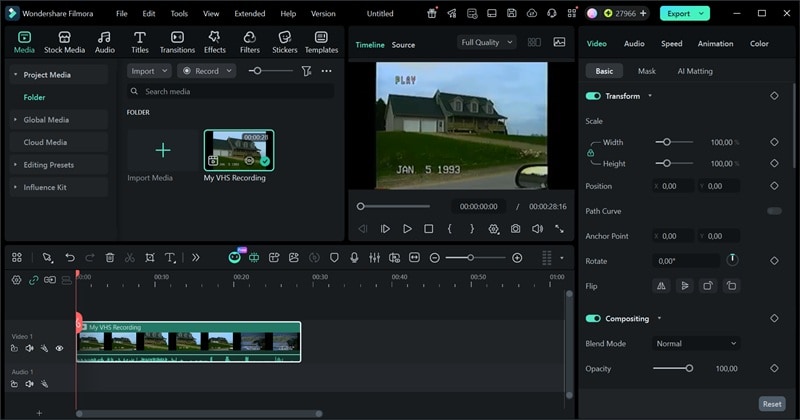
Click Export, and now you have a digital copy of the VHS on your computer.
3. Optional: make a DVD
If you want to convert VHS to DVD, select DVD on the export window and burn it.
Common Video File Formats for Digitizing VHS Tapes
When you digitize VHS tapes, the file format you pick can make a real difference later. It affects how much detail stays in the video and how well it holds up when you clean it or upscale VHS footage.
That extra information helps more than you think. So, check out the table below for a quick breakdown of common file formats and how they hold up when you digitize VHS tapes and move toward VHS to HD or AI upscale VHS results.
Video Format |
Best Use Case |
Pros |
Cons |
MP4 |
Everyday VHS digitizing |
Easy to edit, widely supported |
Compression drops some fine detail |
MOV |
Editing and AI work on Mac |
Holds color and detail better than MP4 |
Larger files, less universal |
WMV |
Windows capture setups |
Plays nicely with Windows capture devices |
Too compressed for strong AI results |
AVI |
High-quality capture and archiving |
AVI (with minimal compression) keeps more original VHS detail for AI upscaling. |
Very large files |
MPEG-2 |
Converting VHS to DVD |
Standard DVD format with solid quality |
Bigger files than modern formats |
|
Show More
Show Less
|
|||
Part 3. How to Upscale VHS to HD (1080p) or 4K
Once you digitize VHS tapes, the next thing you notice is the quality. As we said earlier, VHS was never meant for big modern screens. That is why many people go a step further and look for ways to upscale VHS to 1080p, and in some cases 4K, depending on the source quality.
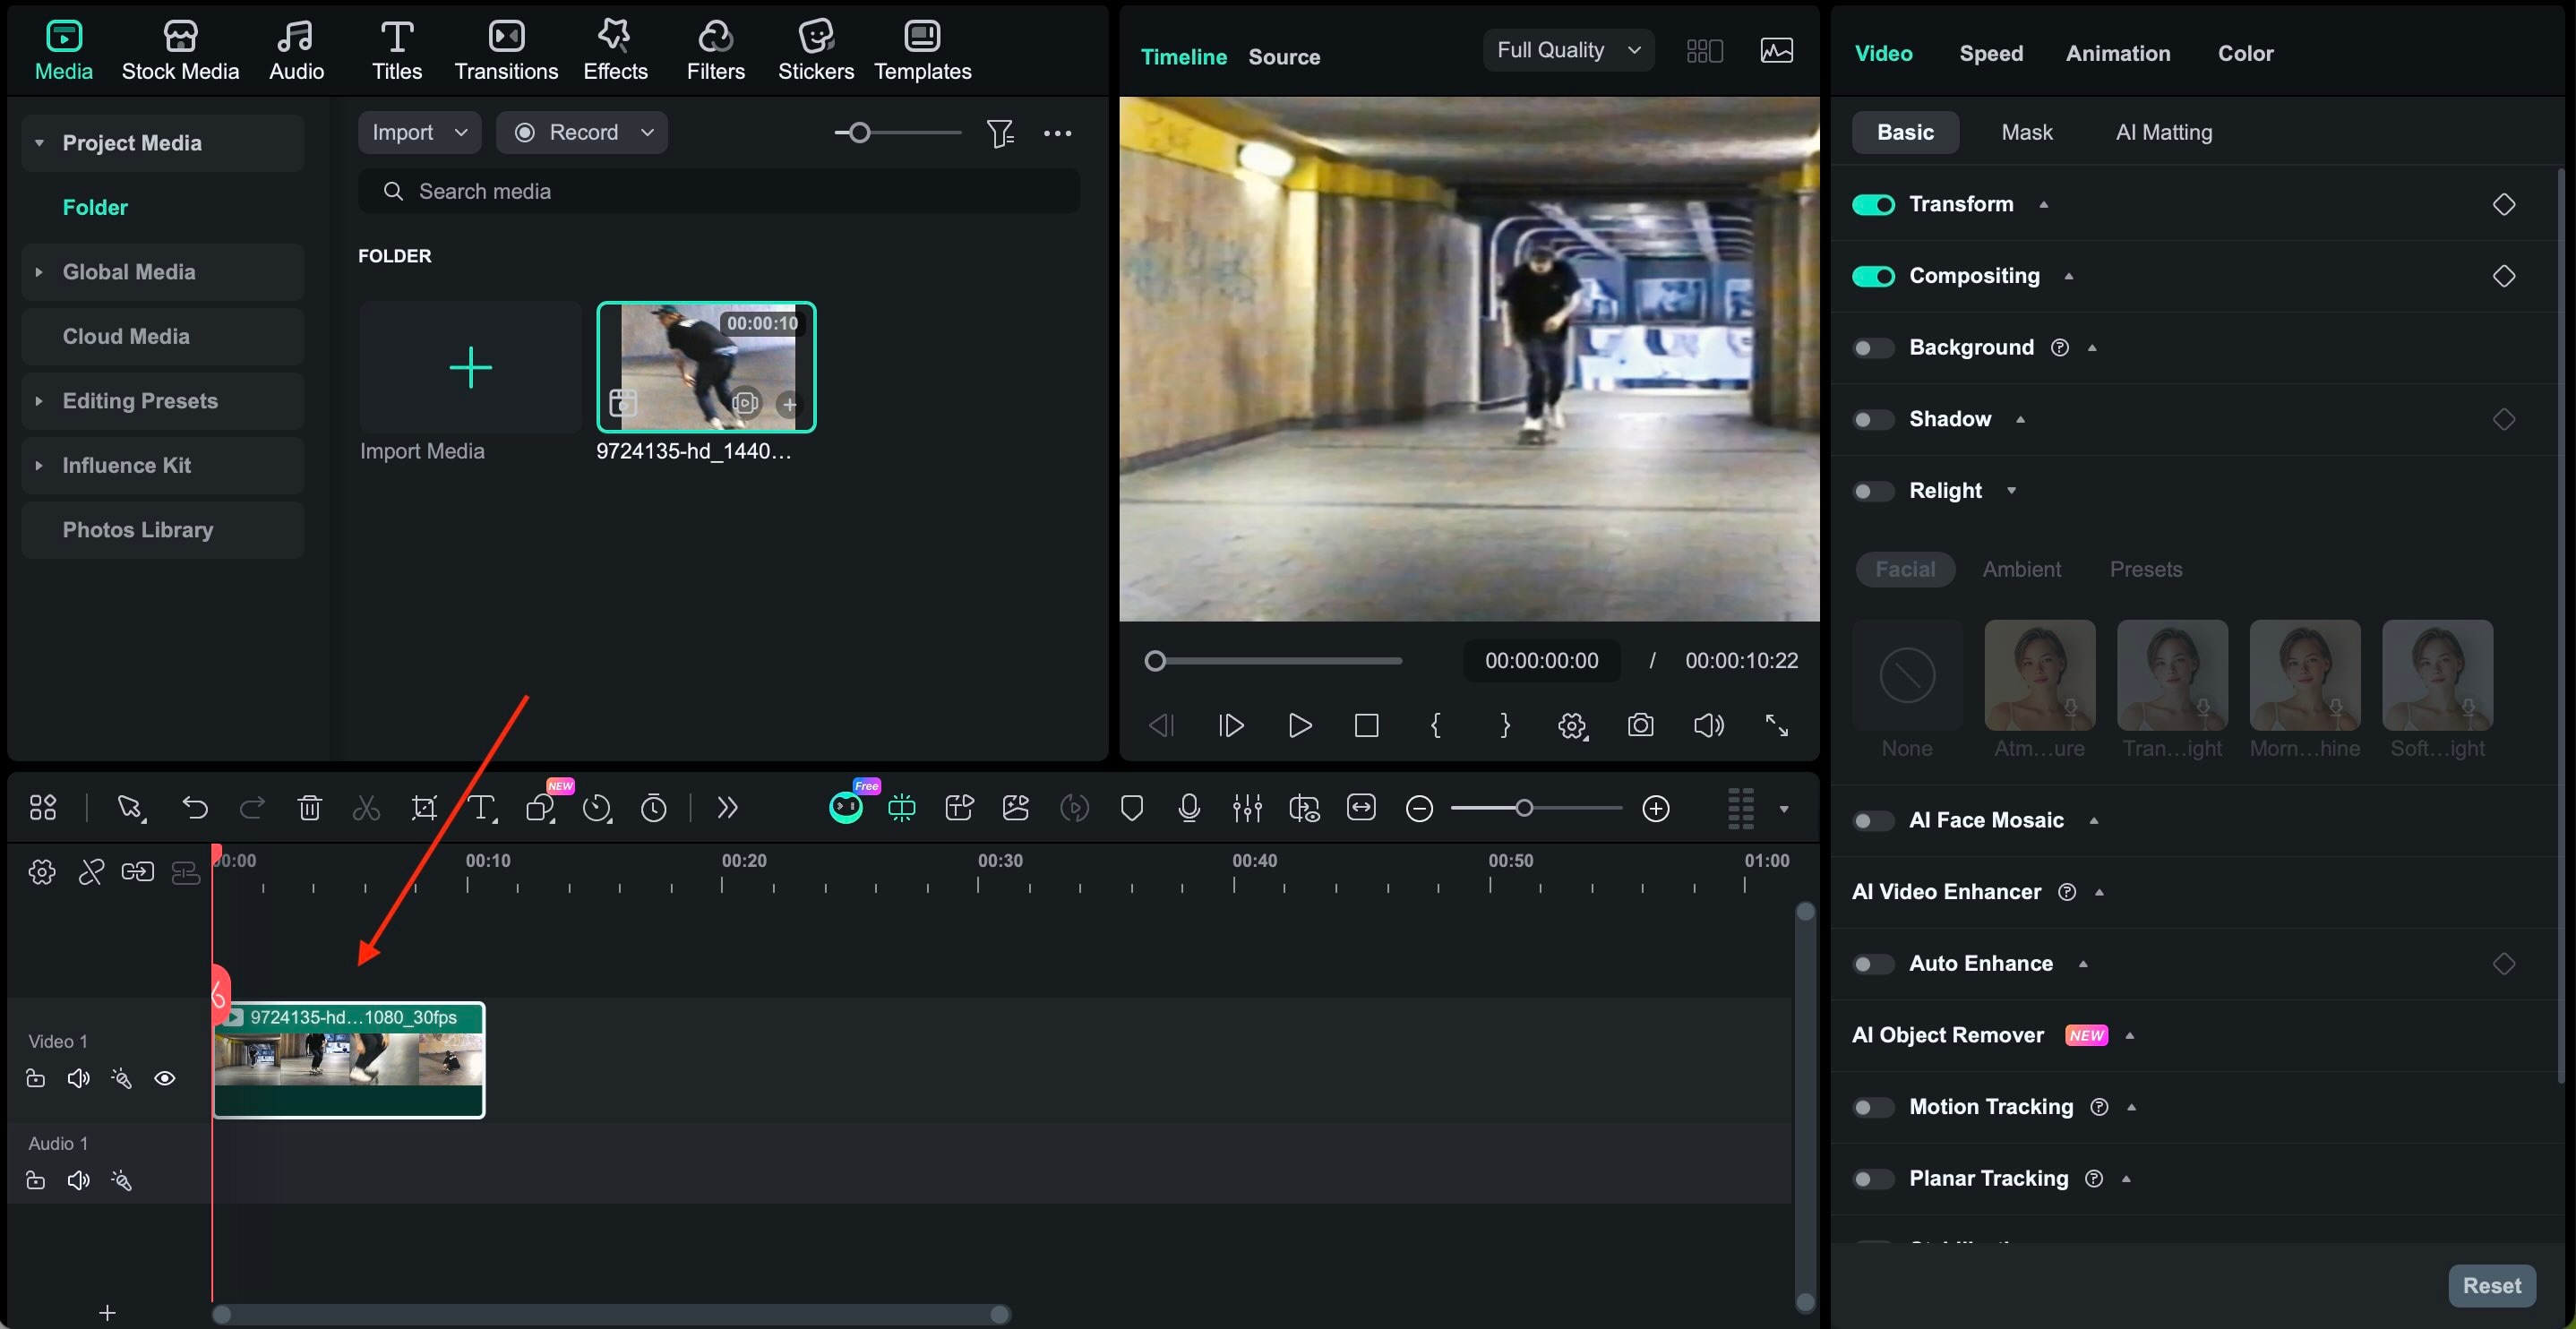
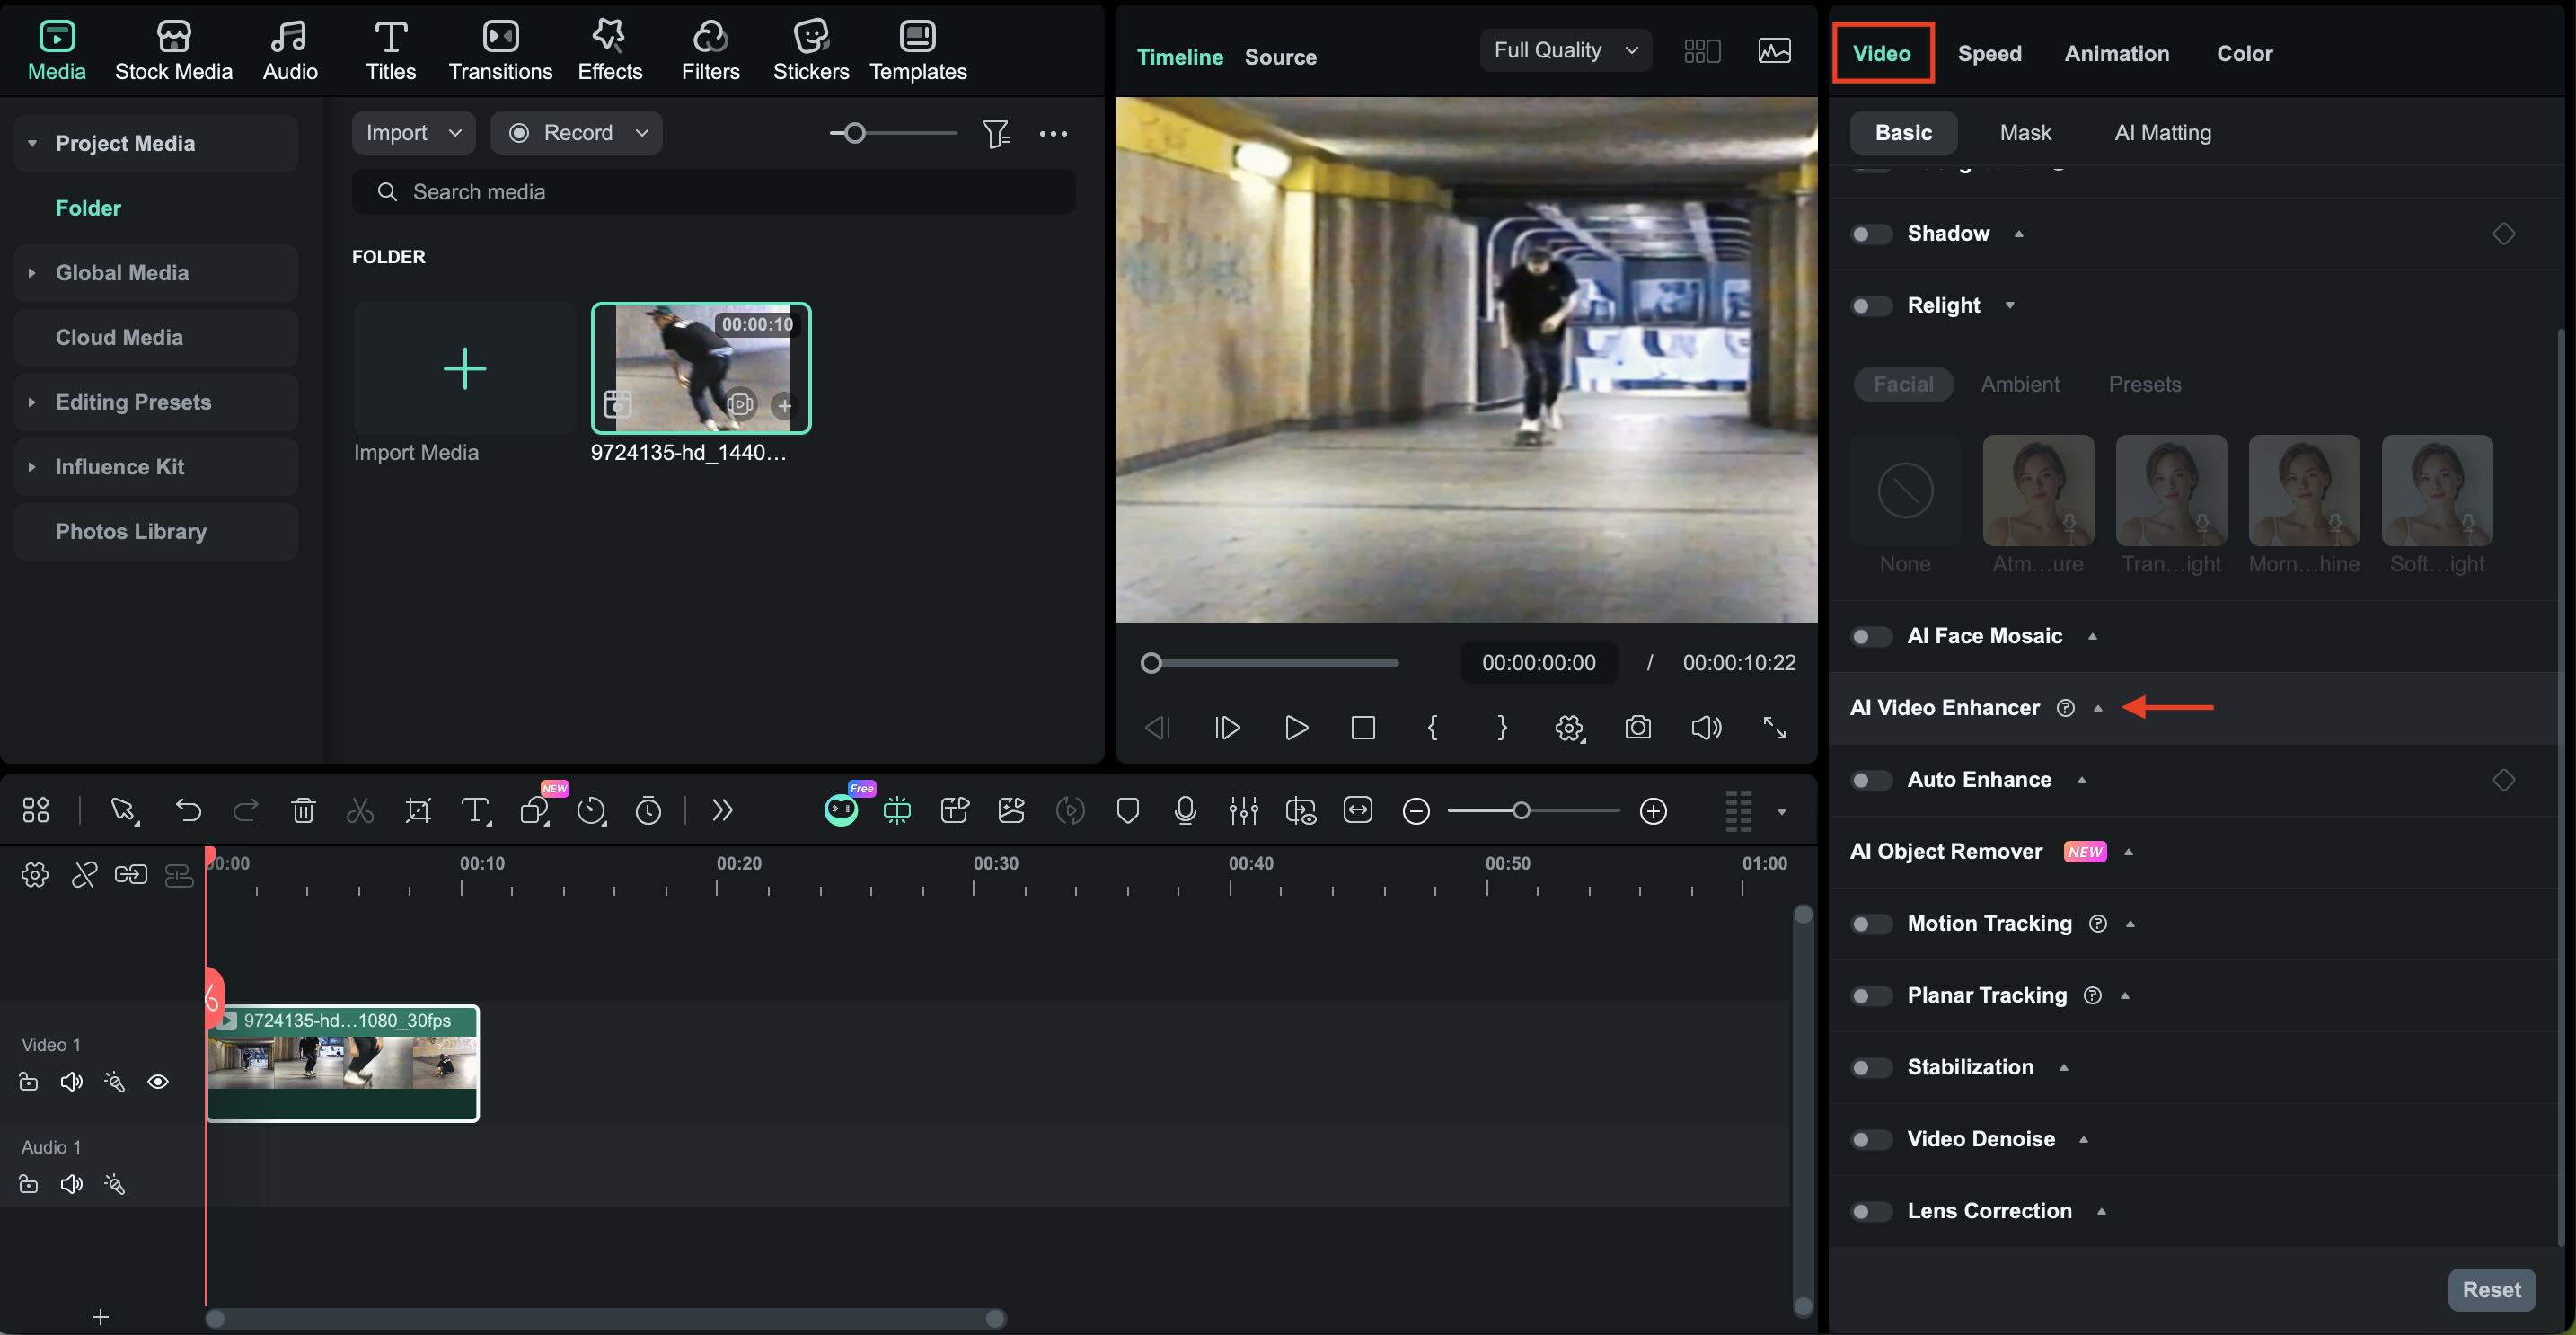
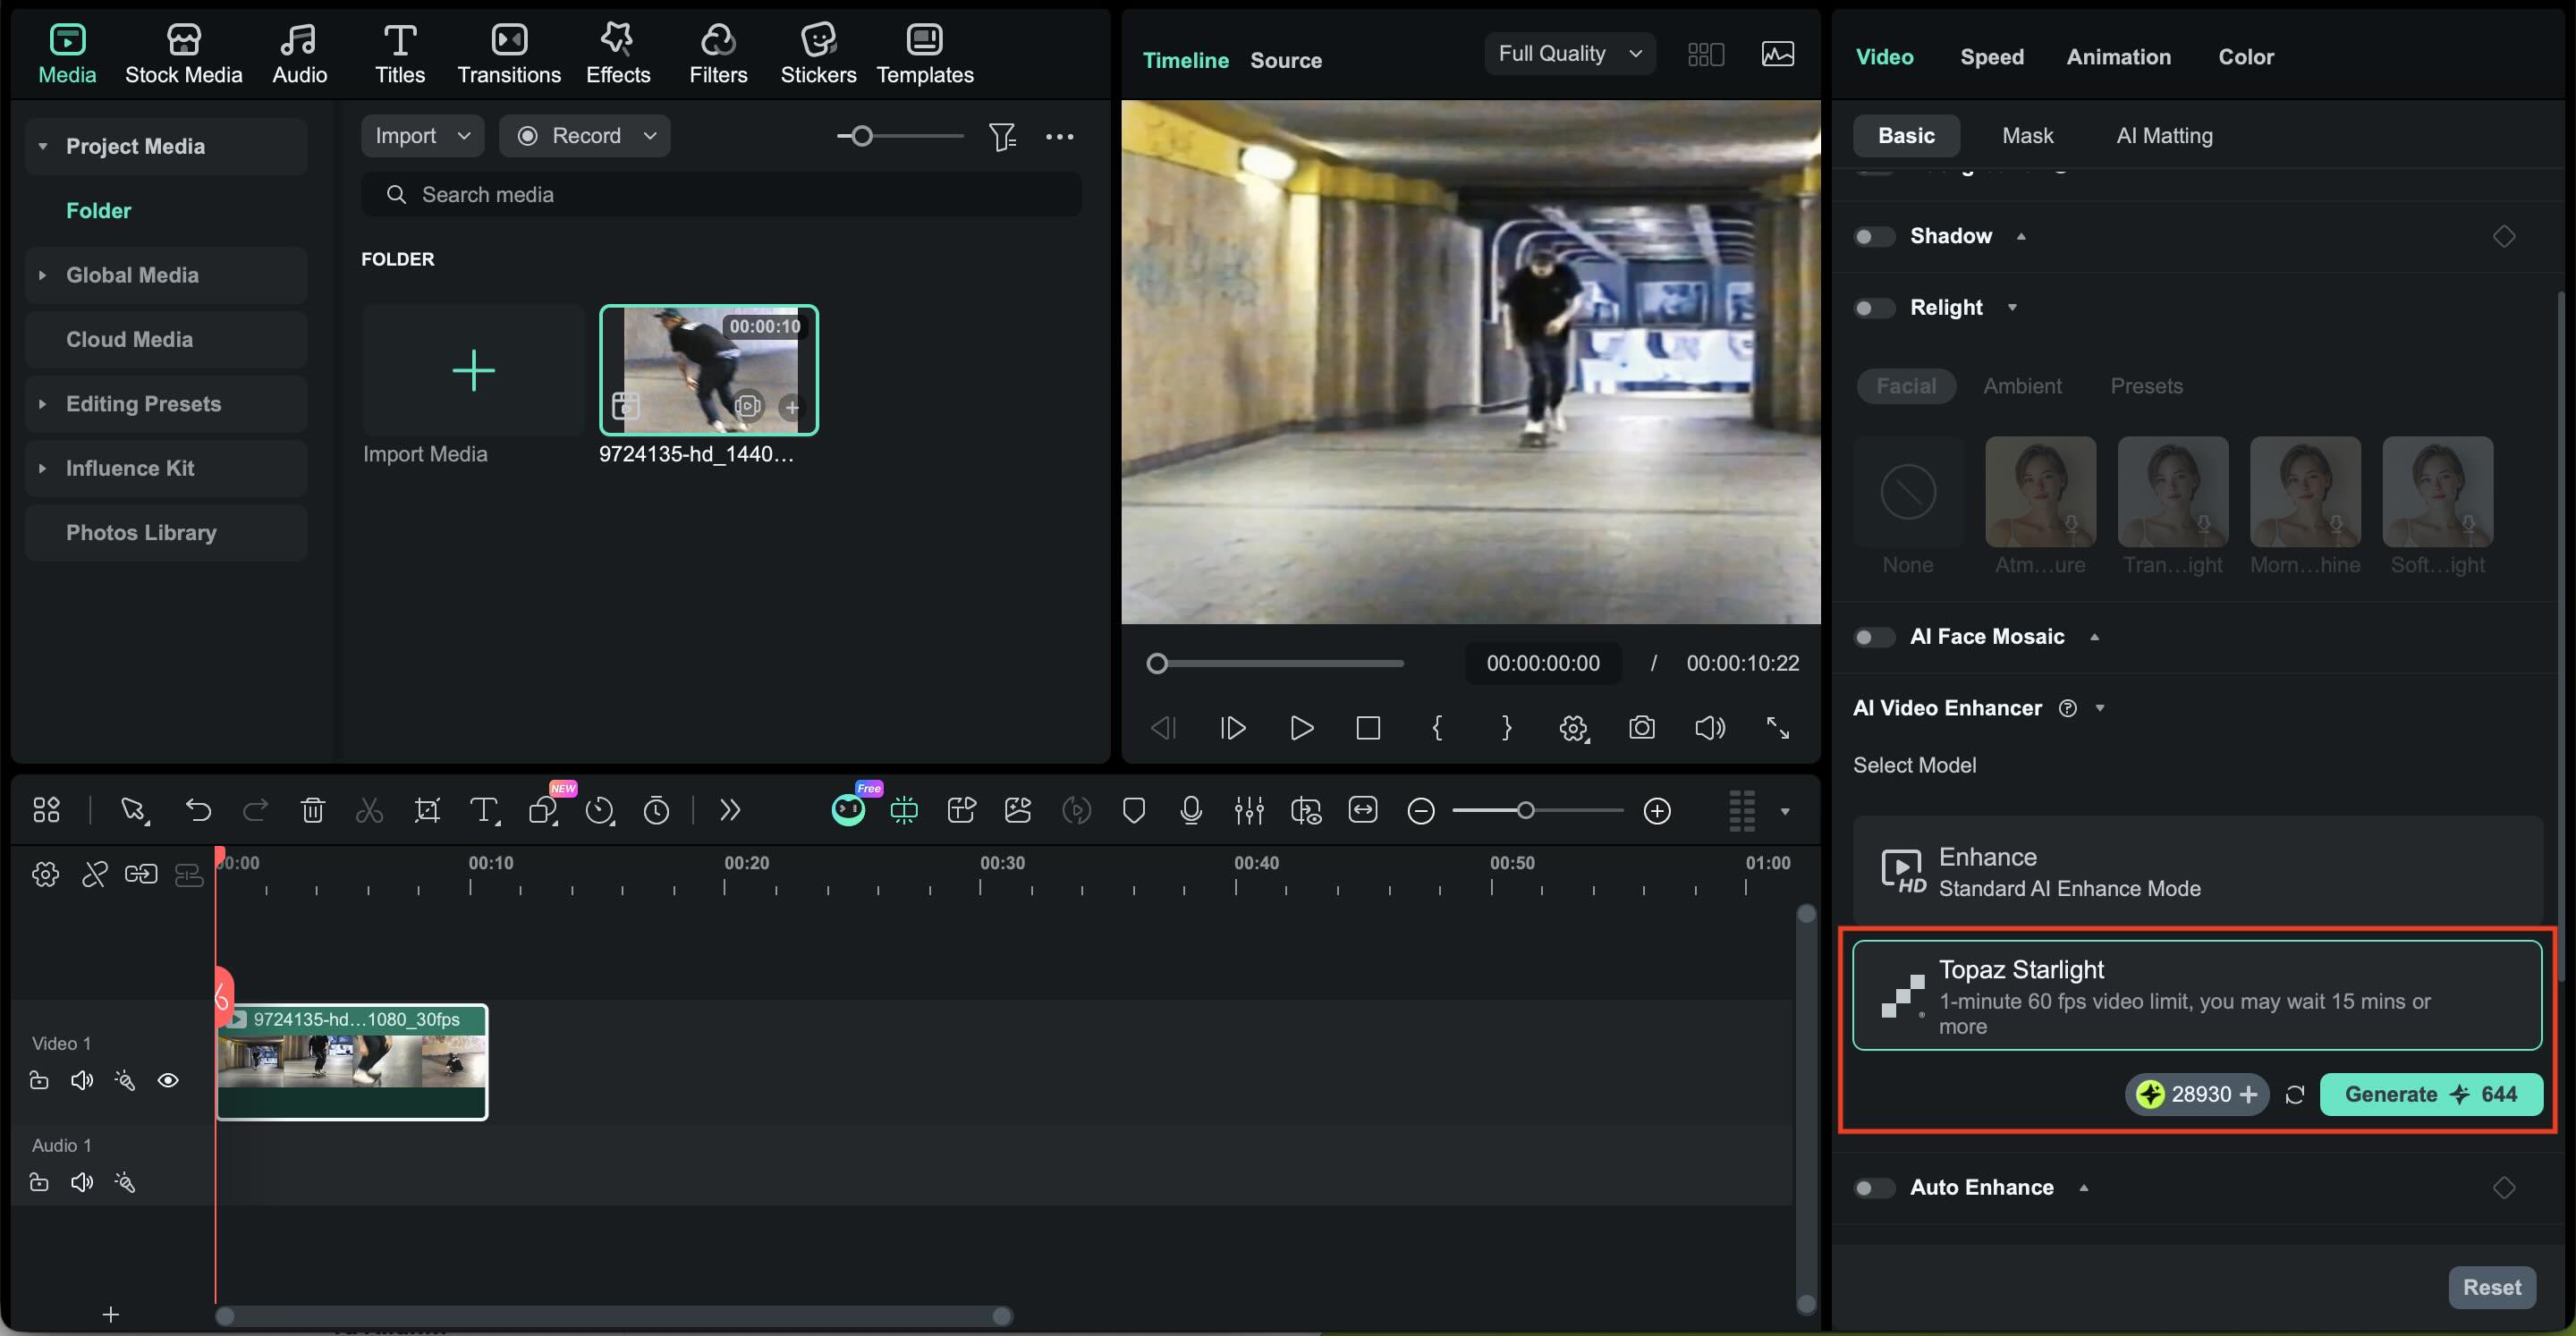
Filmora can easily help in that process through its AI Video Enhancer feature. Using AI technology from Topaz Labs, it can help you clean up and enhance old footage more naturally.
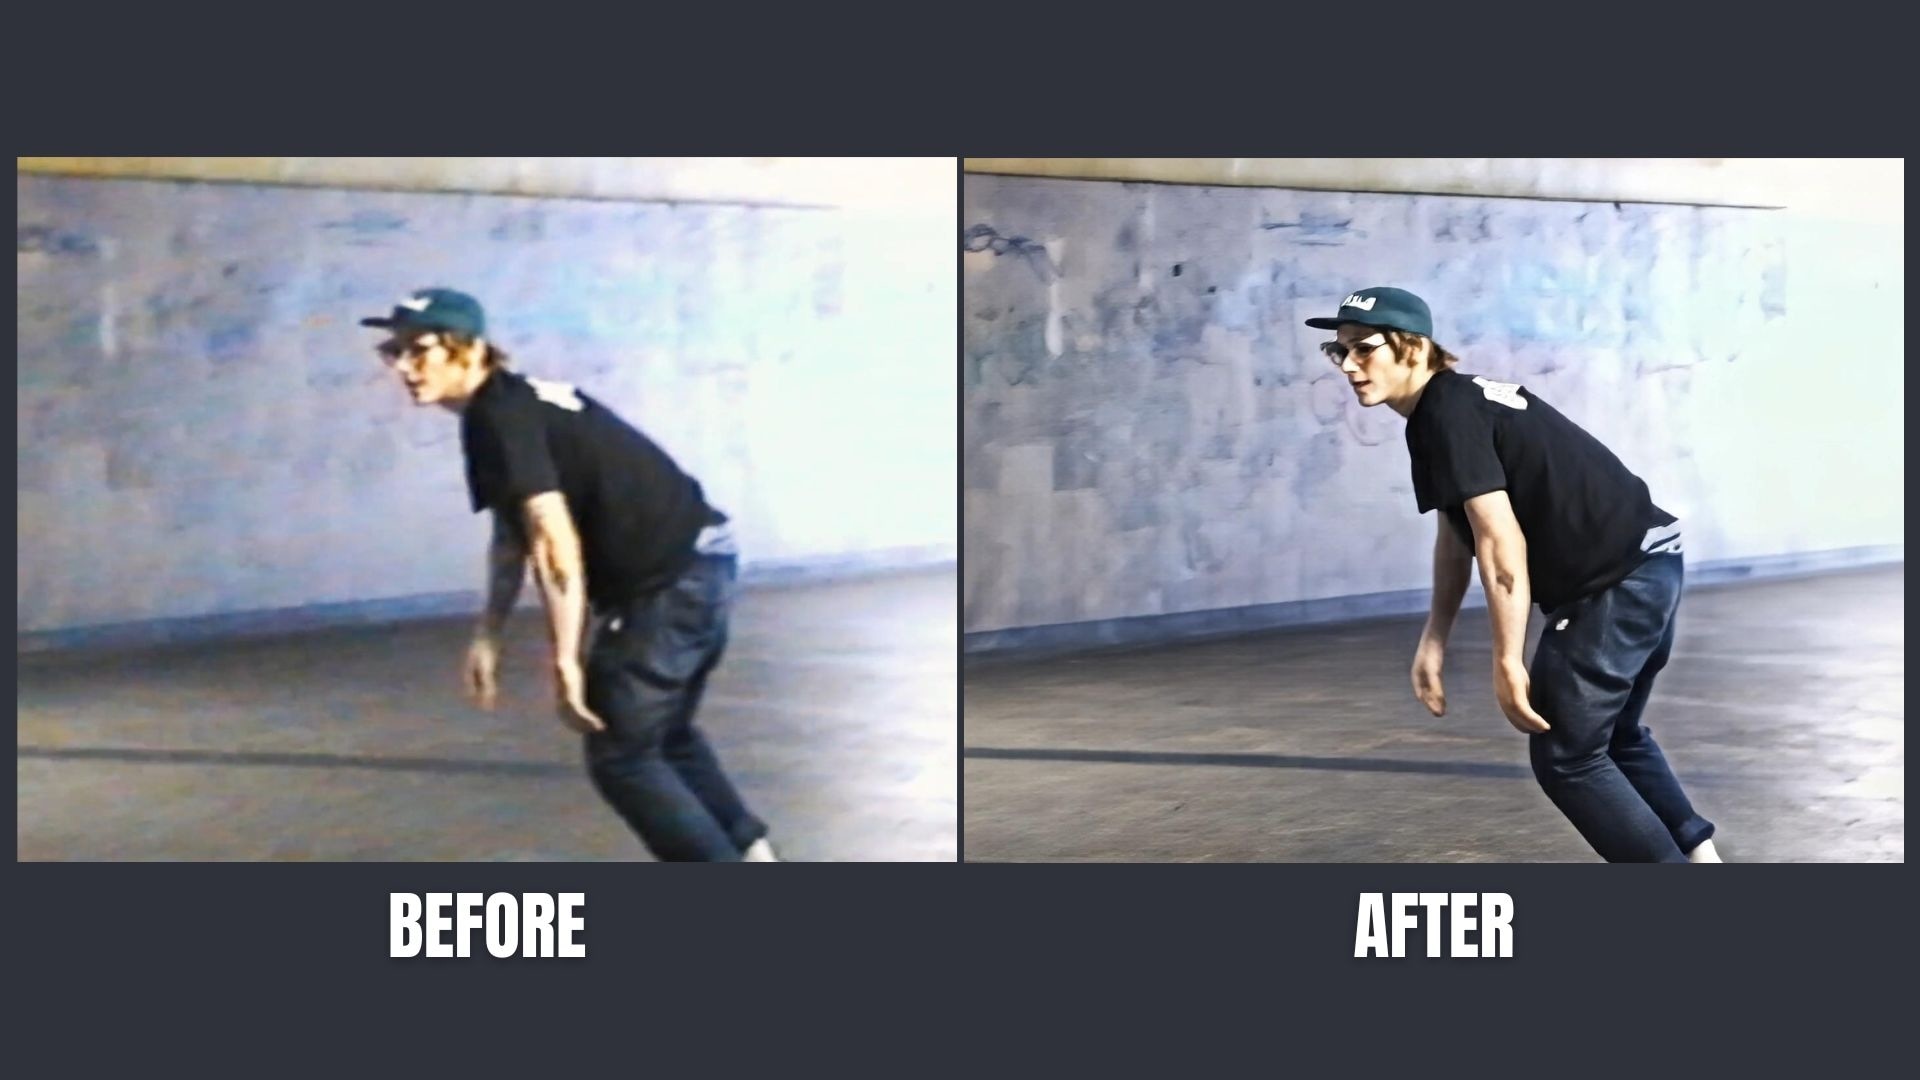
Benefits of Using Filmora's Topaz AI Video Starlight:
- Diffusion AI-based detail rebuilding: Instead of stretching pixels, the diffusion AI rebuilds missing detail. Edges look cleaner, textures feel more natural, and VHS noise is easier to control. This matters a lot when working with old VHS and SD footage.
- Upscale VHS to HD or 4K: You can move VHS to HD or upscale VHS to 1080p and beyond, making the video fit modern TVs, online platforms, and long-term storage.
- Cleaner motion and better texture: The AI smooths motion, reduces noise, and restores a more natural look, which makes the footage easier to edit and nicer to watch from start to finish.
- One smooth workflow: Digitizing, upscaling, and editing all happen in one place. There is no jumping between tools or exporting files back and forth.
Step-by-Step: Upscale VHS to HD or 4K with Filmora

Part 4. Common Issues During VHS Conversion + Quick Fixes
Even with the right setup, converting VHS to digital doesn't always work perfectly the first time. However, most problems that happen are easy to fix if you know the issue.

1. The Video Doesn't Show Up on the Screen
Solution: Check the cables and make sure the capture device is selected in the software.
2. Sound is Missing During Playback or Recording
Solution: Make sure the red and white cables are plugged in, and the capture device is set as the audio source.
3. Audio and Video Don't Line Up Correctly
Solution: Use standard VHS settings and close other apps. You can fix small sync issues later.
4. The Video Stutters or Skips Frames
Solution: Close background programs and save to a fast drive. Do not record at unnecessarily high-resolution during capture. Record close to the original VHS signal and upscale later if needed.
5. The Capture Software Becomes Unresponsive
Solution: Restart the software and update drivers. Record in shorter parts if needed.
6. The VHS Deck Pauses or Ejects the Tape During Recording
Solution: Rewind and fast-forward the tape first. Clean the player and avoid damaged tapes.
Part 5. Best Practices to Keep Your Digitized VHS Videos Safe
After you convert VHS to digital and clean up the quality, it feels like the hard part is over. But digital files can still disappear if a drive fails or a file gets deleted by accident.
To avoid that, follow the tips below that focus on simple habits that protect your videos without turning storage into a chore:
- Keep Multiple Backups: Keep at least two copies of your digitized VHS videos. Use an external drive and cloud storage if possible.
- Store Original Digital Copies Separately: Save the first digital capture separately. Use it as your master if you want to re-edit or re-upscale later.
- Avoid Re-encoding Too Often: Repeatedly exporting or converting the same video can gradually reduce quality. Try to work from the highest-quality source file available and limit re-encoding to final exports only.
- Store Original Tapes Properly: Store the original tapes in a cool, dry place. They serve as a last-resort backup and may be useful if future restoration technology improves.
Conclusion
Digitizing VHS tapes is a practical way to keep old videos accessible as playback equipment and tapes continue to age. Converting VHS to digital solves compatibility issues, while upscaling to 1080p HD or 4K improves how the footage looks on modern screens. With the right equipment, careful file handling, and proper backups, your videos can remain usable for the long term.
Using an all-in-one tool like Filmora also simplifies the process by keeping conversion, enhancement, and editing in a single workflow. The result is preserved footage that is easier to watch, store, and access whenever needed.
