iMovie is an Apple application that helps users edit videos and get the desired content results. While editing, you may also want to improve the audio, such as reducing background noise in iMovie. If so, you’ve come to the right place.
We’ll show you how to eliminate background noise in iMovie for the ultimate audio experience. Moreover, we’ll cover steps for reducing and muting noise to help you understand the tool better. Keep reading for an alternative solution to meet all your audio goals.
In this article
Can iMovie Remove Background Noise?
iMovie is a straightforward video editor that can meet your background removal needs and help improve the audio experience. However, the app doesn’t have advanced background removal features, so it may not catch all instances and entirely clean your audio file.
Instead, it can deal with moderate background noise and help you get better content without using fancy tools. It’s ideal for beginners and personal use.
Here are the primary features the software provides for your noise removal experience:
- Audio equalizer – You can adjust the audio frequency and reduce background noise accordingly.
- Automatic enhancements – You can enable this feature to balance the sound.
- Noise removal – You can remove any background noise in your audio.
- Remove background noise precisely with AI.
- Clean audio based on noise type.
- Edit audio separately after noise removal.
- Remove wind, reverb, hum, and hiss easily.
- Reduce noise for clear sound.

Three Methods for Removing Background Noise in iMovie
Let’s see how to remove background noise in iMovie and get the ultimate experience.
1.How to Remove Background Noise in iMovie
You can use the manual method to remove background noise in iMovie. You only need to open the application, import your file, and follow the steps below for the most efficient results:
Step 1: Hold the R key and select the area of your audio with background noise.

Step 2: Drag the horizontal bar down until you no longer see background noise.

This method is the most customizable, letting you quickly clean up the audio.
2.How to Reduce Background Noise in iMovie
The method above also lets you reduce background noise. However, use the automatic tool to save time and effort. Here’s a step-by-step guide to reducing background noise in iMovie:
Step 1: Tap the Equalizer button in the top bar.

Step 2: Check the Reduce Background Noise box.
Step 3: Adjust the background noise removal level according to your preferences.

This option will automatically detect unnecessary elements and reduce noise. You can also use this feature to remove background noise in iMovie. You only need to slide the bar to 100%.
3.How to Mute Background Noise in iMovie
Another way to remove background noise is to mute the audio. You can do so with the help of the built-in iMovie features. Follow these steps:
Step 1: Select the problematic audio area by holding the R key.

Step 2: Click the Audio button in the top bar.

Step 3: Hit the Speaker button to mute the audio.

Pros and Cons of Using iMovie to Remove Background Noise
All background noise removal tools have advantages and disadvantages, so weigh them to choose a favorite. We’ll present some of iMovie’s pros and cons below to give you insight into your future experience and help you decide whether it’s the right app for your needs.
Best Alternative to iMovie for Removing Background Noise
As you can see, iMovie is a straightforward program for background noise removal or reduction. However, it can’t entirely remove every noise (unless you mute the audio), so you might want to look for another solution. Wondershare Filmora is an excellent alternative.

Filmora is the most universal video editor with dozens of audio features. All are advanced and easy to use, providing the ultimate background noise removal journey.
The latest AI algorithms power Filmora’s background noise removal tool, automatically detecting and reducing or removing unnecessary audio elements.
Moreover, you can choose the noise type and remove specific elements within your audio. For instance, you can eliminate hums, wind, and other noise. You can also enhance your voice using the built-in AI feature and create professional audio content.
The best part about Wondershare Filmora is that anyone can produce professional audio, even users who aren’t tech-savvy. The user interface is clean and beginner-friendly, giving everyone a chance to become a video and audio editor.
How to Use Filmora to Remove Background Noise
Using Wondershare Filmora to remove background noise from your audio files is straightforward. Follow the detailed steps below to navigate the experience and get the best results:
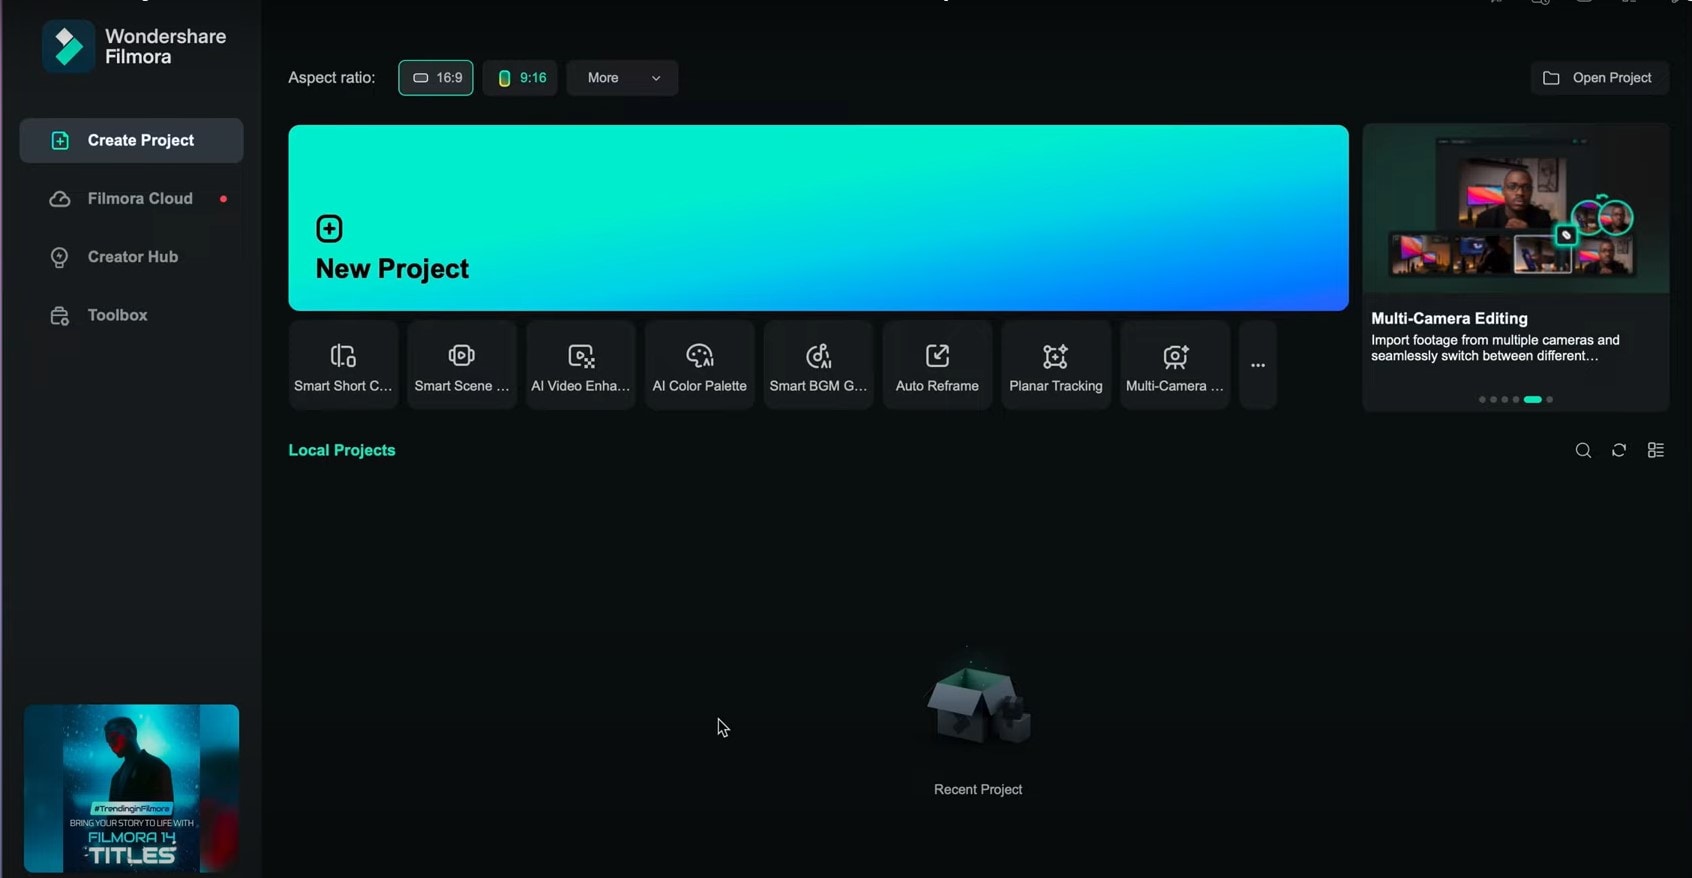
Step 1: Open Filmora and click New Project.

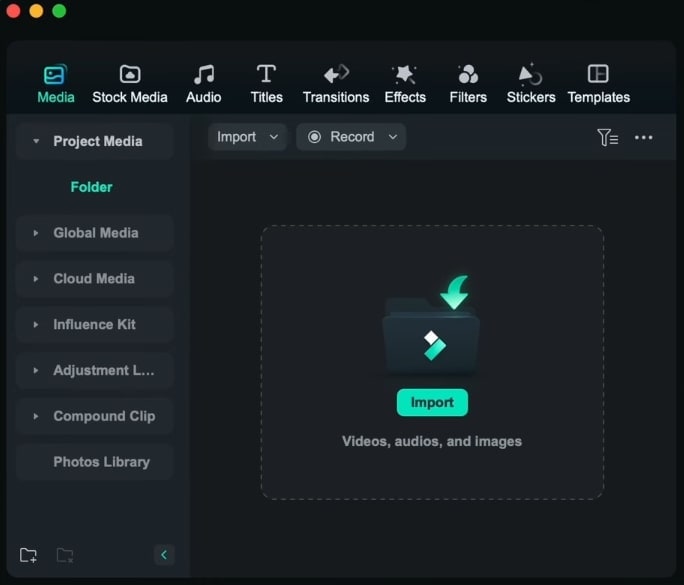
Step 2: Import your video file and drag it to the timeline.

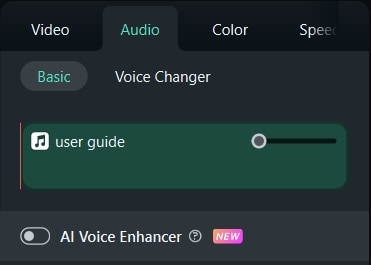
Step 3: Double-click the file on the timeline and go to Audio from the right side.

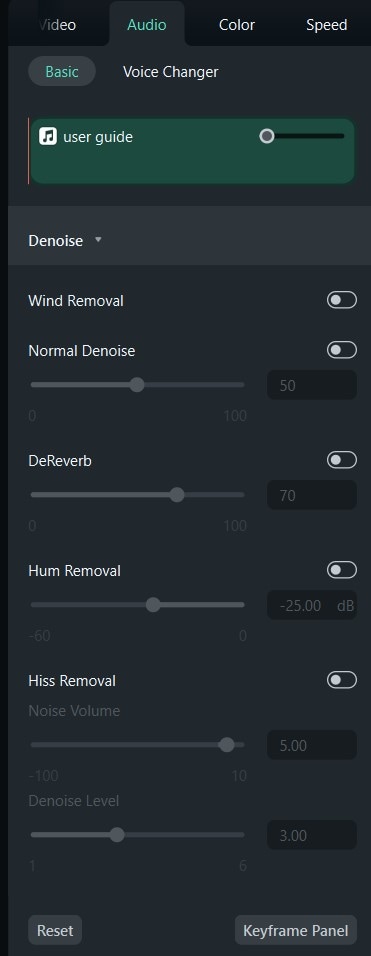
Step 4: Under the Denoise tab, choose which background noises you want to remove, as presented in the image below.

Step 5: Drag the bar to adjust the background noise removal level.
Once you complete these steps, play your audio file to check the result. Adjust it until you like what you hear, and export the file to your device. You can also share your creations on social media platforms. As you can see, Wondershare Filmora is intuitive and easy to use, so you shouldn’t experience issues.
Conclusion
iMovie is a popular video editing solution among Mac users since it lets you make basic edits and prepare your content for further use. One of the features you’ll access within the app is removing background noise from your audio clips.
If you’re searching for a tool that can give you more than iMovie and provide a professional denoising experience, Wondershare Filmora may be your ideal choice. It has an AI-powered background noise removal solution everyone can use to get professional results. Thus, download the software to your Mac and watch the experience transform.


