Are you feeling a little bored with the usual audio-only podcasts? Do you want to step up your listening game? Then, it’s time to learn how to make a video podcast! In this exciting world, your screen becomes a fun stage, and your voice takes the spotlight!
Video podcasts are quite popular right now, changing the entire landscape of podcasting. They are visually interesting and fun and help you connect better with your audience.
So, whether you are an experienced podcaster wanting to add some creativity or a beginner ready to learn, this guide will walk you through the nitty-gritty of how to make a video podcast.
But let’s start with the basics…
In this article
Part 1 What is a Video Podcast?
Have you ever seen a video where a bunch of people are sitting and discussing a topic? They take their time to go through all the ins and outs, talking about everything there is to know about it. That, my friend, is a video podcast or a vodcast, a new twist to audio podcasts where the viewers can actually see the host.
It’s not a short video; depending on the topic, it can last a couple of hours.
Types of Video Podcasts
Video podcasts can be of various types, depending on the skill level of the host and of course, the topic. Let’s have a look:
Static Video Podcasts
If you’re new to making video podcasts, start with a static video podcast. It's a simple and enjoyable way to add visuals to your audio content. You can pair your audio with a still image, like your podcast logo, a nice picture, or a plain background. This can improve the listening experience.
Static video podcasts are easy to create, work well on many platforms, and help you connect with your audience. They may not be as flashy as more complicated formats, but they are a budget-friendly way to grow your audience and increase your brand visibility.
Talking Head Video Podcasts
The talking head podcast is a type of video podcast where a host or a small group speaks directly to the camera. This often happens in a cozy studio.
It works well for solo hosts or small groups who want to share their thoughts on various topics, like current events, personal stories, or niche interests. You can record these in a professional studio or in a relaxed space, like a home office. The main goal of talking head podcasts is to have a fun conversation!
Screencast Video Podcasts
Screencast video podcasts let you record your computer screen while you work. This is a fun way to share your projects by showing what you do on your screen. It’s great for tutorials, presentations, or guiding others through software, especially for technical subjects and coding demos.
Keep in mind that making these videos requires some technical skills and basic editing to make them look good.
Hybrid Video Podcasts
If you want to make a video podcast where you talk to your audience and share your screen, consider using a hybrid video podcast. This format combines the excitement of video with the simplicity of screen sharing.
Hybrid podcasts are great for tutorials, software demos, or any content where visuals improve your message. You can easily switch between segments where you speak on camera and show screen recordings. This makes your content both informative and engaging.
Documentary-Style Video Podcasts
Do you want to make your video podcasts interesting? If so, try making them in a documentary style. These podcasts often include engaging interviews, on-location recordings, and some archival footage.
By combining good storytelling with lively visuals, these podcasts can attract viewers and help them understand complex issues better.
Live Stream Video Podcasts
And finally, we have live stream video podcasts. Streaming your show live is a great way to connect with your audience. You can answer questions right away and build a sense of community.
This format works well for timely topics, interviews with interesting guests, or fun Q &A sessions. While live streaming has its challenges, it can help your podcast stand out and leave a lasting impression on your listeners!
Difference Between an Audio and Video Podcast
Audio podcasts and video blogs are 2 popular ways to share content, and each has its own special features and benefits for both creators and their audiences.
Let's take a look at what makes them different and why they’re great in their own ways:
| Audio Podcast | Video Podcast | |
| Production Cost | Low production cost | High production cost |
| Audience Participation | Limited audience participation | High audience participation |
| Platform Limitation | It can be shared on multiple platform | It Can be shared on specific platforms |
| Convenience | More convenient | Less convenient and requires a proper setup |
| Content Performance | High | Much higher |
🌟 Related Posts:
- Top 10 Podcast Apps for Listening to Podcasts on a Mac
- 10 Key Tips on How to Design Podcast Cover Art
- How to Write Amazing Podcast Descriptions
- How to Share a Podcast on Instagram Story or Post
- List Of Podcast Interview Questions To Hook Up Listeners
- Timing & Frequency: What is the best day to release a podcast?
Part 2 Why Should You Make a Video Podcast?
Now that you know what a video podcast is and its different types, let us answer the million-dollar question: Why make a video podcast?
Here’s why:
- It Enhances Audience Engagement: Adding video to your podcast makes it more lively and interesting. It grabs your audience's attention and engages them better. When people can see your facial expressions, body language, and any visuals you use, it helps them connect with you more.
- It Increases Brand Visibility and Reach: Sharing video podcasts on popular platforms like YouTube, TikTok, and Instagram can help you reach more people. By increasing your presence, you can attract new listeners and grow your brand.
- It Improves SEO and Discoverability: Video content is easy for search engines to find. By adding relevant keywords and descriptions to your video podcasts, you can improve your search engine rankings and attract more visitors naturally. It’s a great way to get your content noticed!
- It Offers Diverse Monetization Opportunities: Video podcasts are a great way to earn money. You can use brand sponsorships, product placements, and advertising to make income.
You know what a video podcast is, you know it’s types, and you also know why you should make one. Now, let’s get to the most important part: how to create a video podcast.
Part 3 How to Make a Video Podcast?
If you’re wondering how to start a video podcast, don’t worry! In this section, we have put together a step-by-step tutorial on how to get started.
Step 1: Choose a Topic
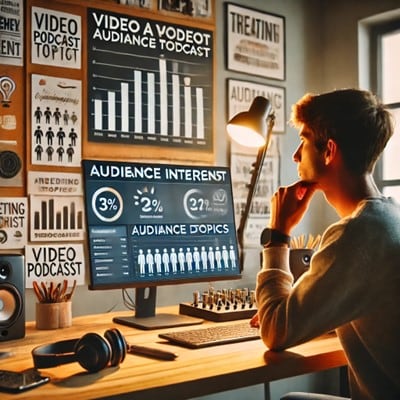
The first step in creating a video podcast is to choose your topic, identify your audience, and decide your podcast format.
Don't know how to name the podcasts? Try the best podcast name generators.
- Topic: Choose a niche or interest that you are passionate about, and that matches your skills. Go for fun, engaging topics that will connect with your audience. If you talk about boring topics, there’s a chance you won’t get much audience.
- Audience: Next, think about who your ideal listeners are. Understand their interests, age, and preferences. This will help you create content that connects with them effectively. For instance, if you’re making a video podcast for kids, topics that require deep understanding won’t be a good idea.
- Format: Lastly, based on your skill level, decide on a format that suits your style and content. If you’re a beginner, go for static or talking head video podcasts. If you’re making a tutorial or want to show something you’re working on, a screencast video podcast is a good idea. And, if you want to create suspense and share content in a storytelling format, a documentary-style podcast is the best.
Step 2: Setup Equipment
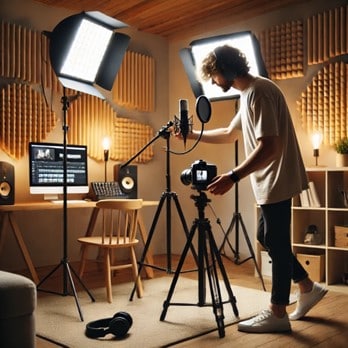
Now that you have decided upon your video podcast topic, it’s time to set up the equipment. And believe me, this is one of the most important parts of creating a podcast because good equipment equals a high-quality podcast!
- Microphone: If you want to make sure your audio is crystal clear, investing in a good-quality microphone is a great idea. You might want to check out options like a USB microphone or a dynamic microphone.
- Camera: Using a good camera can greatly improve how your podcast looks. A DSLR or a high-quality webcam can make a big difference.
- Lighting: Good lighting makes all the difference! Use soft, diffused lighting to keep your space bright and welcoming. This helps avoid harsh shadows.
Step 3: Record Your Video Podcast
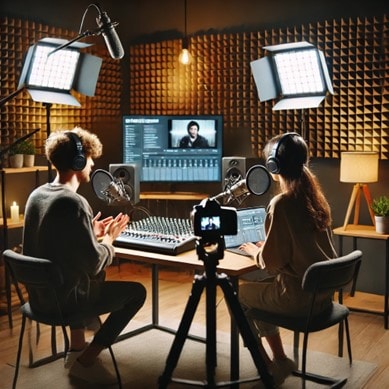
Now that you have everything in place, it’s time to get recording. For this, you need to:
- Find a Quiet Space: Find a cozy and quiet spot where you won’t be disturbed. This way, you’ll have clear audio and a peaceful atmosphere!
- Set Up Your Equipment: Make sure to set up your camera, microphone, and lighting just right to get the best shot possible!
- Practice and Record: Practice your content before you start recording. This will help everything go smoothly. When you are ready to record, pay attention to your tone and body language to make your video podcast enjoyable.
Step 4: Edit Recording
Once you have recorded your video podcast, here comes the most important part: editing! If you want to edit your recording on fleek, you need a top-notch video editing tool. We suggest giving Wondershare Filmora a try.
Wondershare Filmora is a user-friendly video editing software that’s perfect for everyone, whether you’re just starting out or already a pro!
Benefits of Using Filmora to Edit Podcasts
Here’s how Filmora can help you make your video podcasts better:
- Multicam Editing: Filmora makes it super easy to edit multiple camera angles, adding a fun and dynamic touch to your visuals.
- AI Video Translation: One of the best features of Filmora is that it can automatically translate videos for you, adjusting the lip movements so that the speaker looks like a native speaker in the new language. This way, you can reach a global audience more effectively.
- AI Audio Enhancement: Filmora also helps enhance the audio experience of your podcasts resulting is a clear and crisp audio.
- AI Noise Reduction: It also helps make your audio sound better by canceling out background noise, so you can enjoy a clearer and more enjoyable experience.
Plus, it has a fantastic library filled with royalty-free music, sound effects, and video effects to really spice up your recordings.
So, if you’re looking for a feature-rich tool to edit your podcasts, Filmora has everything you need to turn it into an amazing video!
How To Edit Your Podcasts With Filmora
While Filmora has all the basic editing features like trimming, adding transitions, etc., if you really want to up your editing game, we suggest trying some advanced features like smart scene cut, smart short clips, and auto reframe.
Here’s a step-by-step tutorial on how to use these features to edit your podcast.
- Launch Wondershare Filmora and click on "New Project" from the interface.
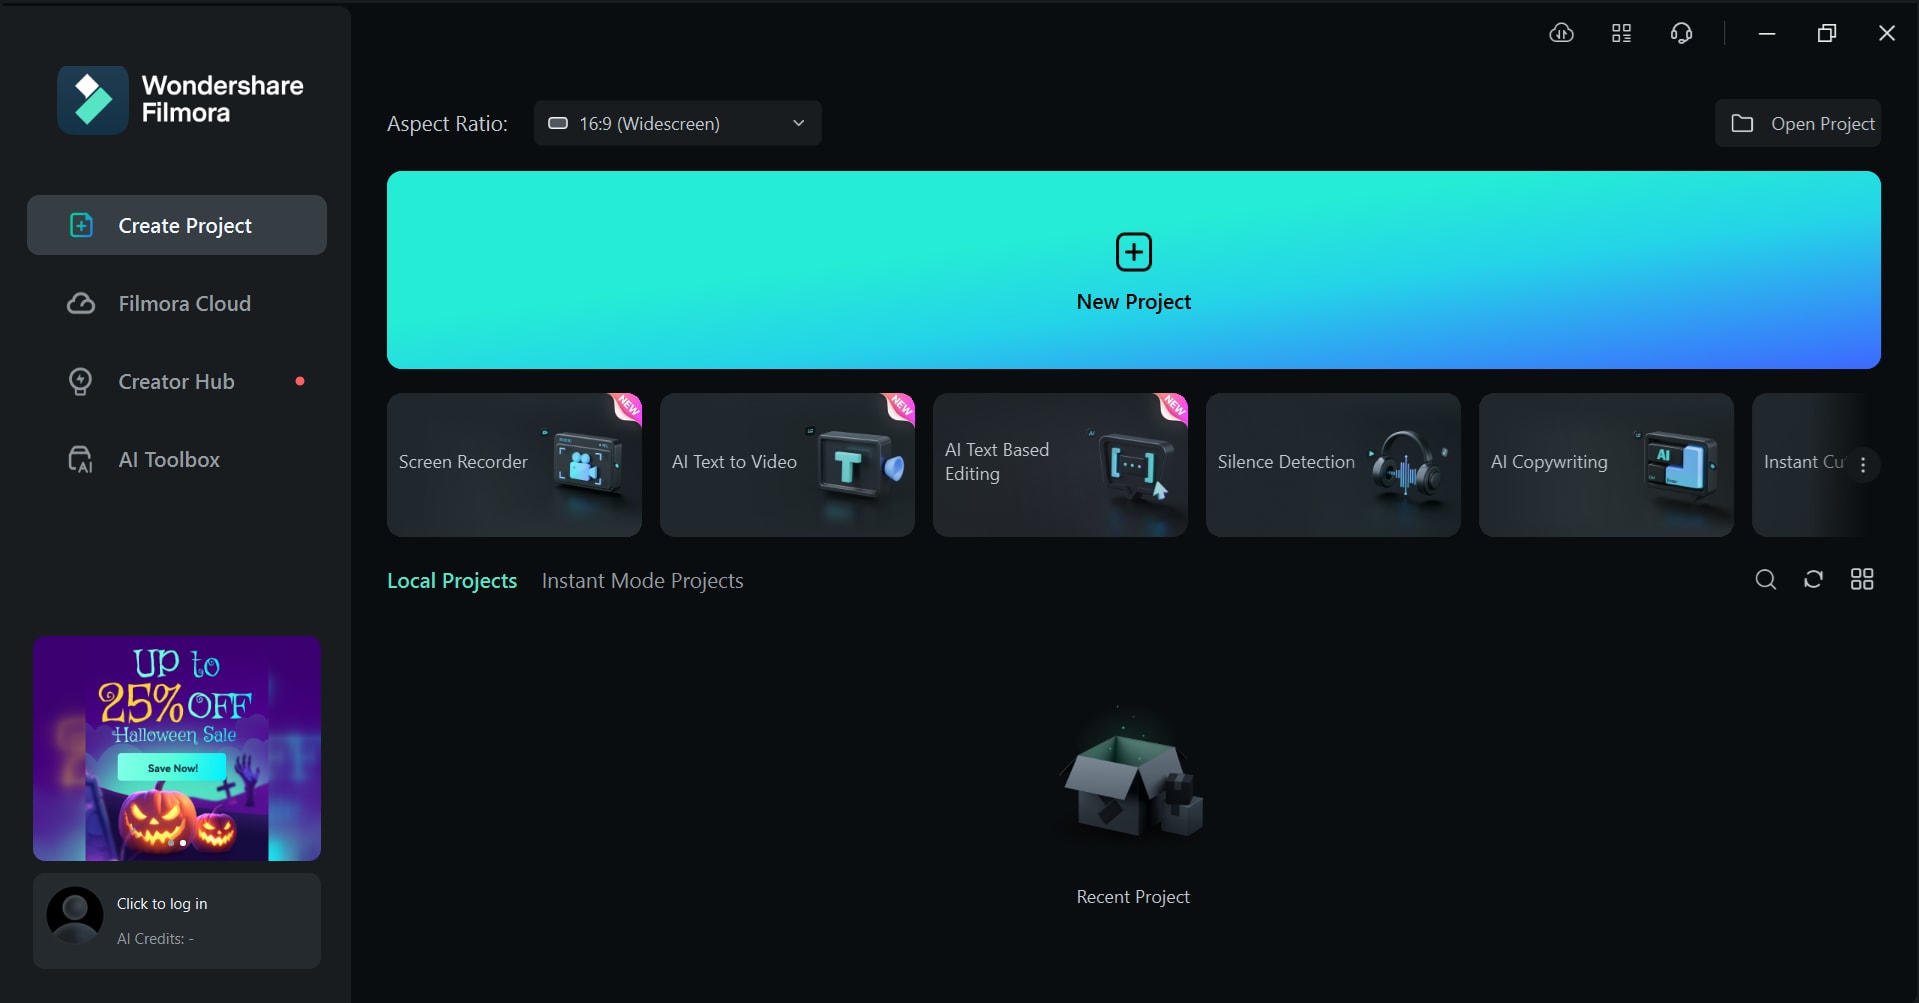
- Click on "Import" to upload your podcast recording to Filmora.
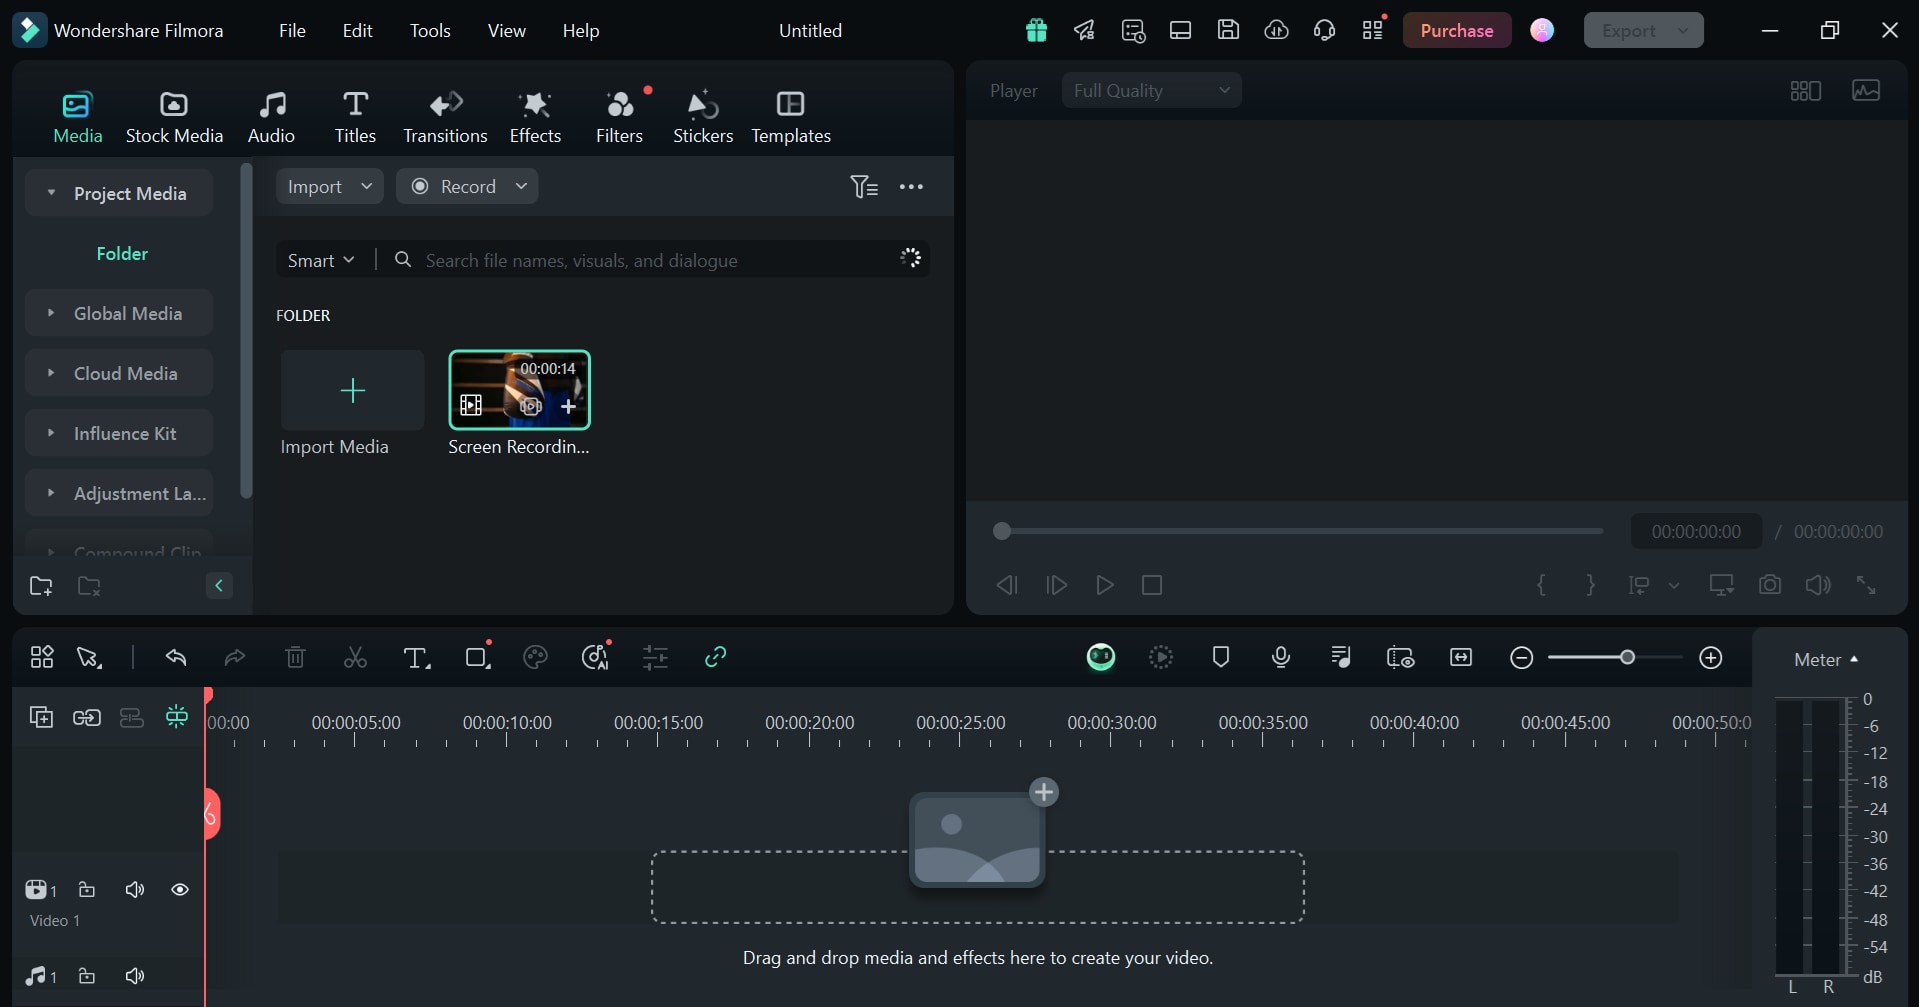
Using the Smart Scene Cut Feature
Smart Scene Cut is a smart tool that can automatically find the best parts of a long video. It picks out the most exciting or important moments, making editing much faster, especially when you're trying to create a short video from a long one.
Step 1. Right-click on the video and select "Smart Scene Cut" from the options.
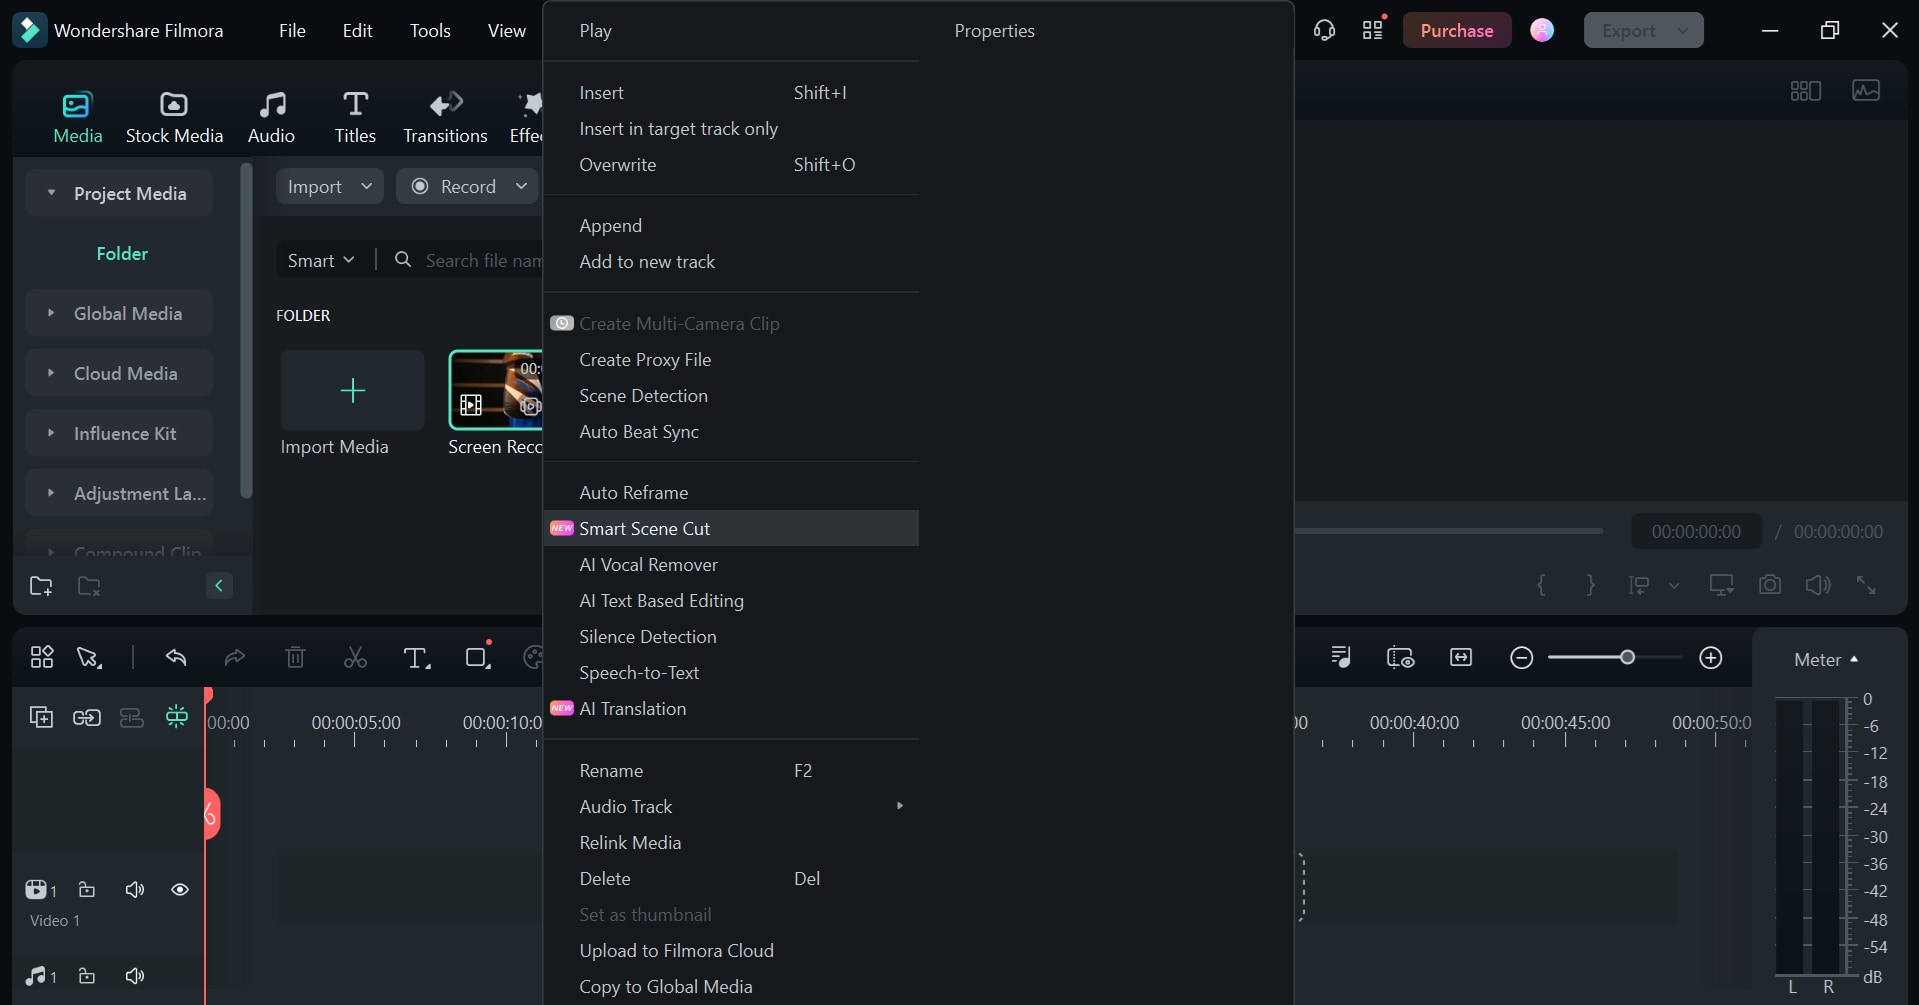
Step 2. A new window will open. Click on "Start" for Filmora to automatically detect the highlights and character details from your video.
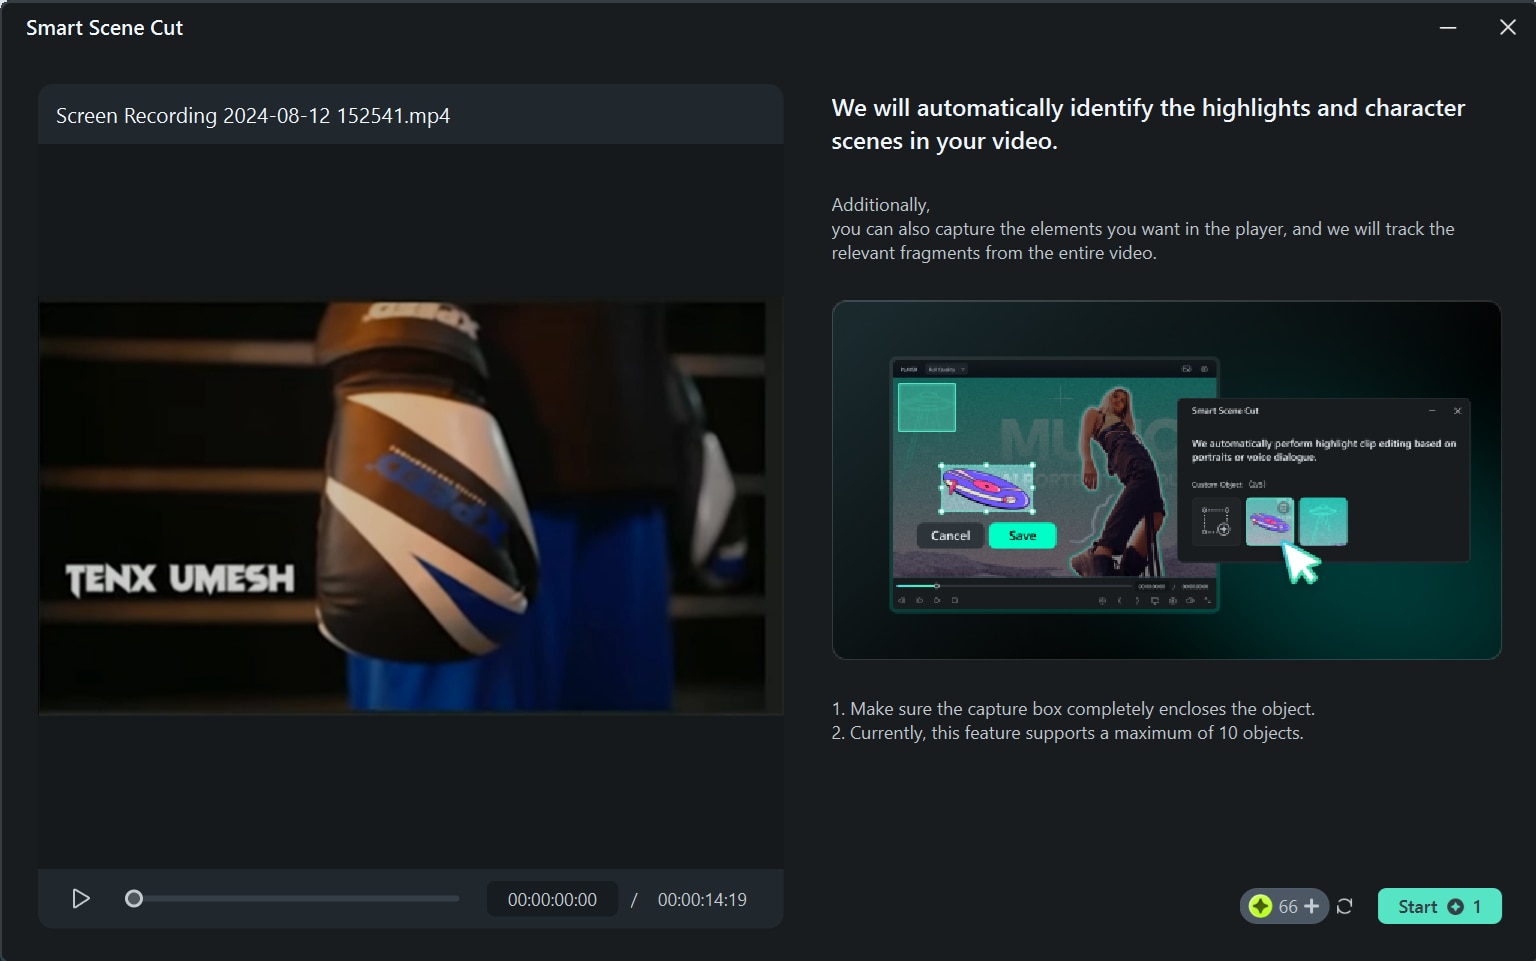
Step 3. It may take some time for Filmora to upload and recognize the video and identify the key parts.
Step 4. Filmora will identify the highlight scene, character scene, and custom object from your video. Click on "Add" and then "Edit in the Main Timeline."
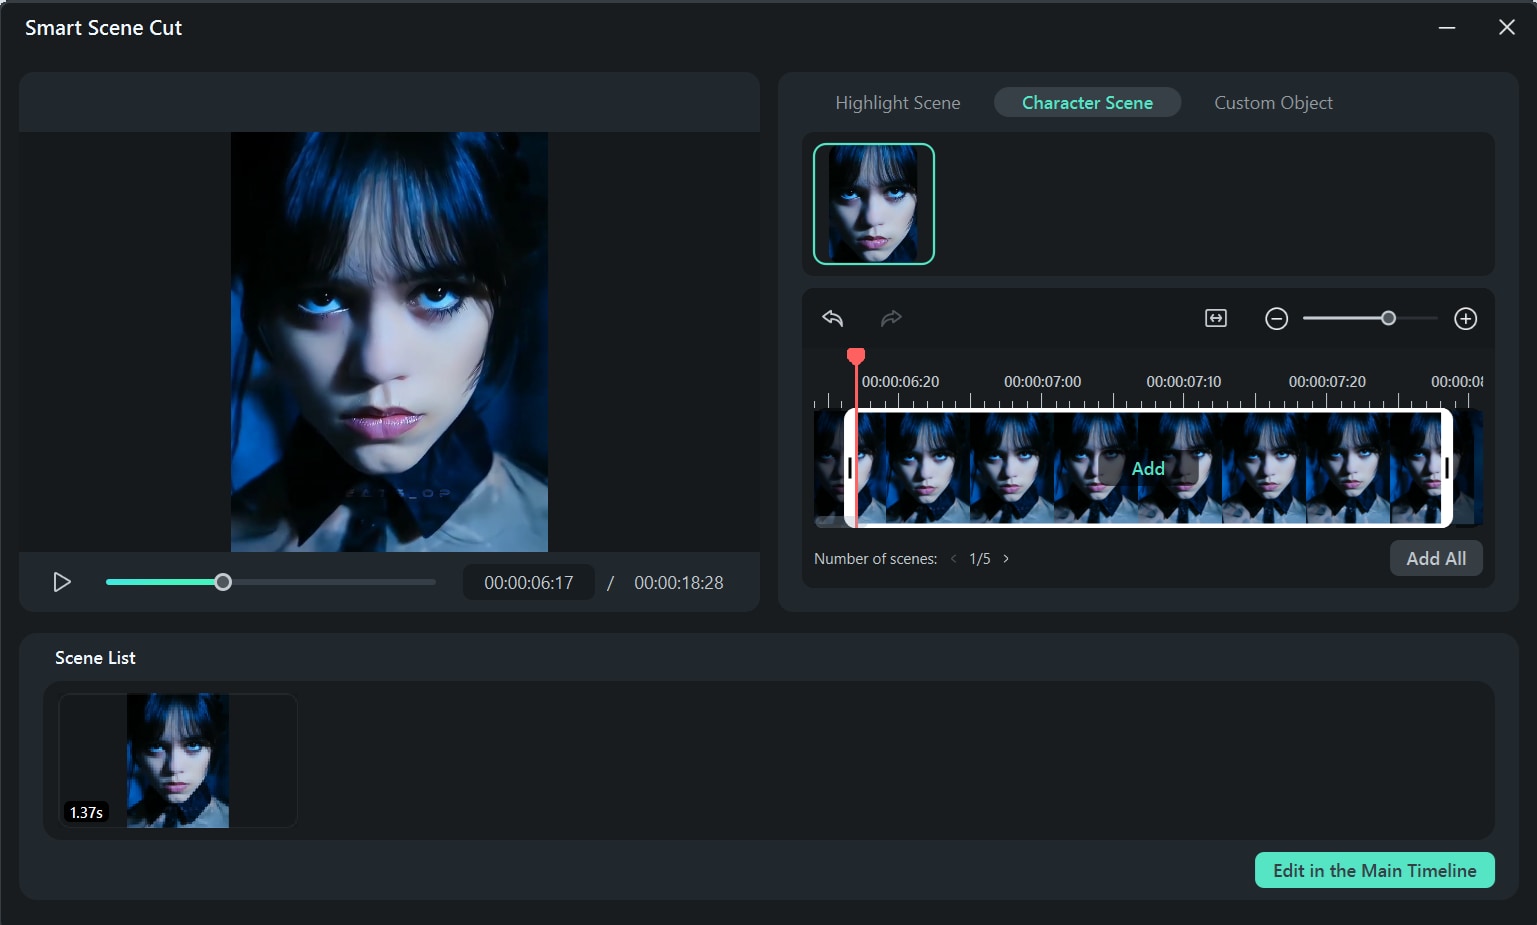
Filmora will add the smart scene cut to your timeline, which you can use as an introductory clip for your podcast.
Use the Smart Short Clips Feature
If you have a long podcast and you want to upload a short snippet of it to grab the audience’s attention, you can use Filmora’s Smart Short Clips feature.
This tool can turn long videos into shorter, more shareable clips. It automatically finds the best parts of your video and lets you add music or your own voice to make them even more interesting. You can easily edit these clips to make them perfect for social media.
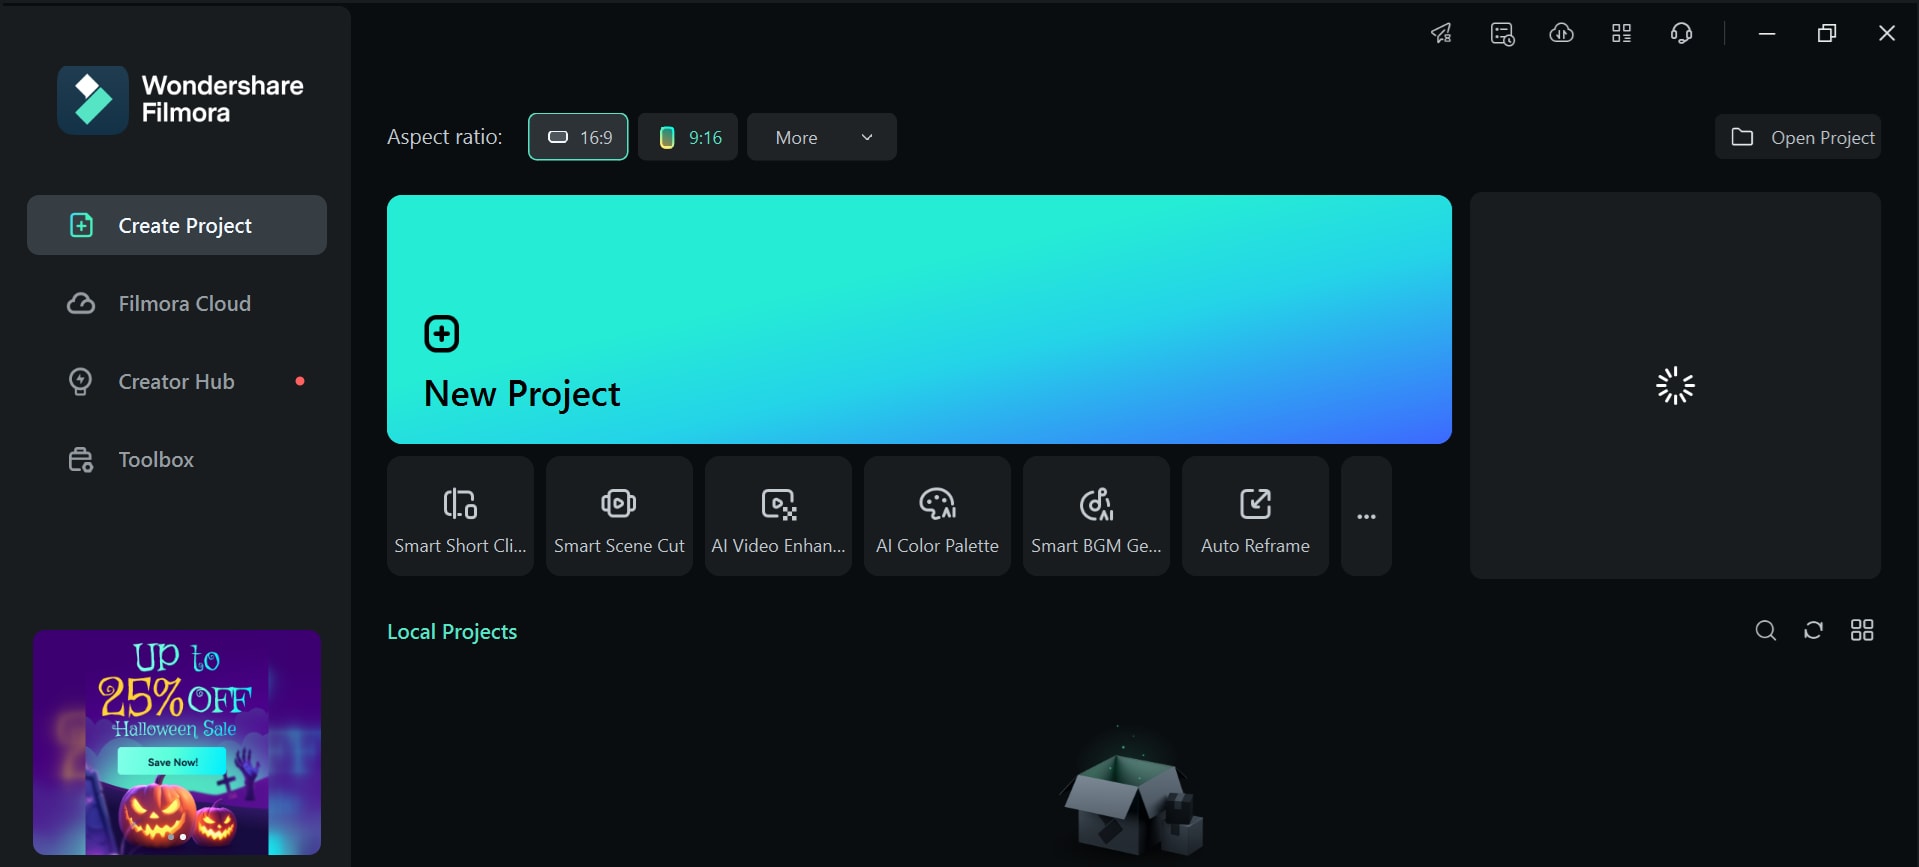
Step 1. Click on "Smart Short Clips" from the main interface of Filmora and upload your recording.
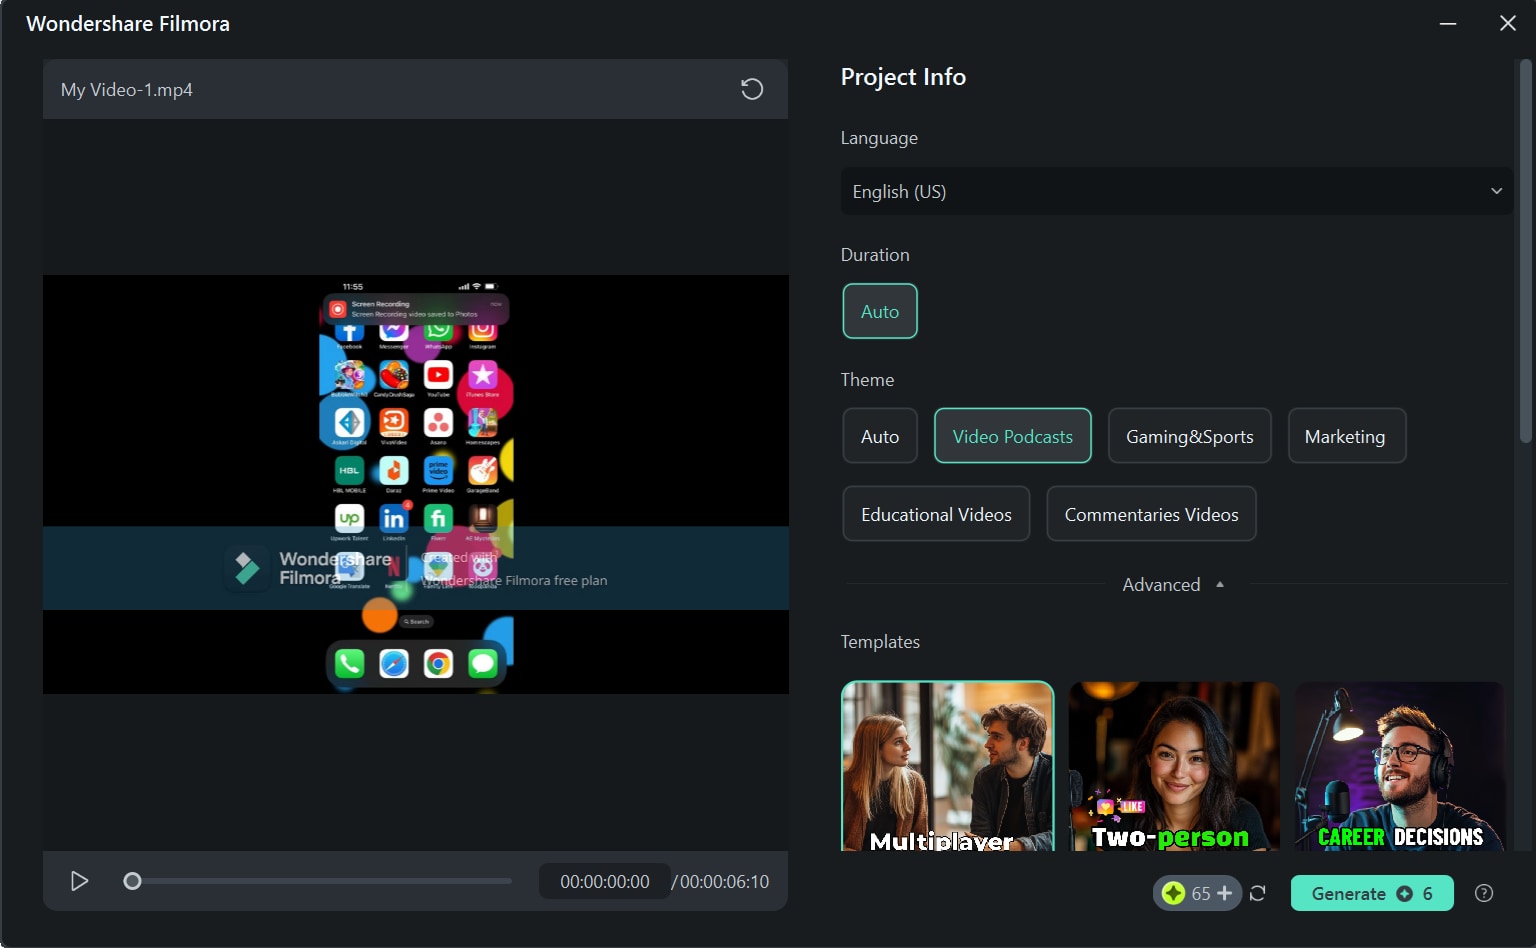
Step 2. Select the language, duration, theme, and template from the Project Info section, and click on "Generate."
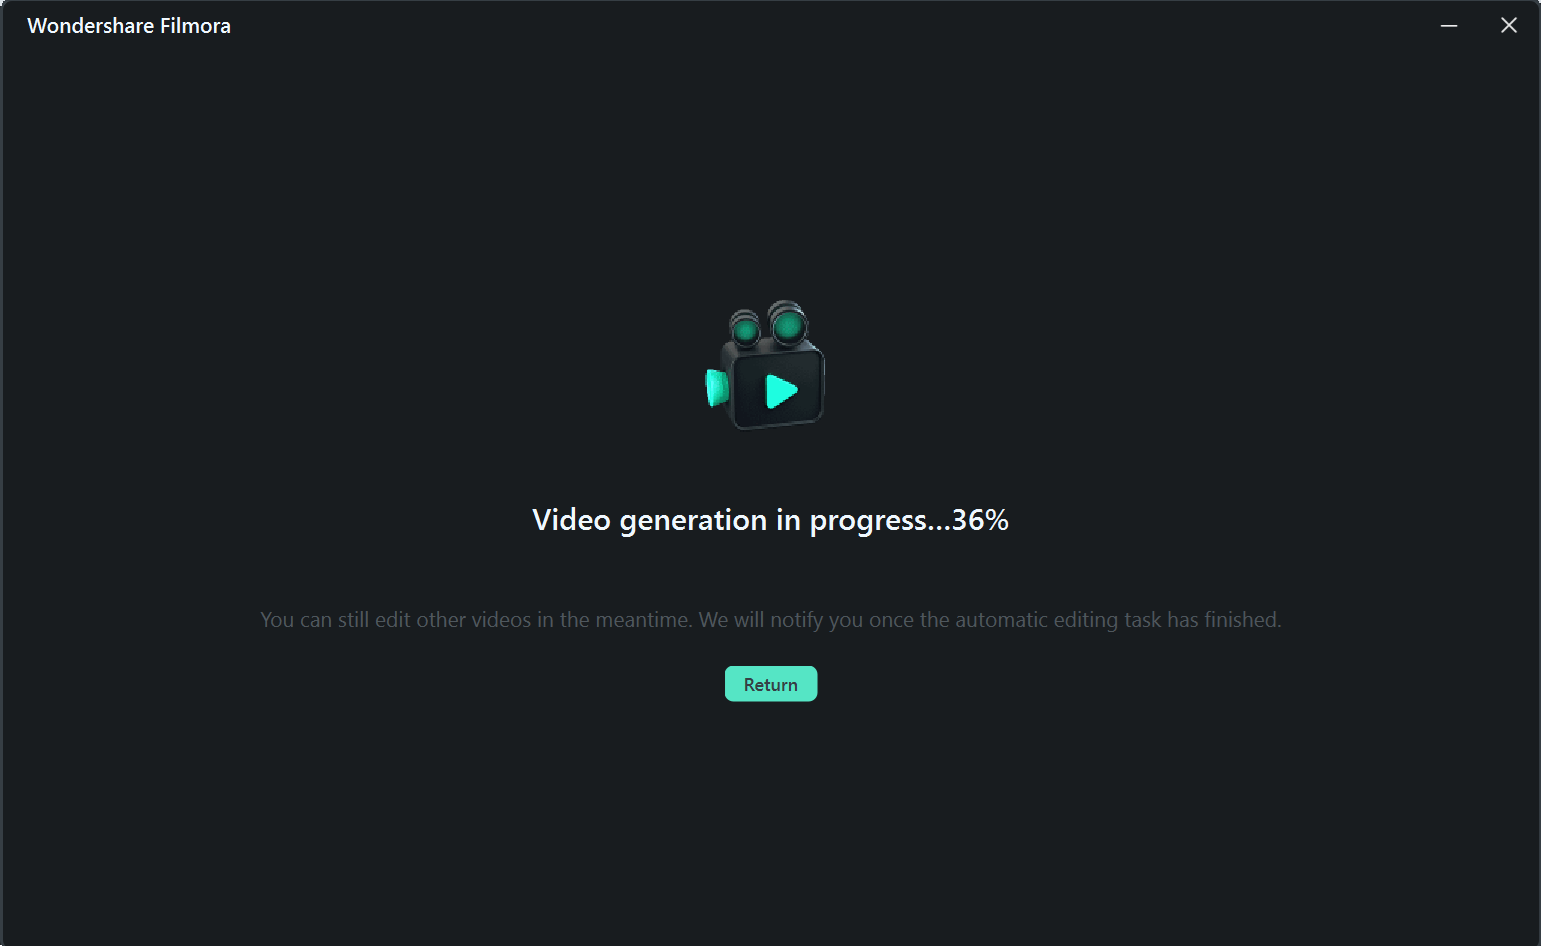
Step 3. Filmora will detect the language and then start generating short clips of your video.
Filmora will create multiple short clips from your long podcast recording, which you can post on YouTube Shorts, Instagram Reels, or TikTok to direct the audience to your original podcast.
Using the Auto Reframe Feature
If you have recorded a podcast in which you want to focus on a specific part, for instance, the guest speaker or something in the background, Filmora’s Auto Reframe feature will come in handy here.
It is a smart feature that uses AI to keep the important parts of your video in focus. It automatically adjusts the video to make sure the main action or object stays in the frame. You can even choose where you want the focus to be or the shape of the video to fit different platforms like YouTube or Instagram.
Let us show you how to use this tool in Filmora.
Step 1. Launch Filmora and select the "Auto Reframe" option from the interface.

Step 2. Import your podcast recording to Filmora by clicking on "Import."
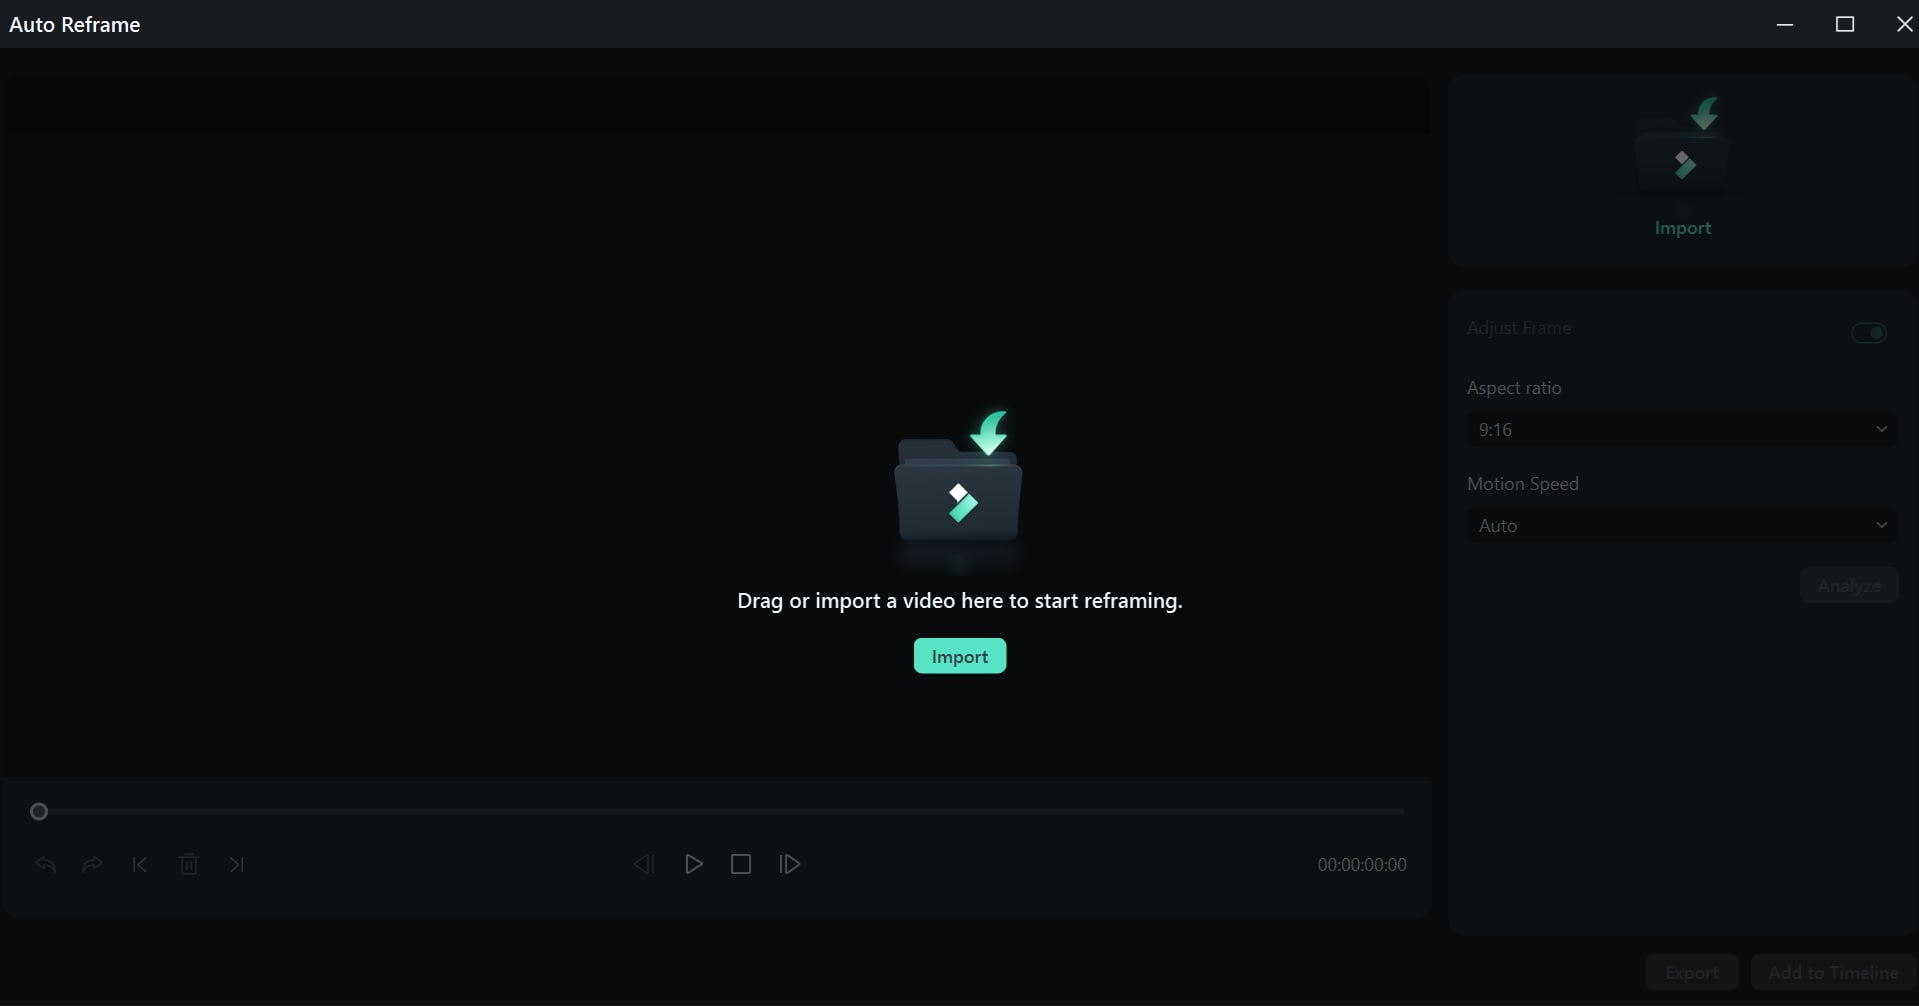
Step 3. Set the aspect ratio according to the platform on which you wish to post it and click "Analyze."
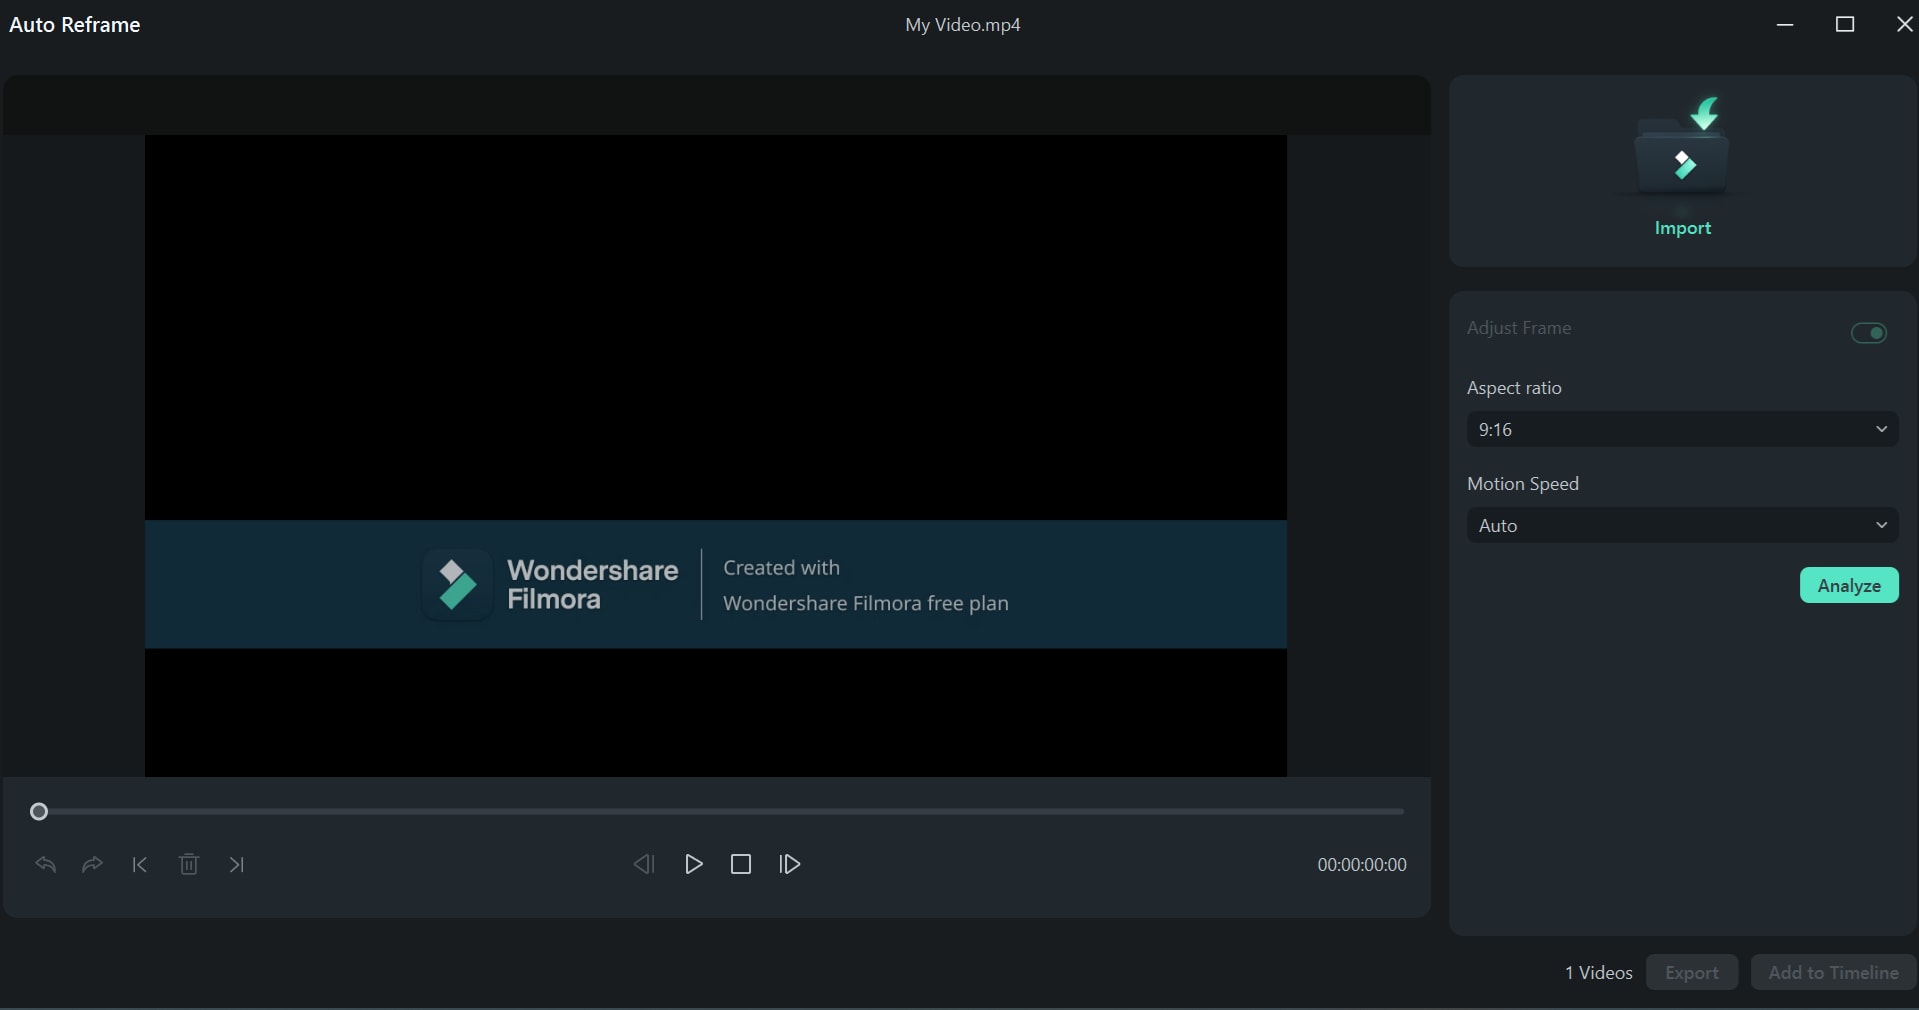
Step 4. Filmora will analyze the video, after which you can drag the auto-reframe rectangle to set the focal point of your video.
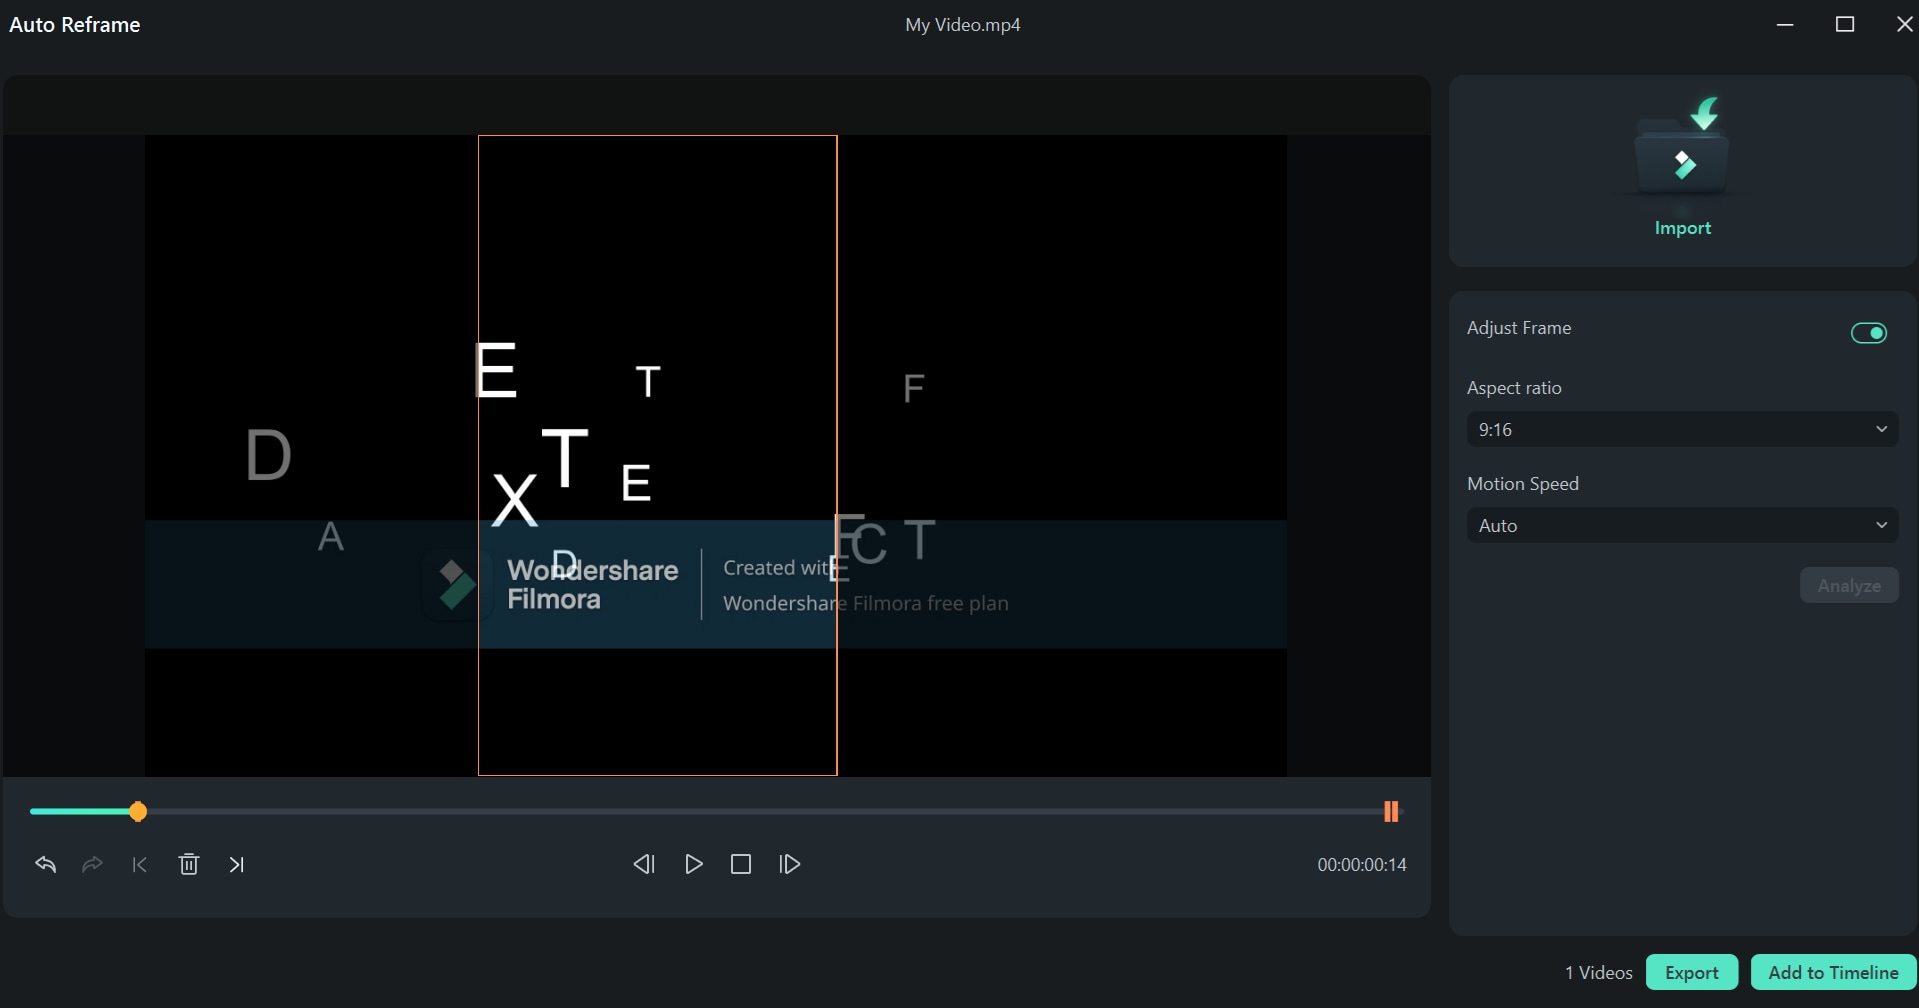
You can now save the video to your PC or add it to your timeline to edit it further.
And that’s how you can use the smart scene cut, smart short clips, and auto reframe feature to customize your podcast for different social media platforms.
Additional Editing Features
Besides the above-mentioned advanced features, you can also do basic editing to your recording, like adding text and transitions, applying filters and stickers, or including audio.
You will find all the basic editing options right at the top. Click on them to access further options and edit away!
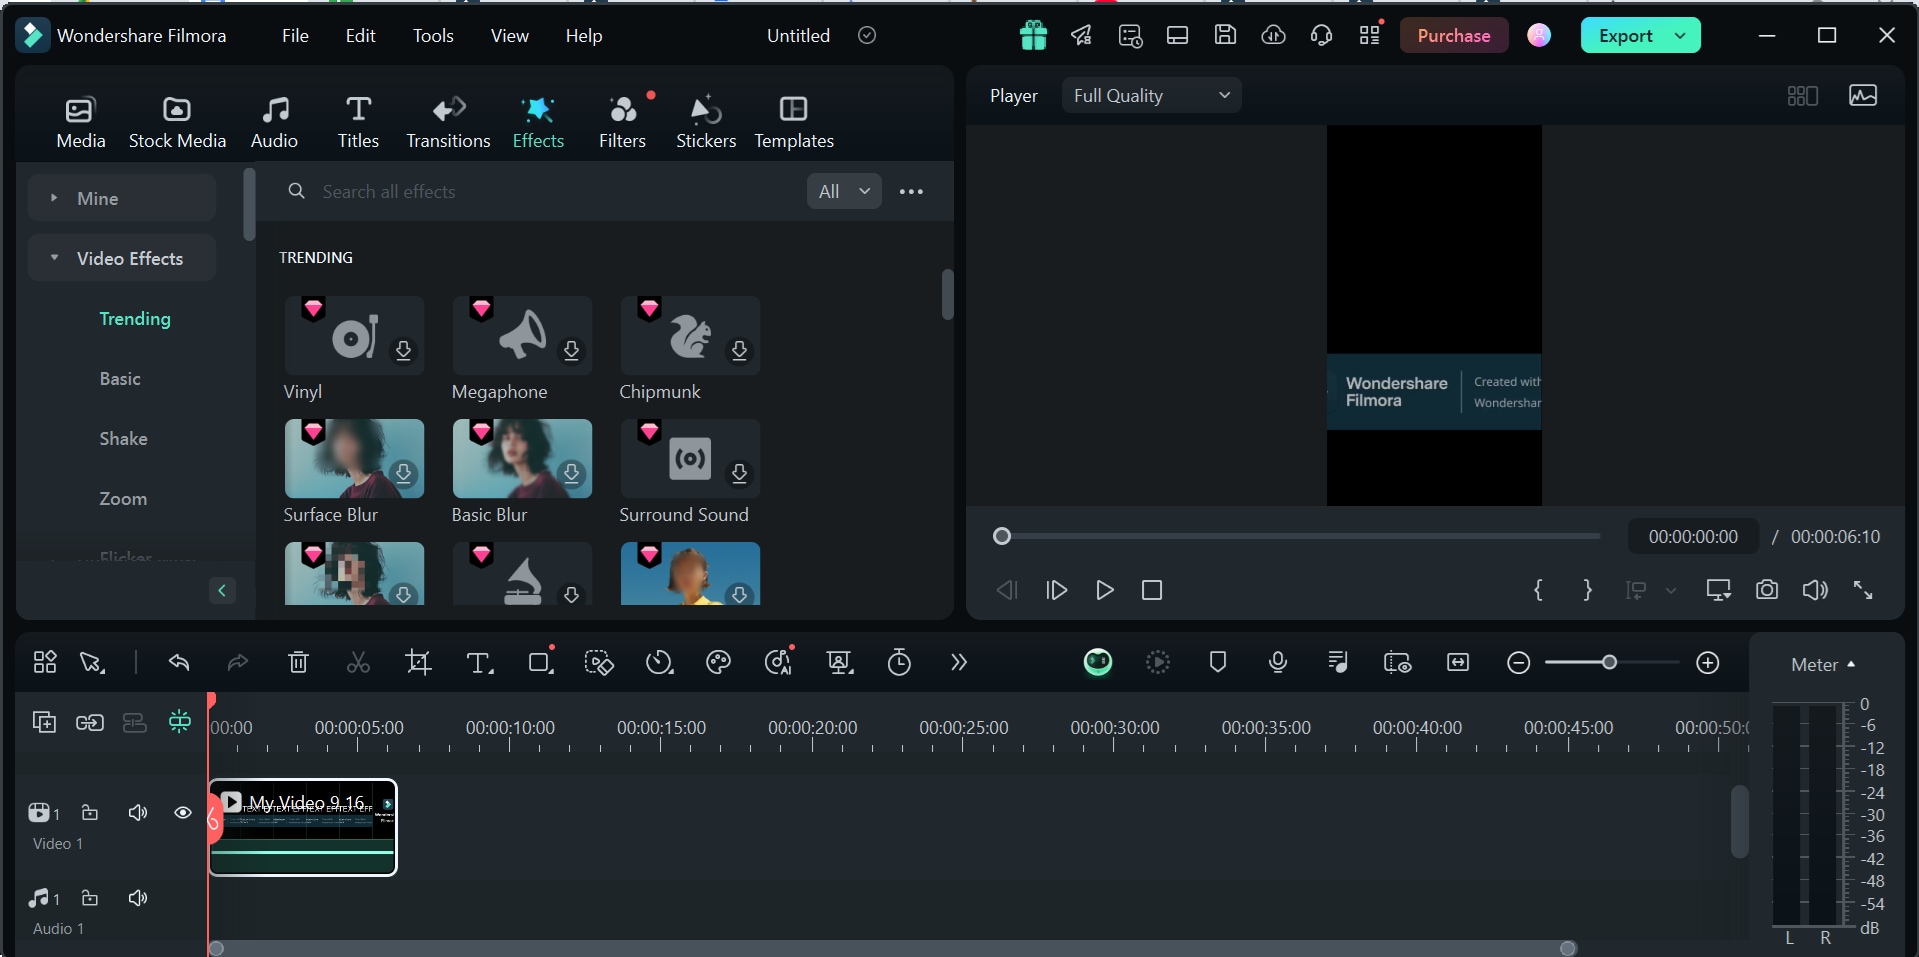
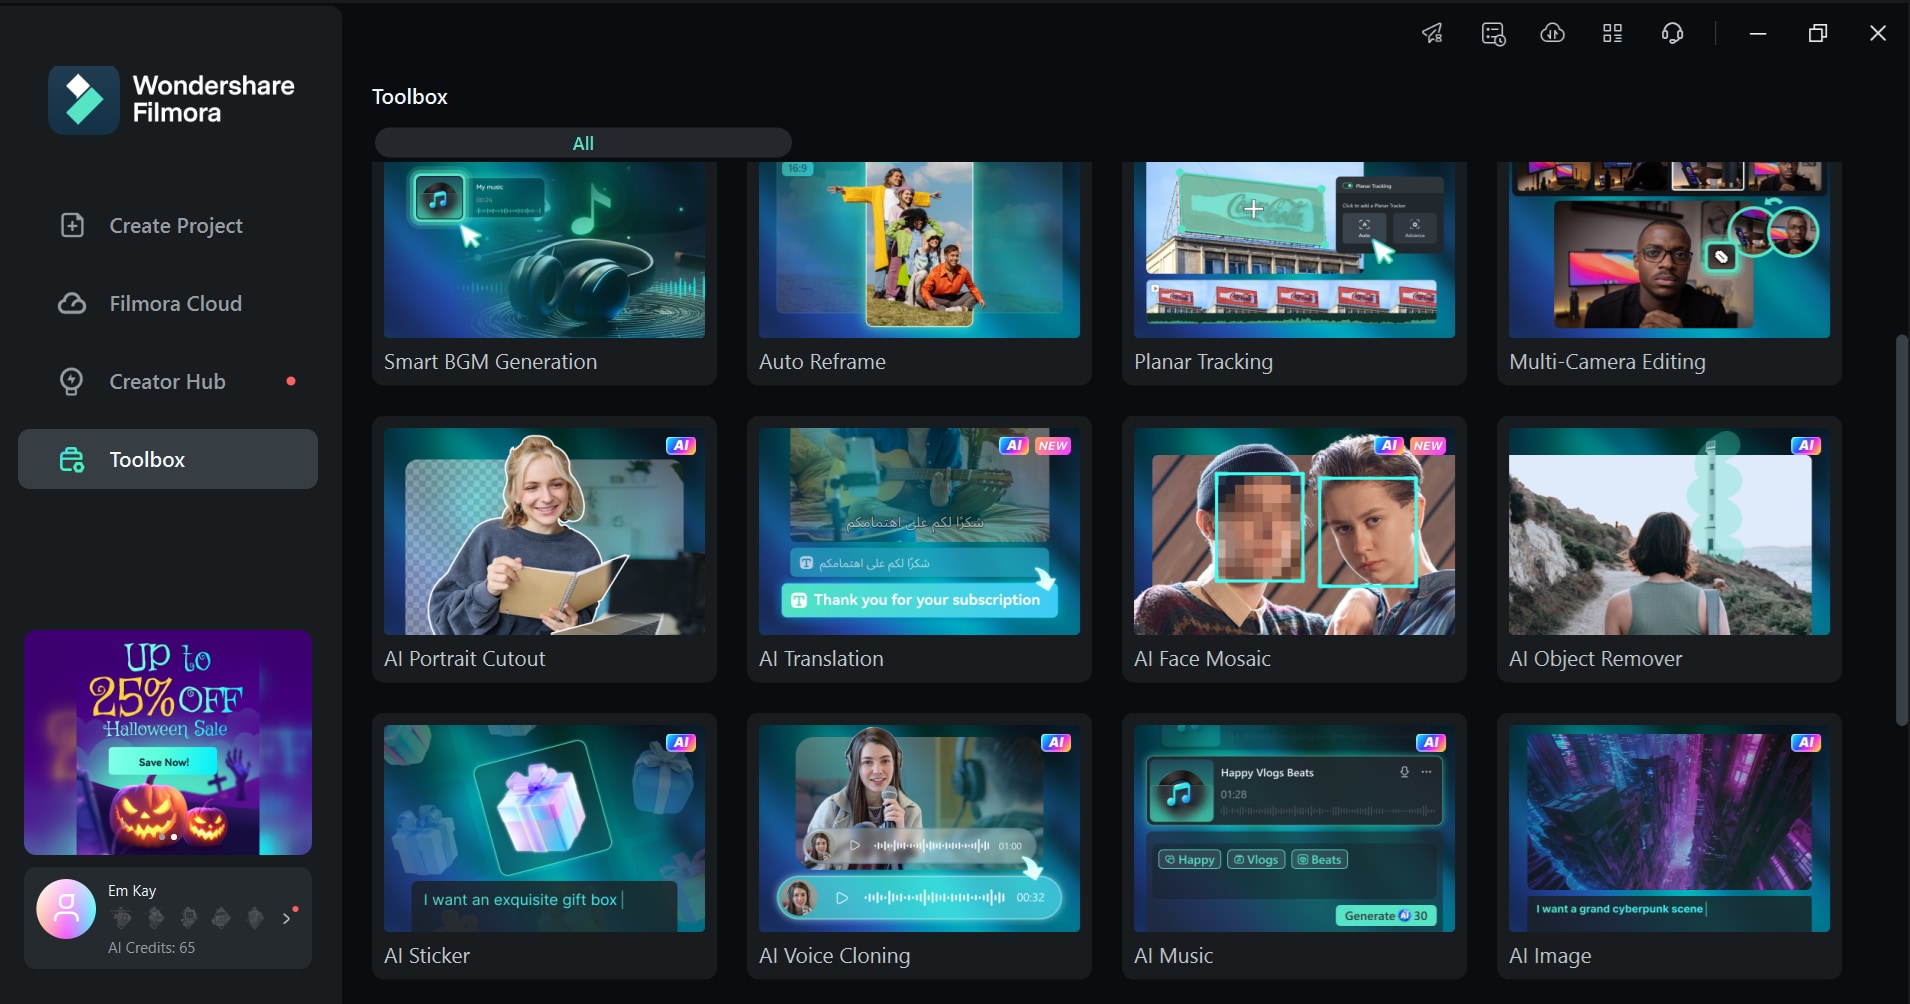
To access the complete suite of features offered by Filmora, click on the "Toolbox" option on the left of the main interface. Here, you will find an AI video enhancer, AI color palette, AI Mosaic, and AI object remover, among other useful features.
Step 5: Upload Podcast
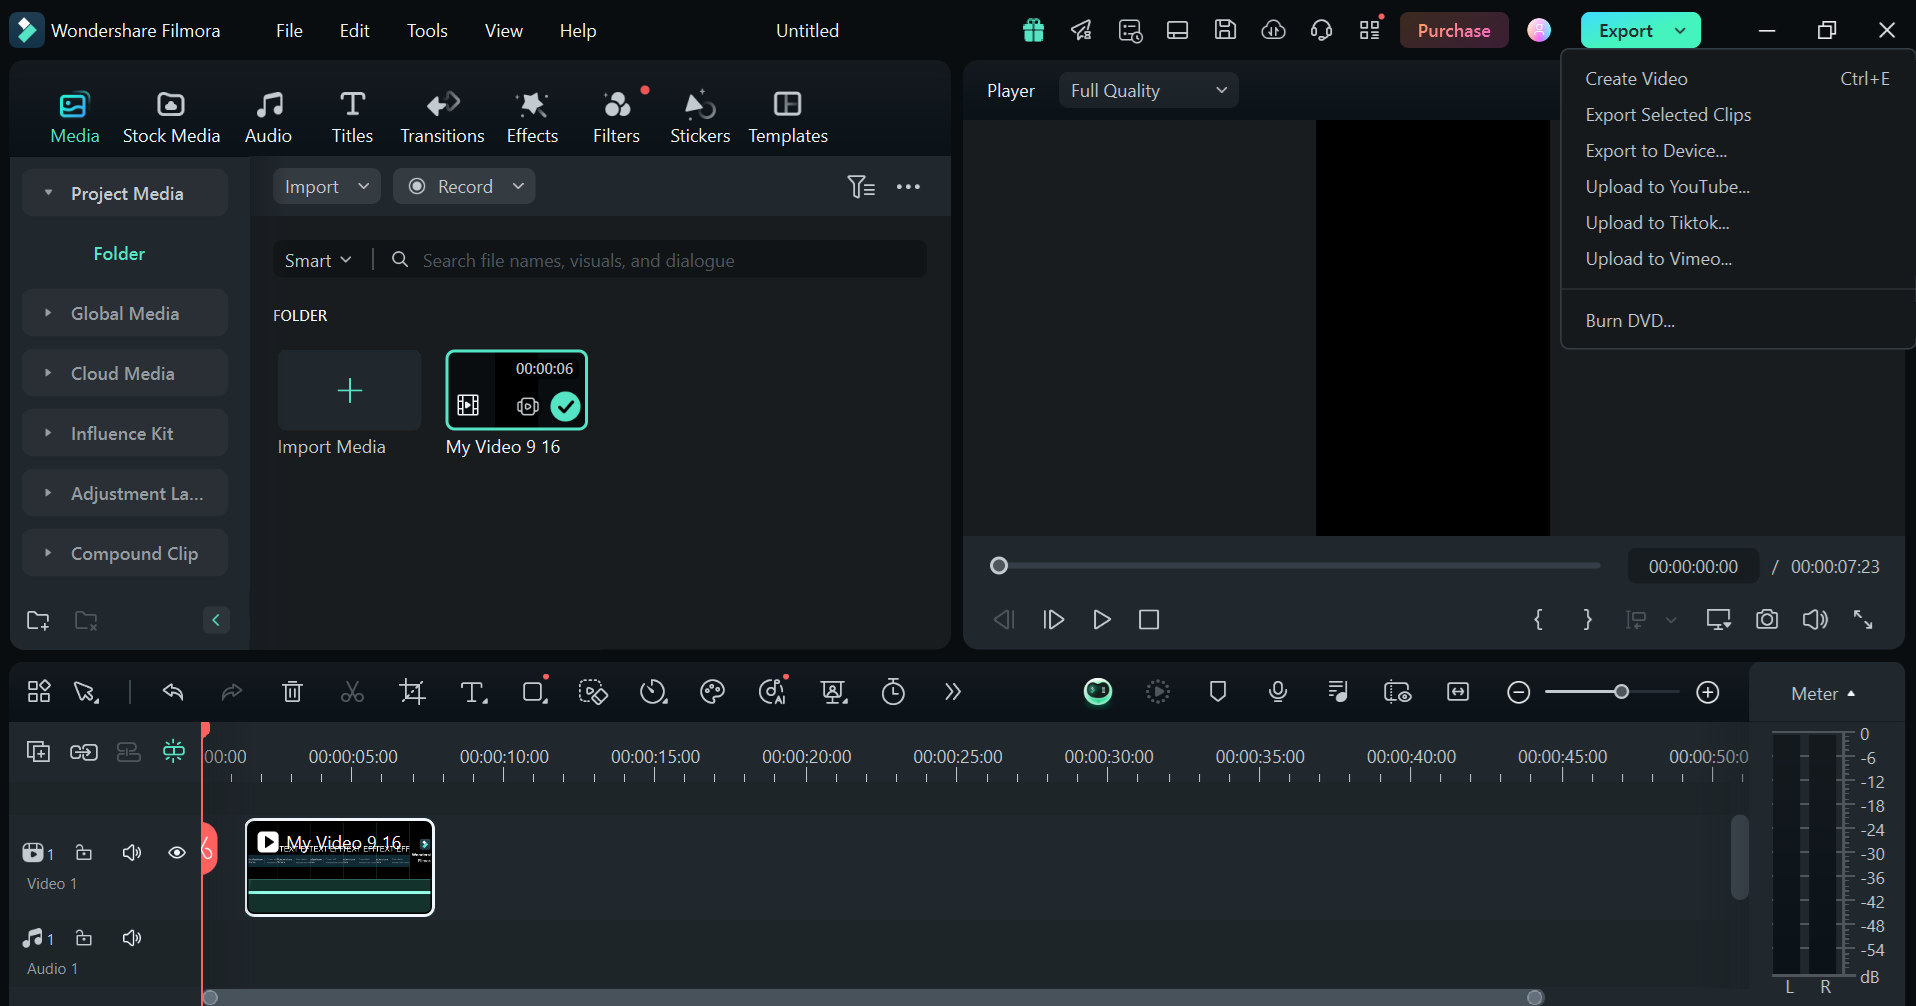
Now that you have edited your podcast, it’s time to make it available for the world to see! You can click on "Export" on the top right corner of Filmora to save it to your PC or upload it directly to YouTube, TikTok, or Vimeo.
Conclusions
The world has moved on from vines and vlogs to video podcasts. They are a thing now!
So, if you also want to hop on the bandwagon and step into the exciting world of video podcasts, you’re in luck. In this comprehensive guide, we have discussed everything there is to know about video podcasts, from their types to their uses. We have also added a detailed step-by-step tutorial on how to make a video podcast, from choosing the topic to recording, editing, and uploading it.
So, get your podcast game on and talk about your favorite topic. Then give it a polished look with Wondershare Filmora, and you’re good to go!


