


 100% Security Verified | No Subscription Required | No Malware

"Is there an easy way to do fade in/out in Premiere Pro?" - Reddit
As one of the most popular video editing tools in the world, Adobe Premiere Pro has powerful editing features. Fading audio, which allows users to create harmonious content that completely immerses the audience, is a powerful technique to avoid abruptness.
You may know that you can use Premiere Pro to fade audio but don't know how.
That's why today's guide will delve deeper into audio fading in Premiere Pro. Stay with us to find the solutions.
In this article
Audio Fade In and Fade Out in Premiere Pro
At its core, audio fading is an editing technique used to increase or decrease audio volume slowly. These editing tricks allow users to create seamless transitions between multiple clips and different scenes, making them one of the most widely used audio edits.
On the one hand, you have audio fade-ins in Premiere Pro, which gradually increase the track's volume from silence to the desired level, leading into a video and setting the tone for a particular scene.
On the other hand, fading audio out in Premiere Pro refers to gradually decreasing the volume, often done before the end of a particular scene. In essence, it helps users smoothly end a video.
How to Fade Audio in Premiere Pro?
Now that we know what audio fading in Premiere is, we can move on to seeing how it's done. Below is a quick step-by-step guide on how to fade audio in Premiere Pro, so let's dive right into it:
- Launch Adobe Premiere Pro on your computer and import audio and video files.
- Drag and drop the imported files into the Timeline and ensure their beginning points match.

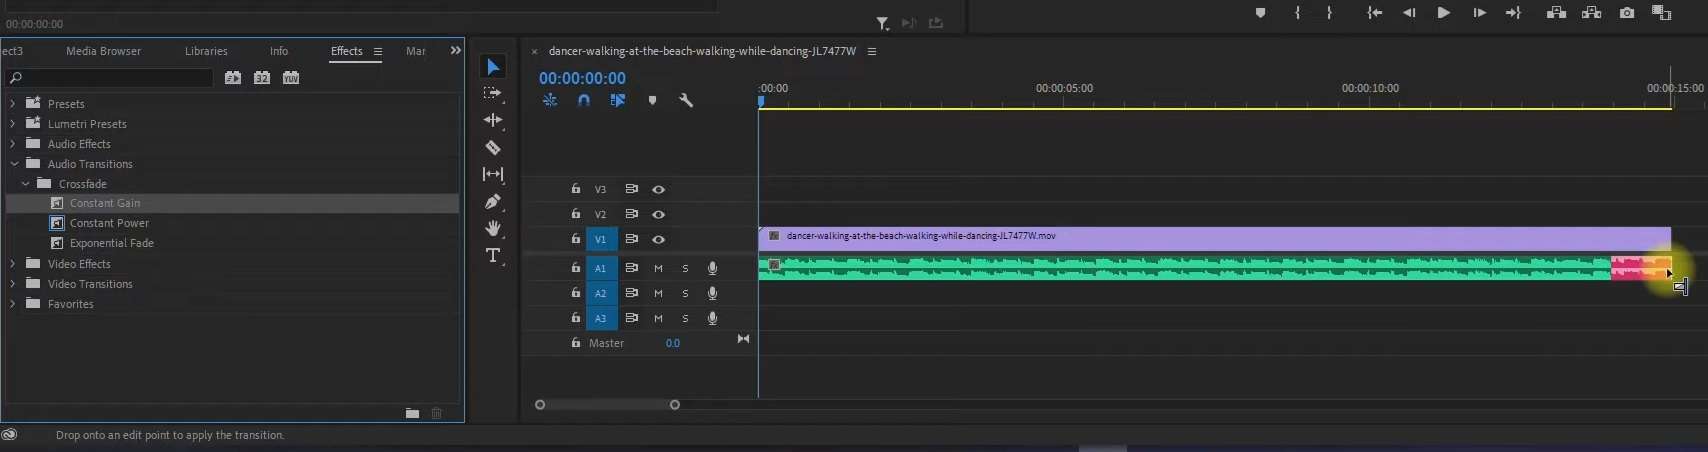
- Tap on the audio clip in the Timeline to select it, and head to the Effects panel.

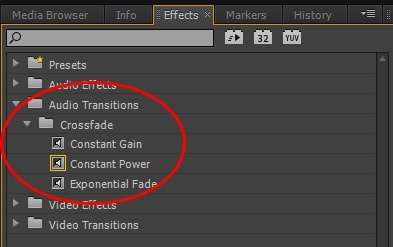
- Open the Audio Transitions folder, expand the Crossfade folder, and choose the type of audio transition.

- Drag and drop one of the three transitions to the start for audio fade-in in Premiere Pro.
Alternatively, drag the transition to the end of the track if you want to fade music out in Premiere Pro.
Available Audio Fade Transitions in Premiere Pro
With Adobe's tool, users can also choose the type of audio transition they want to apply, and Premiere Pro includes the following three types:
Constant Gain
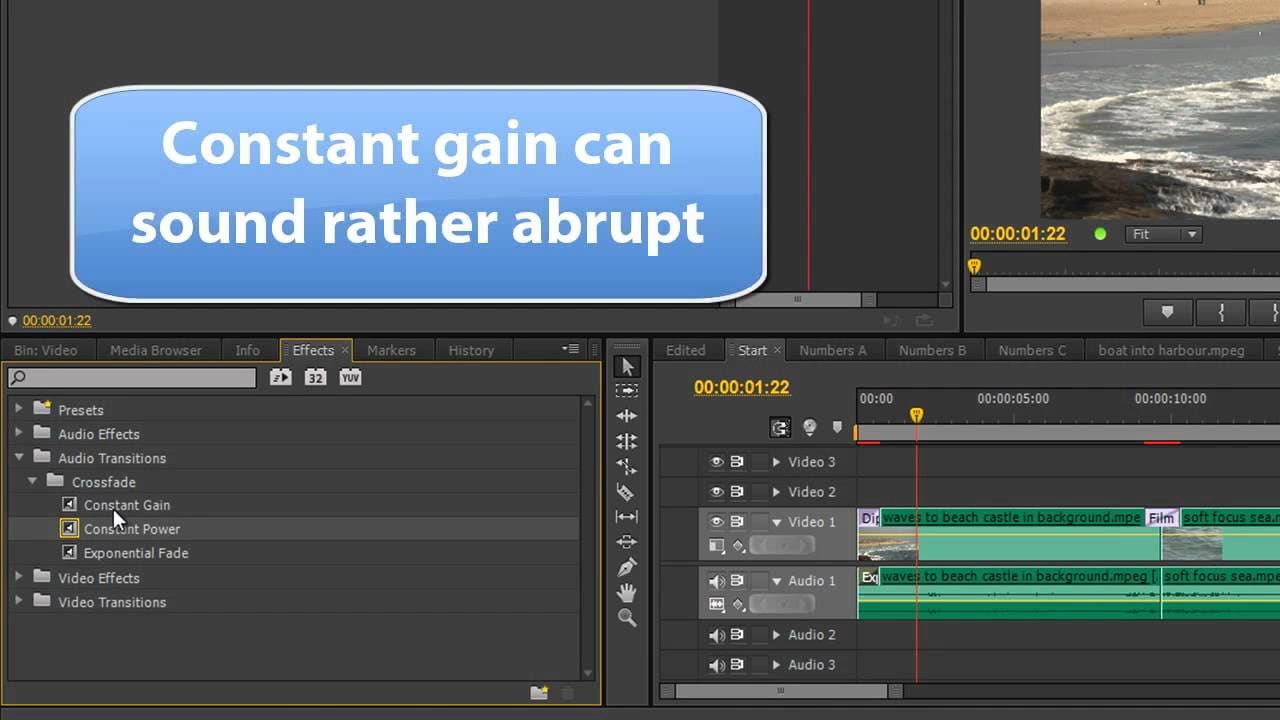
The Constant Gain audio transition will fade your audio linearly over time. While it's ideal for simple audio fades and effortless to apply, it's not a particularly popular type of transition, as it can make the ending of your clips sound abrupt.
Constant Power
Unlike Constant Gain, the Constant Power audio transition gives your audio a smoother fade. At first, it slowly decreases the audio, but it also picks up more speed and strengthens the effect as you move toward the end of the video, creating a more sophisticated audio fade.
Exponential Fade
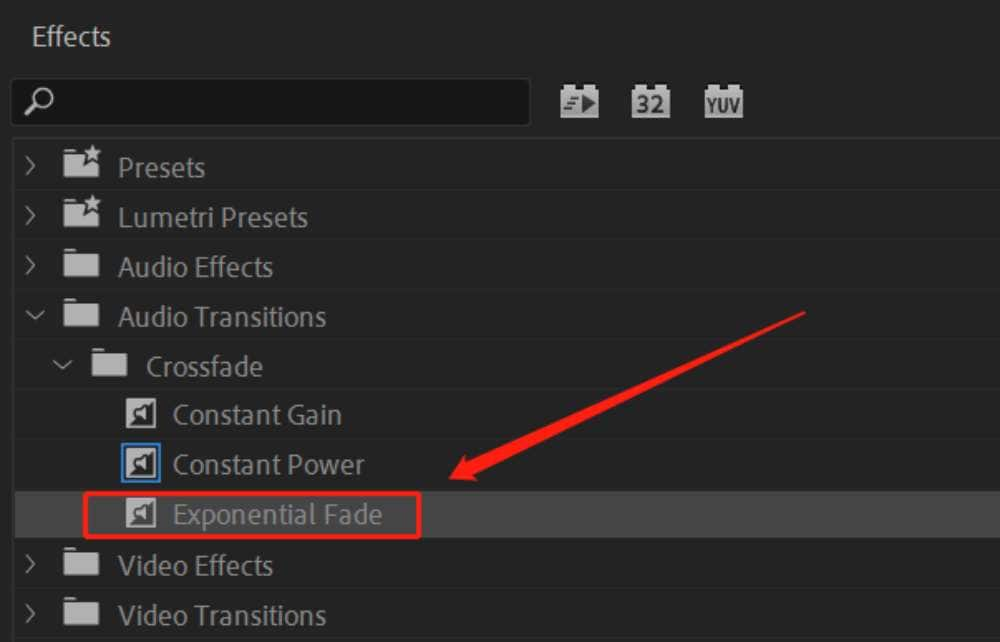
Finally, the Exponential Fade audio transition applies the fade effect on a sharper curve. It applies a volume change that exponentially speeds up or slows down. Such a transition creates a more noticeable and dramatic effect, making it ideal for scene beginnings and endings.
You may also like: How to Use Premiere Audio Transition
The Pros and Cons of Using Premiere Pro to Fade Out Audio
Fading audio in Adobe Premiere Pro can be a fantastic way to handle audio edits, as the software excels at many areas of editing and brings various benefits. They are:
Pros
- Various Ways to Fade Audio - It not only offers normal audio fade options but offers 3 different fade transitions to meet different requirements.
- Advanced Features – It's jam-packed with various tools, giving audio and video editors precise control over their projects and allowing them to unleash their creativity.
- Seamless Integration – As it connects with the Creative Cloud, Premiere Pro integrates well with other Adobe tools.
- Availability of Tutorials – The sheer number of online courses and YouTube tutorials can significantly decrease the difficulty of mastering the program.
However, it's not all rainbows and sunshine with this tool, as there are a few drawbacks you should be aware of. Let's get into them:
Cons
- High System Requirements – Adobe Premiere Pro is known as a resource-intensive program. It requires a powerful PC or an expensive Mac to run without lagging.
- Expensive Subscription – You're likely aware that Adobe Premiere Pro costs $22.99/month or $263.88/year. it can be costly for many beginners, especially if they only need basic audio fading features.
- Steep Learning Curve – The software's interface can feel overwhelming for many beginners, while its features can be challenging to master.
Overall, figuring out how to fade out audio in Premiere Pro can be a valuable skill. Yet, this tool's many drawbacks might prompt you to consider alternative solutions.
The Best Alternative to Premiere Pro to Fade Out Audio
You've seen the professional control Premiere Pro offers, but also its complexity and cost. A truly great alternative doesn't just simplify the process—it enhances your entire creative workflow. The creative journey begins long before you apply a single fade: it starts with finding the perfect audio track.
This is where Wondershare Filmora changes the game. It not only makes technical tasks like audio fading incredibly simple but also integrates a massive library of high-quality, royalty-free music right into the editor. You can stop searching and start creating, all in one seamless environment.
To give you a sense of the creative assets you can start with, here’s a sample of the diverse tracks available at your fingertips:


Once you've found the perfect track, applying a smooth fade in Filmora is incredibly straightforward. Here's how:
How to Fade Audio With Filmora?
In Wondershare Filmora, you can fade audio by the following methods.
- Fade audio or music by dragging the fader sliders.
- Make audio fade adjustments by manipulating audio waveform areas.
- 4 different audio transitions such as Exponential fade, Logarithmic fade, Constant gain, and Constant power.
Let's see the steps:
- Open Wondershare Filmora and click New Project.
- Hit the Import button in the Media Library section to add your audio and video files.

- Drag and drop the imported files into the Timeline section at the bottom of the app's screen.
- Tap on the audio track in the Timeline to select it. Then, click the Audio tab in the top right.
- Look for the Fade In and Fade Out options. Then, drag the toggles to change the effect's length and adjust these audio transitions to your liking.

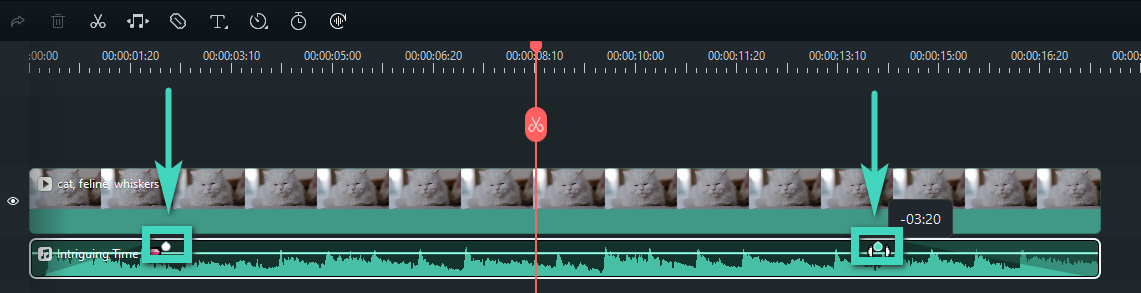
- You can also fine-tune audio fade-in and fade-out effects in the Timeline by dragging the effect's markers in the audio track.
- Once you set the audio fade effect to your liking, tap the Export button at the top right to save the audio or video project you've worked on.
- Importing audio files and dragging them to the timeline.
- Navigate to Transitions > Audio Transitions > select Exponential Fade, Constant Gain, Logarithmic Fade, or Constant Power and apply it to the audio files on the timeline.

- Choose the duration and transition modes according to your requirements. Alternatively, you can change the modes to fit your needs by dragging the transition on the timeline.

- Play the audio and export it if you are satisfied.
As you can see, fading audio in Wondershare Filmora is drastically more straightforward than in Adobe Premiere Pro. You won't have to look for audio transitions or test out multiple types, as Filmora will make your audio sound fantastic on the first try.
Conclusion
Fading audio in and out achieves a harmonious transition between different clips and scenes by gradually increasing or decreasing the audio volume.
We've known how to fade audio in Adobe Premiere Pro and its audio transition types. They're relatively straightforward to apply, but picking the right one and adjusting it has a steep learning curve. Unlike Premiere Pro, Filmora has a remarkably intuitive user interface that makes applying audio fade-in and fade-out effects effortless.
The tool is also much more affordable than Adobe Premiere Pro and runs lag-free, even on older Macs and PCs with lower-end hardware. Let's download Wondershare Filmora today to fade audio easily!
