Sharing your Minecraft gameplay allows you to showcase epic builds, battles, and adventures with friends or fans. Minecraft’s endless creativity and adventure have made it a favorite for gamers who want to share their experiences. To do so, you need to learn how to record a Minecraft video first.
However, recording Minecraft without lag can be tricky, especially if you want a smooth, professional-looking result. Various tools like Wondershare Filmora make it easy to record and edit without performance issues. With the right tools, you can capture every moment of your Minecraft journey seamlessly. Read on to learn more!
In this article
Part 1. Using a Dedicated Tool To Record and Edit Minecraft Videos
When aiming to create top-quality Minecraft content, Wondershare Filmora is an excellent choice for many gamers. Its recording and editing features make it easy to produce professional-looking videos with low effort. The platform is free to download across all major platforms so that you can get started right away. This part will show you why Filimora is a top choice!

Wondershare Filmora’s Key Features
Filmora combines intuitive recording capabilities with powerful editing tools. Here’s why Filmora is highly recommended for recording and editing Minecraft videos:
- Powerful AI features. Filmora’s AI simplifies the editing process. The AI Copilot Editing can analyze and provide intelligent recommendations to improve your Minecraft videos. Also, the Smart short clips will automatically extract highlights of your videos and turn them into viral shorts.
- Extensive media resources. Access over 10,000 preset templates and 10 million creative assets. Customize your Minecraft videos with the ever-expanding unique effects and designs within Filmora.
- Advanced editing tools. Features such as enhanced keyframing, motion tracking, speed ramping, split screen, and green screen provide ample creative control over your Minecraft content.
- Audio remixing options. With Filmora, you can add depth to your videos using audio visualizers, auto-ducking, and auto-synchronization for a balanced audio experience.
How To Record and Edit Minecraft Videos With Filmora
Follow these steps to record and edit Minecraft gameplay using Filmora:
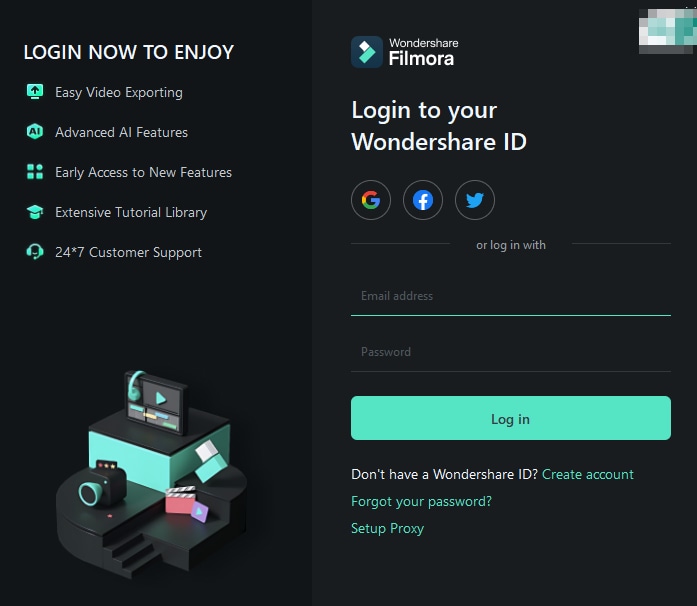
Step 1: Download and install Filmora to your computer. Launch the application. Register or log in to a Wondershare account to get started. Alternatively, log in using other options.
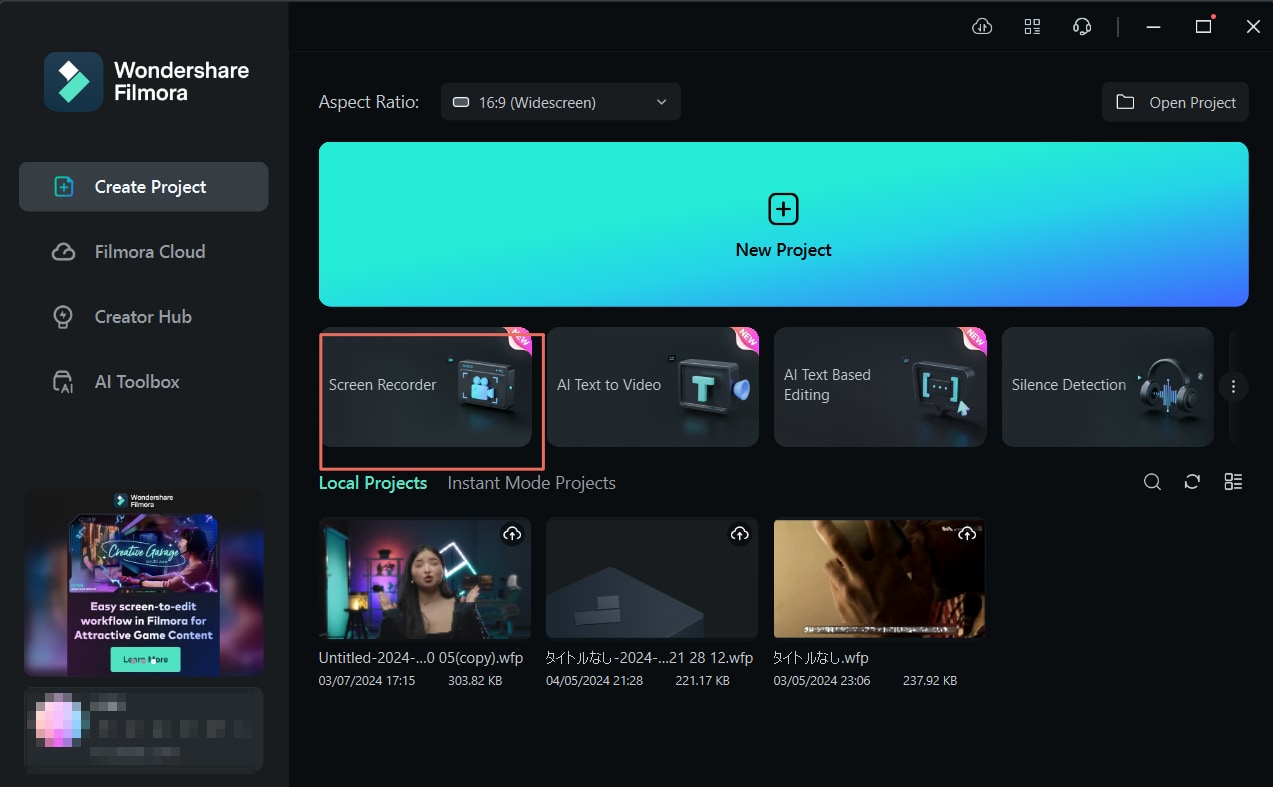
Step 2: Click New Project to start. Next, click File > Record Media > Record PC Screen from the available options. Alternatively, simply click the Screen Recorder button from the main window.
Step 3: On the next screen, customize the recording area. Choose the type of audio source to capture both in-game sounds and your commentary.
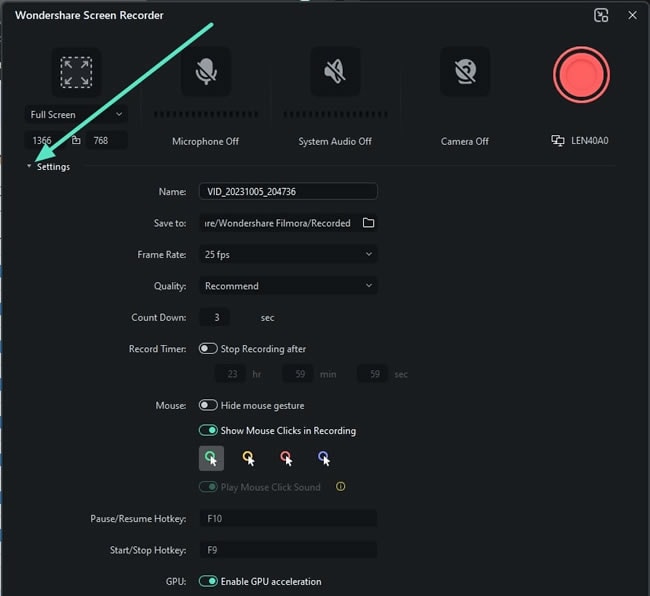
Step 4: Click the red Record button to start recording your Minecraft gameplay. You can pause, stop, and resume at any time.

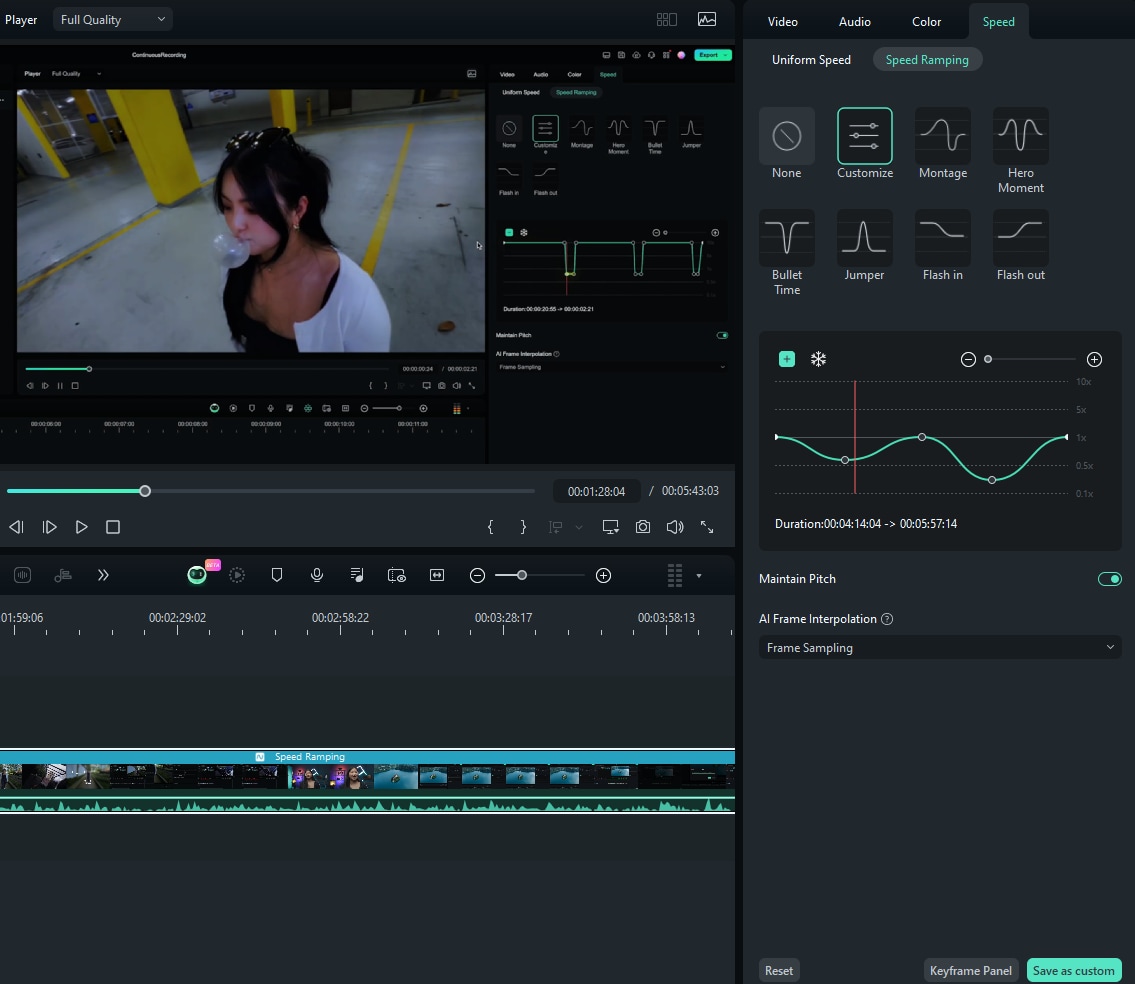
Step 5: Once you finish recording, edit it on the timeline. For example, click Speed > Speed Ramping. Change the playback speed to emphasize or focus on awesome gameplay moments.
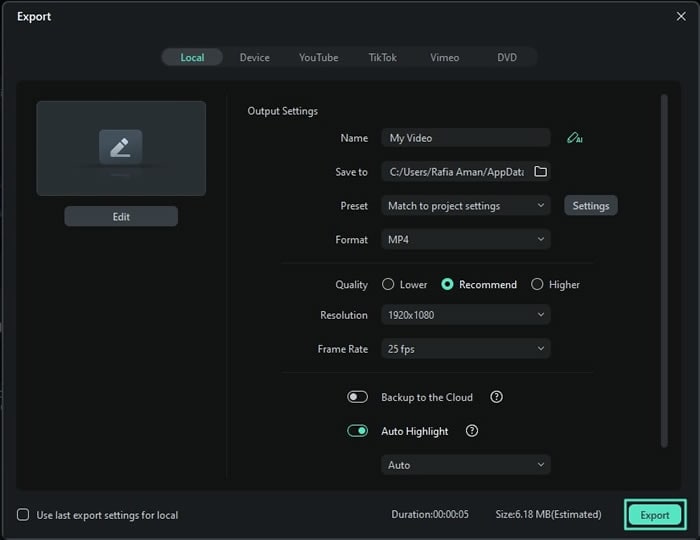
Step 6: After editing, save the video in your preferred format and share it on platforms like YouTube or Twitch.
Part 2. Using Built-In Tools Like Xbox Game Bar
The Xbox Game Bar is a built-in recording tool on Windows 10 and 11. It’s a convenient option for recording Minecraft without extra software for many. Although it’s simpler than dedicated software, Xbox Game Bar is reliable for capturing gameplay with decent quality. It’s perfect for players on a budget or those who need a quick recording solution.
How To Record Minecraft Gameplay With Xbox Game Bar
Follow the steps below to record your Minecraft moments with the Xbox Game Bar:
Step 1: Press Windows + G to open the Xbox Game Bar overlay on your screen. In the overlay, select the Capture widget, where you can control audio and video settings.
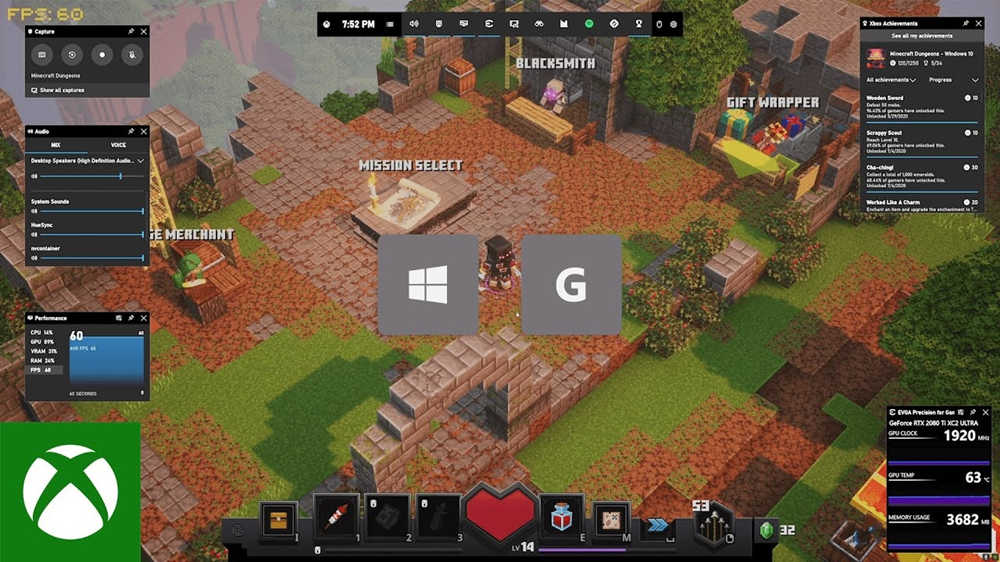
Step 2: Customize the video and audio settings. Ensure both in-game audio and microphone are enabled or disabled as needed.
Step 3: Click the record button to start recording gameplay. When finished, press Windows + G again and stop recording. The video saves automatically in the Captures folder.
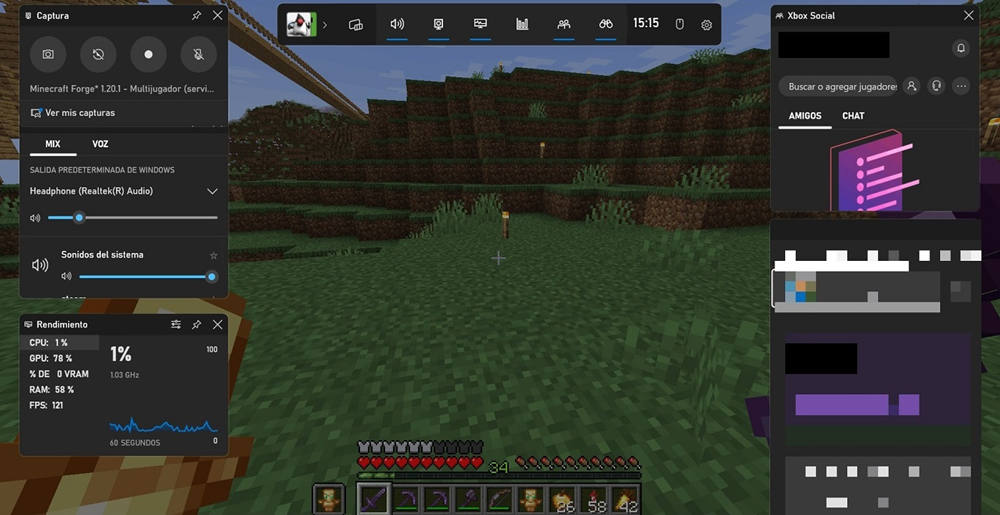
Advantages and Limitations of Xbox Game Bar
Here are the pros and cons of using Xbox Game Bar for your Minecraft recordings:
Xbox Game Bar is a solid choice for Minecraft players who need a simple, no-cost solution. However, for high-quality recording and editing, Filmora remains the superior choice. Having dedicated software gives you the power to produce professional, polished, and engaging content.
Easy-to-use Screen Recording Tool for Everyone

Part 3. Using Online Tools To Record Minecraft Videos
For those who prefer not to install extra software, online tools are a flexible option for recording Minecraft gameplay. DemoCreator provides an online screen recorder that captures gameplay directly through a web browser. DemoCreator’s simplicity makes it ideal for quick, on-the-go recordings or one-off projects.
How To Record Minecraft Gameplay With DemoCreator
Here’s how to record your Minecraft sessions with DemoCreator’s online recorder:
Step 1: Visit the DemoCreator website and select the online screen recorder option. You can choose Screen Only or Screen & WebCam to spice up your recordings.
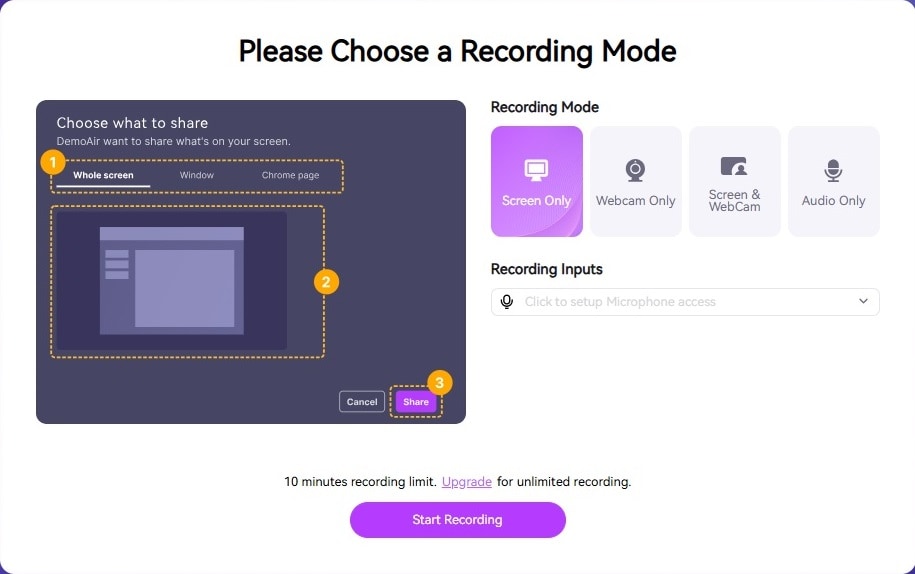
Step 2: Adjust audio input, including system audio and microphone settings. This allows you to capture in-game sounds and voice narration.
Step 3: Click the record button and begin your Minecraft session. DemoCreator will capture all your in-game actions.
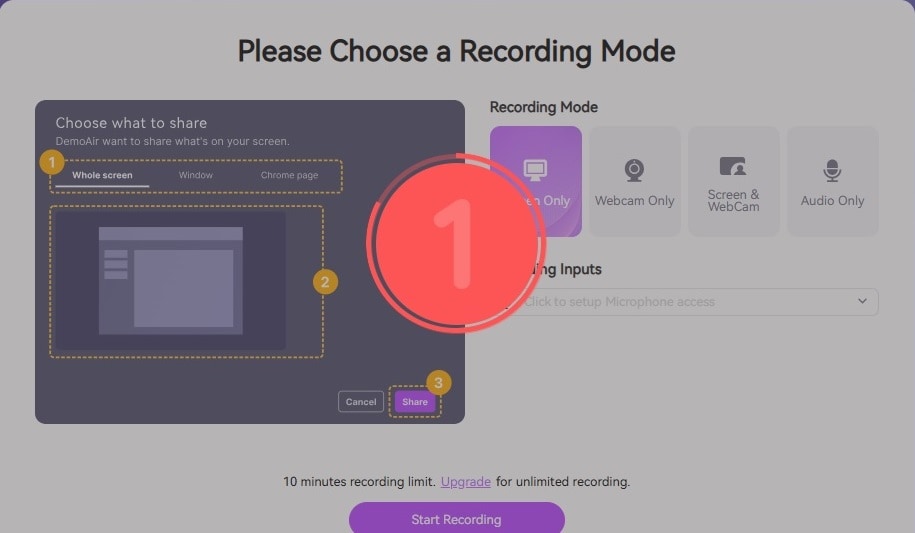
Step 4: Once you stop recording, directly save the file to your computer, ready for further editing or uploading.
Advantages and Limitations of Using DemoCreator
Here are the pros and cons of using DemoCreator:
DemoCreator offers a valuable option for those who want a hassle-free recording experience. For content creators who want professional-quality videos with added effects, Filmora is still the way to go. Its extensive editing tools and seamless recording ensure high-quality content. Give Filmora a try to stand out on platforms like YouTube or Twitch.
Conclusion
Recording Minecraft gameplay is easier and more effective with the right tools. Free options like Xbox Game Bar are great for simple recordings. Online tools like DemoCreator are perfect for quick, no-download sessions. For creators looking to add a professional touch to their content, Filmora offers comprehensive recording and editing tools.
By choosing Filmora, you can experiment with how to record a Minecraft video with lag-free recordings. With these tools at hand, you’ll be ready to share your best Minecraft moments. Showcase them on platforms like YouTube or Twitch, creating content that stands out from the rest.
FAQ
-
Does Minecraft have a built-in gameplay recorder?
No, Minecraft does not include a built-in recording feature. You need to use recording software, such as Xbox Game Bar, Filmora, or online tools, to capture gameplay. -
Does Minecraft sync progress across platforms?
Yes, Minecraft’s Bedrock Edition supports cross-platform syncing when connected to a Microsoft account. This lets you access your progress on any device, such as a mobile device, console, or PC. -
Can I record Minecraft on a low-end PC?
Yes, lightweight tools like Xbox Game Bar can help. You can also adjust the settings in Filmora to reduce resolution or frame rate. It may allow smoother recording on less powerful computers. -
What is the best frame rate for recording Minecraft?
Recording at 30-60 frames per second (FPS) provides a smooth viewing experience. It’s the ideal frame rate for sharing on social platforms. Higher frame rates enhance quality but need more system resources. -
Do screen recorders affect Minecraft's performance?
Some screen recorders may impact performance, causing lag. Using Filmora can help lower this, especially on systems with limited resources.


