100% Security Verified | No Subscription Required | No Malware

Can you even use Instagram without filters these days? Filters have become an essential part of social media, transforming ordinary selfies into fun, instantly shareable content. If you haven't noticed, bunny ear filters have been one of the cutest trends. They add playful overlays like bunny ears, whiskers, and blush effects, making your photos and videos stand out among the rest when your friends and followers are watching Stories and Reels.
However, since Meta shut down Meta Spark, which was how we got user-generated AR effects, in early 2025, there has been a shortage of bunny ear effects on Instagram. So, if you're looking for more customization and creative control, stick around until the end to learn about one of the best ways to create your own bunny ear effects in just a few steps.
In this article
Why Bunny Ear Filters Are So Popular on Instagram

Bunny ear filters have become the go-to trend on Instagram, and there are many reasons for this.
- Bunny face filters are simply perfect for cute, playful selfies.
- They are widely used during Easter, but they are also pretty common all year round.
- You can combine bunny ears with other cute effects and overlays to get an adorable photo or clip.
Whether you're making Stories or Reels, Instagram offers plenty of options to add bunny ears to photos. They're free and effortless to use. Here's how it works.
How to Use Bunny Ear Filters on Instagram
Check out our easy step-by-step guide to making the perfect bunny-eared Instagram post.
- Download and install Instagram on your phone and log in to your account.
- Tap on the + at the bottom of the screen and proceed to create a Story.

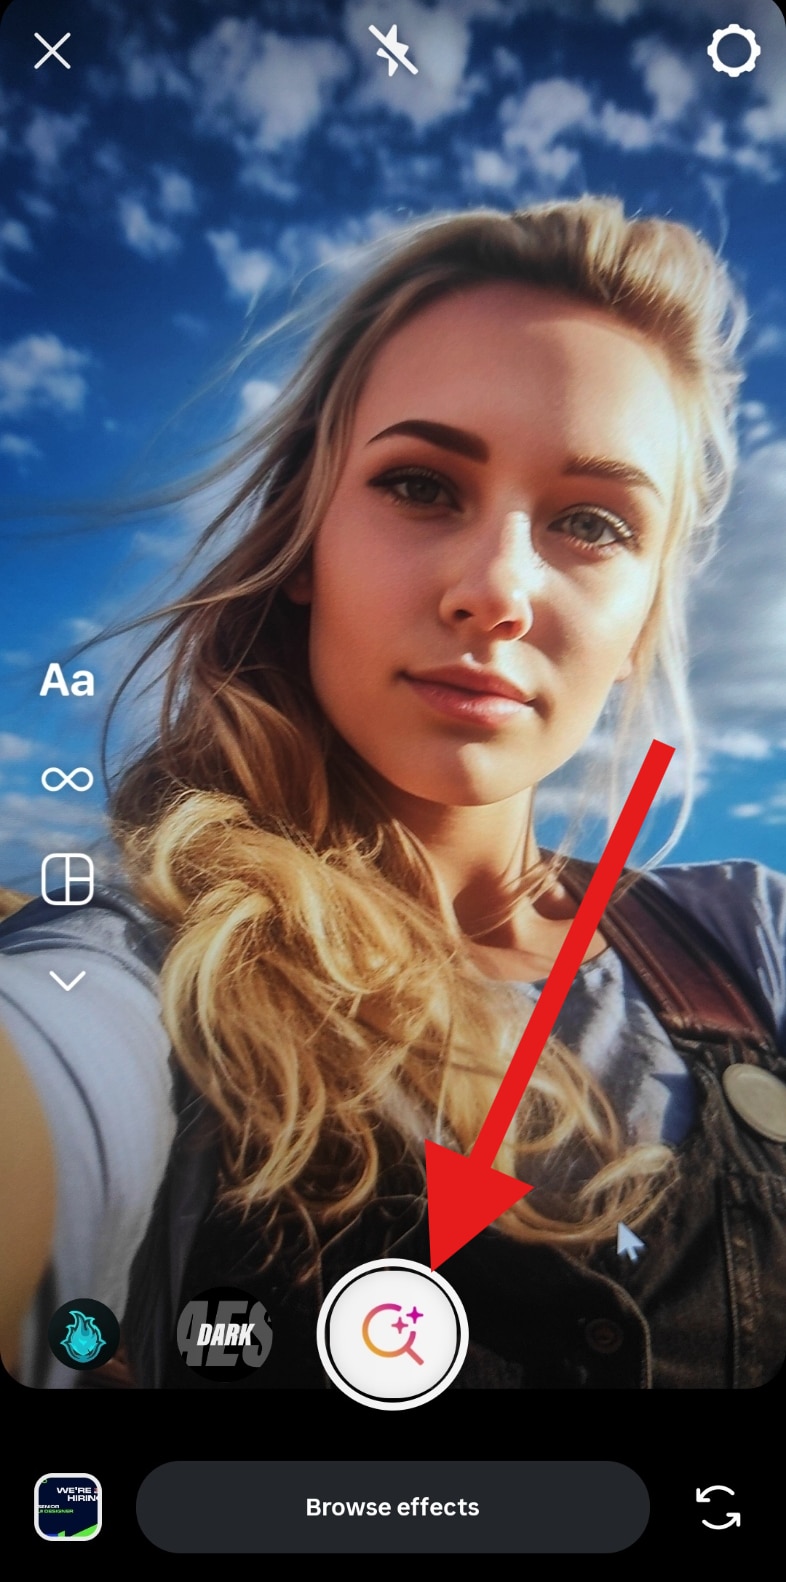
- Then, scroll through all the effects until you reach the end. Then tap on the magnifying glass to browse through all the available effects on Instagram.
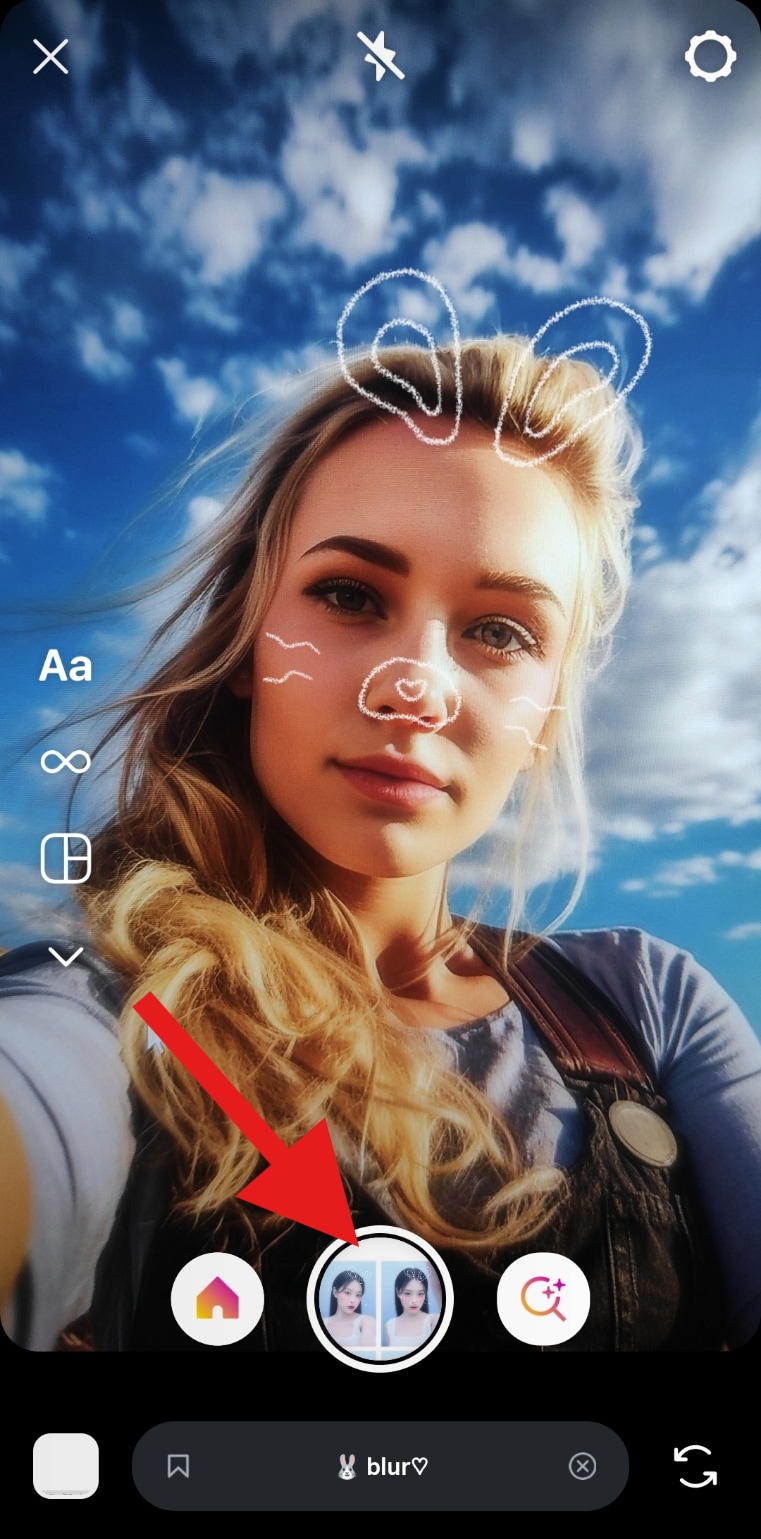
- Search for the term rabbit and pick the only available option.

- Position the camera the way you like it and snap your photo.
- Here's how the photo turned out.

Now, it is a bit underwhelming that there is only one effect available. Let's consider the best types of cute little bunny ear filters that you have probably already seen.
Best Types of Bunny Ear Filters for Instagram Stories and Reels
Here are the cutest bunny ear filters you should try to create for social media.
- Classic Bunny Filter – Add soft pink bunny ears and whiskers for a simple, cute look. The example below even has a bowtie, which leads to a cuteness overload.

- Artistic Bunny Face Filter – Combine bunny ears with headband overlays and blush effects to make yourself look as cute as a button.

- Animated Bunny Ears – Make the ears move, bounce, or twitch when you tilt your head. These animations make the entire post way cuter.

- Bunny Filter with a Necklace – Add bunny ears and a cute necklace for an edgy Instagram aesthetic unlike anything most people have seen.

- Bunny Face Filter with Stars – Use bunny-style transformations with sparkling stars to make yourself look like a famous bunny.

| Filter Name | Style | Best For |
| Classic Bunny | Minimal, cute | Everyday selfies |
| Artistic Bunny Face | Headband, blush | Instagram Stories |
| Animated Bunny Ears | Bouncy, fun | Reels and TikToks |
| Bunny with Necklace | Vibrant, bold | Party vibes |
| Bunny Filter with Stars | Colorful, playful | Themed photoshoots |
Alternative: Use Filmora to Add Bunny Ears to Photos and Videos
There are several cool and fun filters on Instagram, but when it comes to bunny ear effects, Wondershare Filmora is a much better choice. Not only does it give you complete control over your edits as a dedicated video and image editing app, but it also boasts a huge library of other animal face filters, such as doggy, cat, and stickers, AR effects, and overlays. No matter where you're working, whether on desktop (Windows and Mac) or mobile (Android), Filmora has a dedicated app for you.
Let's consider the Filmora mobile app first. Download and install it on your phone, then follow the steps below.
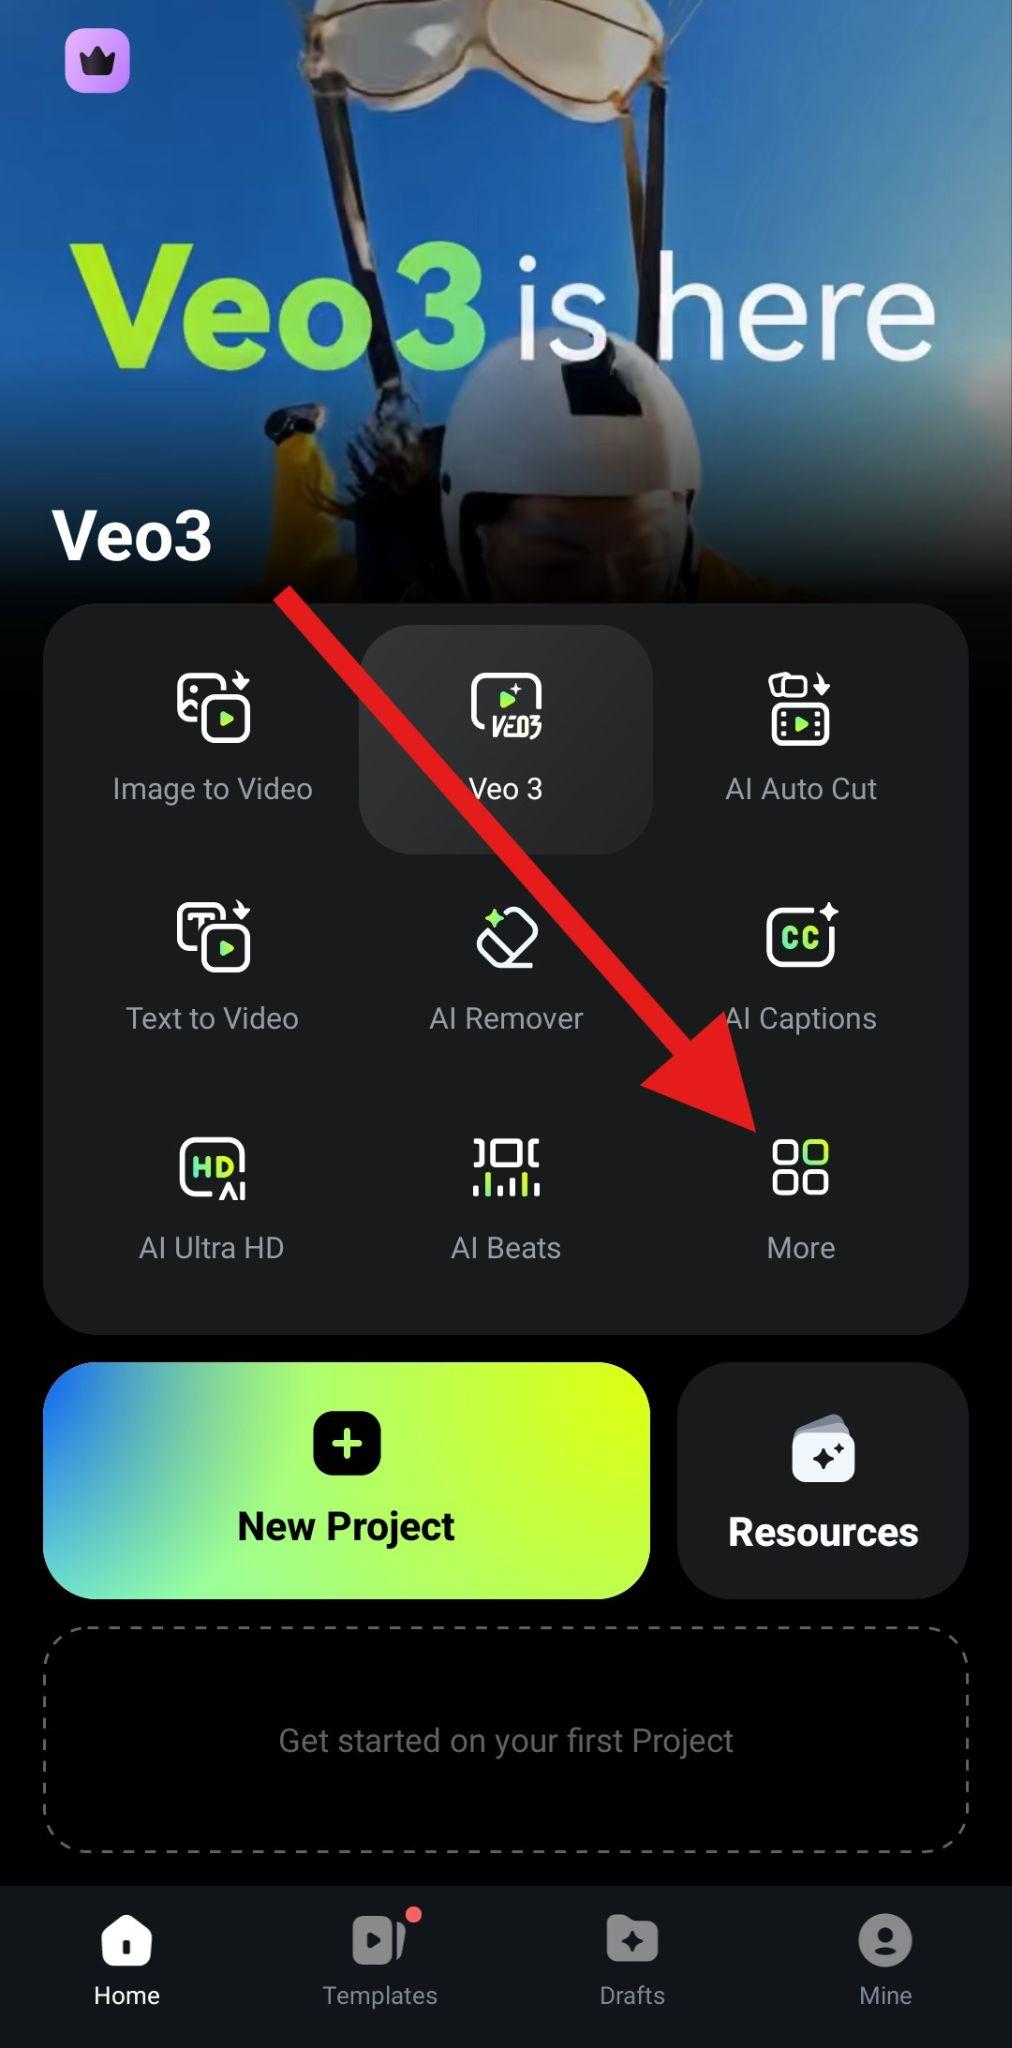
- Tap on More to explore all available AI features.
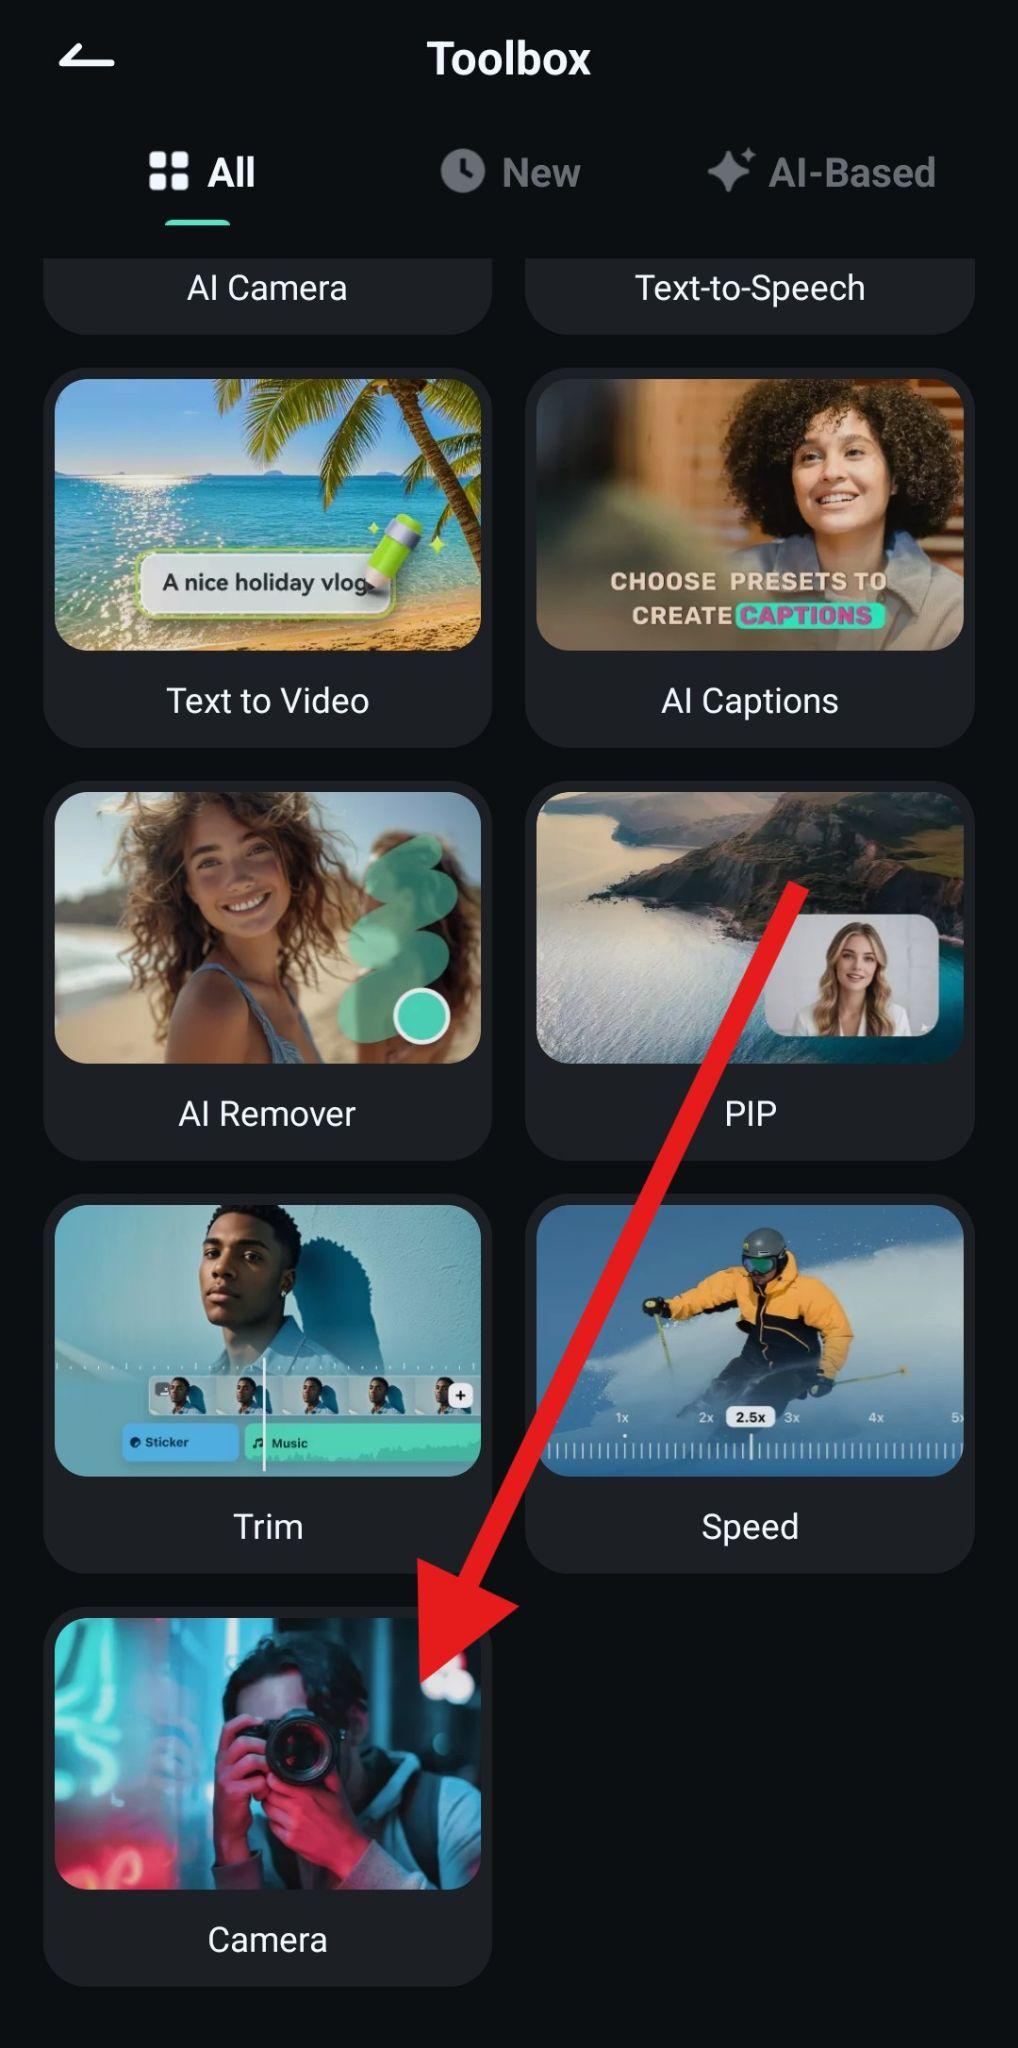
- Scroll to the bottom and activate the Camera feature.
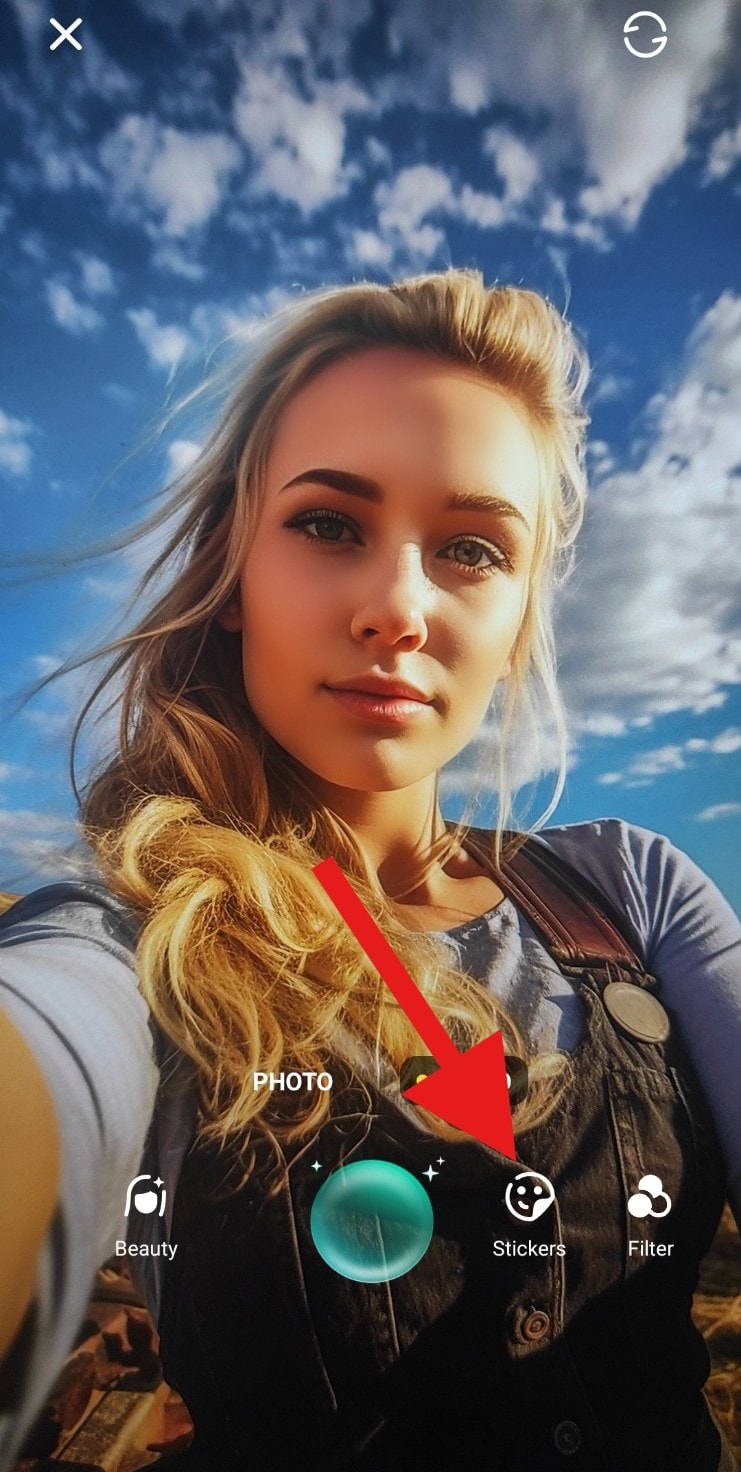
- Tap on Stickers.
- Find the Cute-Animal section and pick a bunny ear filter that you like.
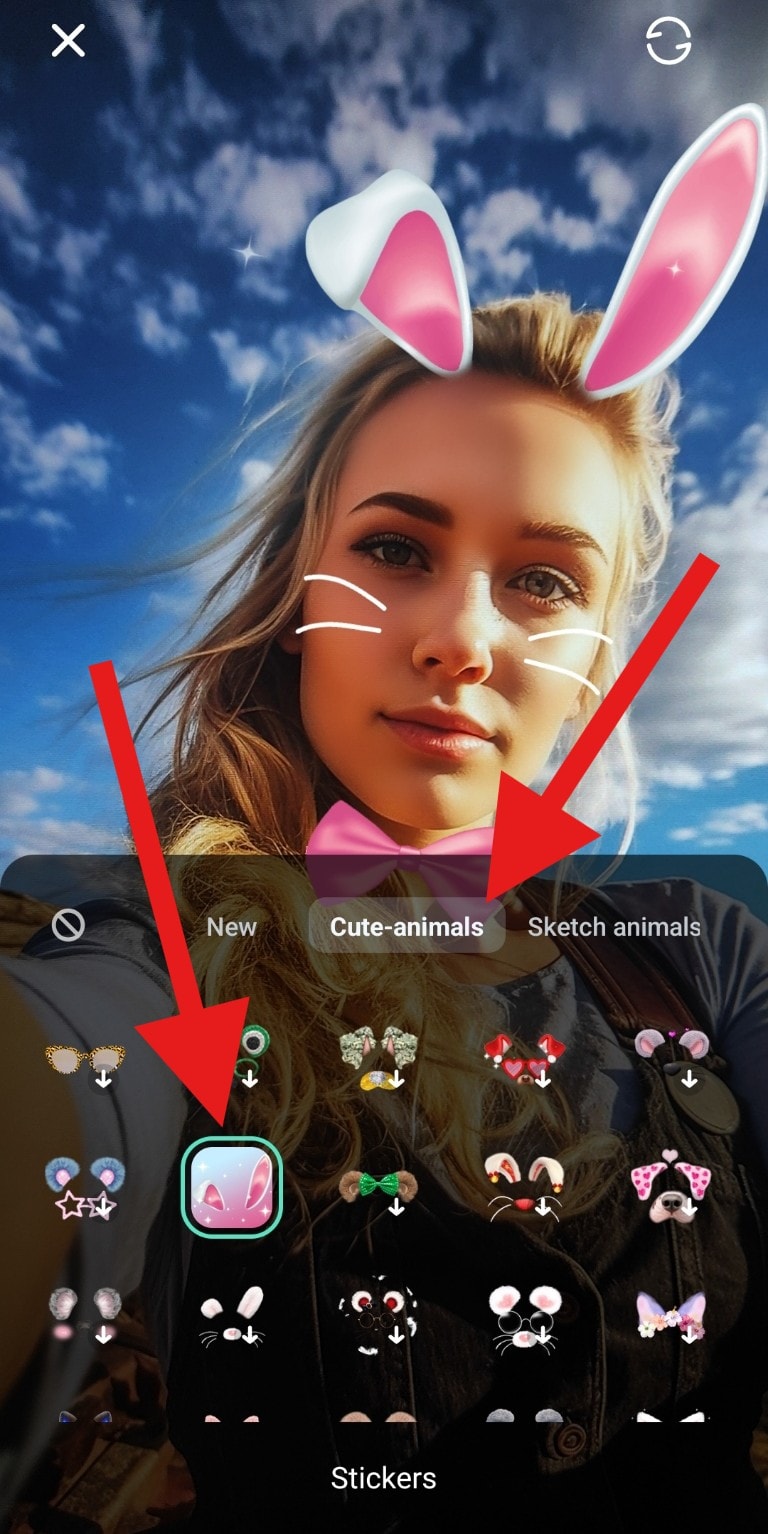
- Snap your photo.

- Here's how it turned out.

Although the camera feature is currently only available on Android devices, if you are also curious about how to get photos with bunny ear filters on a PC, you can also use Filmora Desktop.
- Download and install Filmora on your computer.
 Secure Download
 - Open it, create a new project, import the photo you wish to edit, and simply drag that photo to the timeline.
- Go to Effects and just type the word Bunny. Then, pick something that you like, and drag it to the timeline above the photo.

- Here's how this one turned out.

All these AR effects come with cute animations, and the best part is that they work perfectly on photos and videos, automatically aligning to the head as the subject moves.
Tips for Creating Cute Bunny Face Photos
If you want your bunny selfies to stand out, you should try these pro tips.
- Use Natural Light: It makes filters look sharper and more realistic.
- Pick the Right Angle: If the filter is not snapping to your head, slightly tilt your face to match the ear positioning.
- Experiment with Animated Filters: Moving ears add a fun, dynamic vibe, and you should add some playful motion to your Stories and Reels.
- Combine Effects: Pair bunny ears with blush stickers, sparkles, or pastel backgrounds for an extra aesthetic touch.
Conclusion
Bunny ear filters are one of the most fun and effortless ways to make your selfies stand out on Instagram, especially now, when there simply aren't any to choose from on the platform. Use the power of Filmora to unlock unlimited customization, letting you create unique, polished effects for Stories, Reels, and beyond.
Download Filmora today to explore its bunny ear stickers and AR overlays. Then, you can switch to filters, stickers, animated titles, loads of fun AI features, and more.